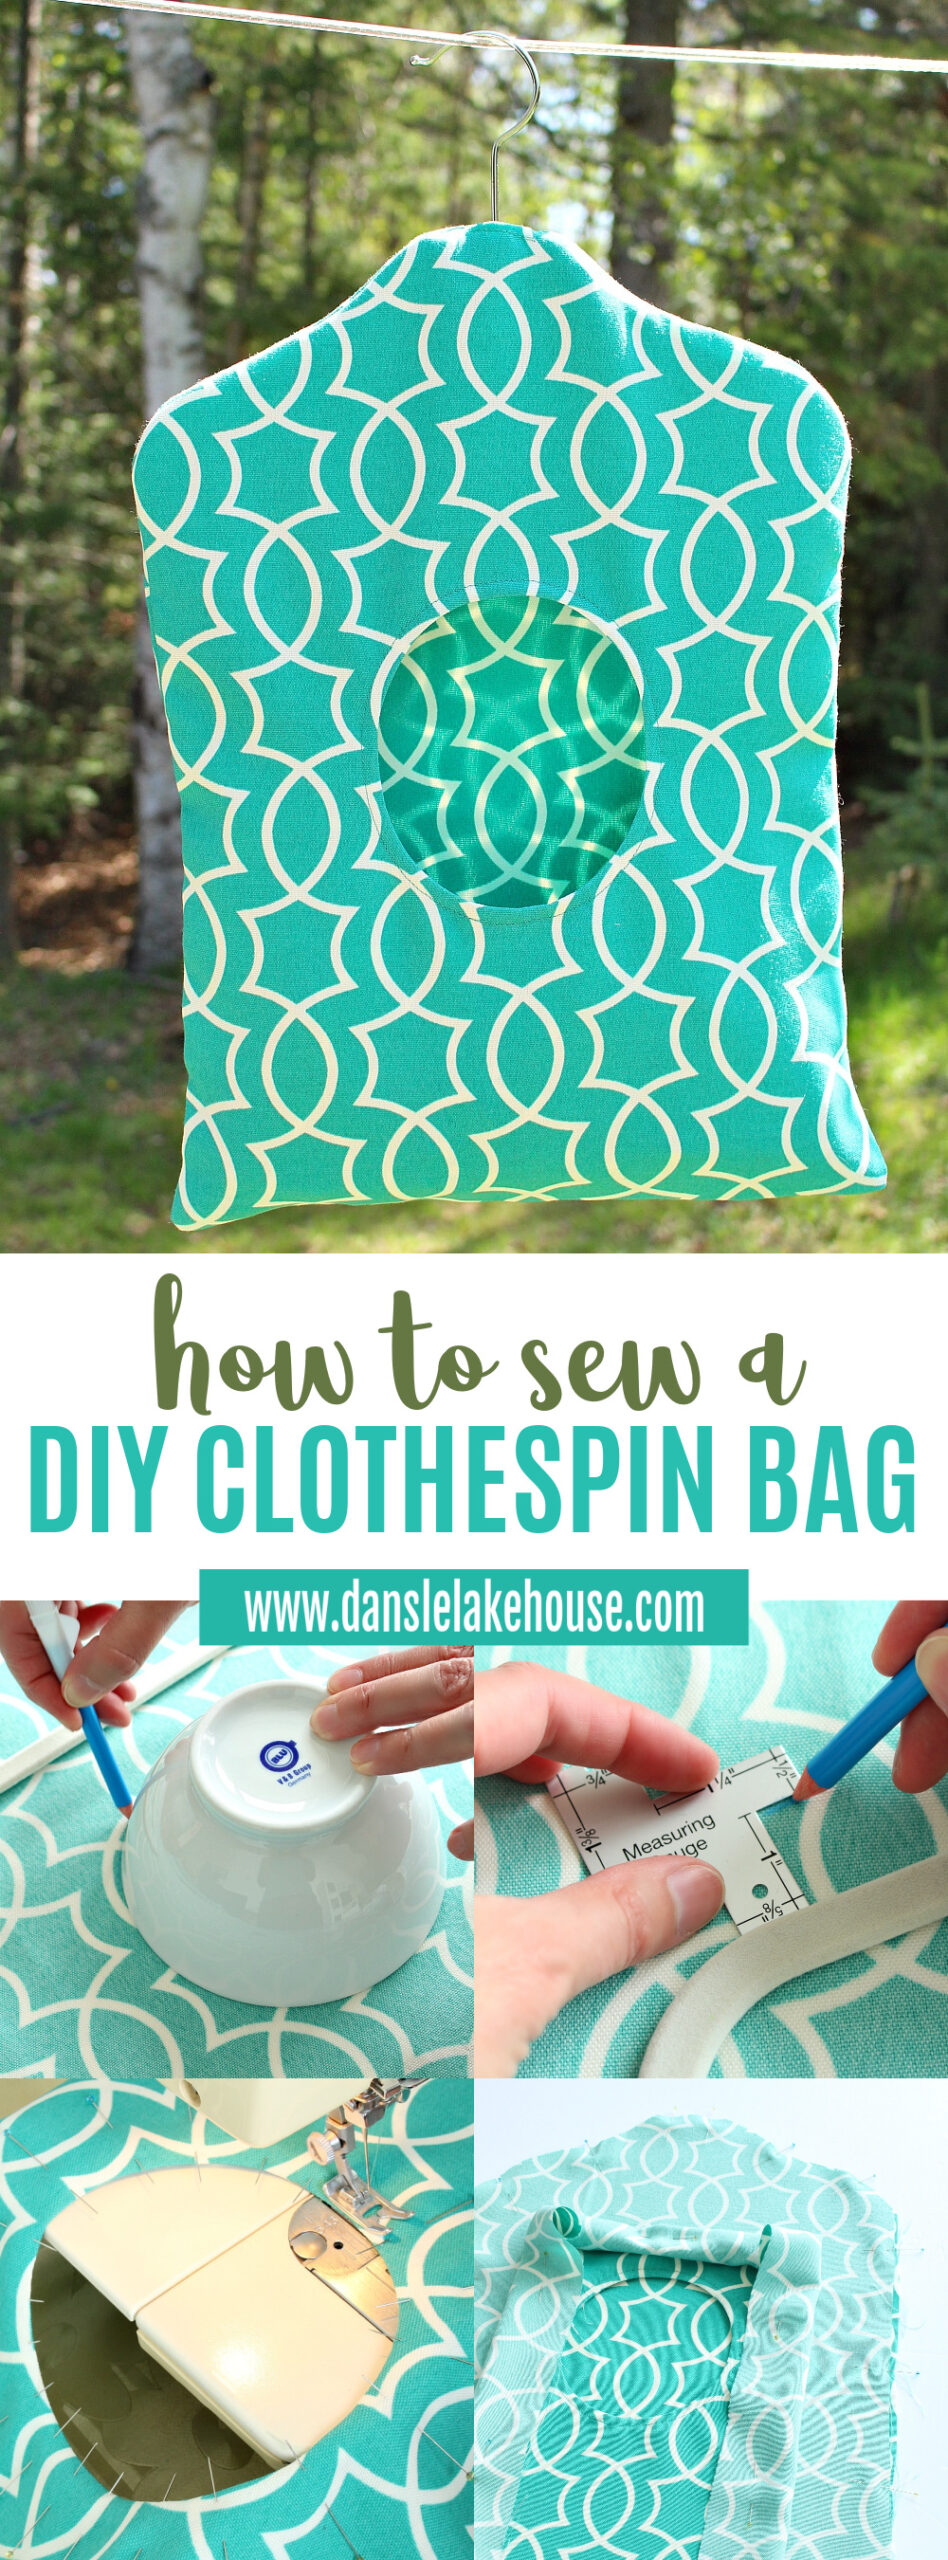
My new DIY clothespin bag has brightened my laundry days and made life so much easier – so I wanted to show you how to sew a DIY clothespin bag (or DIY clothespin holder) of your own! Where did I find the motivation to tackle this homemade clothespin holder? Well, Wayfair recently posed a challenge: tackle a DIY project that makes life easier! One of those, “why, oh why, didn’t I do this sooner?” type of DIY projects. I had just the project in mind…
DIY Clothespin Bag:


The Funny Story Behind this DIY:
Last spring I had a sack for my clothespins, but it was a disgusting one that came with the house. It smelled bad and was filled with spiders, but it was better than the torn plastic bag my Mummu was using to hold her clothespins, lol. Here’s the gross little thing:
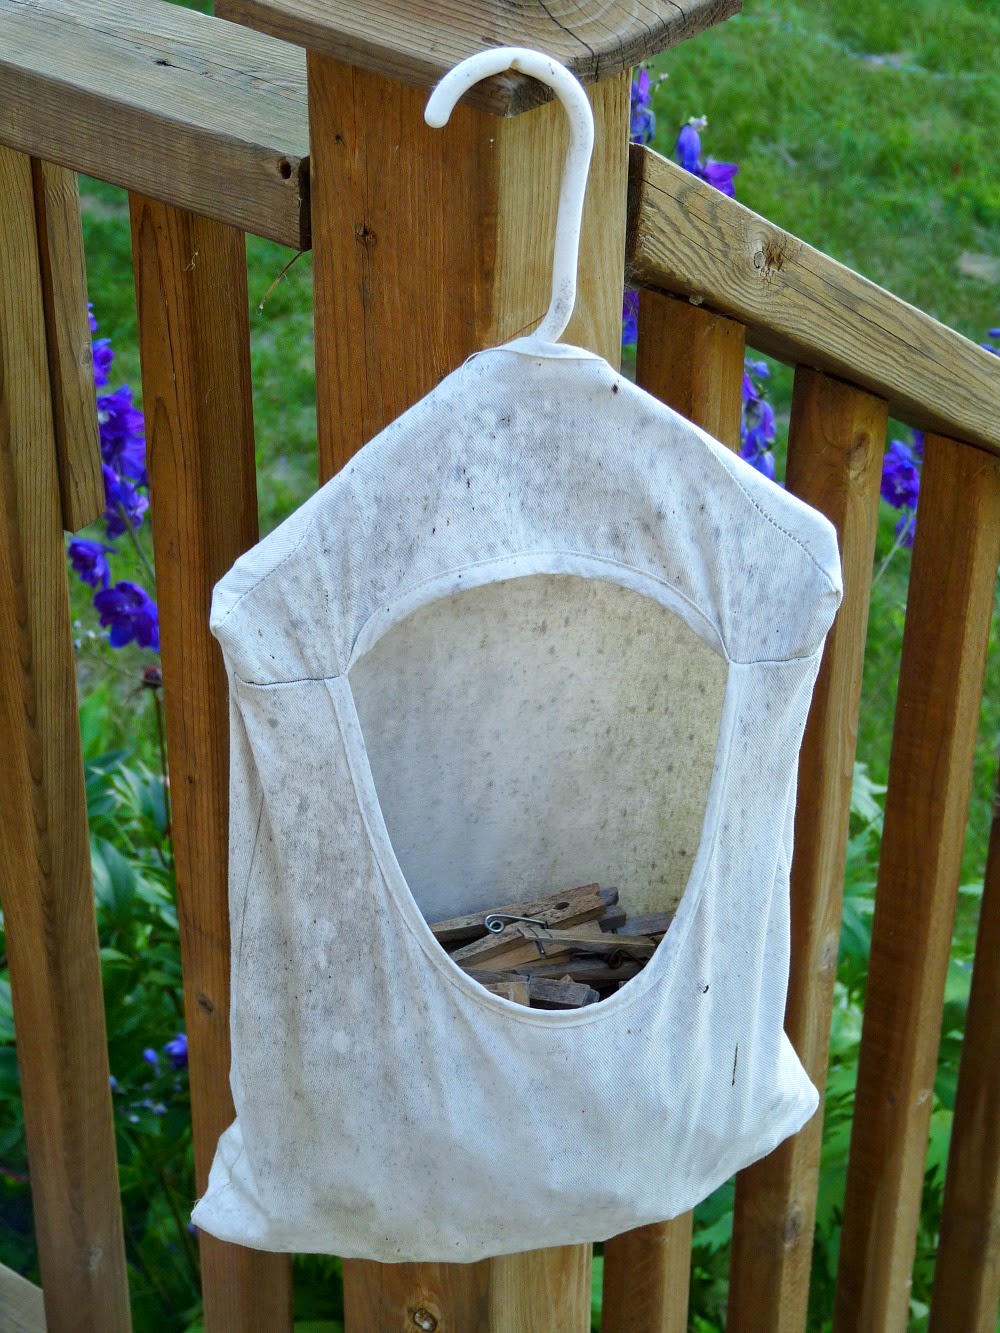
Hanging laundry outside is something the women in my family are fanatic about. My Mummu, like a good Finn, hangs her laundry outside all year round. My Mom and I, while still deeply committed to outdoor line drying in the warmer months, stick to indoor clothes racks and lines as soon as the snow flies. Thoroughly disgusted with both of our clothespin holders, last spring my Mom volunteered to help my Mummu and I each sew a pretty fabric DIY clothespin bag. Before we had completed the first bag, my Mummu gleefully threw out my skunky old cloth sack and pins. (I don’t think she appreciated that I had set them on her dining table, lol). She scooped the first DIY clothespin bag we sewed and we made plans to get together and sew a second clothespin holder later that week. Well, life got busy and we never made that sewing date!
So I resorted to using an old plastic bag.
On the bright side, we learned that the DIY clothespin bag we sewed weathered living outside really well. Sheltered under the eaves, Mummu’s outdoor clothespin bag looked brand new, a year later! Confident in the design, my Mom and I finally whipped up a DIY clothespin bag for me! Below is the sewing tutorial for this DIY clothespin holder, but I will warn you that my Mom is an ambitious DIYer and she’s upped the ante by making this clothespin holder self lined – with a pattern that lines up perfectly! So if you’re wondering, “how do you make a lined peg bag?” this tutorial is for you! The end result looks beautiful, but it has a few extra steps which I’ve tried to explain thoroughly. Just let me know in the comments if any of the directions don’t make sense and I will happily clarify.

Supplies for Making a DIY Clothespin Holder:
- Child-sized hanger (this is nearly identical to what we used, but you can also use plastic)
- Outdoor fabric (leftover from my back tab curtains – see the post for info on the fabric)
- Thread
- Sewing machine
- Sewing gauge (optional)
- Marking pencil
- Small bowl (for tracing)
- Cute clothespins!
How to Sew a DIY Clothespin Bag:
To determine the shape, place the hanger on the fabric, near a corner so as not to waste fabric, and measure the center of the hanger. Approximately two inches below the bottom of the hanger, use a bowl to trace a circle for the opening – choose a size that fits your hand comfortably. We used a bowl with a 5″ diameter (the overall diameter of the finished opening is 5″):

Using a gauge, mark 1″ all the way around the hanger and then draw a straight line down from the outside edge of the hanger.

The idea is to create a snug fit around the hanger, and then allow for 5 to 6 inches below the opening. My finished clothespin holder is 17″ tall and 12.5″ wide. With the shape cut out, trace and cut out three more identical clothespin bag shapes so you have four in total.
Place the piece with the circle and one of the other cut outs together, right sides facing in:

Pin around the circle and sew around the circumference:


Tie off the thread, cut out the middle, and then snip in toward the sewn line, careful not to cut the thread:

Reach through the circle and pull one layer of the fabric inward, to turn the hole inside out:

Ta da! Next we’ll pull a rabbit out of a hat…

Iron the fabric to smooth out the circle opening and then pin down and sew the circumference once again – this will help it lie flat:

And that’s the front, which has two layers:


To attach it to the back, grab one of the remaining two cut outs and place it right side up, underneath the front half you sewed earlier:

Pin the top layer of the fabric out of the way, and sew together the bottom layer and the additional piece, leaving a small opening at the very top for the hanger to poke out:

Then place the fourth cutout on top of the front of the clothespin holder, right side facing down. Pin it together with the side you pinned out of the way earlier, and sew it together. This is my Mom sneaking it into place to demonstrate:

Now then turn everything right side out:

See how the hole now has the right side of the fabric showing behind it, as opposed to the wrong side of the back showing? Self-lining it took a few extra steps and twice the fabric, but the end result looks so good!
For the top, you can hand sew the opening, try adding a grommet, wrestle with it under the machine to do a button hole, throw in the towel and just apply some fray check, or ram in under the machine and sew around the opening – much like you would around the slit of a wrap dress – which is what my Mom did.

With the bottom still open, slide the hanger into the clothespin bag up through the body of the clothespin holder through the hole left in the top. Then simply pull the bottom edge back up through the hole, stitch it closed, and push in back in.
The Finished DIY Clothespin Holder:
Whew! You’re done! Now stuff that brand new DIY peg holder with pretty new clothespins:

By using indoor/outdoor fabric, this DIY clothespin bag can definitely be kept outside as an outdoor clothespin bag, but it’s also pretty enough to hang on a hook in a laundry room to keep it bug-free until laundry day.

I’m thrilled with my new DIY fabric clothespin holder. Living lakeside, it can be pretty windy some days, which totally messes with my hair but, combined with a gloriously sunny day, dries my laundry in a snap so I can’t complain. I hope you found this tutorial for how to sew a DIY clothespin bag handy – happy sewing!

P.S. Don’t Forget to Pin for Later!
This DIY clothespin bag tutorial was sponsored by Wayfair. Any thoughts or opinions expressed are my own.

Hi Tanya ! I just left a comment but something went wrong, so I try and send a similar one again ! I loved this tutorial which was very clear and detailed, and with nice photos. You're putting your new camera to good use 😉 Your tutorials are really the best, and this one didn't disappoint. A big hug from Germany ! E. (PS and you look GREAT by the way ! 🙂
I'm really happy to hear you like my tutorials! I really love putting together these posts, so it's nice to hear that you enjoy them. Thank you for the kind words 🙂
What a beautiful bag. I love the print and it's useful to boot! Double bonus!
Thank you! I just love a DIY project that I can use and enjoy 🙂
You mentioned you were working on your fitness, you look great!! :)Amy in MN
Thanks, Amy! That's so sweet of you! Yes, I've been focused a lot on my health: eating well, moving more. I'm hoping to get even more active now that the weather is nice 🙂 I feel really good.
How cute!! We were just talking about these with friends. So many had no clue what they were for. I would love one in my laundry room.
How funny! Do your friends mostly use the dryer? I know many of my friends don't line dry items at all. My clothes shrink like there's no tomorrow if I don't carefully line dry each garment, lol.
Omg, your "before" bag brought back memories of my moms homemade clothing pin bag that was weathered and moldy! :). I hated that chore yet miss the smell and feel of line dried laundry. Hubs is not a fan…..I am getting on Instagram and will let you know when I get my cabin Reno pictures posted.
I wish I had appreciated line dried clothes more before I started doing my own laundry, lol. Good stuff like that is wasted on kids!I'm SO excited to see your cabin. Ahhhhh, I can't wait!!! Definitely tell me who you are on Instagram, I'm not always good at putting two and two together…
Thank you for this clothes pin bag! I hang clothes out almost daily. My pins where in a plastic bag before this..lol This was so cute and the tutorial well done!!!
Love it! Thank you for sharing!
Happy you like it!
Well, if I was a spider this is the clothes pin bad I'd choose to live in lol. You look great by the way!!
Haha, oh no! I need one that spiders WON'T like! And thanks 🙂
Is the bottom self lined also and if so could you explain how to do that. Thanks
Everything is self lined. It's basically a clothespin bag with an entire second layer inside. Does that make sense? Like seeing two and facing wrong sides together, sort of, so pattern faces outward.
Could you give an estimate of how much fabric you used?
It will vary based on size of clothespin holder, but we used about half a meter I think. It was a remnant so I did not think to measure. Next time I will, thanks!
I just made this clothes pin holder for our lakehouse! It is adoreable and I used retro beach house fabric I found at the fabric shop. Thank you for the easy to follow directions!
Author
I’m so happy to hear that you found the directions easy to follow and that you made your own! Thanks for sharing your feedback.