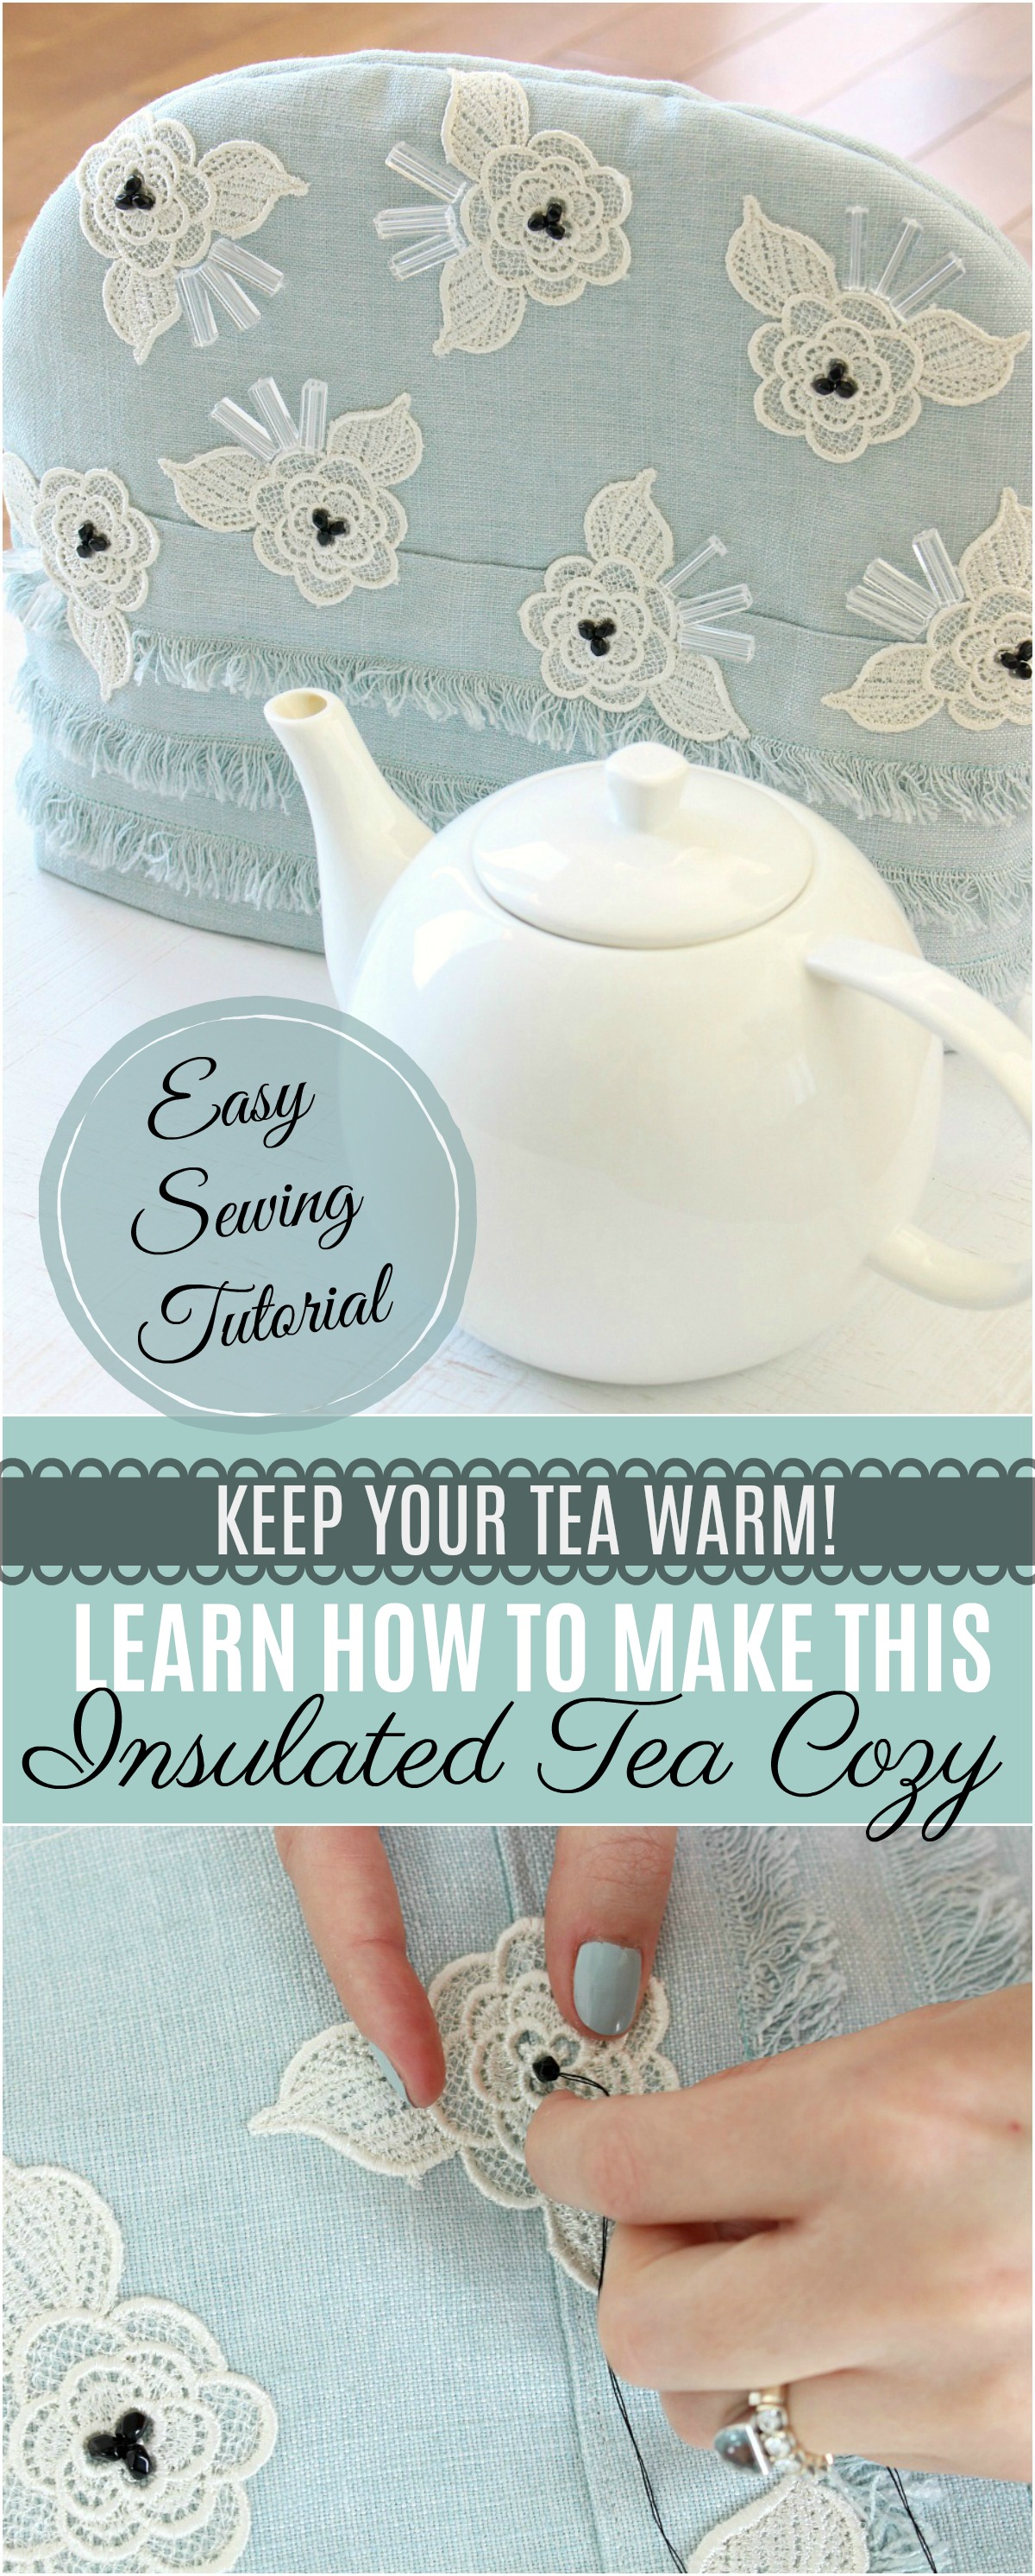
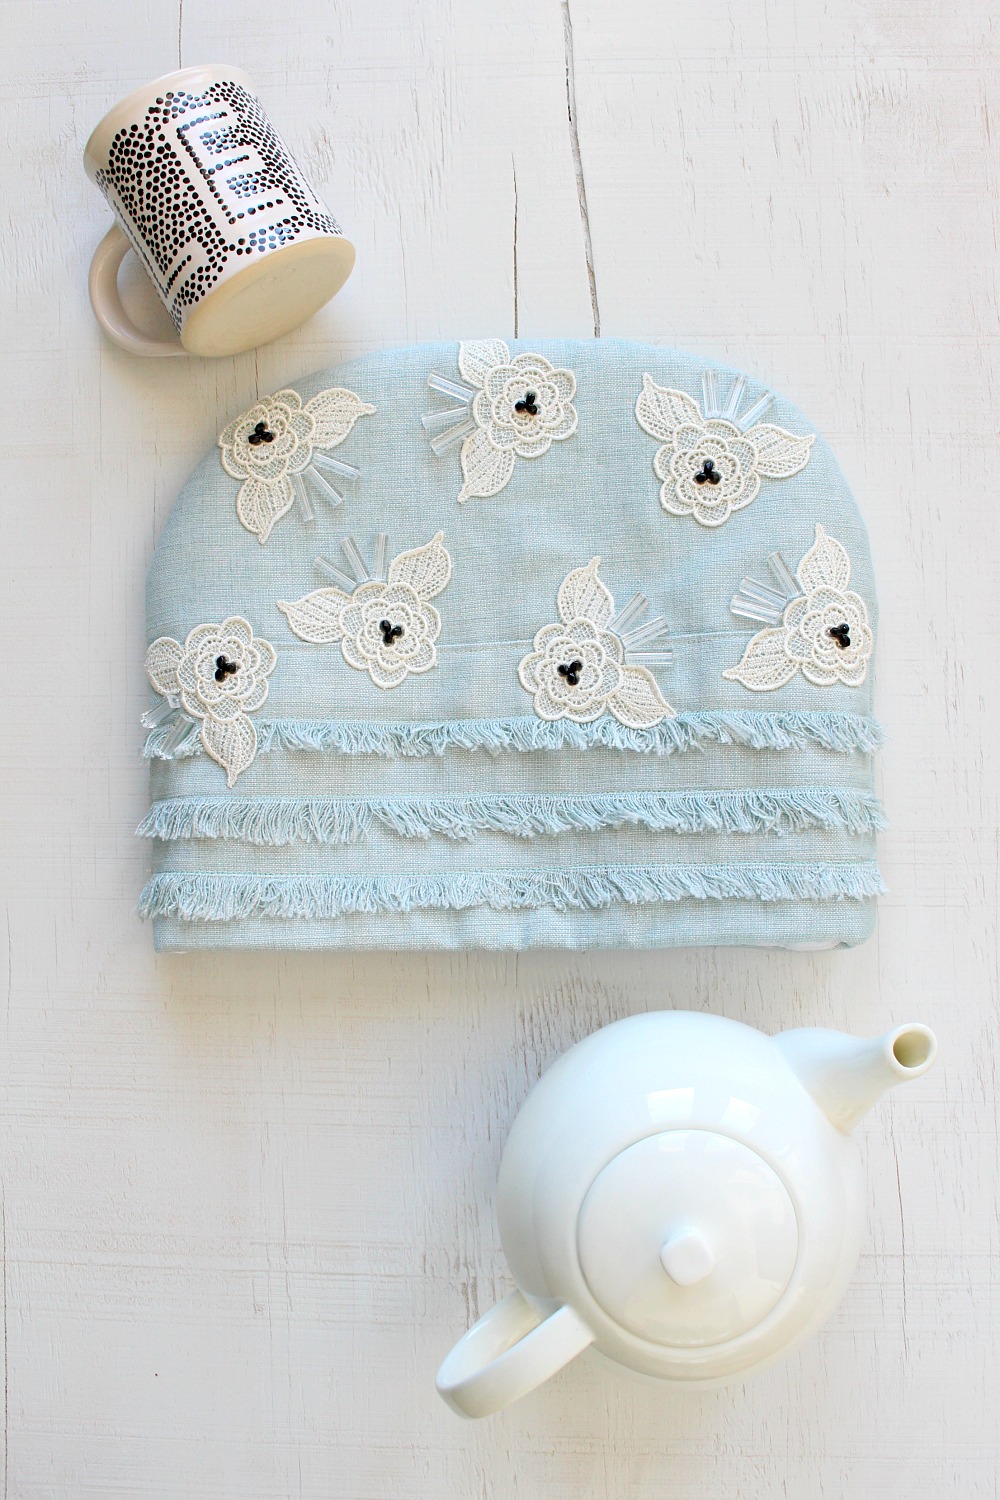
This was the perfect time to make this DIY tea cozy with beaded lace applique. Although technically winter is over, we keep getting hit with hail, freezing rain – and buckets of spring snow. While I wait for this new snow to melt, I am going to enjoy the combo of sparkling open water on the lake and crisp clean snow blanketing the shore. There’s only small windows of time where that magical combination happens, and there’s few things I enjoy more than making a pot of tea and curling up on the sofa to lake watch. It’s a good opportunity for otter spotting, because sometimes you can spot one float in on a rogue chunk of ice.

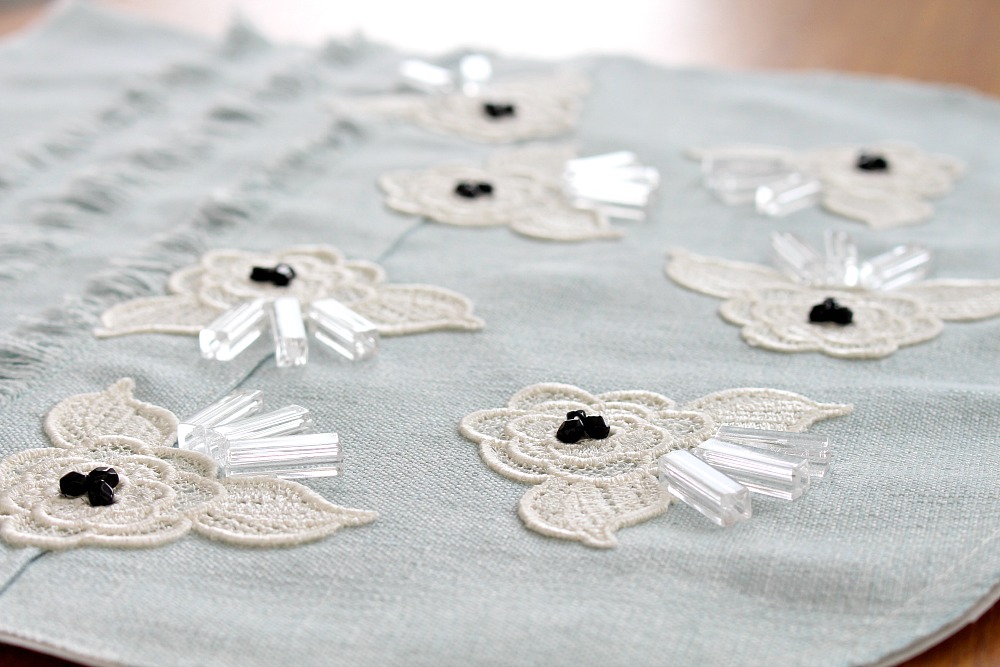
There was only one thing missing from my spring routine: a tea cozy to keep my tea warm, so I can linger and savor. I happened to have some pretty lace appliques from my Mummu and after making that lovely DIY doily pillow, I thought just adding some lace to the same blue linen would be cute, but somehow it was a little fussier – I blame the rose shape. But then I added some contrasting black glass beads along with more modern, lucite-look beads and all of a sudden the design felt way less frilly and a little more Delpozo-inspired. Plus it was so relaxing to get out my beads and do a little beading. I love, love how the finished tea cozy turned out! Here’s how to sew – and embellish – your own DIY tea cozy.
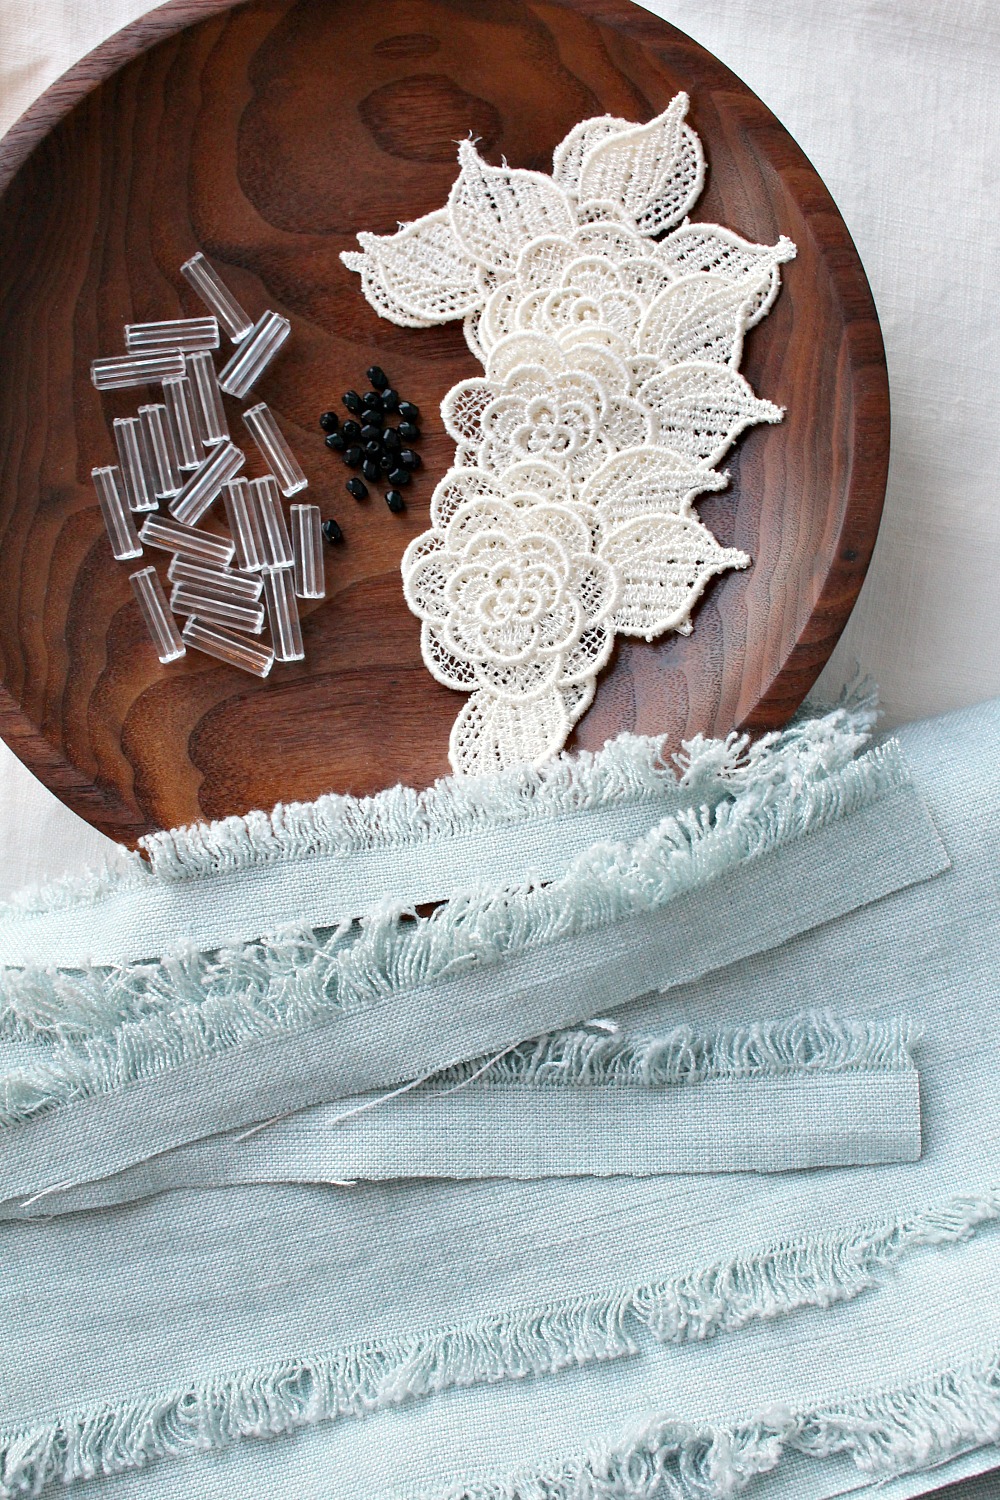
DIY Tea Cozy Supplies:
- Linen or cotton fabric (here’s a linen similar to mine)
- Lace flower appliques
- Large tube beads (couldn’t find ones like mine, but check out these brass tubes!)
- Black glass beads
- Beading thread
- Beading needle
- Sewing machine + thread
- Heat Bond iron on adhesive
- Cotton batting
- Interfacing
- Cotton Material for Lining
How to Make a DIY Tea Cozy:
Step 1: Figure out the size. The first step was to figure out the dimensions of my tea pot. If I already had a tea cozy, I could have just measured it, but instead I ran a tape measure from the table surface across and over my tea pot in both directions to get a sense of how big a tea cozy I needed. I made sure to measure loosely to account for the extra thickness the batting and interfacing add.
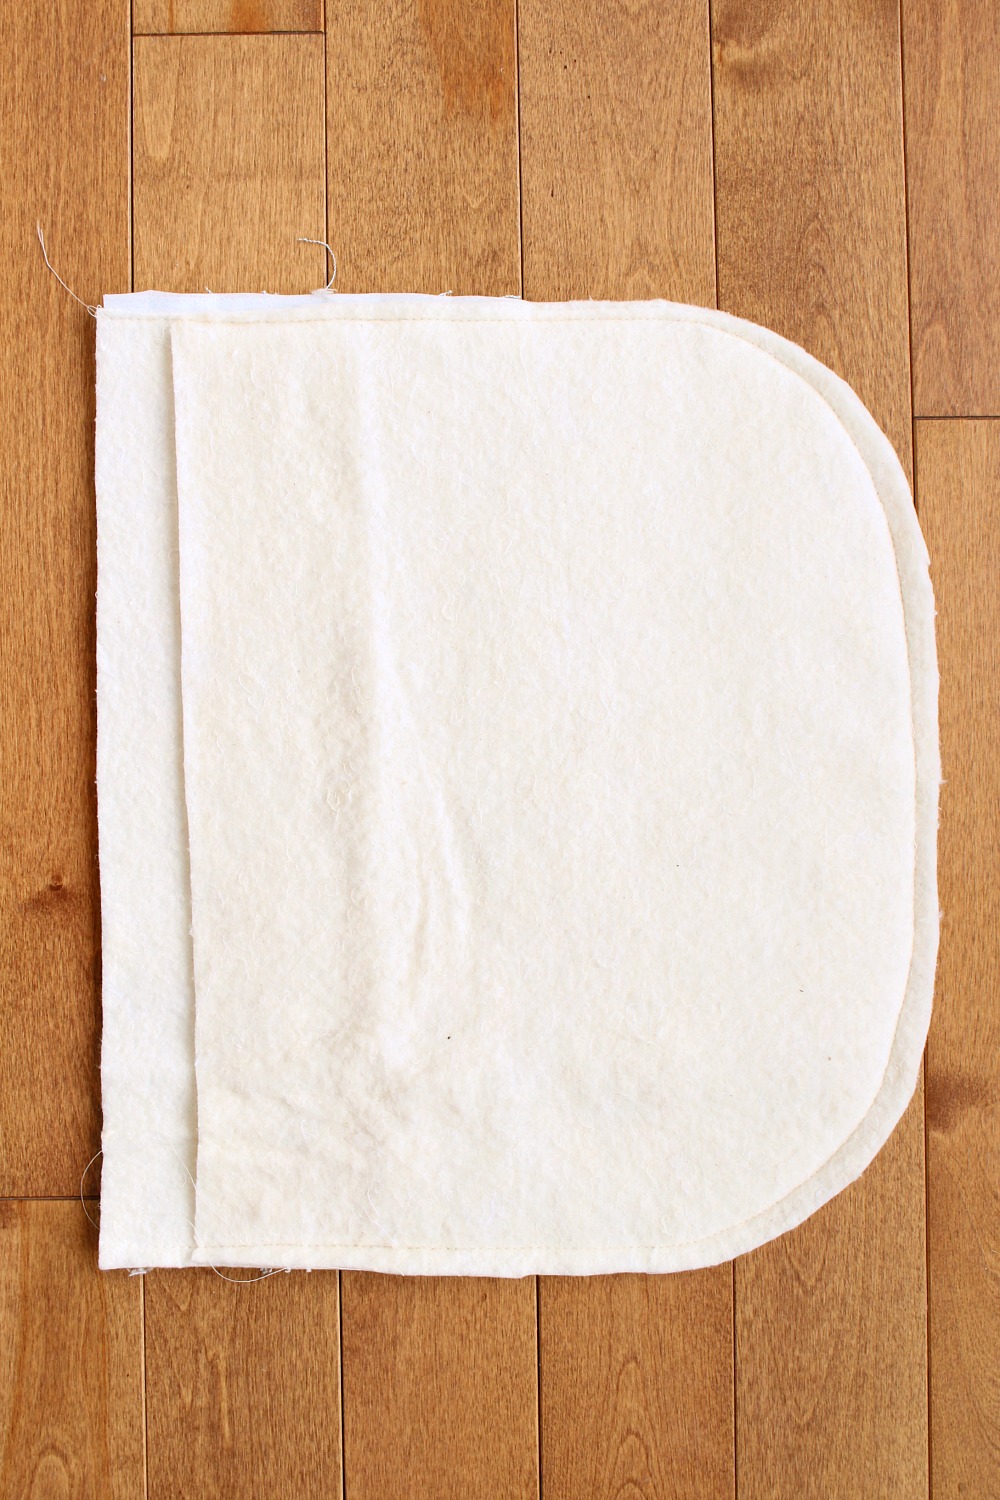
Step 2: Cut out semi circle shapes. Using these measurements, my Mom and I cut out two matching semi-circles of blue linen fabric, lining, and woven interfacing, plus four layers of batting. You can cut out a pattern for yourself first, or cut the fabric right away using your measurements, but just make sure to leave 5/8″ for a seam – or even a bit extra just in case, because it’s always easier to sew something like this smaller but you can’t go bigger.
Step 3: Sew interfacing on the back of the “front” piece. Because the linen is somewhat soft, we also sewed some interfacing on the back, because that extra stiffness made the beading easier. You can skip this step entirely if you’re skipping embellishment or if your fabric is already pretty stiff.
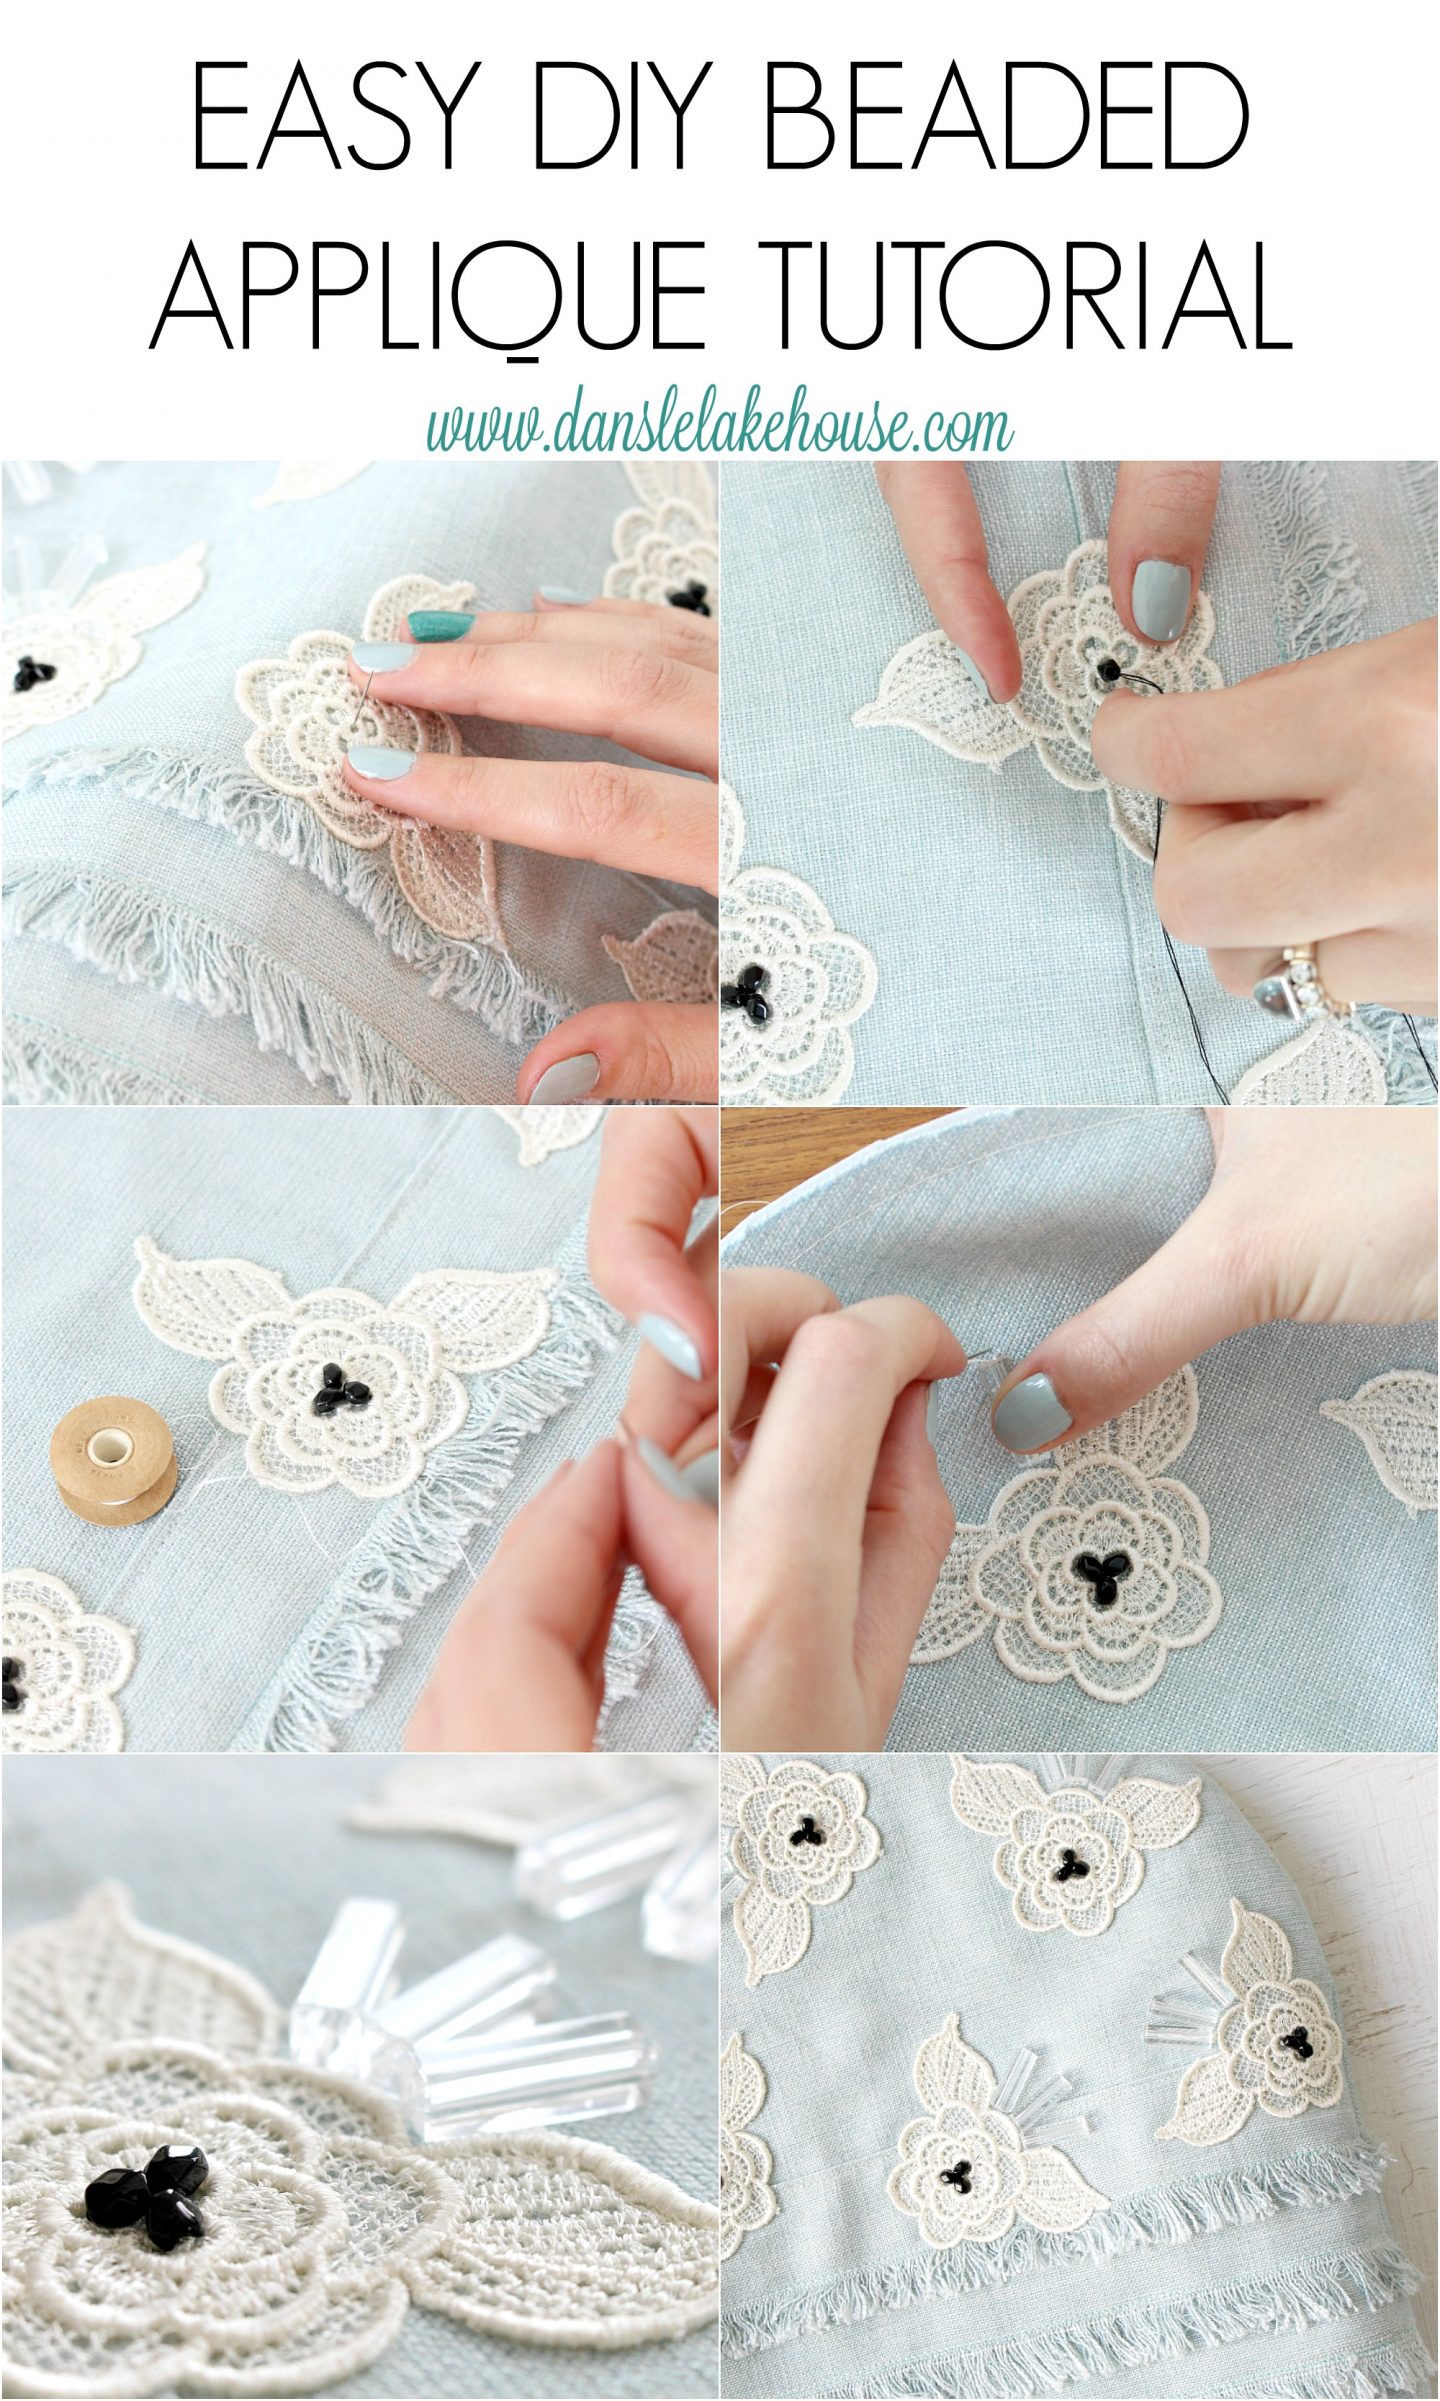
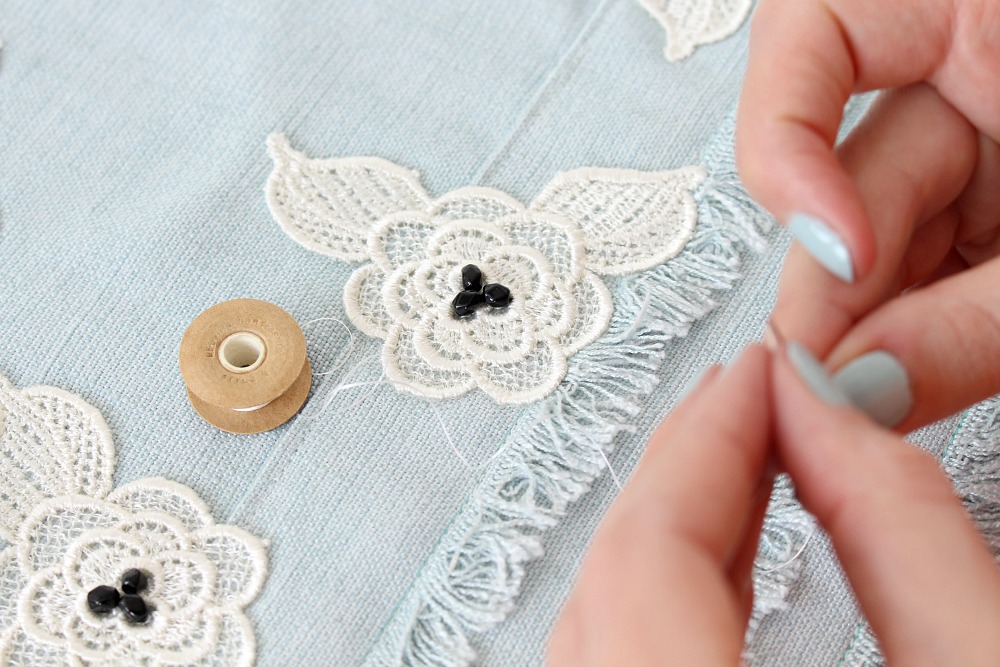
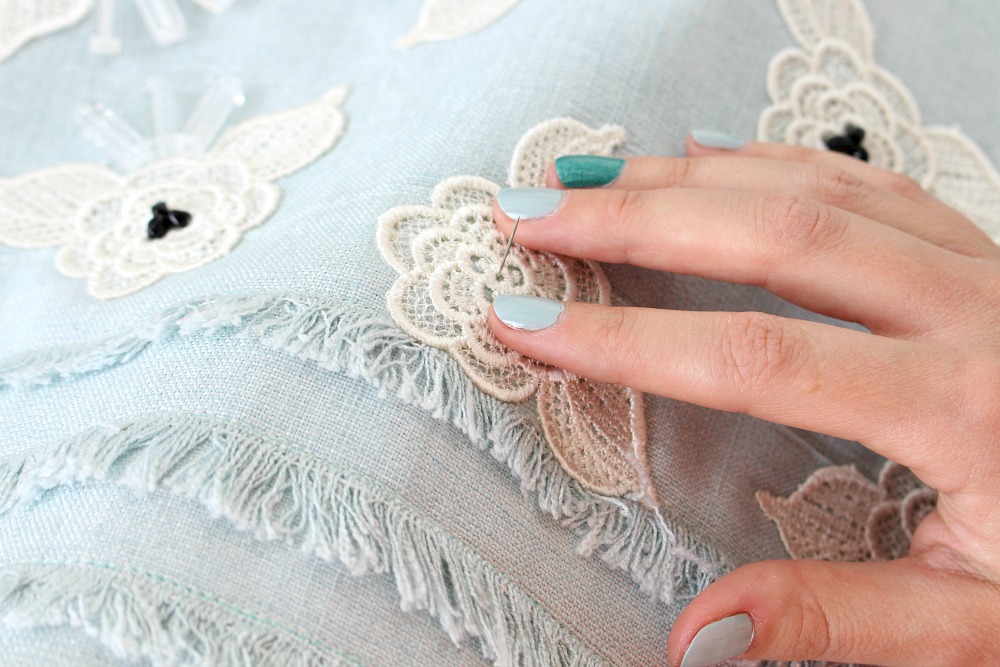
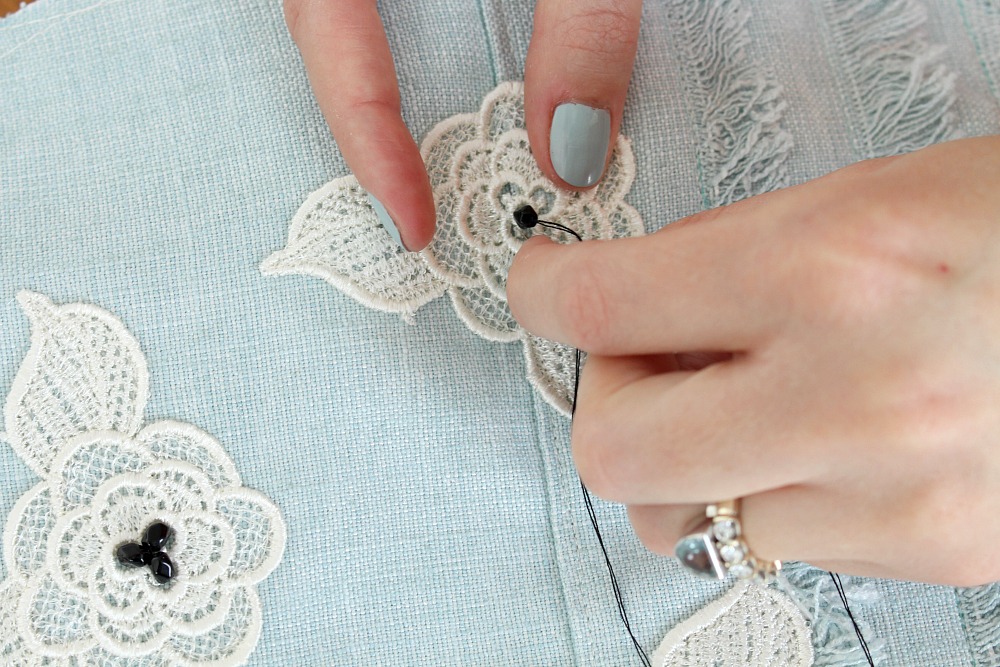
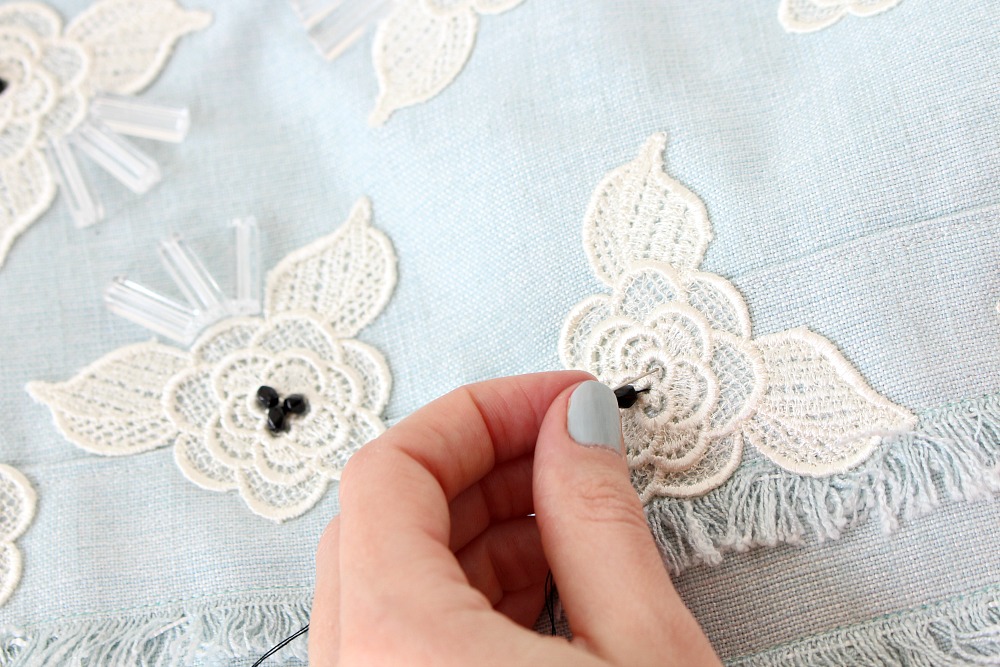
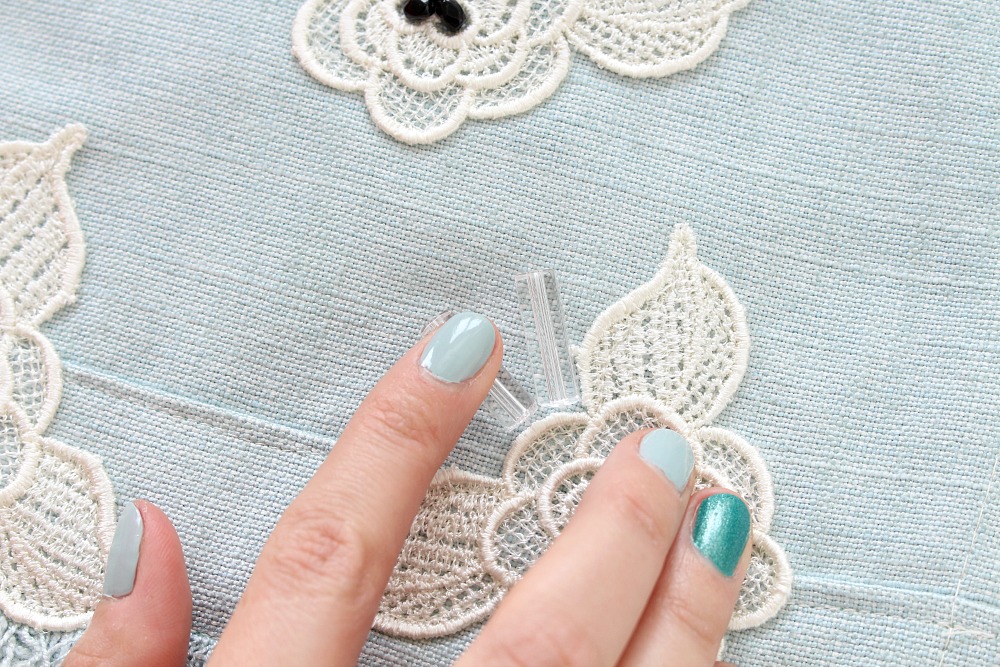
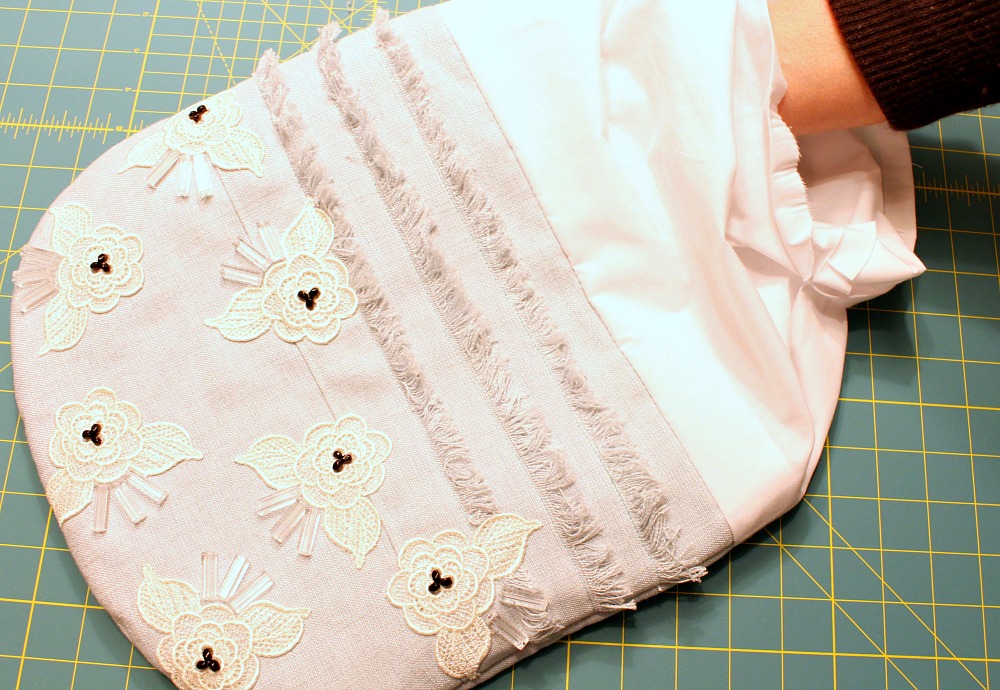
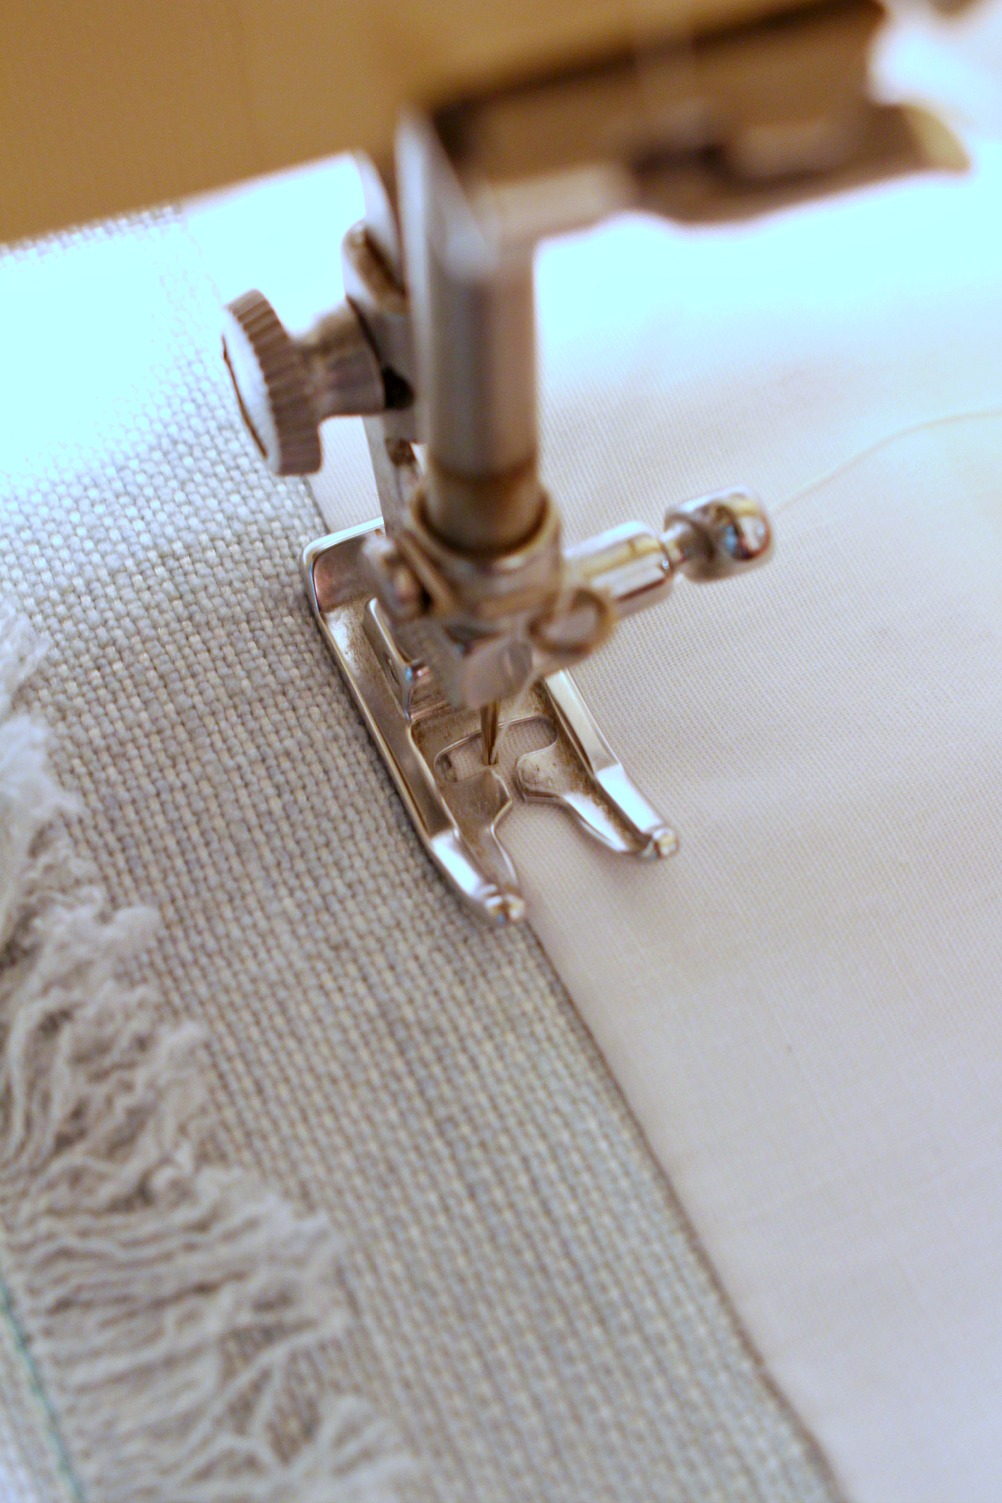
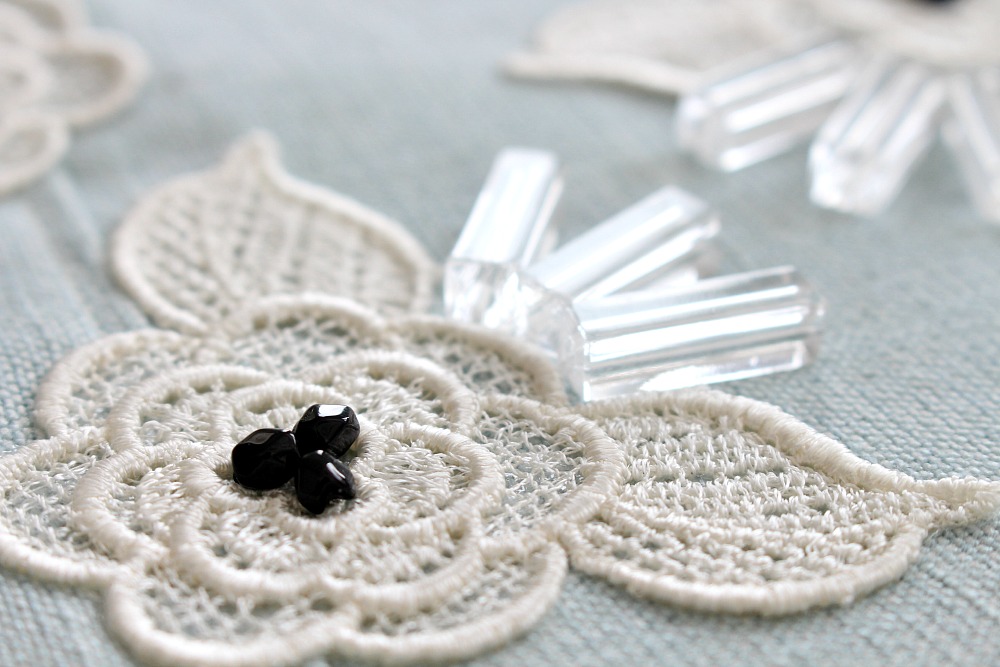
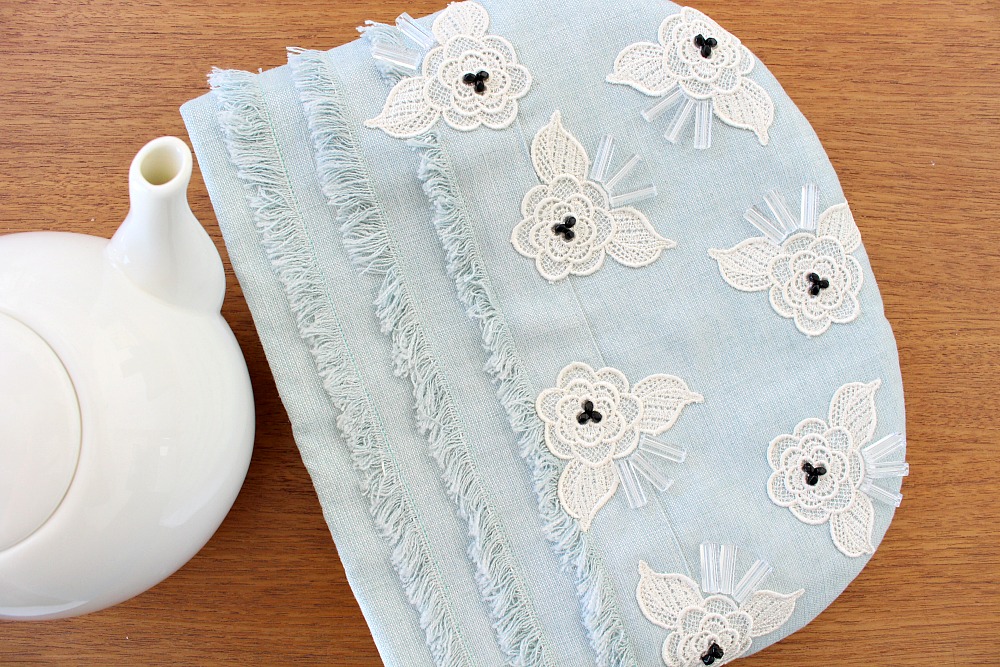
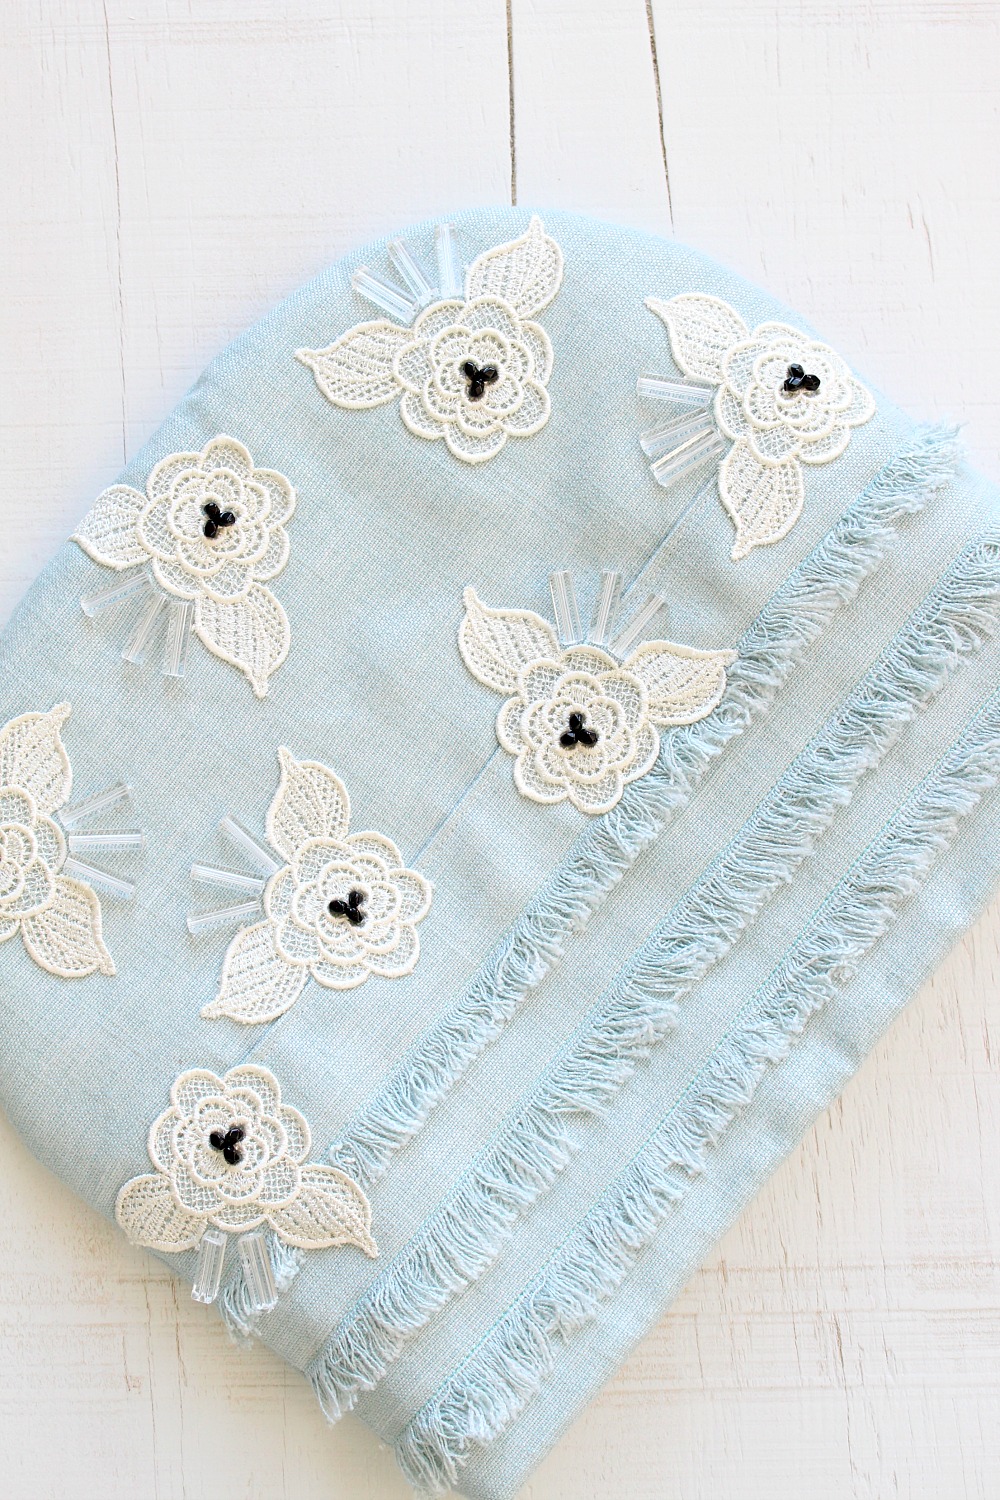
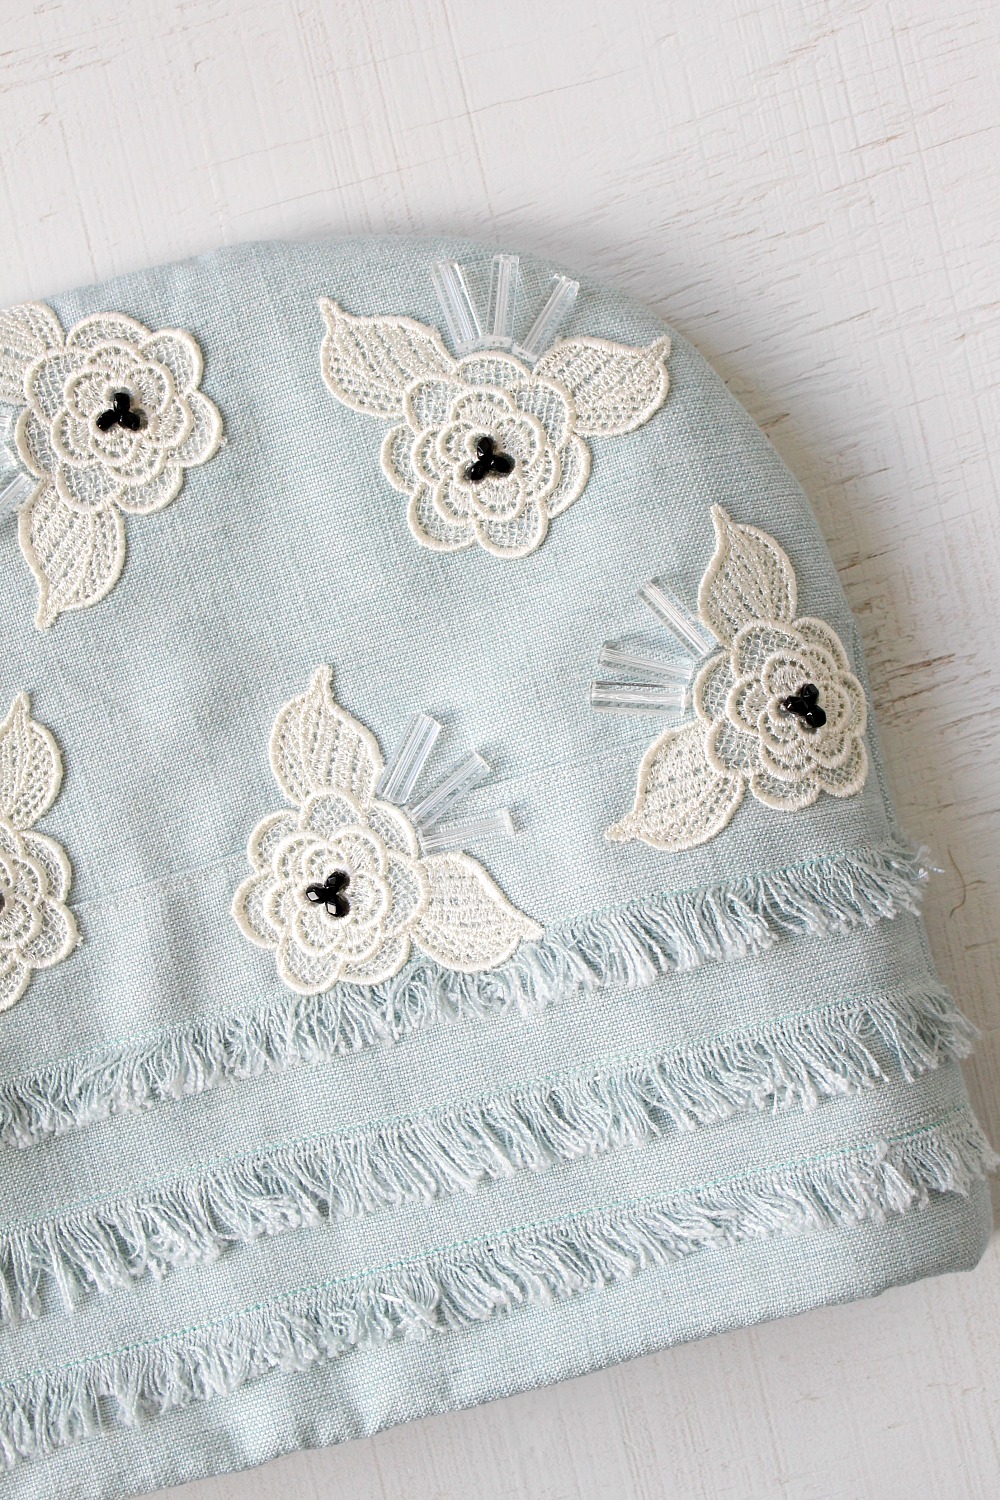
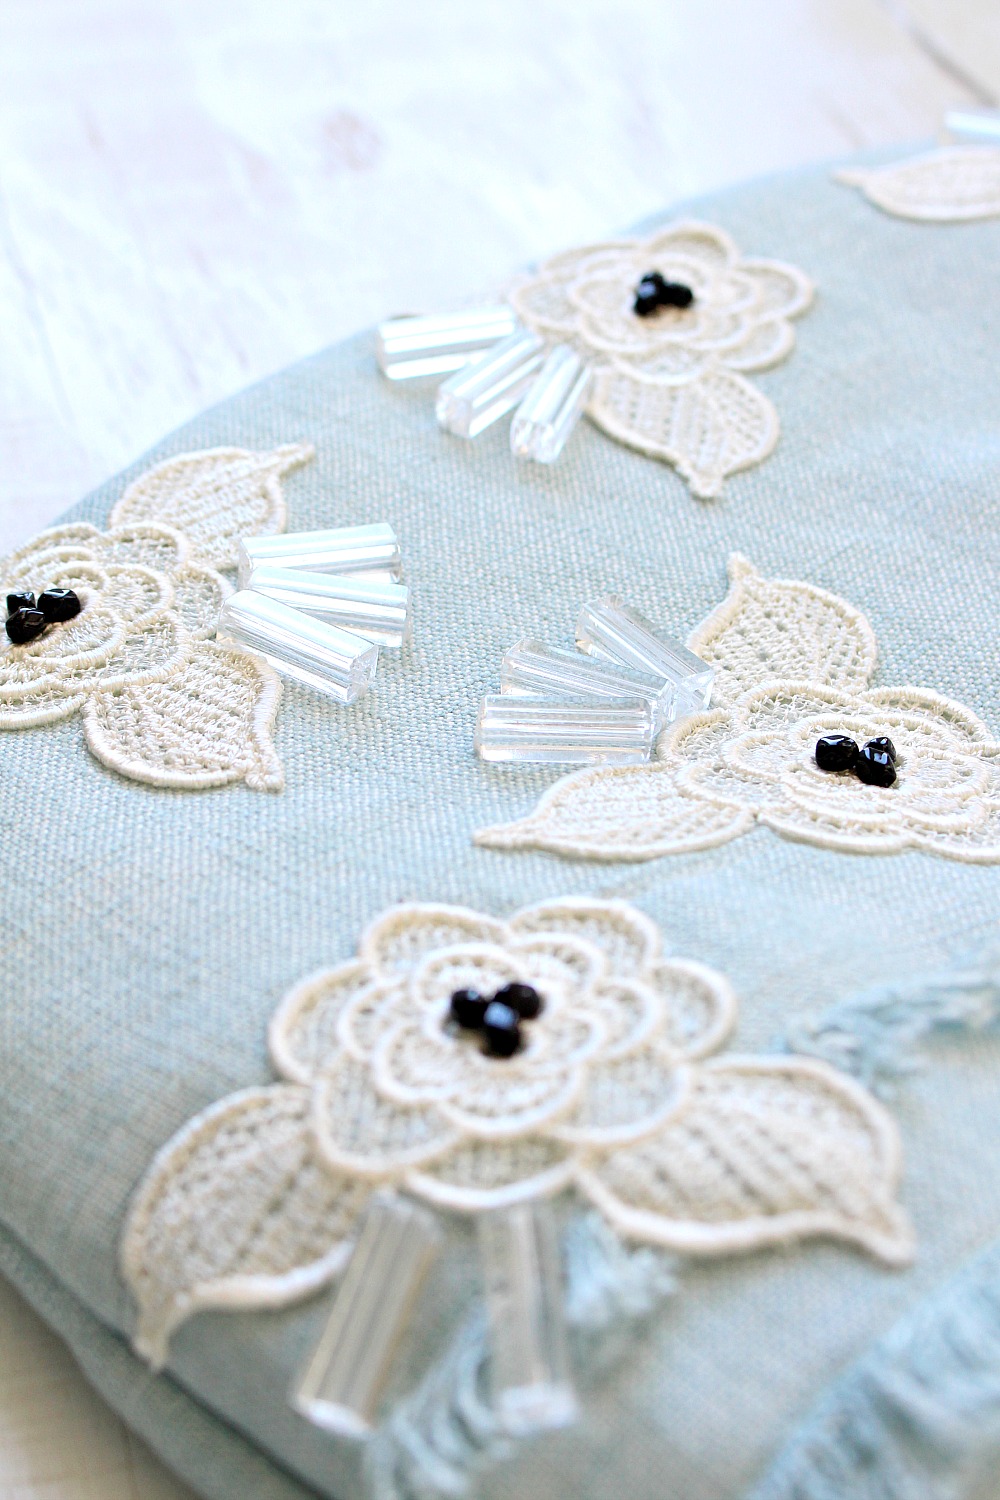
Step 3: Add trim and appliques to the front. Before assembling the tea cozy, we did the embellishment so we could hide the fringe ends in the seam. The fringe is just strips of the fabric, which frayed beautifully on its own. We folded over an edge and simply sewed it down. For the applique, we used the same Heat Bond iron on adhesive that we used for the DIY doily pillow – check out that tutorial for tips and tricks for using it. Then we ran a row of stitching around the lace roses. I followed up with the bead work, using beading thread and a needle to affix three glass beads to the centre of each rose and then the long plastic tube beads fanning out.
Step 4: Stitch on beading. To bead, I knotted my thread, anchoring it at the back of the fabric. I pulled the thread through to the front, added one bead, and then carefully pulled the thread to the other side of the fabric and repeated. After each trio of beads, I knotted the thread at the back and started fresh with a new length of thread for the next section.

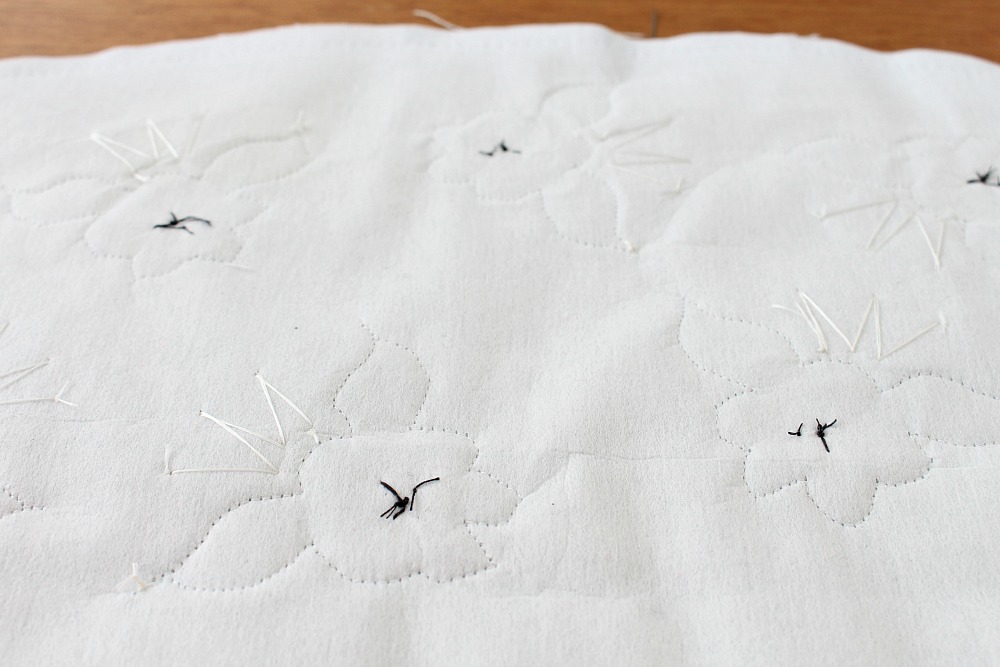
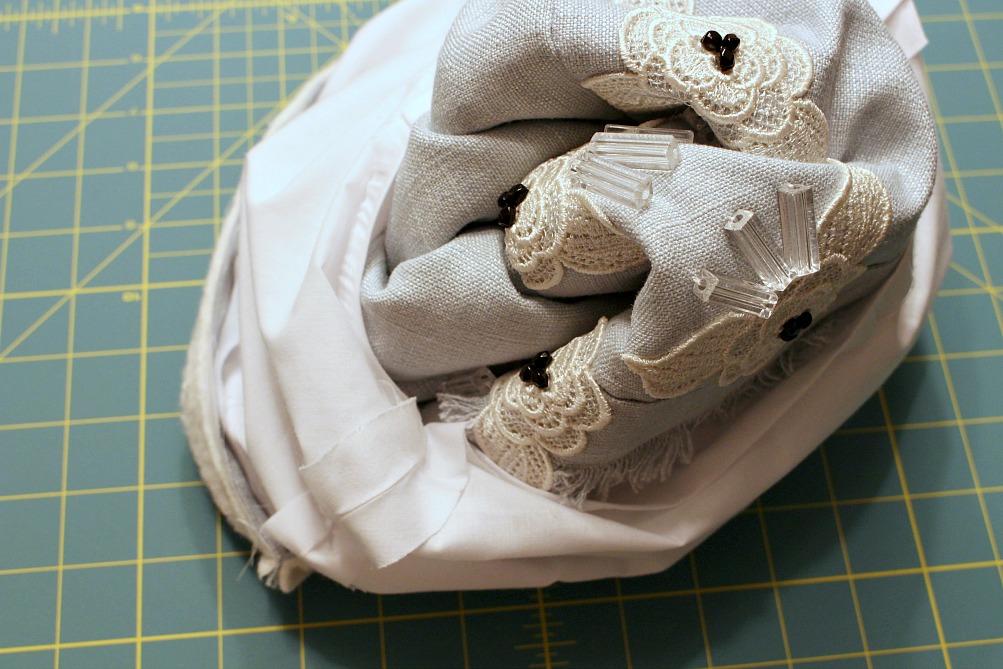
Here’s what the back looks like, with the appliques and bead work completed. All of this thread will be hidden by batting and the lining, so you won’t see it once the DIY tea cozy is complete.
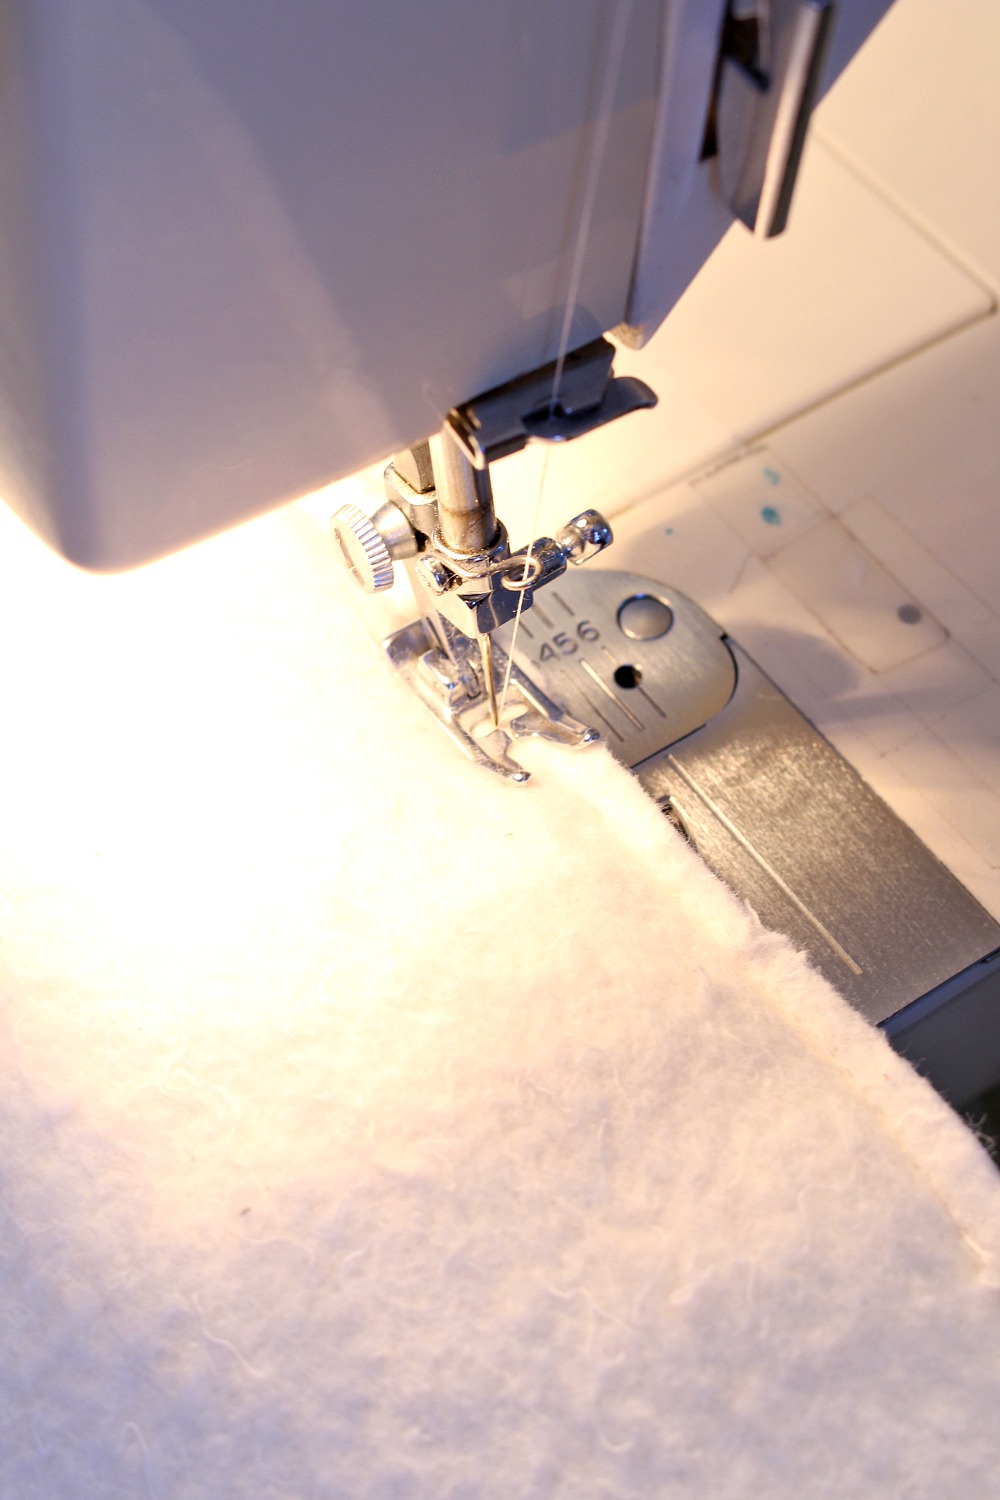
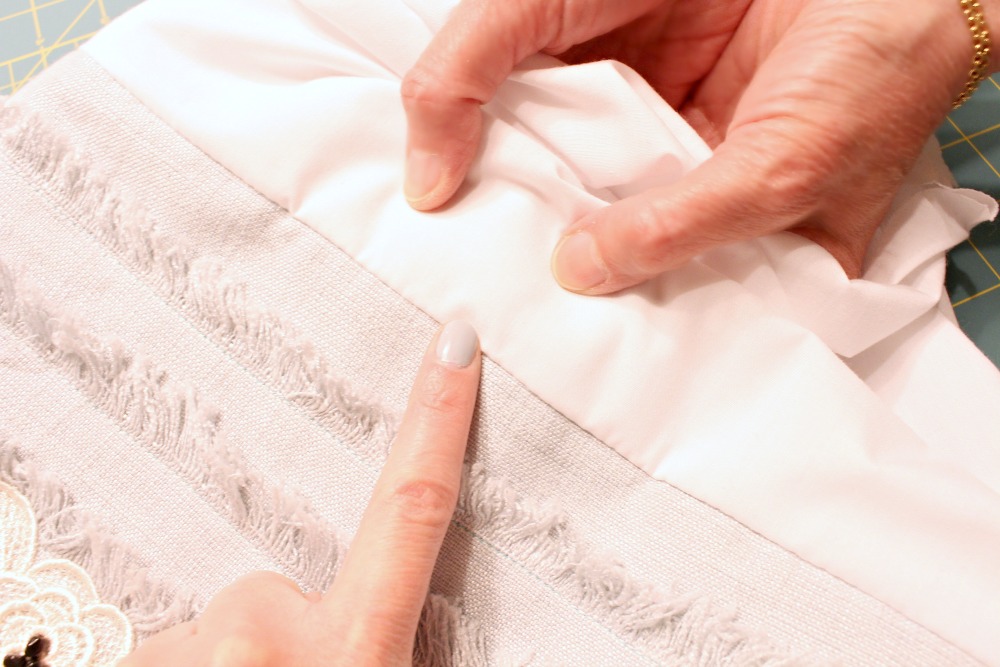
Step 5: Sew layers of batting to each piece of linen. Next we sewed two layers of batting onto the back of each of the linen pieces. You can do one layer of batting, but two will keep the tea even warmer.
Here’s a closer look at that sandwich of batting and fabric:
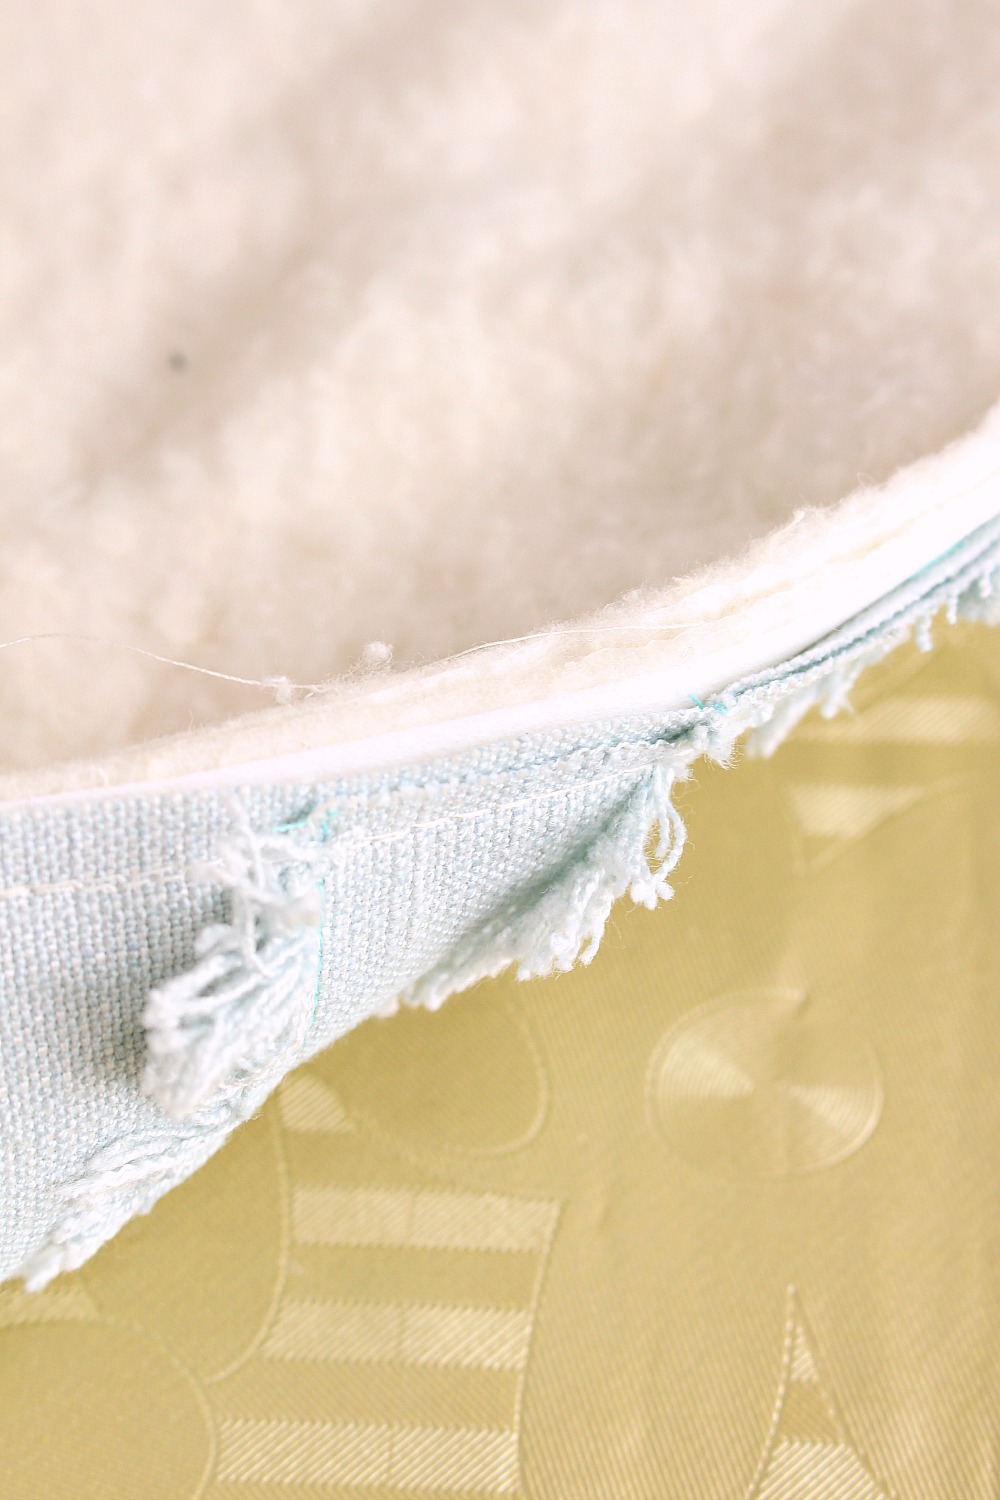
Step 5: Sew the front of the tea cozy to the back. After affixing the batting layer, we sewed the front of the tea cozy to the back, with the “good” (linen) sides facing each other (meaning: right sides together). We made sure to only sew the curve and sides, leaving the flat bottom open for now. Then we trimmed off any excess fabric and batting.
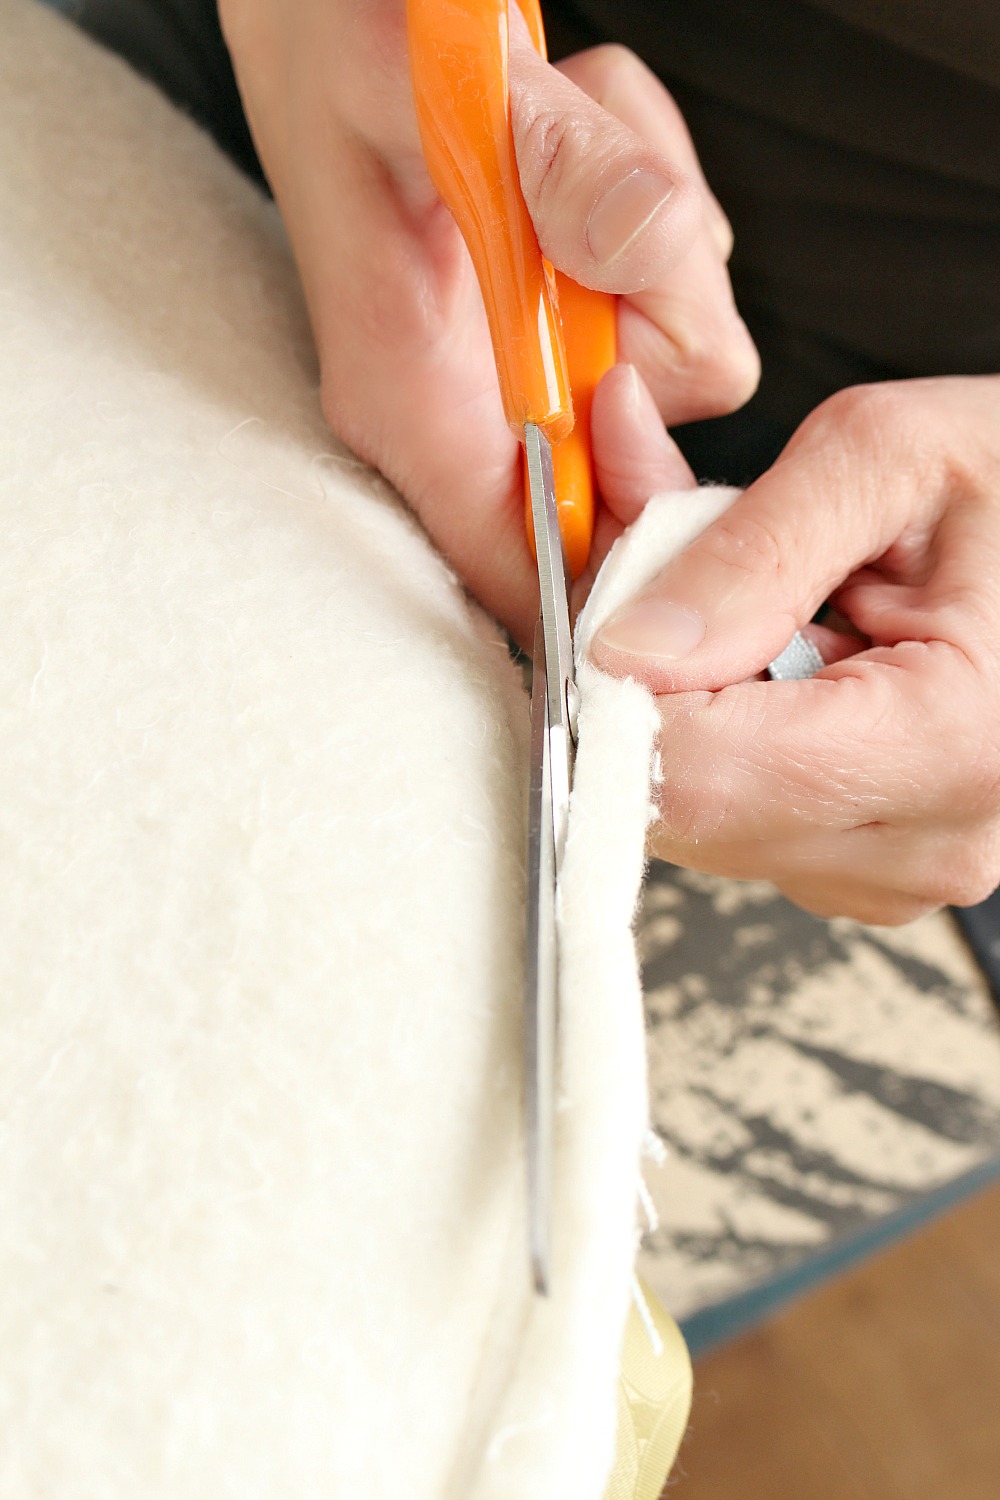
Step 5: Cut points along the curve. To clip the curve, which helps create a nice circular shape, we cut these points into the fabric/batting along the top of the curve.

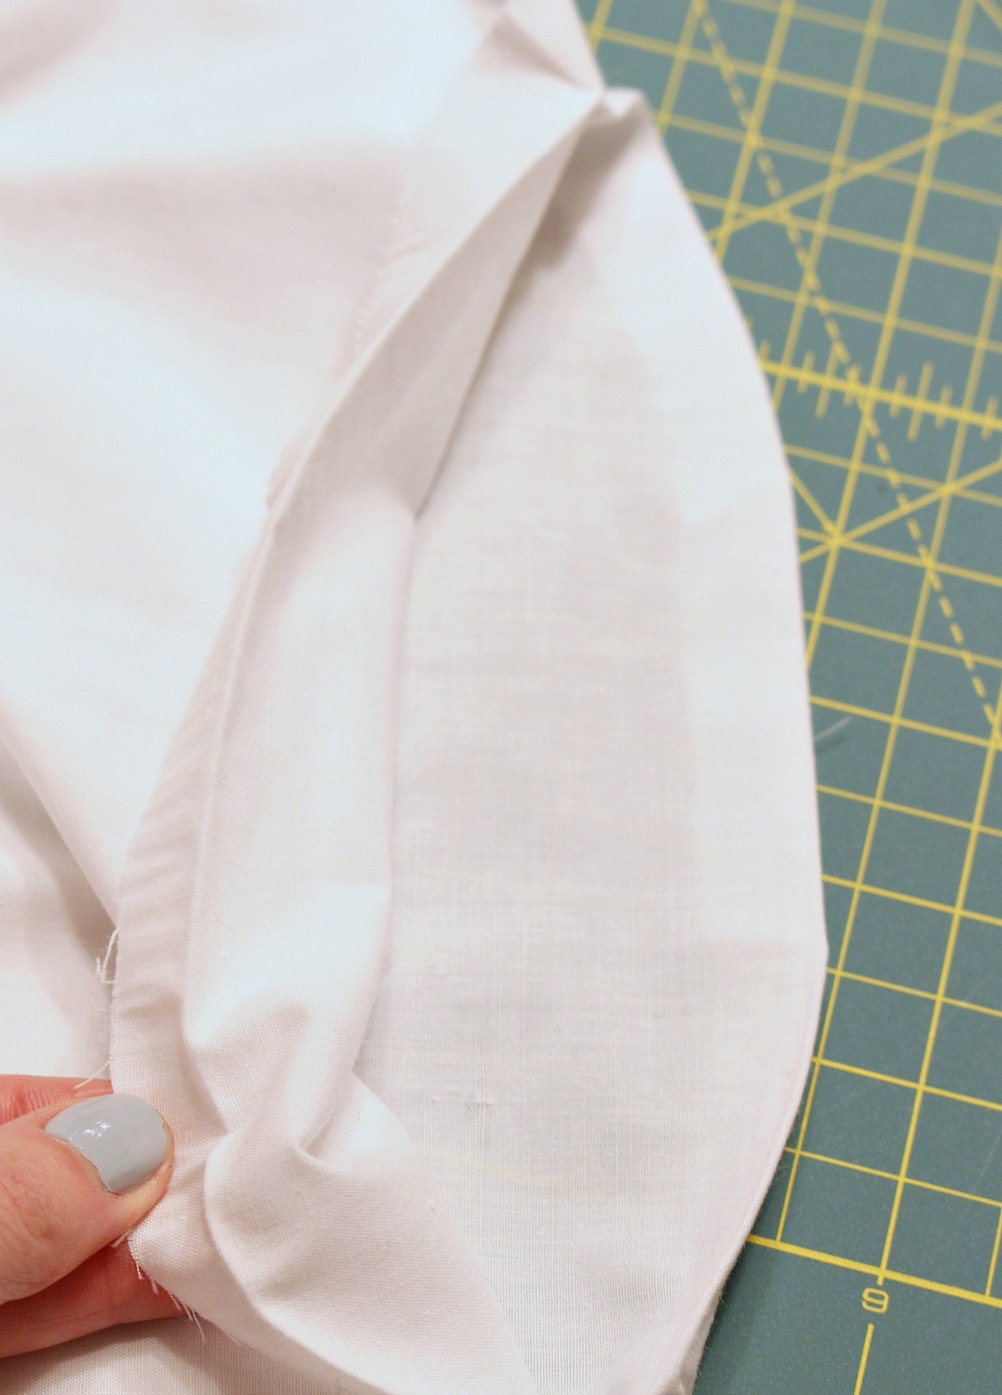
Step 6: Sew the lining pieces together. Then we sewed the two pieces of lining fabric together, right sides together, leaving an opening at the top of the curve and, once again, leaving the bottom completely open.
Step 7: Attaching the lining to the tea cozy. To attach the lining to the tea cozy, we left the tea cozy inside out (right sides facing) and nested the lining inside with the “good” side of the lining fabric, the finished side, facing the finished side of the tea cozy (the blue linen). So, the right side of the lining is touching the right side of the tea cozy. We then sewed the bottom edges together:

When the lining is sewn to the tea cozy and pulled straight out, here’s what it looks like (note that the top hole is still open on the lining):

Step 8: Turn the tea cozy right side out. Finally, we turned the DIY tea cozy right side out, through the hole left in the top of the lining.
Step 9: Sew the edge of the lining to the tea cozy. We were left with this – so close to a finished DIY tea cozy! To keep the edge of the lining from sliding out the bottom of the tea cozy, we sewed it down. This is an optional step, but this additional row of stitching helps keep it flat.
Step 10: Sew up the hole. Lastly, we closed up that top hole (you can use a machine or just hand stitch it). Here’s a peek at the finished lining:

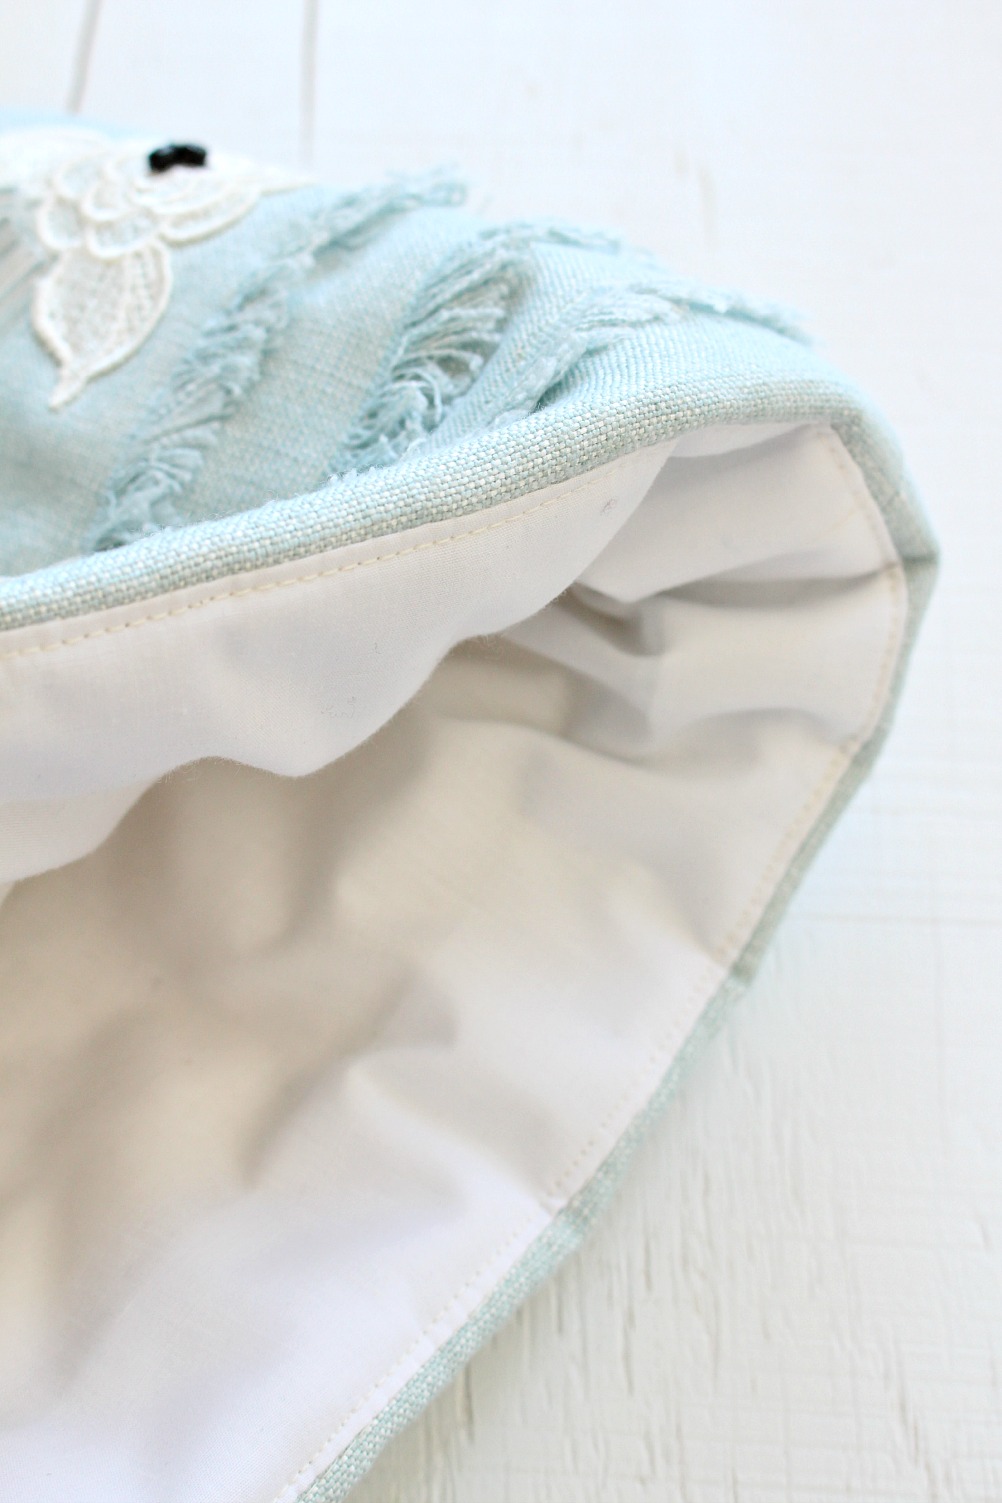
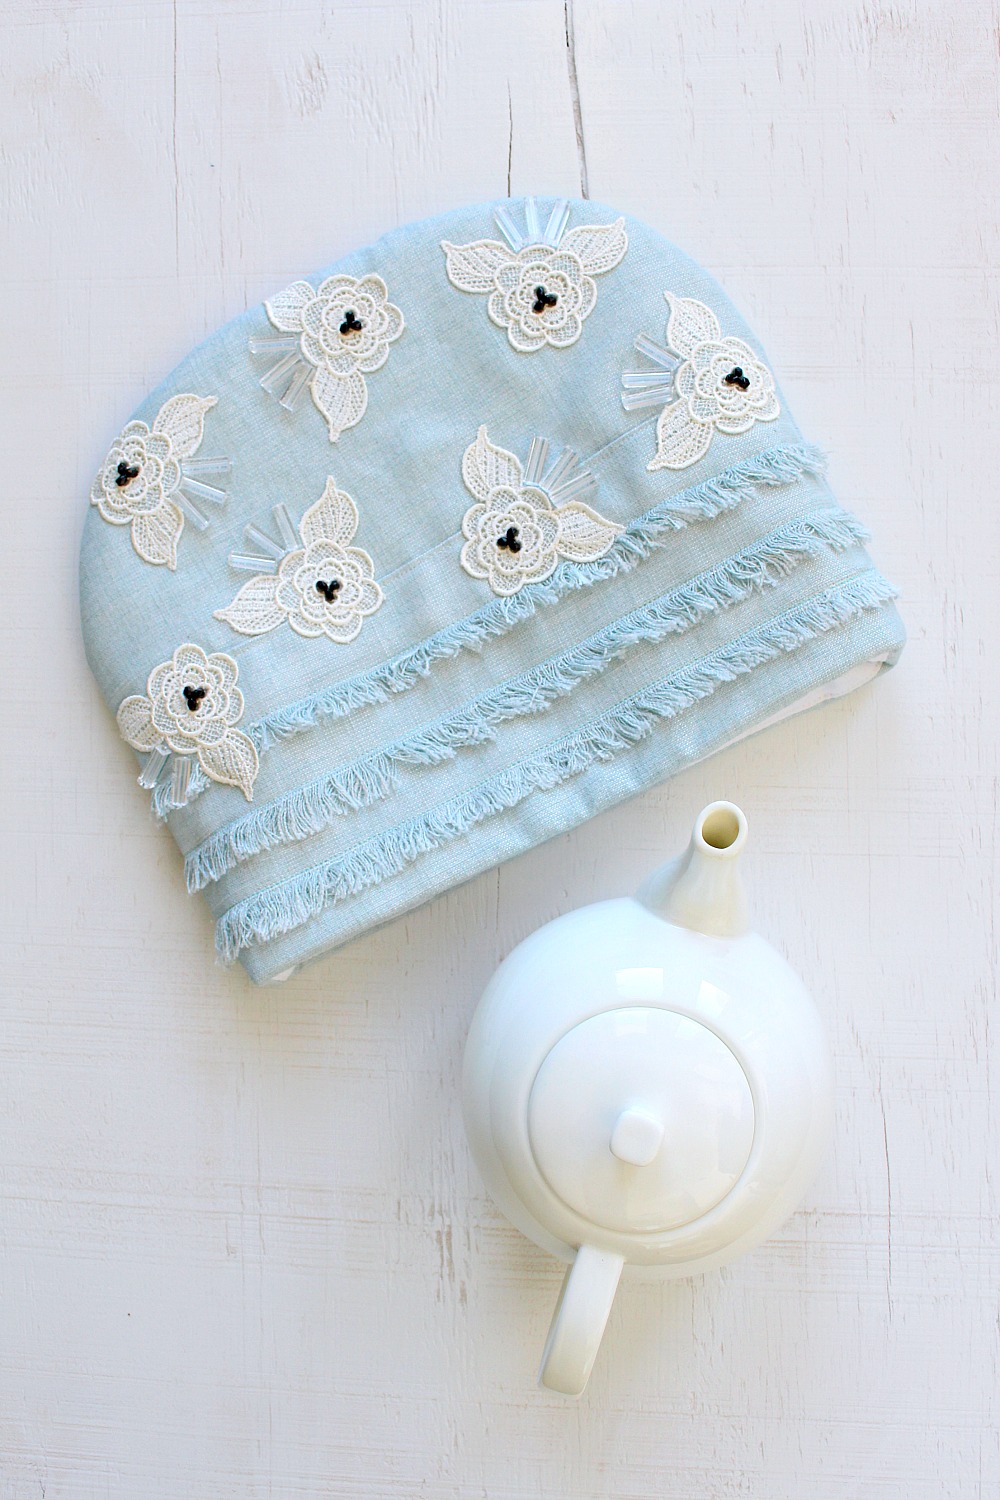
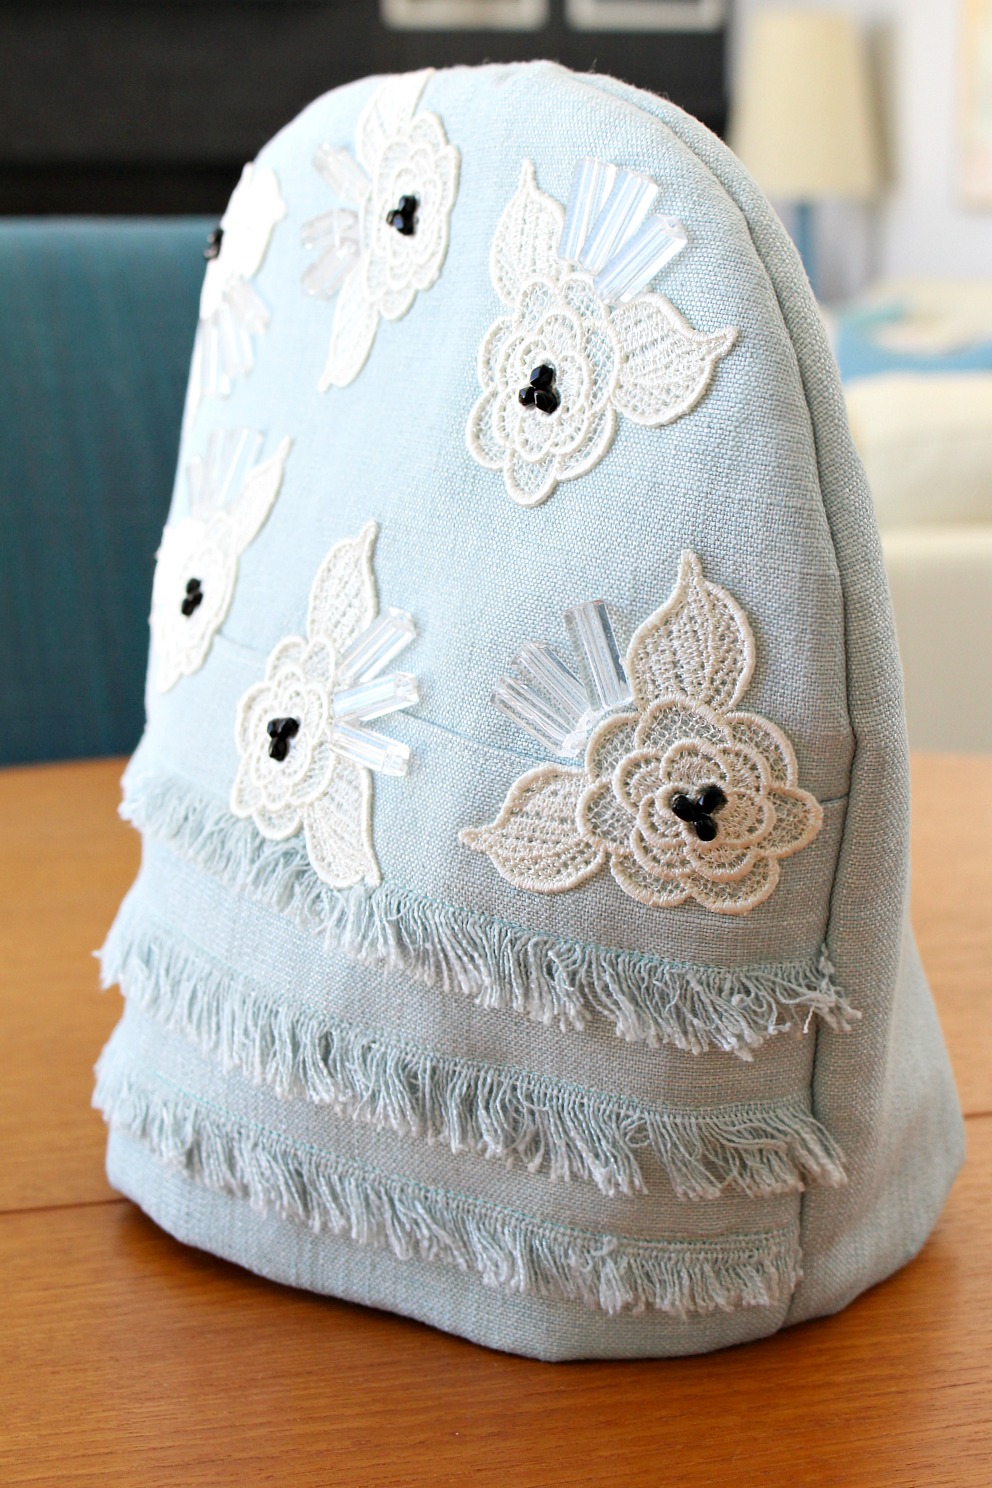
The Finished DIY Tea Cozy
And that’s it! All of the embellishment and batting is hidden by the lining. And this beautiful, insulated tea cozy is ready to keep your pot of tea piping hot!
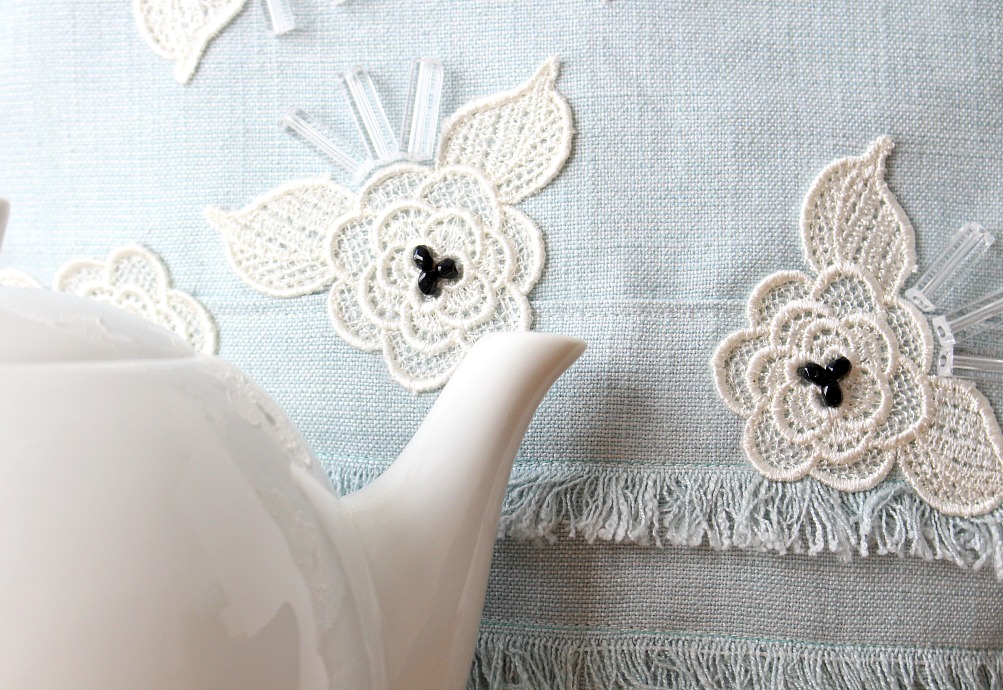
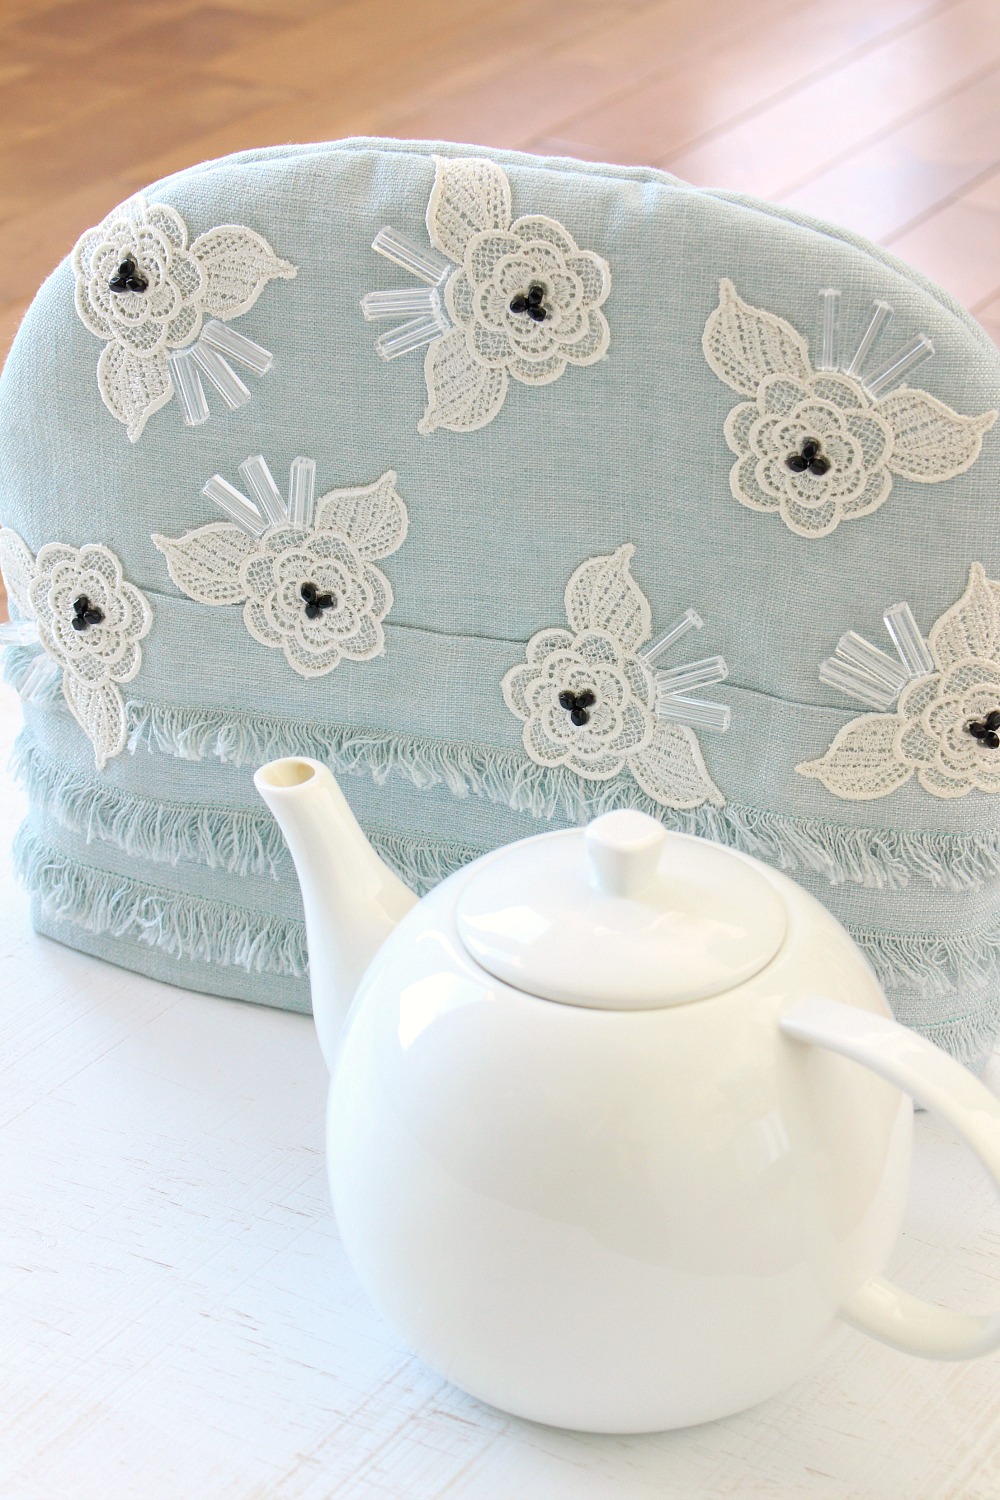
This DIY tea cozy turned out SO cute! I love the pale blue and the sheen of the linen. It’s so cozy and hugs my tea pot perfectly. And that little bit of beading adds such a pretty sparkle to an afternoon cuppa. With the embellishment, it’s best to hand wash this handmade tea cozy.
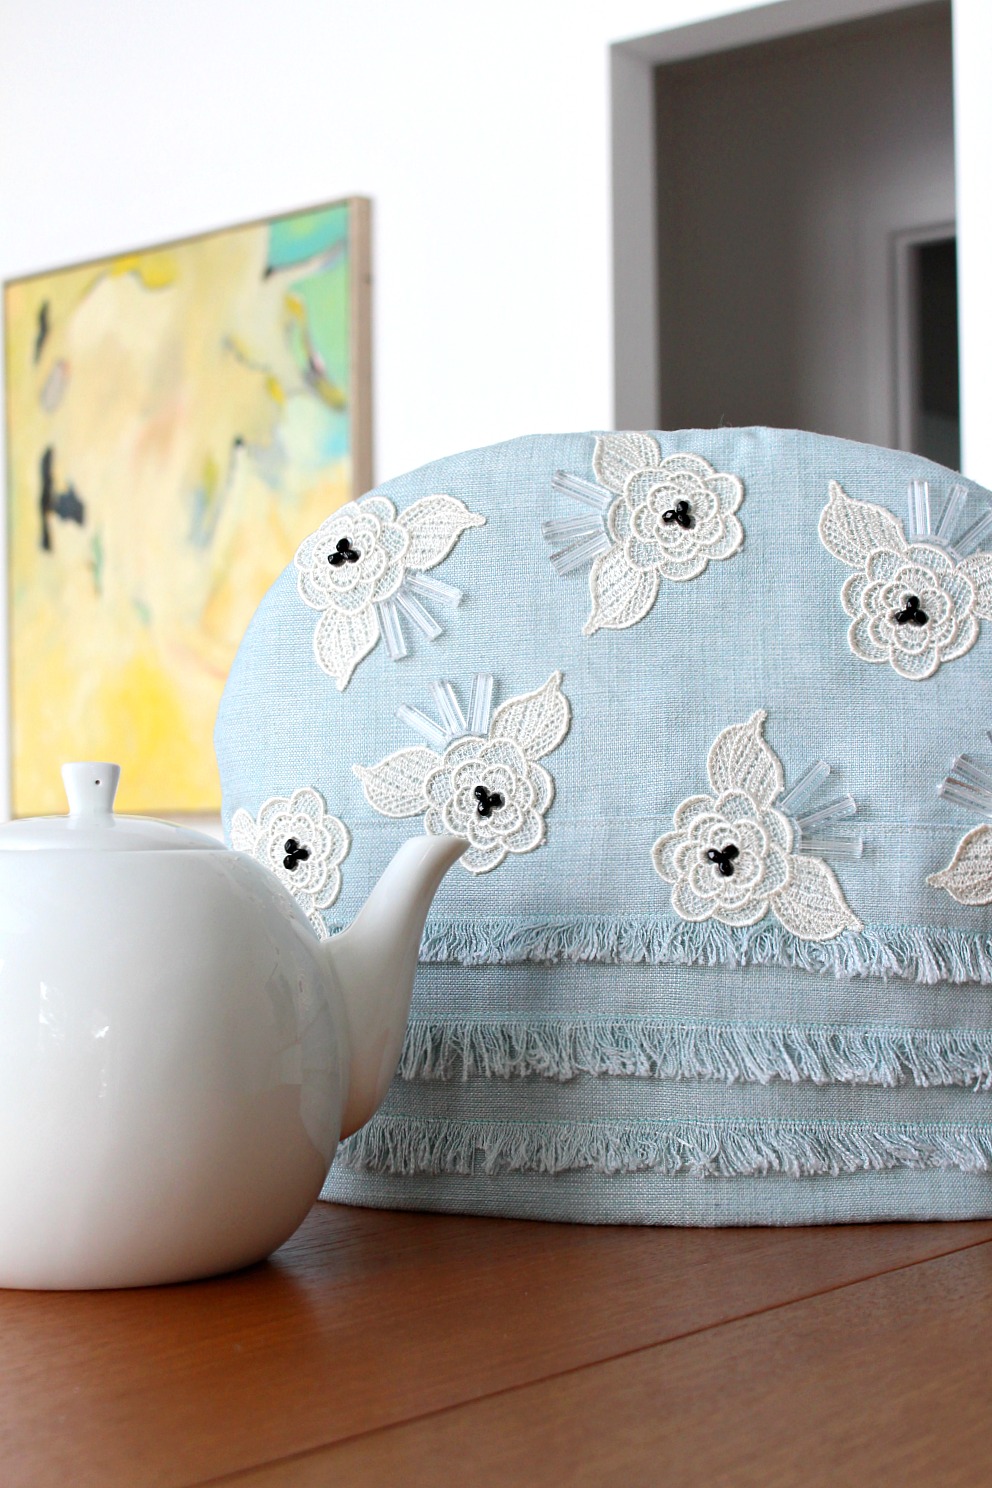
With the tea pot, nestled inside:
P.S. Don’t Forget to Pin for Later!