If you’ve ever wanted to frame a piece of art but balked at professional framing prices, save money on framing and try this easy DIY floating frame! A floater frame leaves space between the artwork and the frame, giving the illusion that it’s floating – and the illusion of a professionally framed piece in this case!

Technically this is a simplified floater frame because when you look at the profile of a professional floater frame, it has an additional inset piece between the frame and the artwork. That’s not tricky to add and it’s really just a matter of personal preference. I’m actually planning to frame a few pieces of art this summer, so you might see me experiment with framing styles. Because this little painting was a surprise addition, we went with a method we know and like so we could frame and hang it quickly.

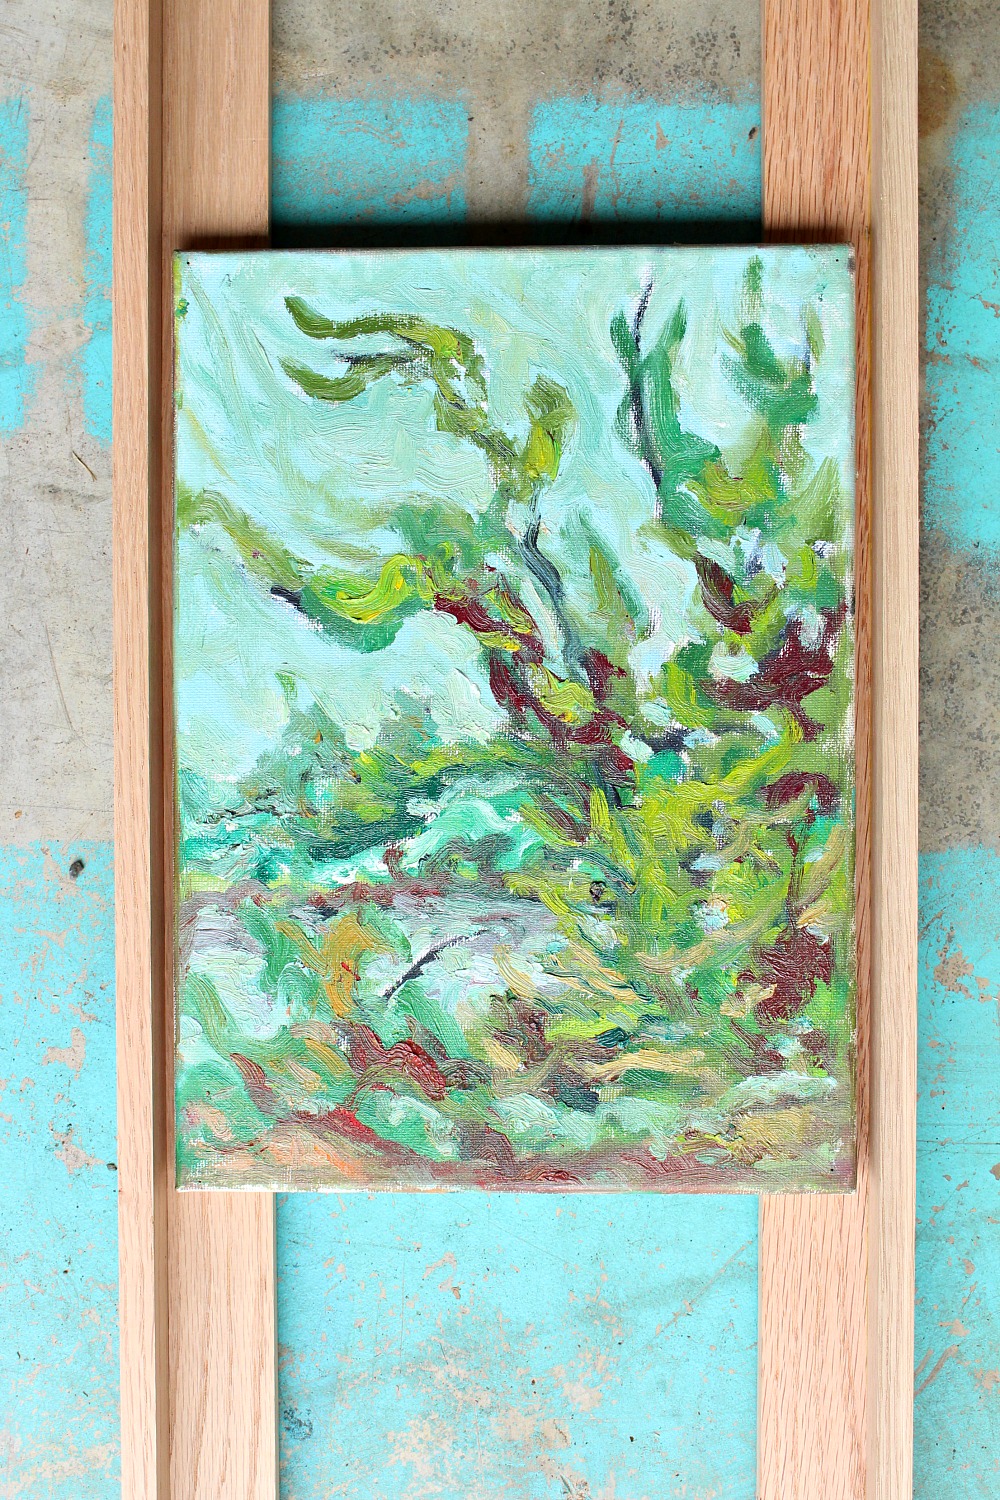
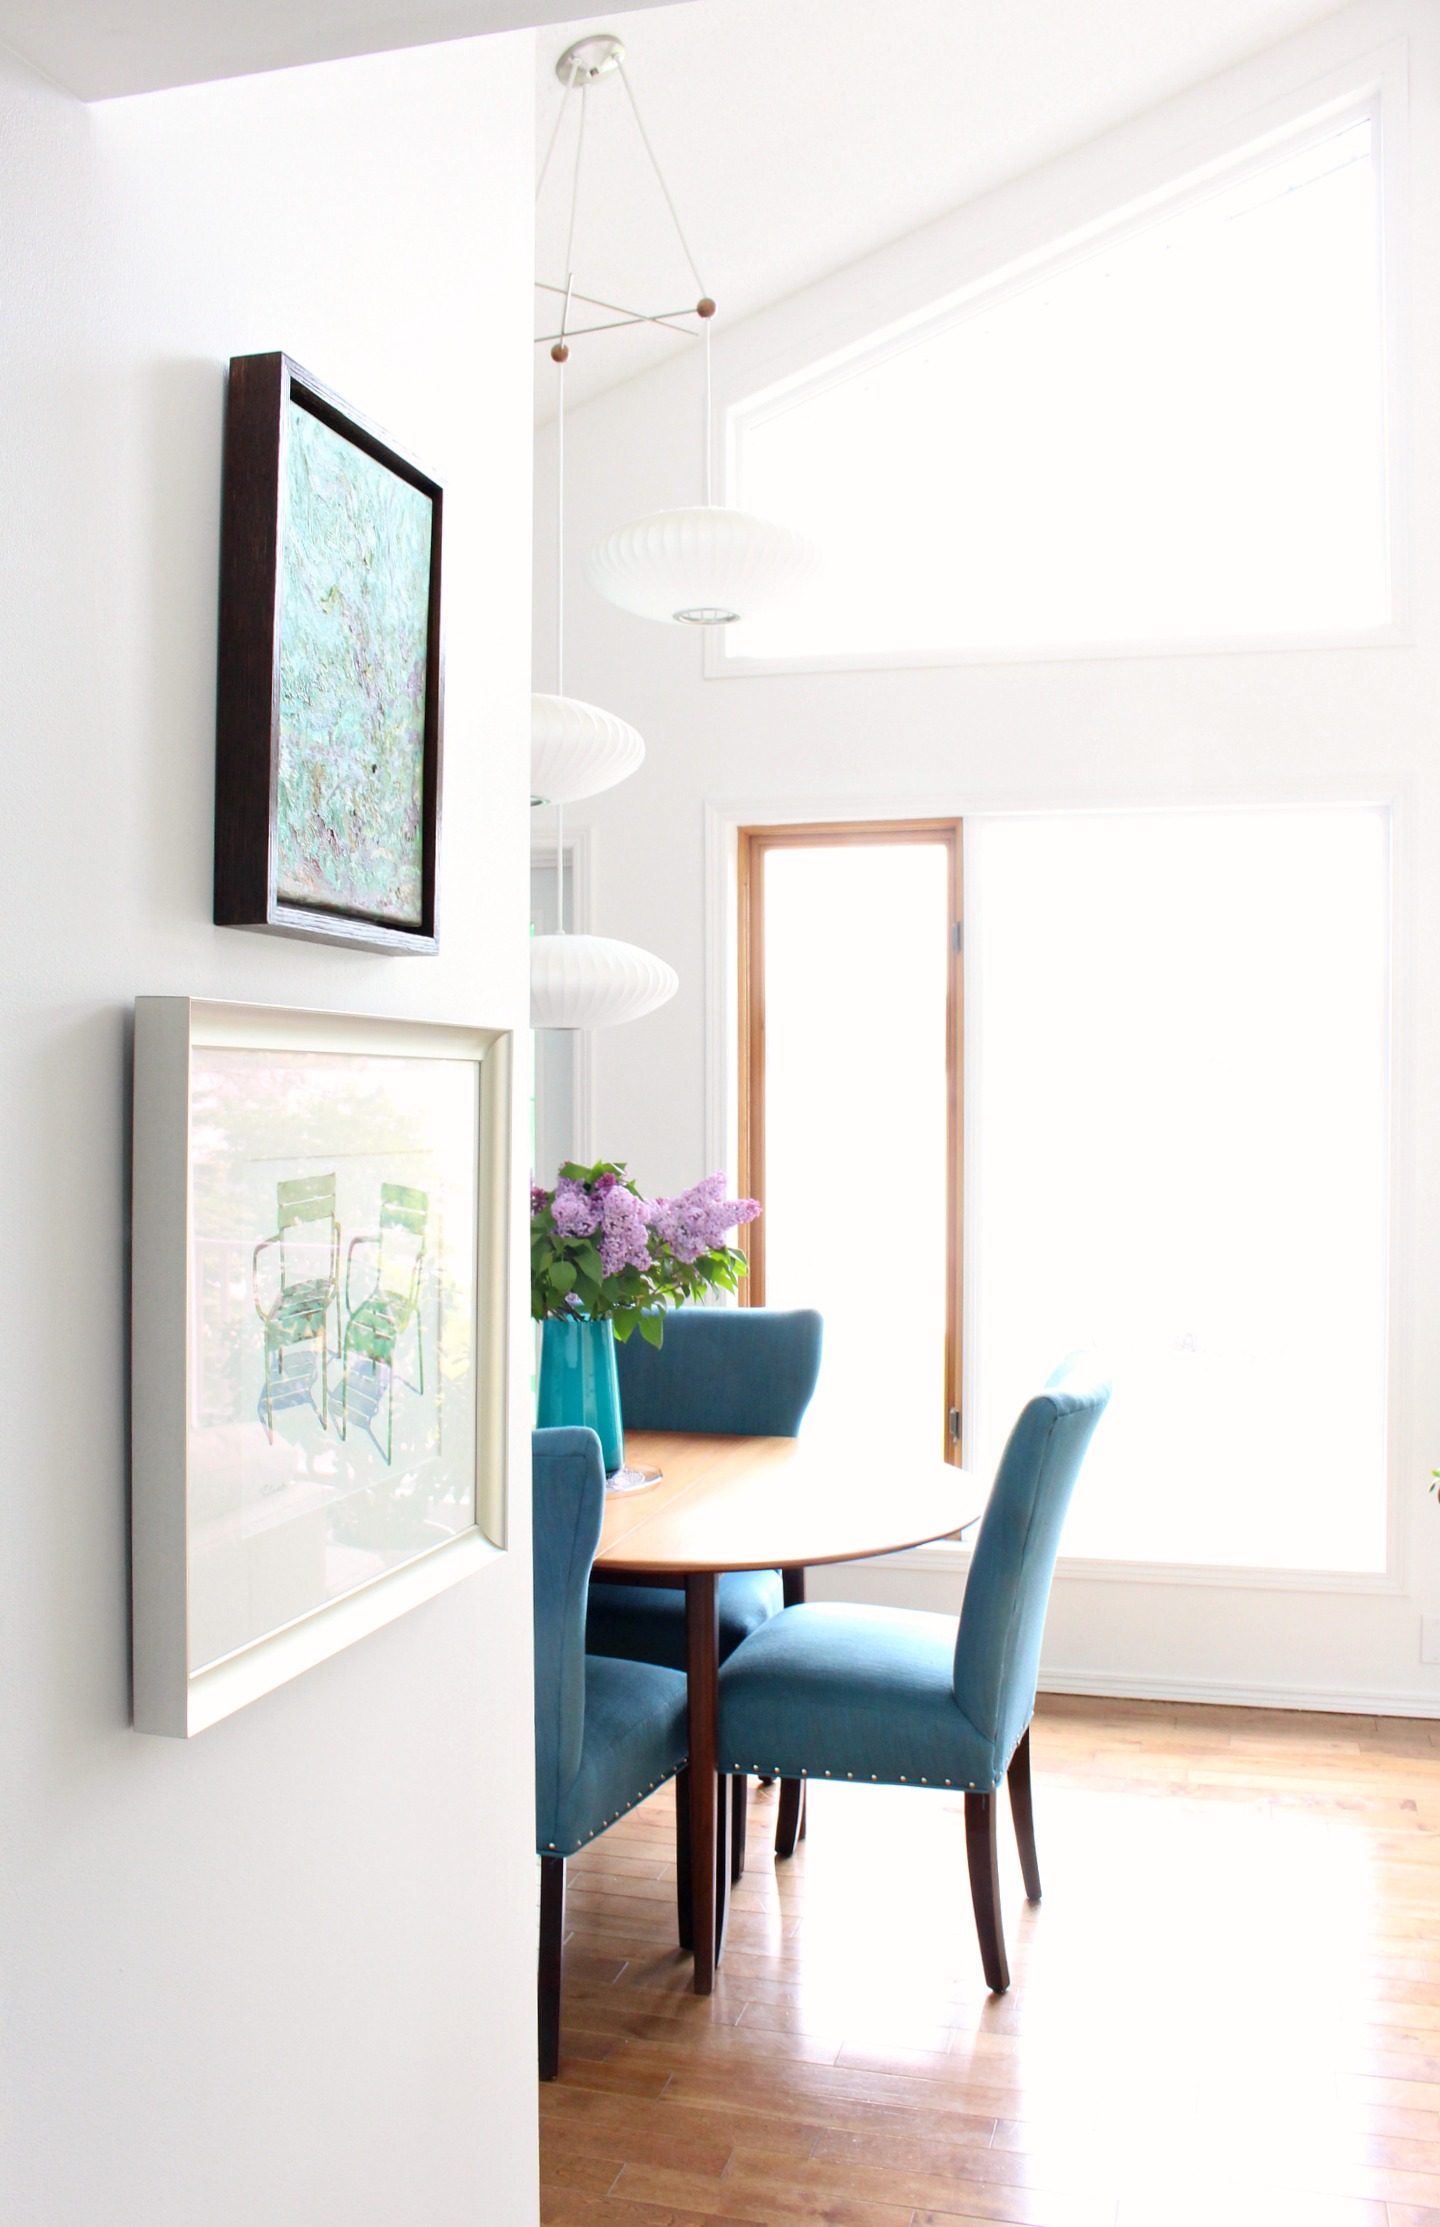
Here’s a peek at the “before”:
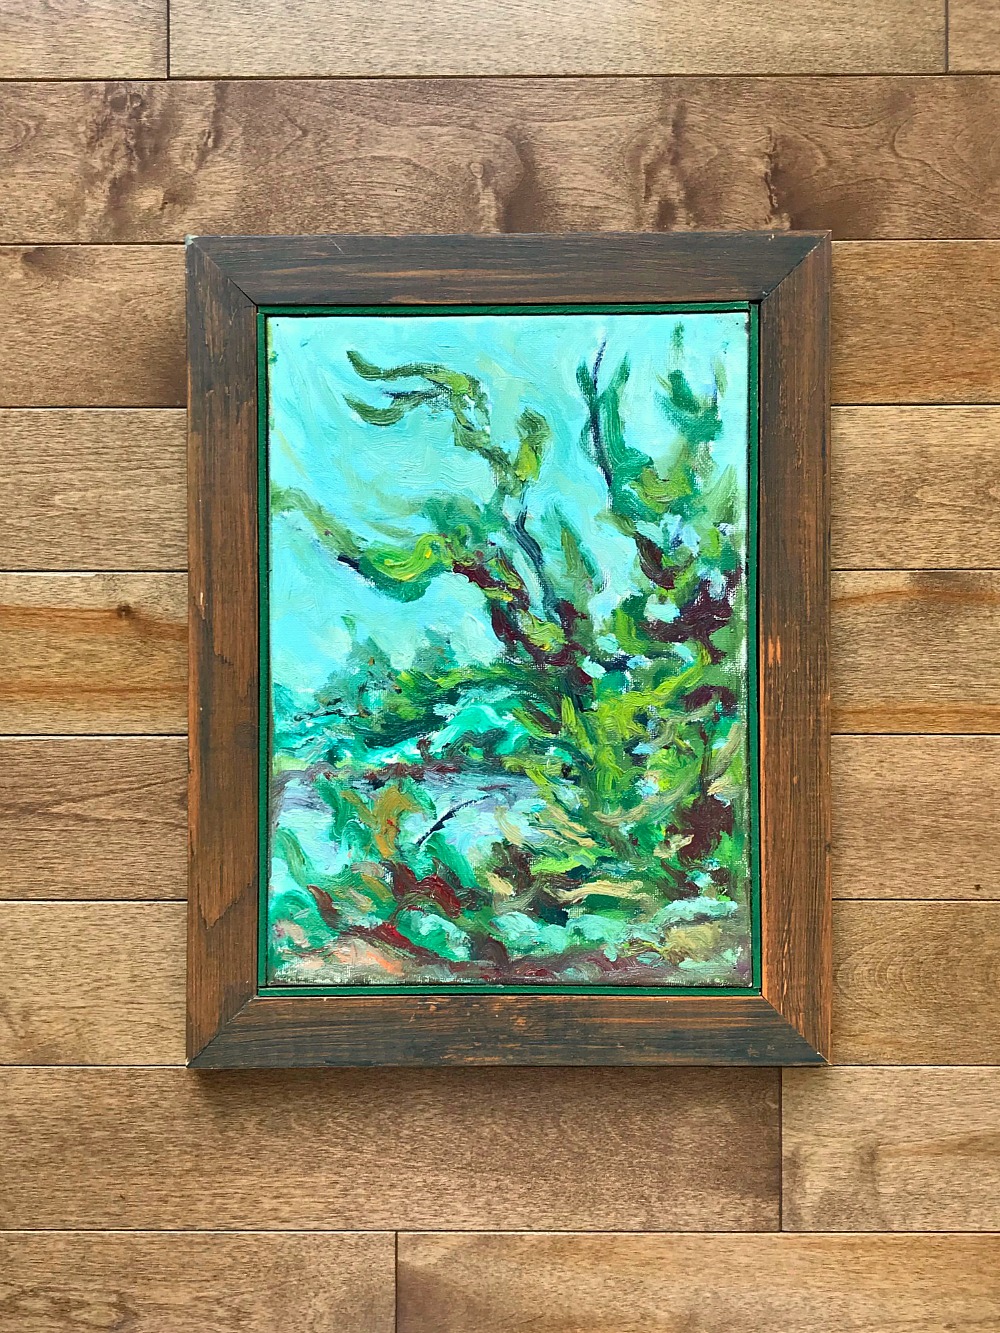
Hubby’s mom was in town recently and gave Hubby a painting that his grandpa, the artist who painted so much of the artwork in the lakehouse, had intended to give Hubs as a gift one year. Hubby’s grandpa passed away this year, so it was so touching to receive it. We have never, ever replaced any of the frames Hubby’s grandpa made for his own artwork but for this little piece we did because we just didn’t love the frame. It photographs really well, but in real life the wood was very rough and rustic and drew attention to itself because it was so out of place in our home. We really wanted the pretty little painting to shine, so we built a DIY floating frame. We felt so guilty about doing this, but this simplified floating frame is a style Hubby’s grandpa had used before. We also decided to build the DIY floating frame using red oak, stained a dark walnut, to honor the rich wood tone Hubby’s grandpa intended for the frame.
Supplies:
- Kiln dried lumber – we used red oak, 1-3/4″ x 1/2″
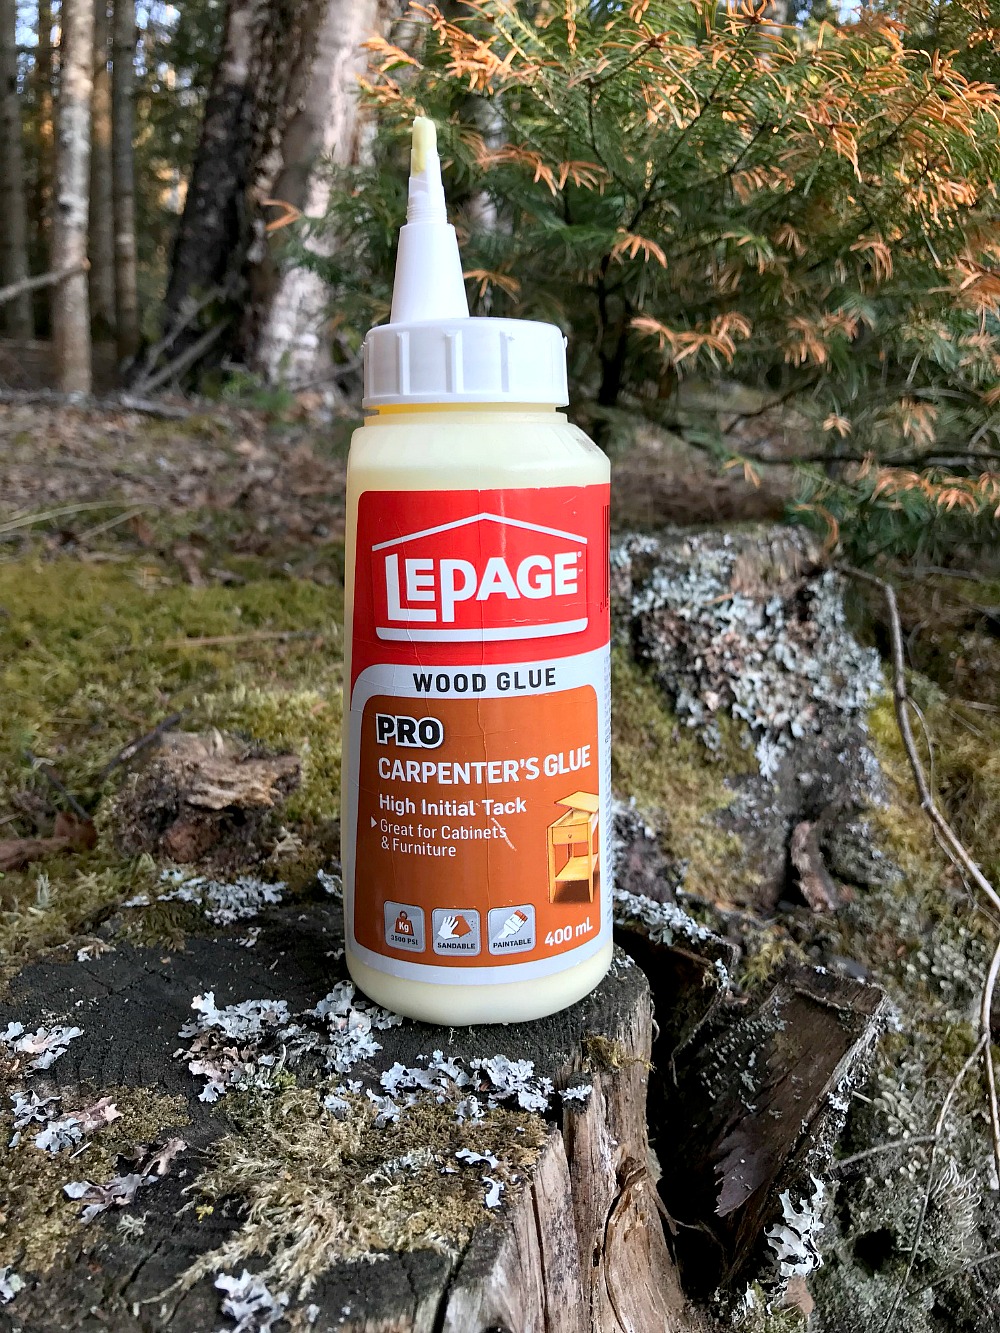
- Wood glue
- Wood filler
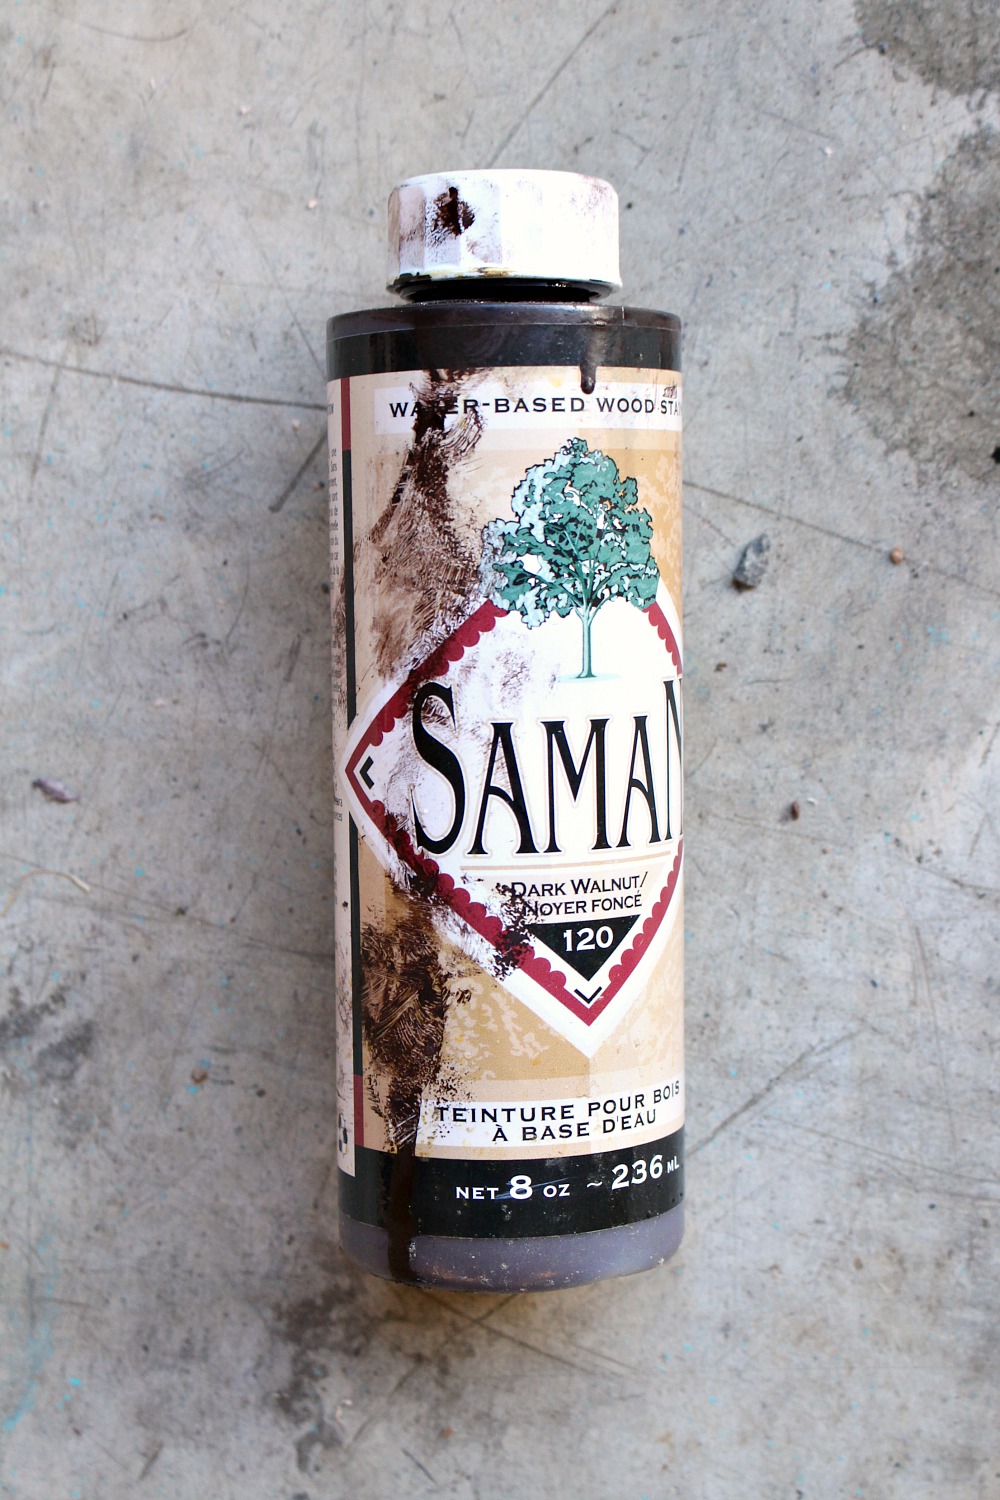
- Wood stain (optional) – I used Saman brand water-based stain in Dark Walnut
- Wood varnish / preferred clear coat (optional) – I used Watco clear lacquer
- Air nailer and compressor (or these handy clamps)
- Miter saw or miter box
- Sandpaper
How to Make an Easy DIY Floating Frame:
The size and width of the DIY floating frame are entirely up to you. For this project, we used red oak in a 1-3/4″ x 1/2″ size. It’s just called a “kiln dried wood board” if you’re searching for it at Lowe’s. Make sure to use kiln dried wood (not construction grade lumber) because it’s less likely to warp or have irregularities.


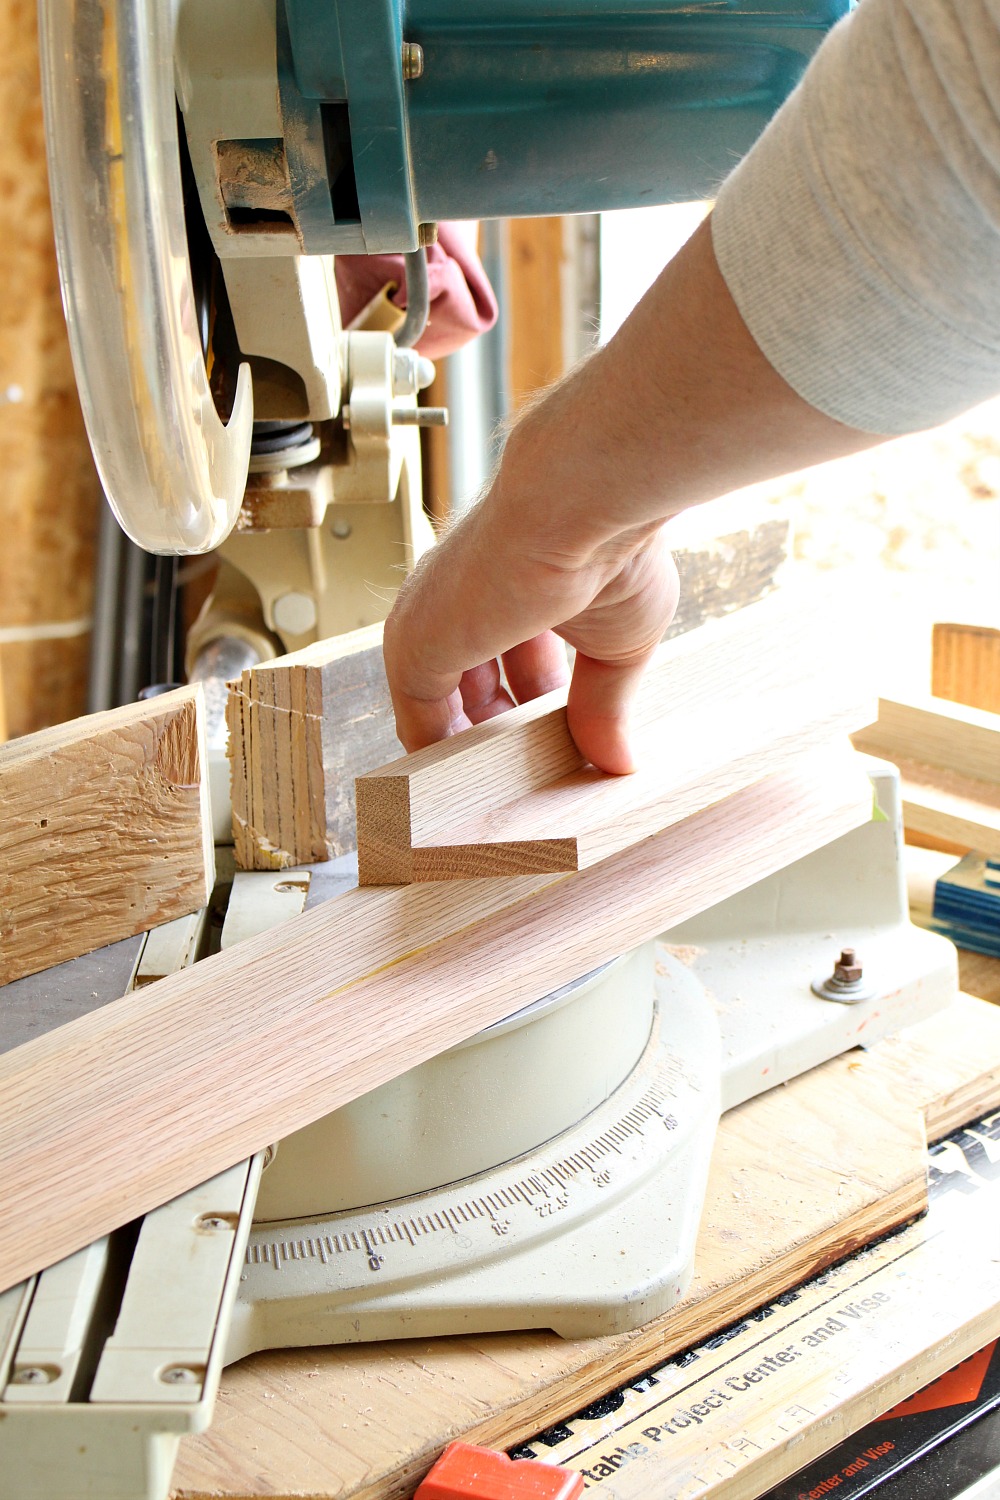
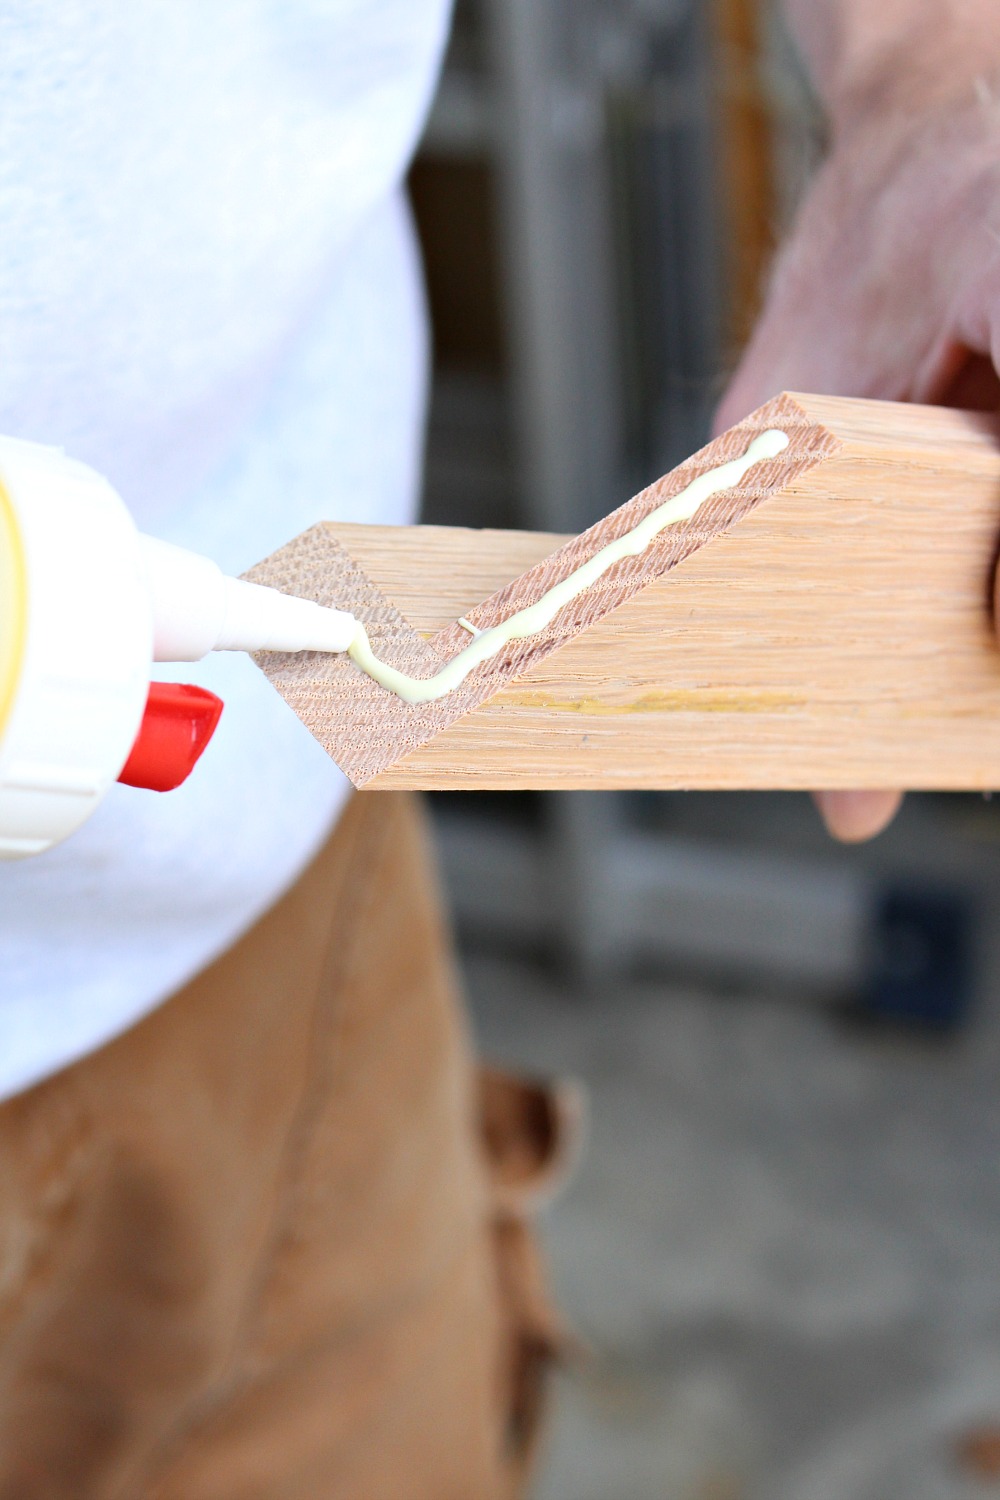
To begin this project, we first made an “L” shape by gluing two boards along their lengths to create a butt joint. Basically just run a thin bead of wood glue along the thin edge of one board and attach the other piece, using an air nailer to keep the wood in place while it dries.
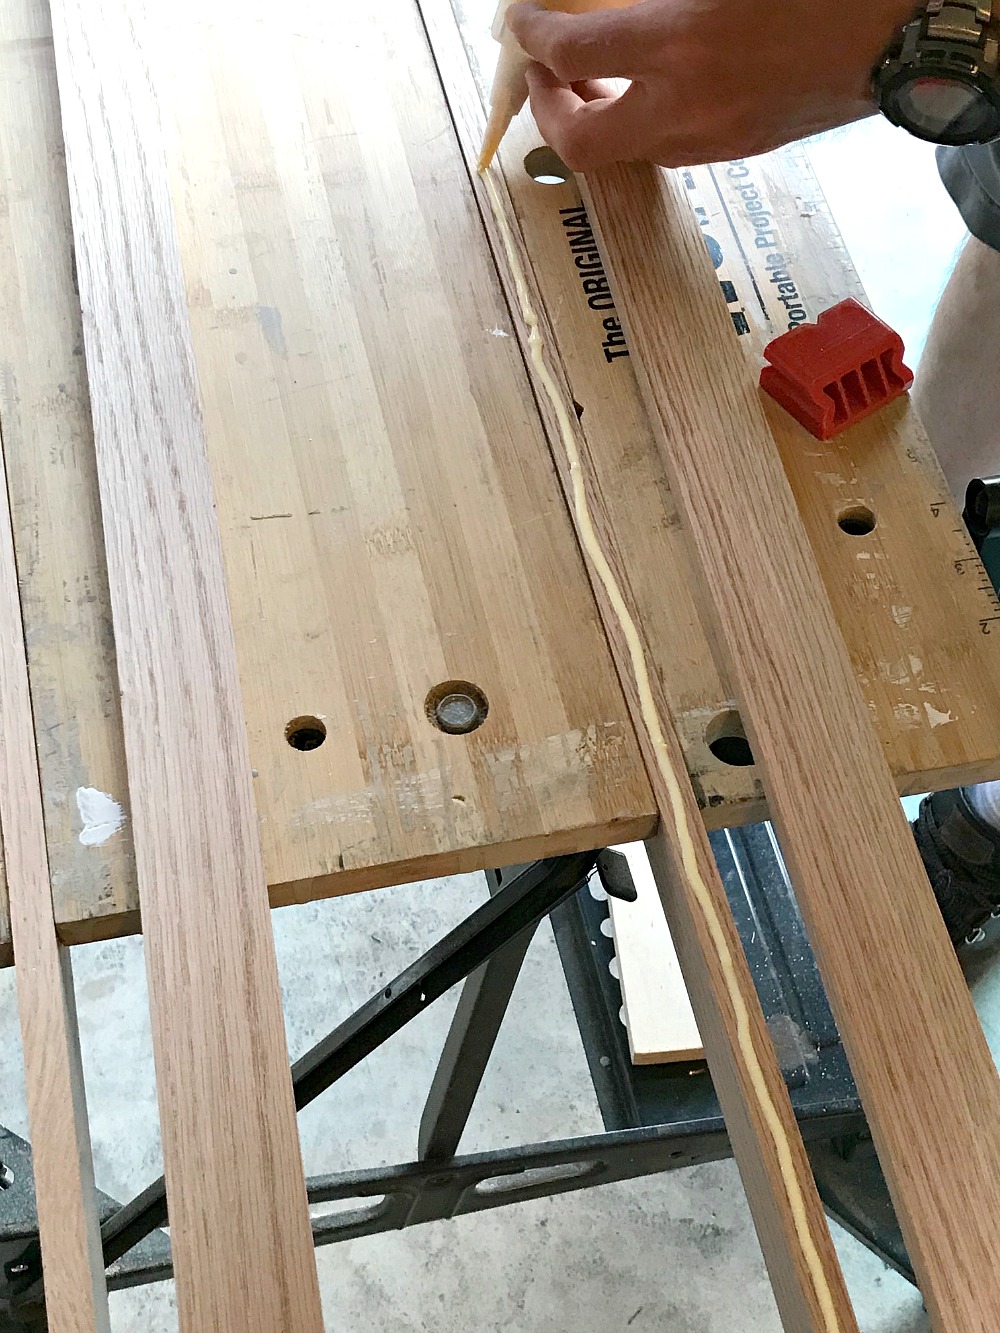

Don’t worry about any wood glue squeezing out the back, it’s easy to scrape off later.
At this point, we had two long “L” shaped pieces. We laid them down and placed the painting to see how much of a gap we wanted. With the gap determined, we knew what size to make the top and bottom of the frame – these measurements will depend on the size of your canvas and the gap you leave.
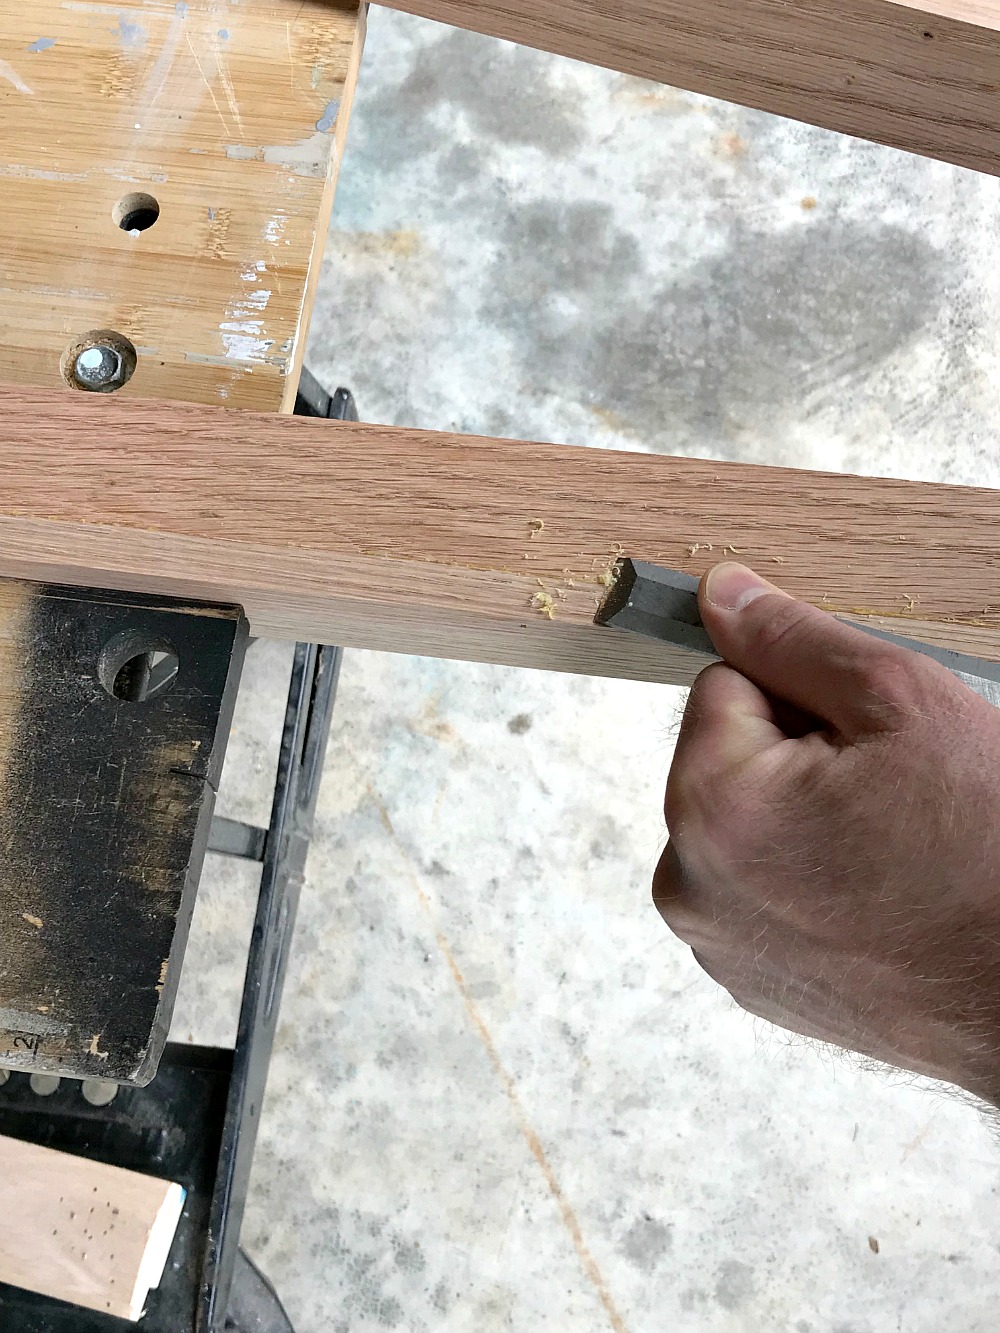
Using a miter saw, we cut the four lengths of “L” shapes to create our frame. Each cut is an inside 45 degree angle. (You can also use a miter box, which runs around $15-30 bucks).
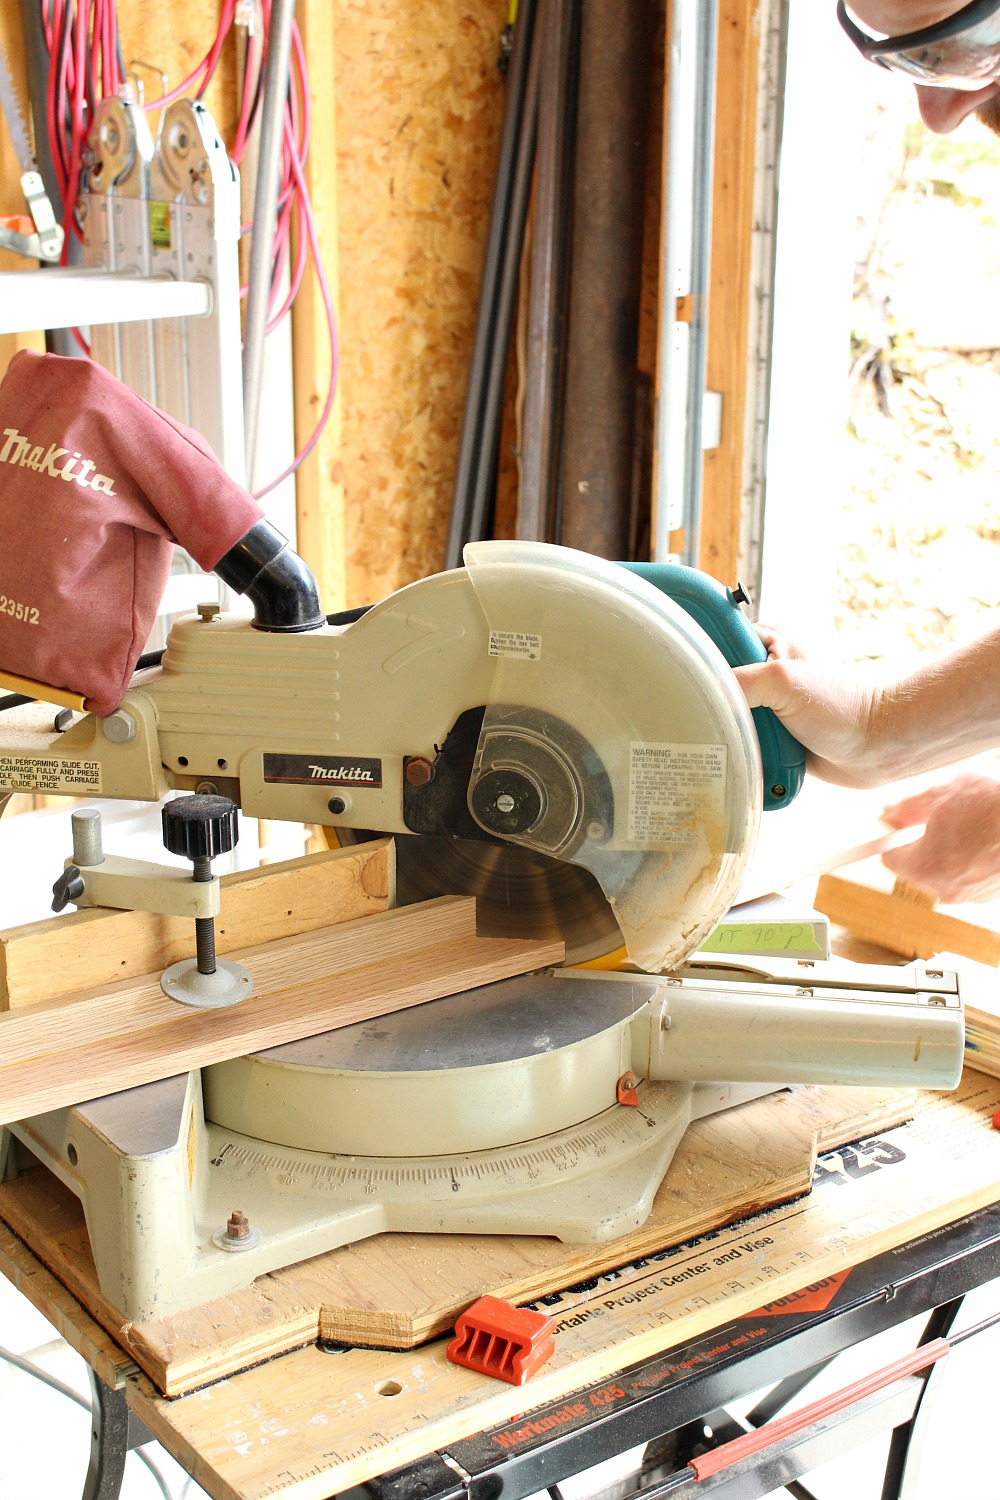

Just in case there is a discrepancy with the tape measuring, you can use one length as a template to cut the matching pair to ensure that they’re the exact same size – which helps create a neat and tidy mitered corner. Remember: you can cut them smaller but you can’t go bigger again!
With the four sides cut, we test fit the frame to make sure everything fit. It’s ALWAYS a good idea to dry fit before even looking at the wood glue. Using a framing square helped us make sure the corners were perfect – and also helped us hold it in place for the next step.
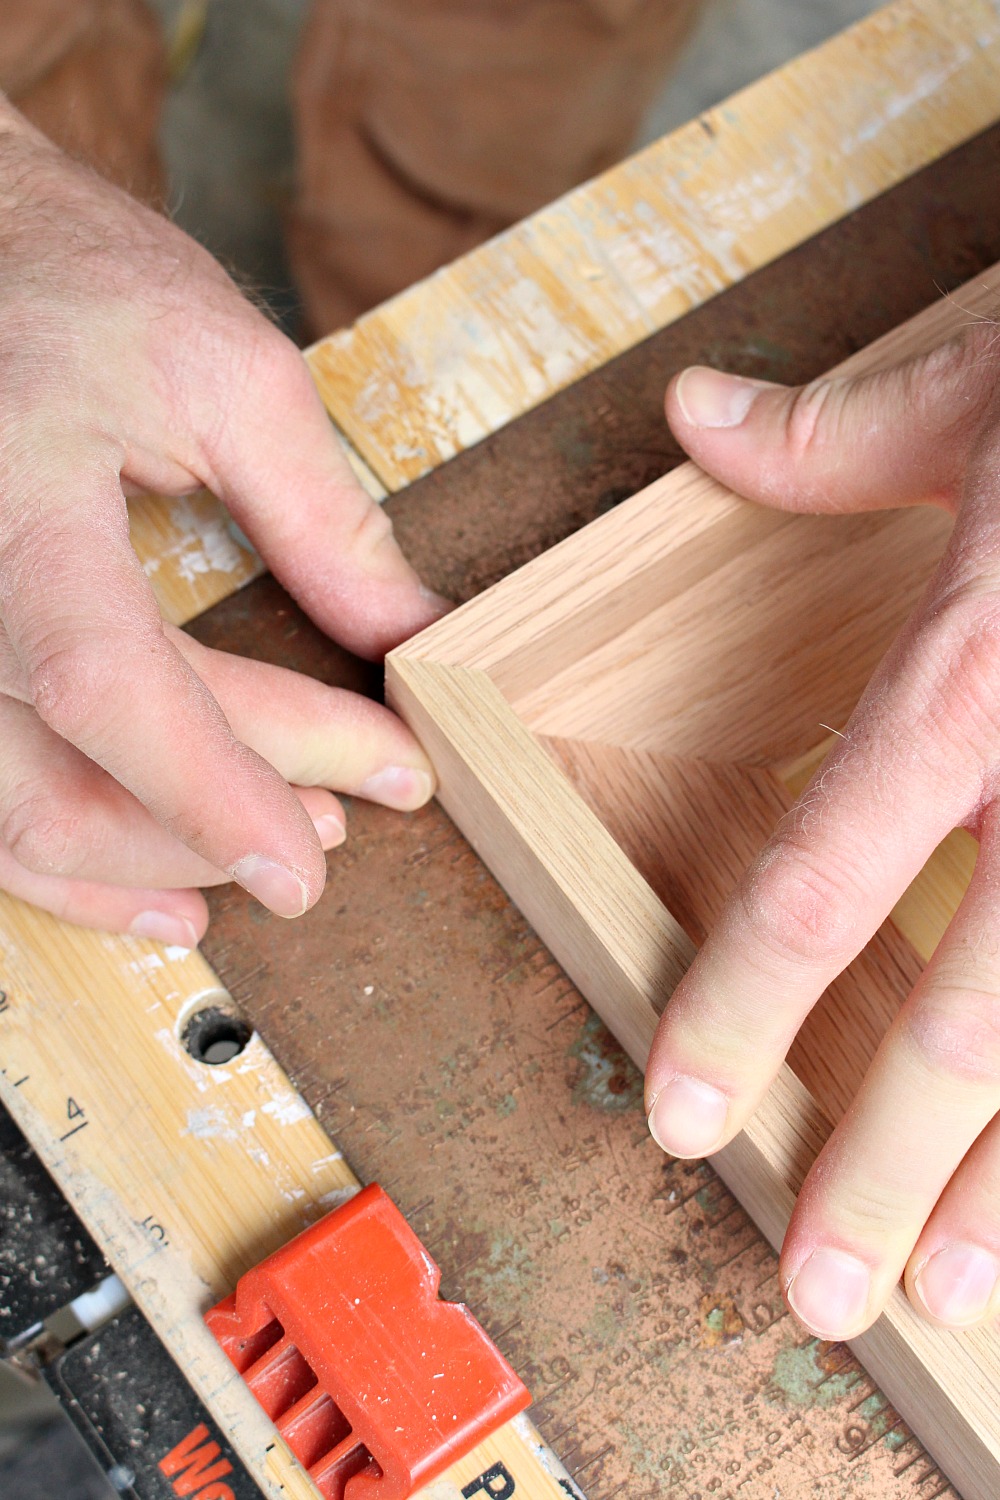
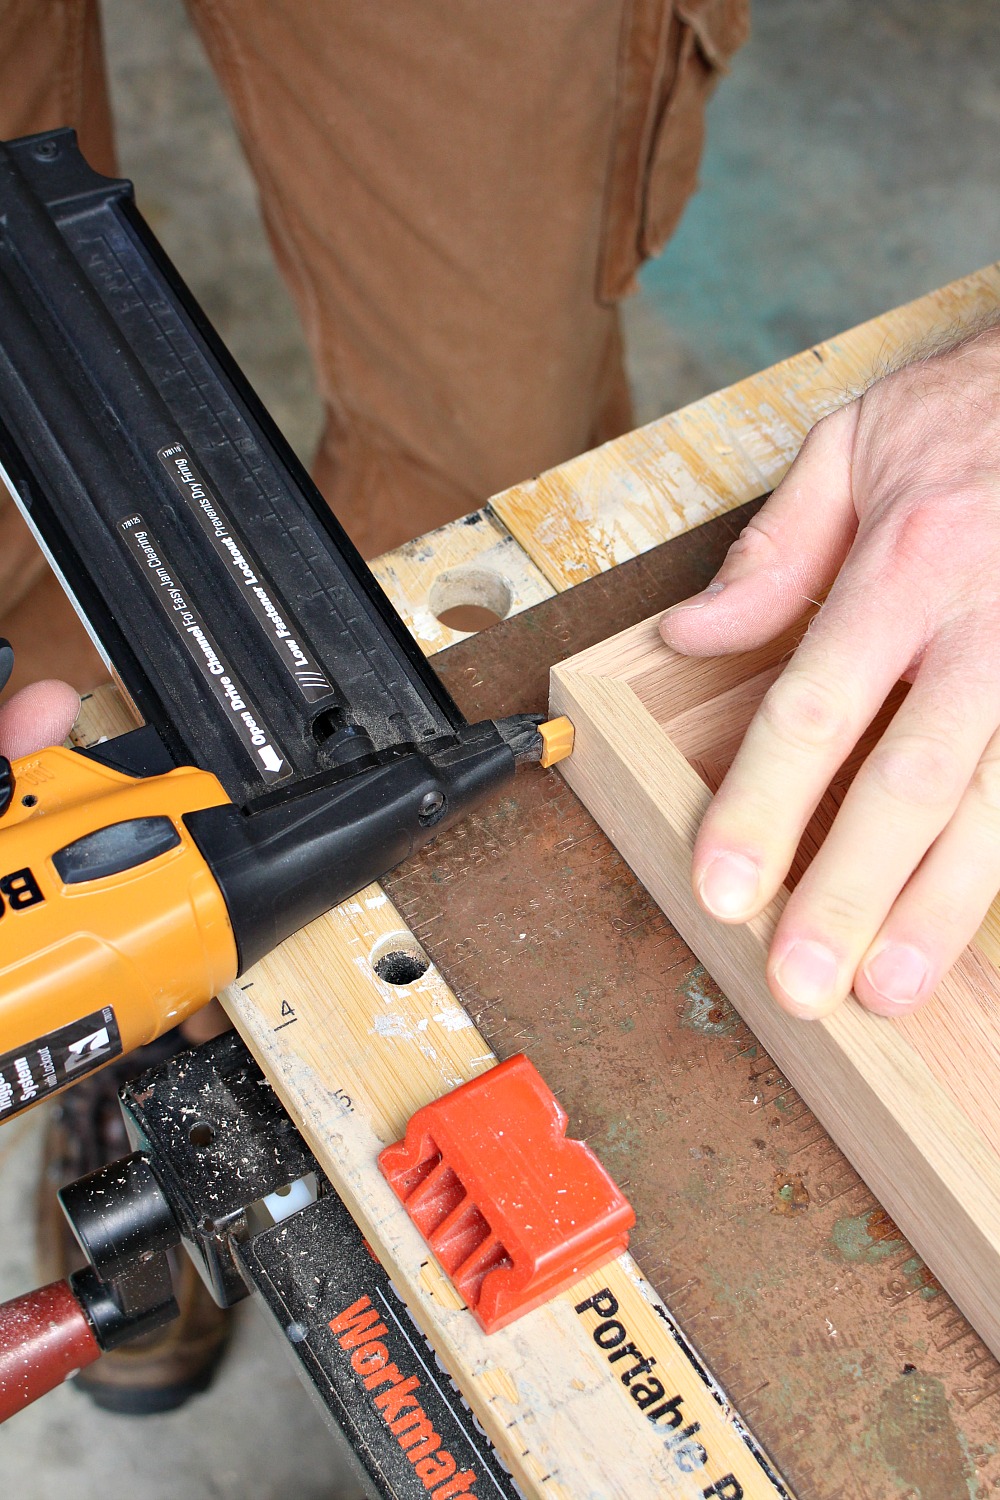
With the fit confirmed, we applied our trusty wood glue again.
Then we just nailed it in place. The nail is really just there to hold the frame in place until the wood glue dries. If you want, you could also use a special clamp.
With the DIY floating frame constructed, it was time to hide the nail holes. This step delays staining a bit, but it’s worth it to hide those holes! I used a basic wood filler, letting the filled holes dry according to the manufacturer’s instructions before lightly sanding smooth. At this point, I gave the entire frame a light sand and smoothed any rough edges.

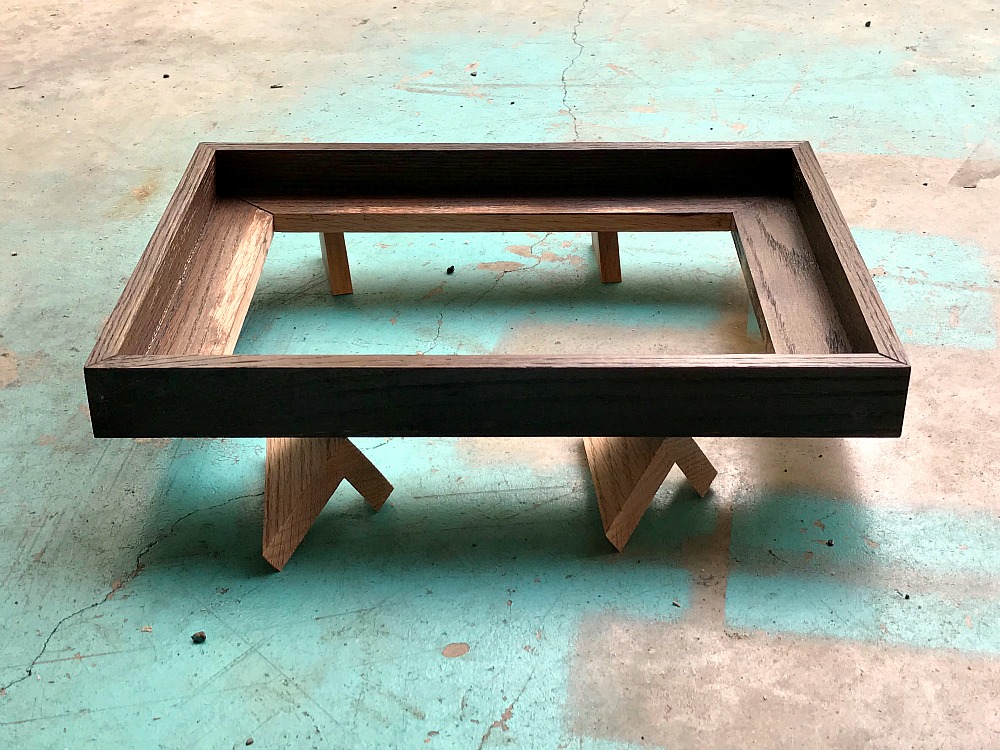
I happened to still have some Saman brand water-based wood stain in Dark Walnut, left over from when I refinished the legs on the velvet chair. I cannot believe it’s still good – that was years ago! The red oak took the stain beautifully and it only took one (light) application of stain to achieve a rich, dark walnut hue. I used leftover “L” pieces to help prop up the frame while the stain dried. To save money, you can use whatever leftover paint or stain you have from other projects – or just buy a small sample pot. Frankly, the wood looked beautiful natural and even just a quick clear coat would have been stunning.
The final step for this DIY floating frame was to add a clear coat. I am OBSESSED with this Watco brand spray lacquer because it’s so, so simple to use and has a beautiful lustre.

When the clear finish dried, we positioned the painting in place and affixed it to the DIY floating frame we made using nails. We just nailed through the frame, at the back, into the stretcher. At this point you can add any kind of picture hanging hardware you prefer.

And voila! Honestly, it was more difficult to find a spot on our packed walls than to actually build this DIY floating frame!

I’ll be sharing some more DIY framing projects this summer, so make sure you’re following me on Instagram to catch the transformations because I often share mini makeovers in my Stories.


I’m starting to notice floating frames and want to do this for some of art I have. Also good tips for the products you used. Love your art-filled walls; so much to look at everywhere you look. It must help with long, dreary winter days.
Author
Thanks! You said it so well: something for those long winters! Preferably something that reminds me of spring, haha
Thanks for this tutorial! I doing a little DIY art project and would love to put it in a DIY floating frame afterwards.
Author
Happy that you found this useful!