I have another fun alcohol ink craft project tutorial to share: these really easy marbled DIY alcohol ink coasters. You already learned how to use alcohol inks on ceramics and china, but I also experimented with a porous bisque and the results are a little different so I wanted to share my tips and tricks.

Applying alcohol ink to glossy yupo paper and smooth surfaces like china is really easy because the alcohol inks glide around the surface and, if the design didn’t work out, can quickly be wiped off china with a little alcohol before the ink dries. Applying alcohol ink to an absorbent surface like these bisque coasters is a little trickier, but still possible, and the results are more ethereal and have even more depth.

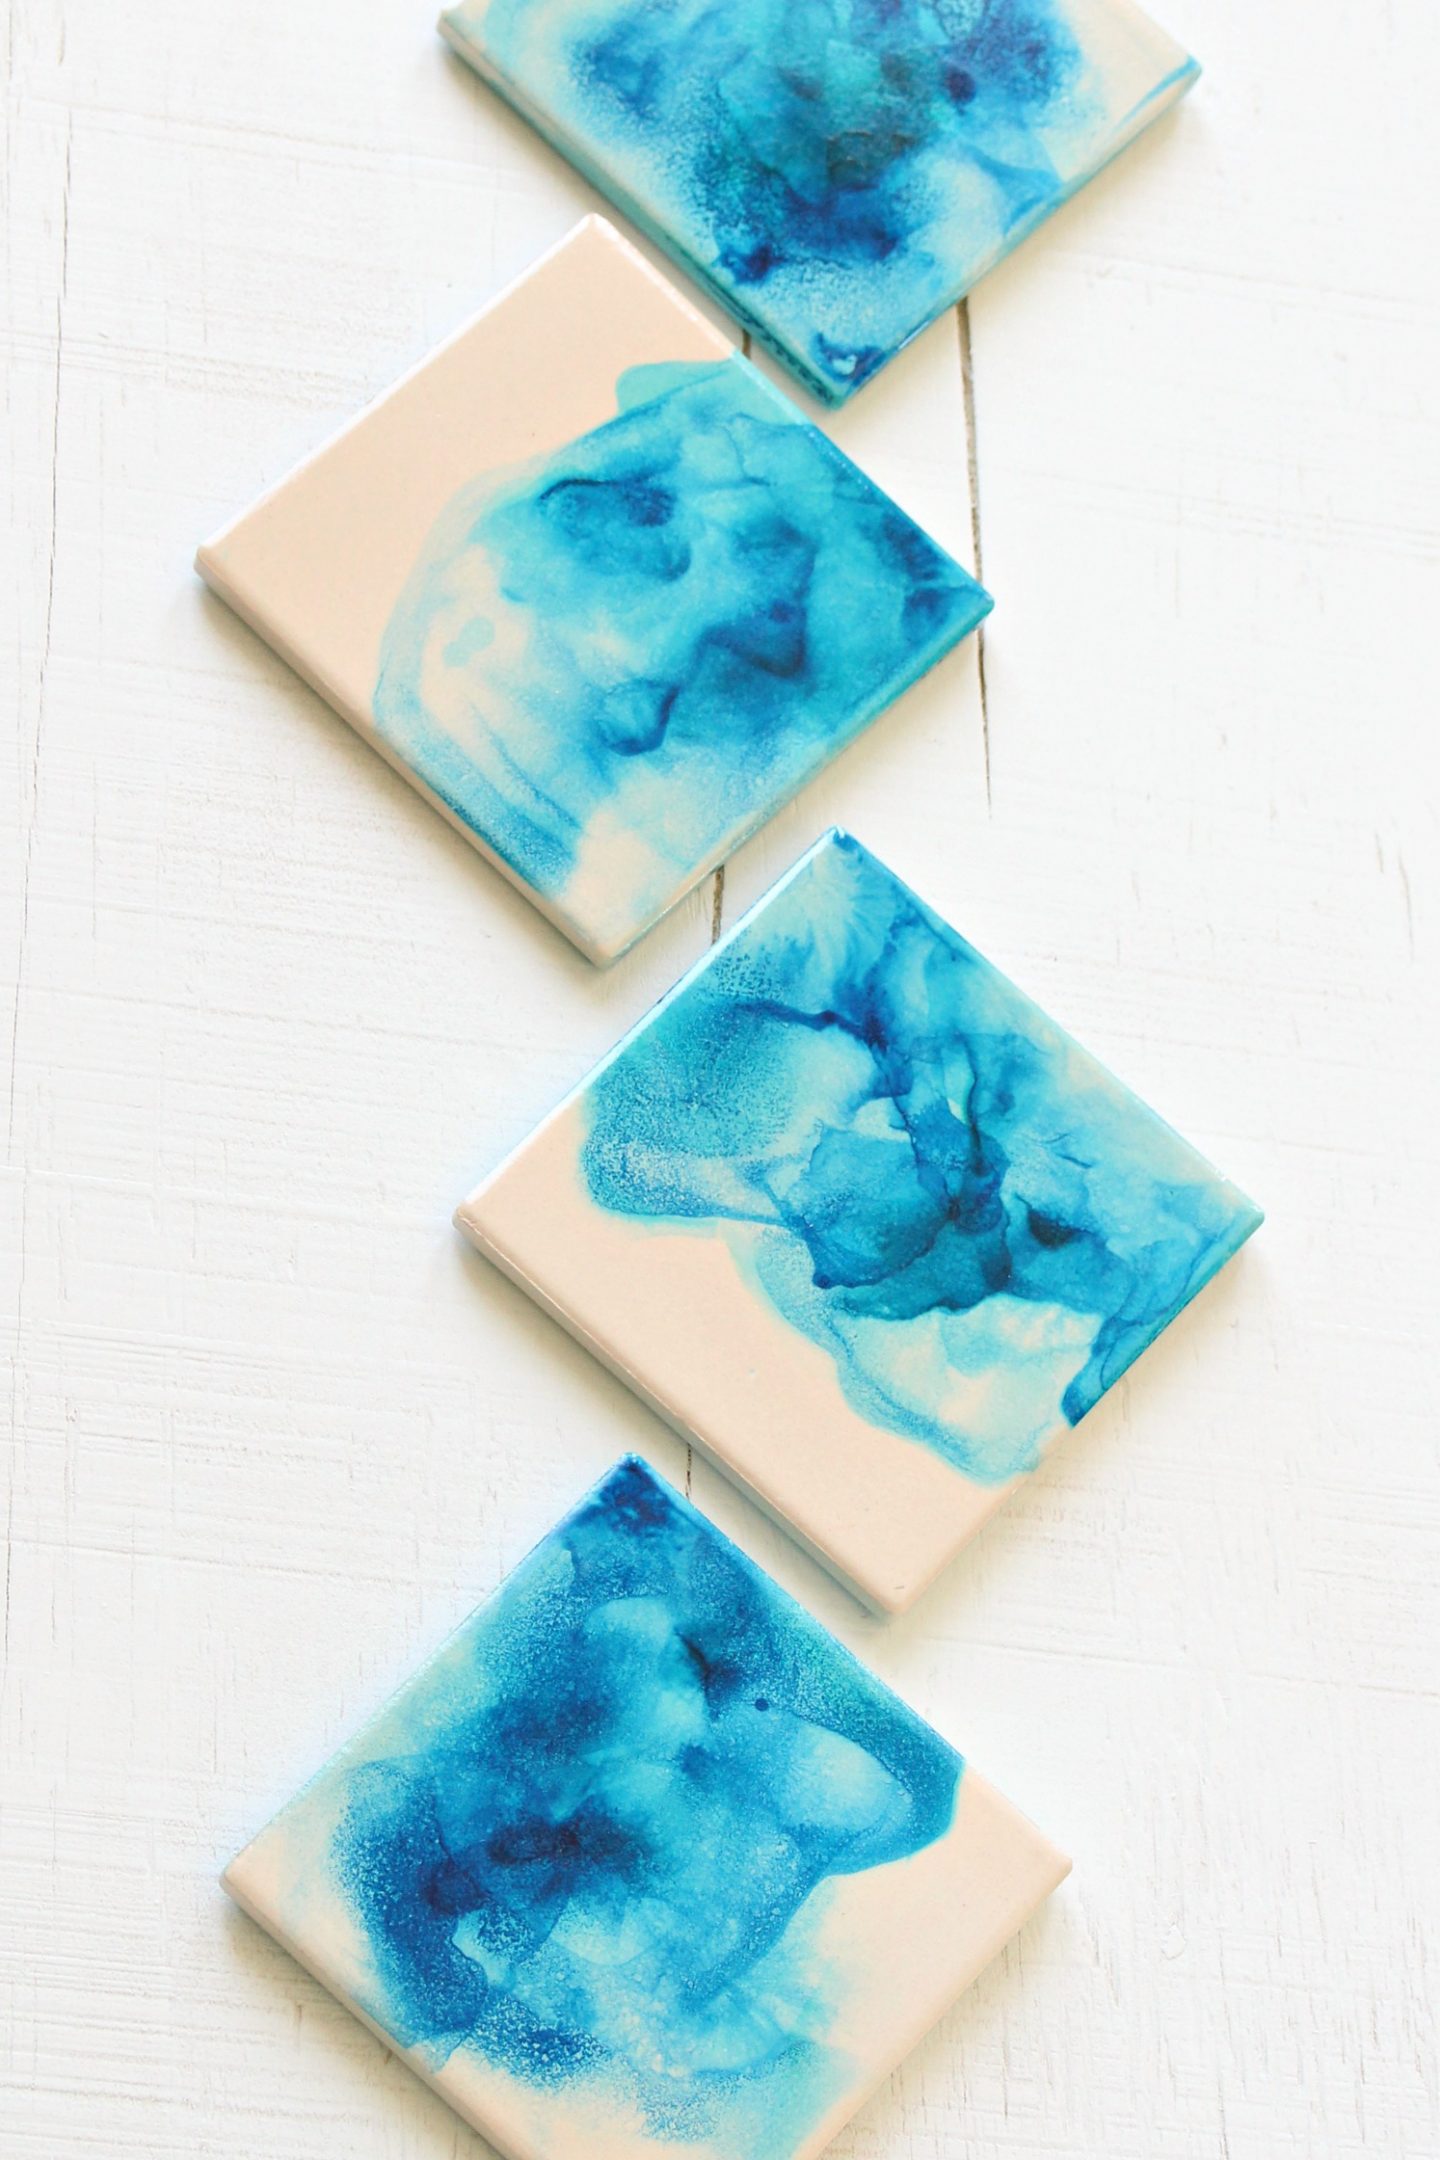
I really wanted to use some inexpensive tile from the hardware store and make some cheap coasters but I couldn’t find the perfect square tile. I found a really large rectangle tile and made myself a gorgeous trivet, but a coaster shaped tile eluded me. In the end, I found some coaster decorating kits on clearance at Michael’s after Mother’s Day and the bisque proved to be a fun experiment for my marbled DIY alcohol ink coasters.

Supplies for Marbled DIY Alcohol Ink Coasters:
- Alcohol inks (I bought two 3-packs: this one (Mariner-Indigo/Mermaid/Teakwood) and this one – it’s called Lakeshore)
- Alcohol blending solution
- Rubbing alcohol
- Bisque coasters
- Paper drinking straws
- Krylon clear glaze
- Rubber gloves
- Drop cloth to protect surfaces (I used a black garbage bag)
- Paper towel
- Felt (optional)
- Scissors (to cut felt)
- Craft glue (to adhere felt)
How to Make DIY Alcohol Ink Coasters:
The basic technique was similar to my alcohol ink art and alcohol ink ceramics, except that when applied to the porous surface the inks were quickly absorbed.

The trick to getting the same kind of flowing look was simple but worth mentioning: first douse the coaster with plain old rubbing alcohol and, working quickly before the alcohol soaks in, apply the alcohol ink and use a straw to blow around the ink. That extra step of soaking the surface with alcohol ensures that the ink can still move around the surface. Otherwise it just gets sucked in and leaves saturated drops of color – which is also an interesting look, but not typical of what you expect working with alcohol ink crafts.
I made two sets of coasters, the ones with the darker colors (those ones were before I experimented with drenching the coaster with alcohol) and the second, lighter set (which I made with my newfound technique, producing an airier result).


While my other alcohol ink projects are leisurely, this DIY alcohol ink coasters project is a little more fast-paced but the results are really beautiful because as the ink dries, some settles into the bisque so the watercolor effect has more depth. Plus the bisque background creates a much more muted color palette, whereas the bright white china lets the bold, saturated hues shine. Here’s a little reminder of the watercolor espresso set I decorated with alcohol inks:

So if you like the idea but want a softer look, you might want to experiment with bisque and make some DIY alcohol ink coasters!

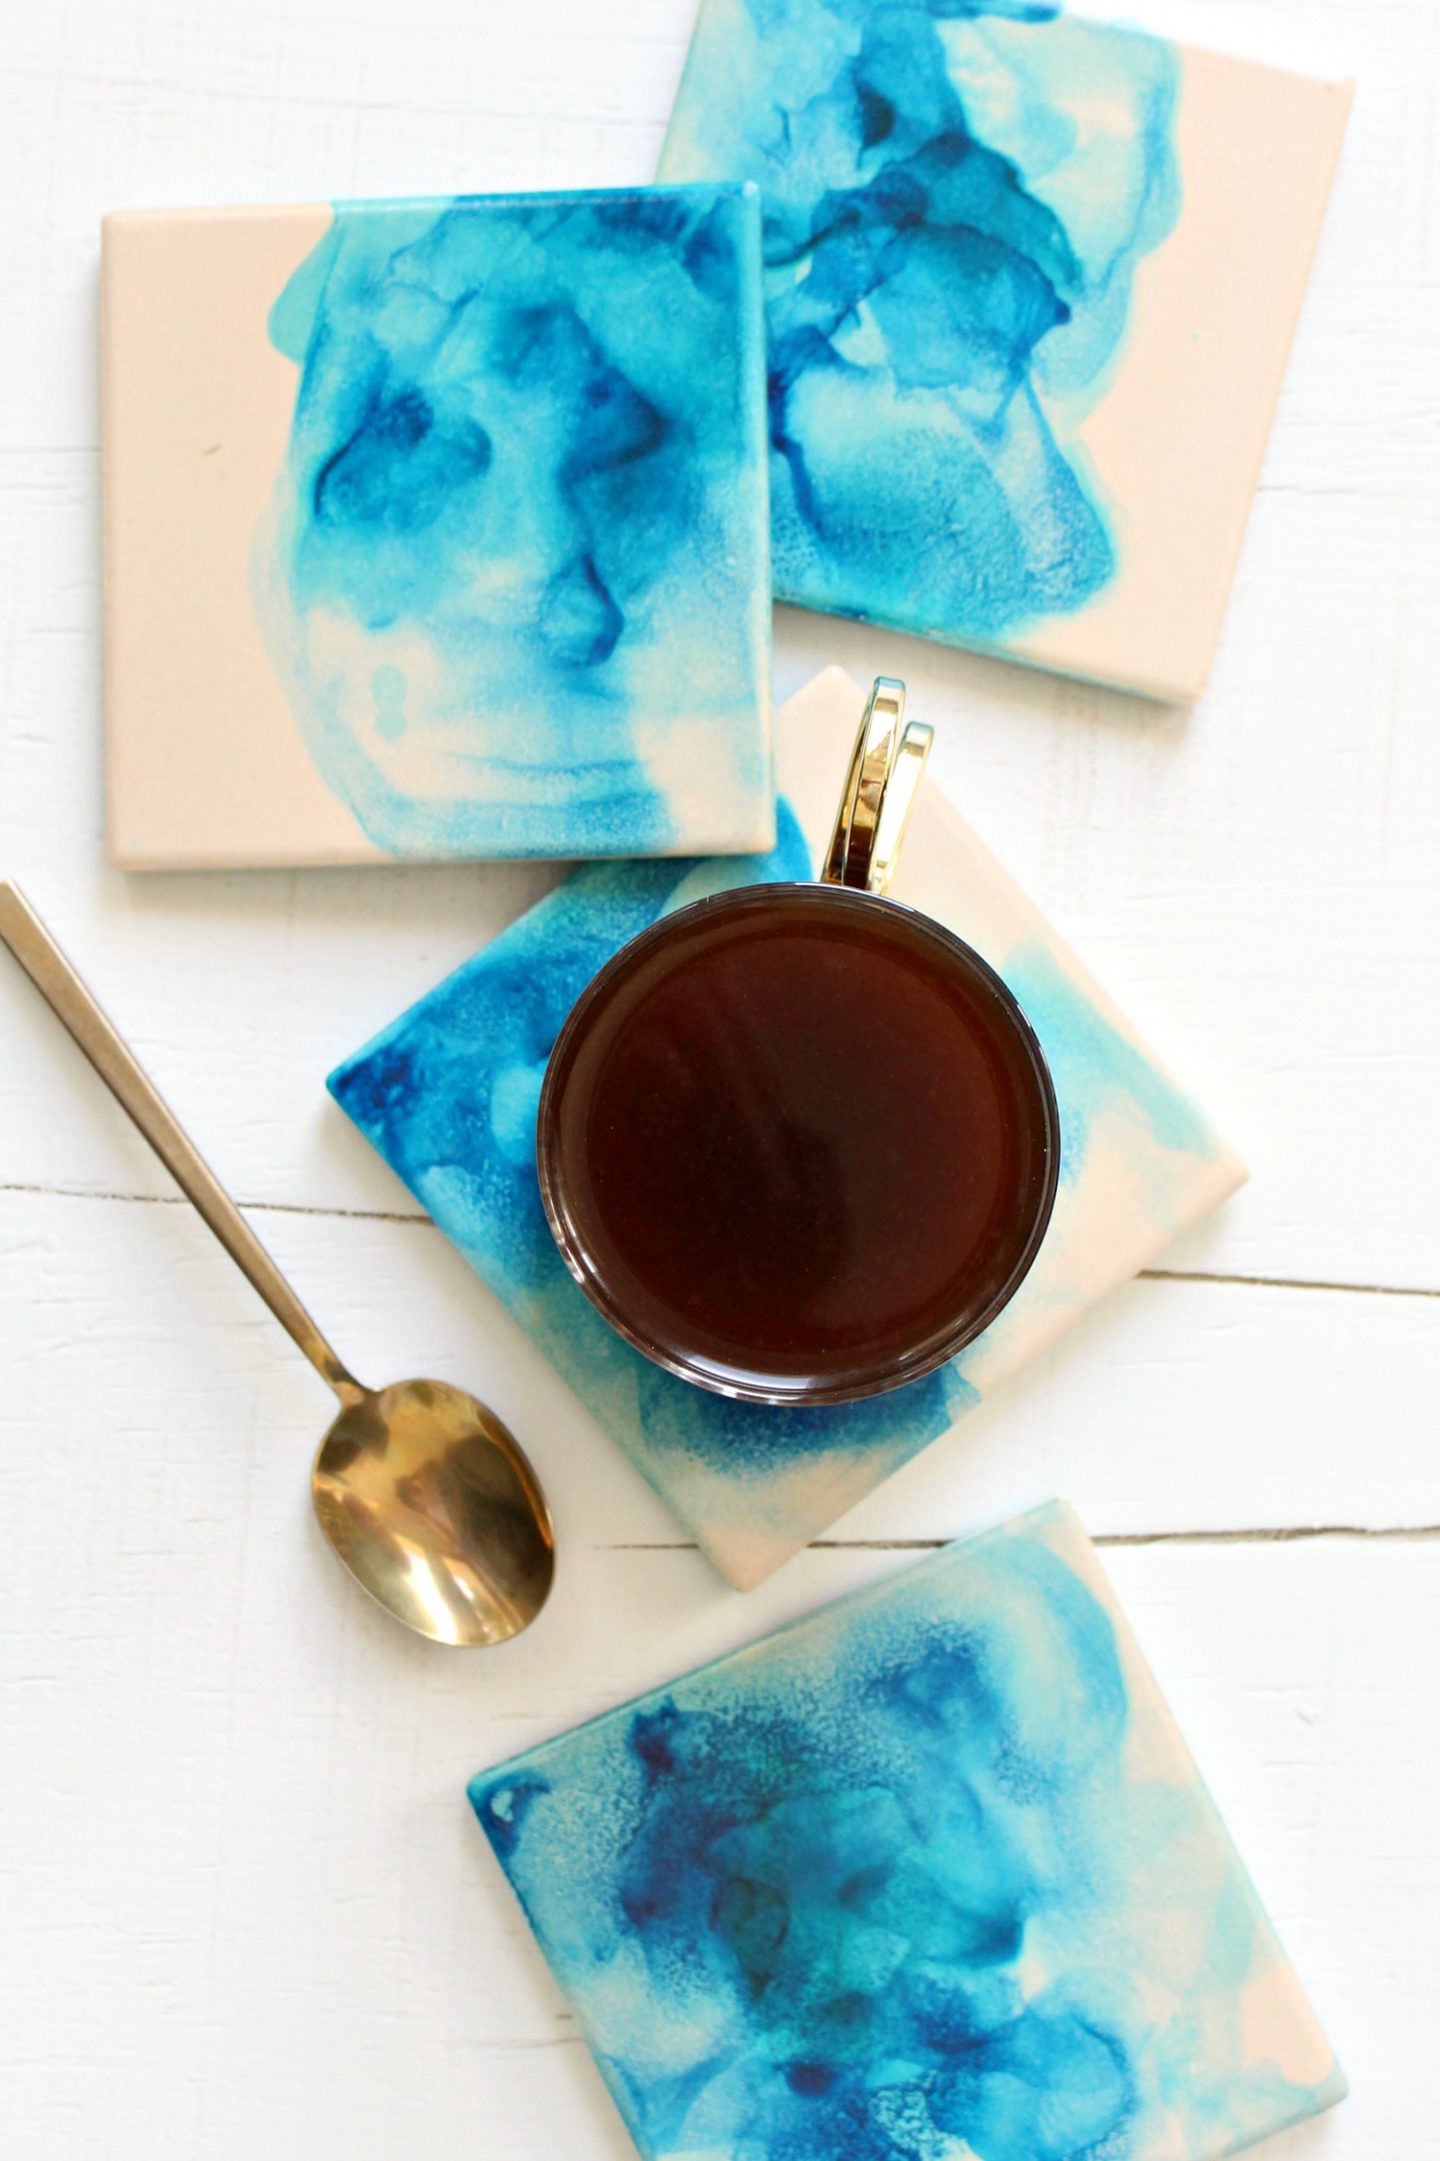
When the coasters had dried, I applied a few coats of Krylon clear glaze, using broad sweeping motions to ensure thin even coats. The glaze gives the bisque some luster and also deepens the color just a little bit. In the photo above, you can see the blank coaster compared to the sealed coaster, which gives you an idea of how much the background color changes after the surface is sealed.


When the alcohol ink and sealant dried, I cut some left over felt into squares (slightly smaller than the coaster), and used Aileen’s craft glue along the edges and in an “X” shape in the middle, to secure it to the bottom of each coaster. This step is optional, but I like a little extra cushion.

I love, love, love how these DIY alcohol ink coasters turned out! The bisque created a more muted, almost more ethereal look which I am really enamored with – I hope you like them too!

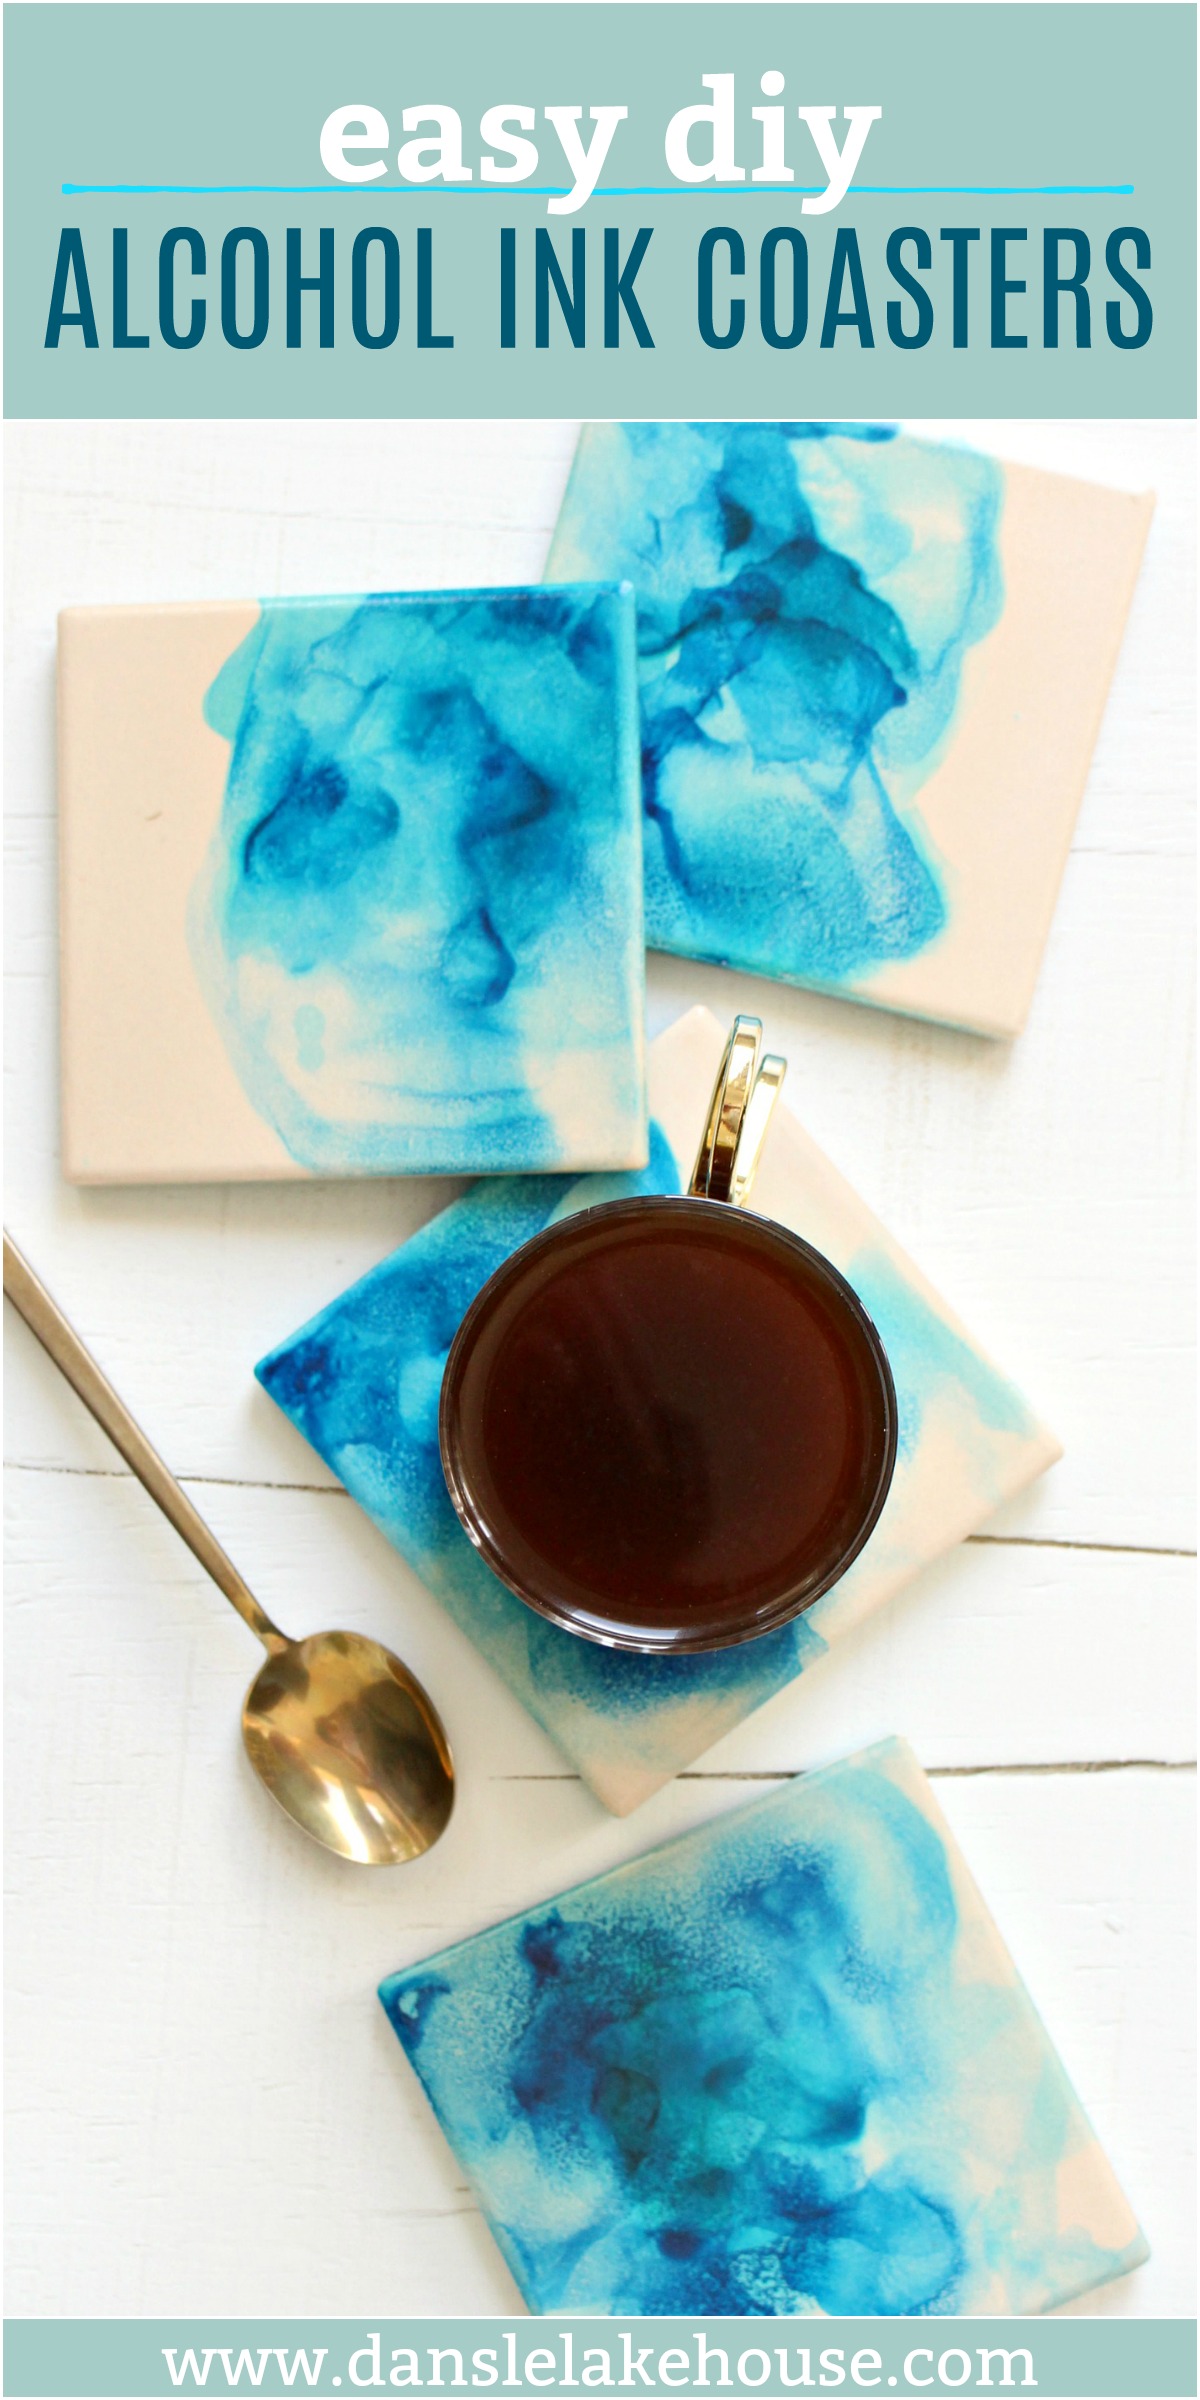
P.S. Don’t Forget to Pin for Later!

I promised that there were a ton of cool ways to use alcohol inks, so you don’t have to worry about finding enough DIY alcohol ink projects to use up a pack or two of ink! Check out my alcohol ink art here, or take a peek at the alcohol inks on ceramics here if you missed that – and if you make these DIY watercolor coasters, or any other alcohol ink projects, I’d love to see!

Are these coasters able to be wiped down when dirty?
Author
Yes! As long as they have been sealed (I linked to a sealant in the post), they can be wiped down no problem.
These are absolutely mesmerizing! Love, love, love the wispy, free-flowing effects, and can’t wait to try them for myself. Beautiful and practical. Who could ask for anything more? Thank you for this tutorial.
Author
Thank you! I hope you have fun making some, alcohol inks are really enjoyable to work with.
Having a hard time getting my alcohol ink to dry on the ceramic coasters. I used 91% isopropyl alcohol and blew it with a hair dryer. After 4 days they were still tacky. I tried sealing with krylon crystal clear acrylic coating. After 3 days the ink was still smearing. Any ideas?
Author
Oh dear, I’m sorry I’ve never had it not set/cure! I think resin is a nice solid clear coat so you could try a resin top coat instead.
Is there a way to make Bisque tiles/coasters Non-Porous without a kiln?
Author
The first thought that comes to mind is applying a sealant or resin on top of the bisque? That would help “seal” it.