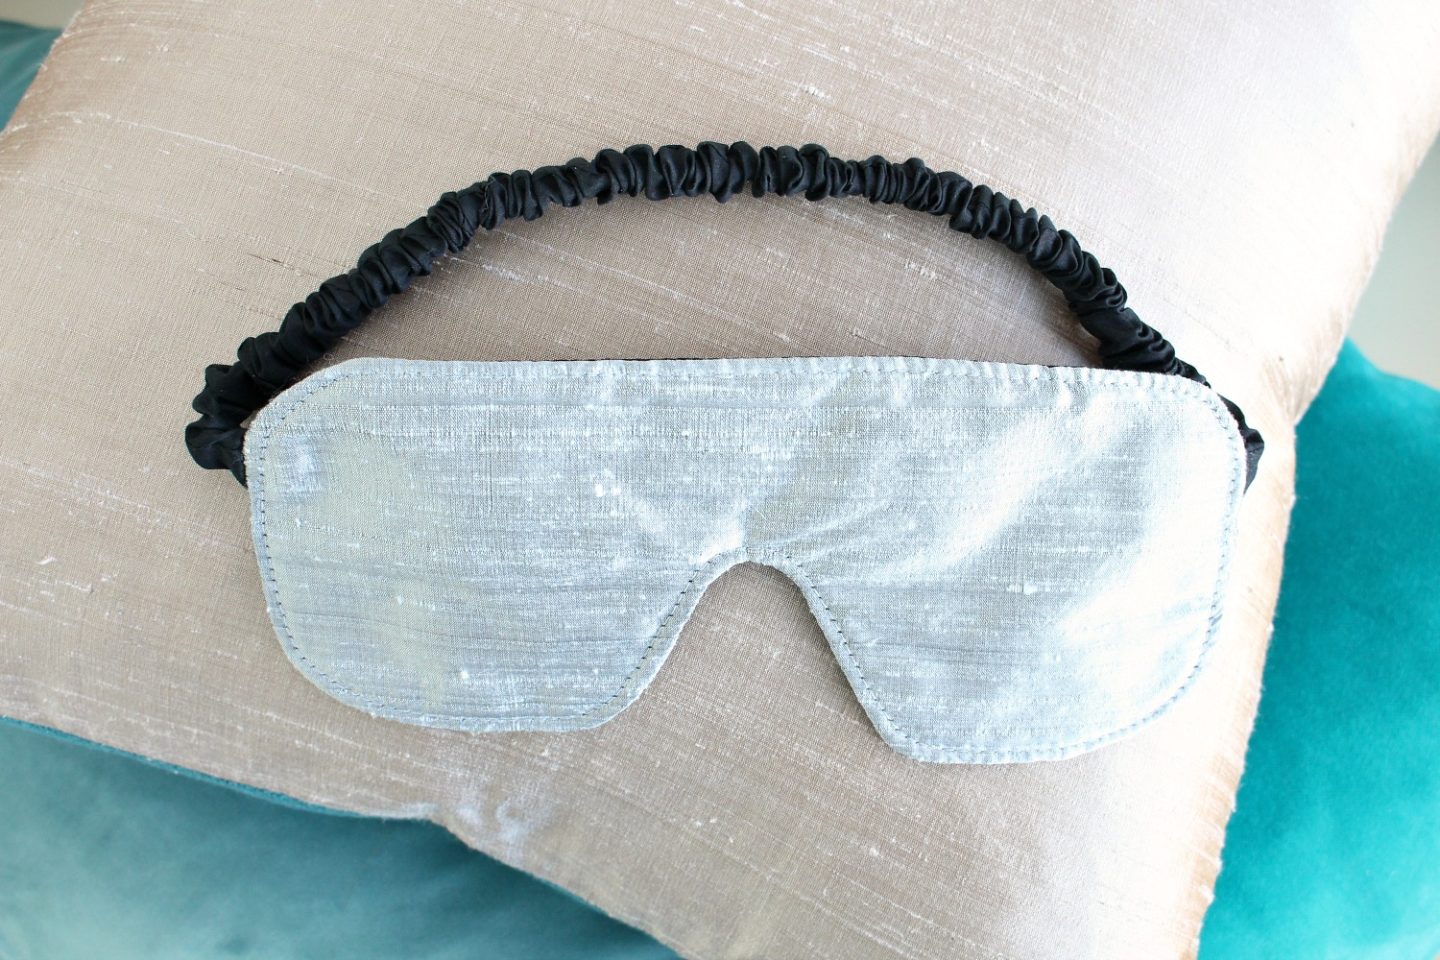
If you have leftover sewing or quilting supplies, and are looking for a cute, quick sewing project, take a peek at this DIY sleep mask tutorial! After reading about the benefits of silk pillow cases, I used silk fabric for mine so it’s soft on my super sensitive skin.

Supplies for DIY Sleep Mask:
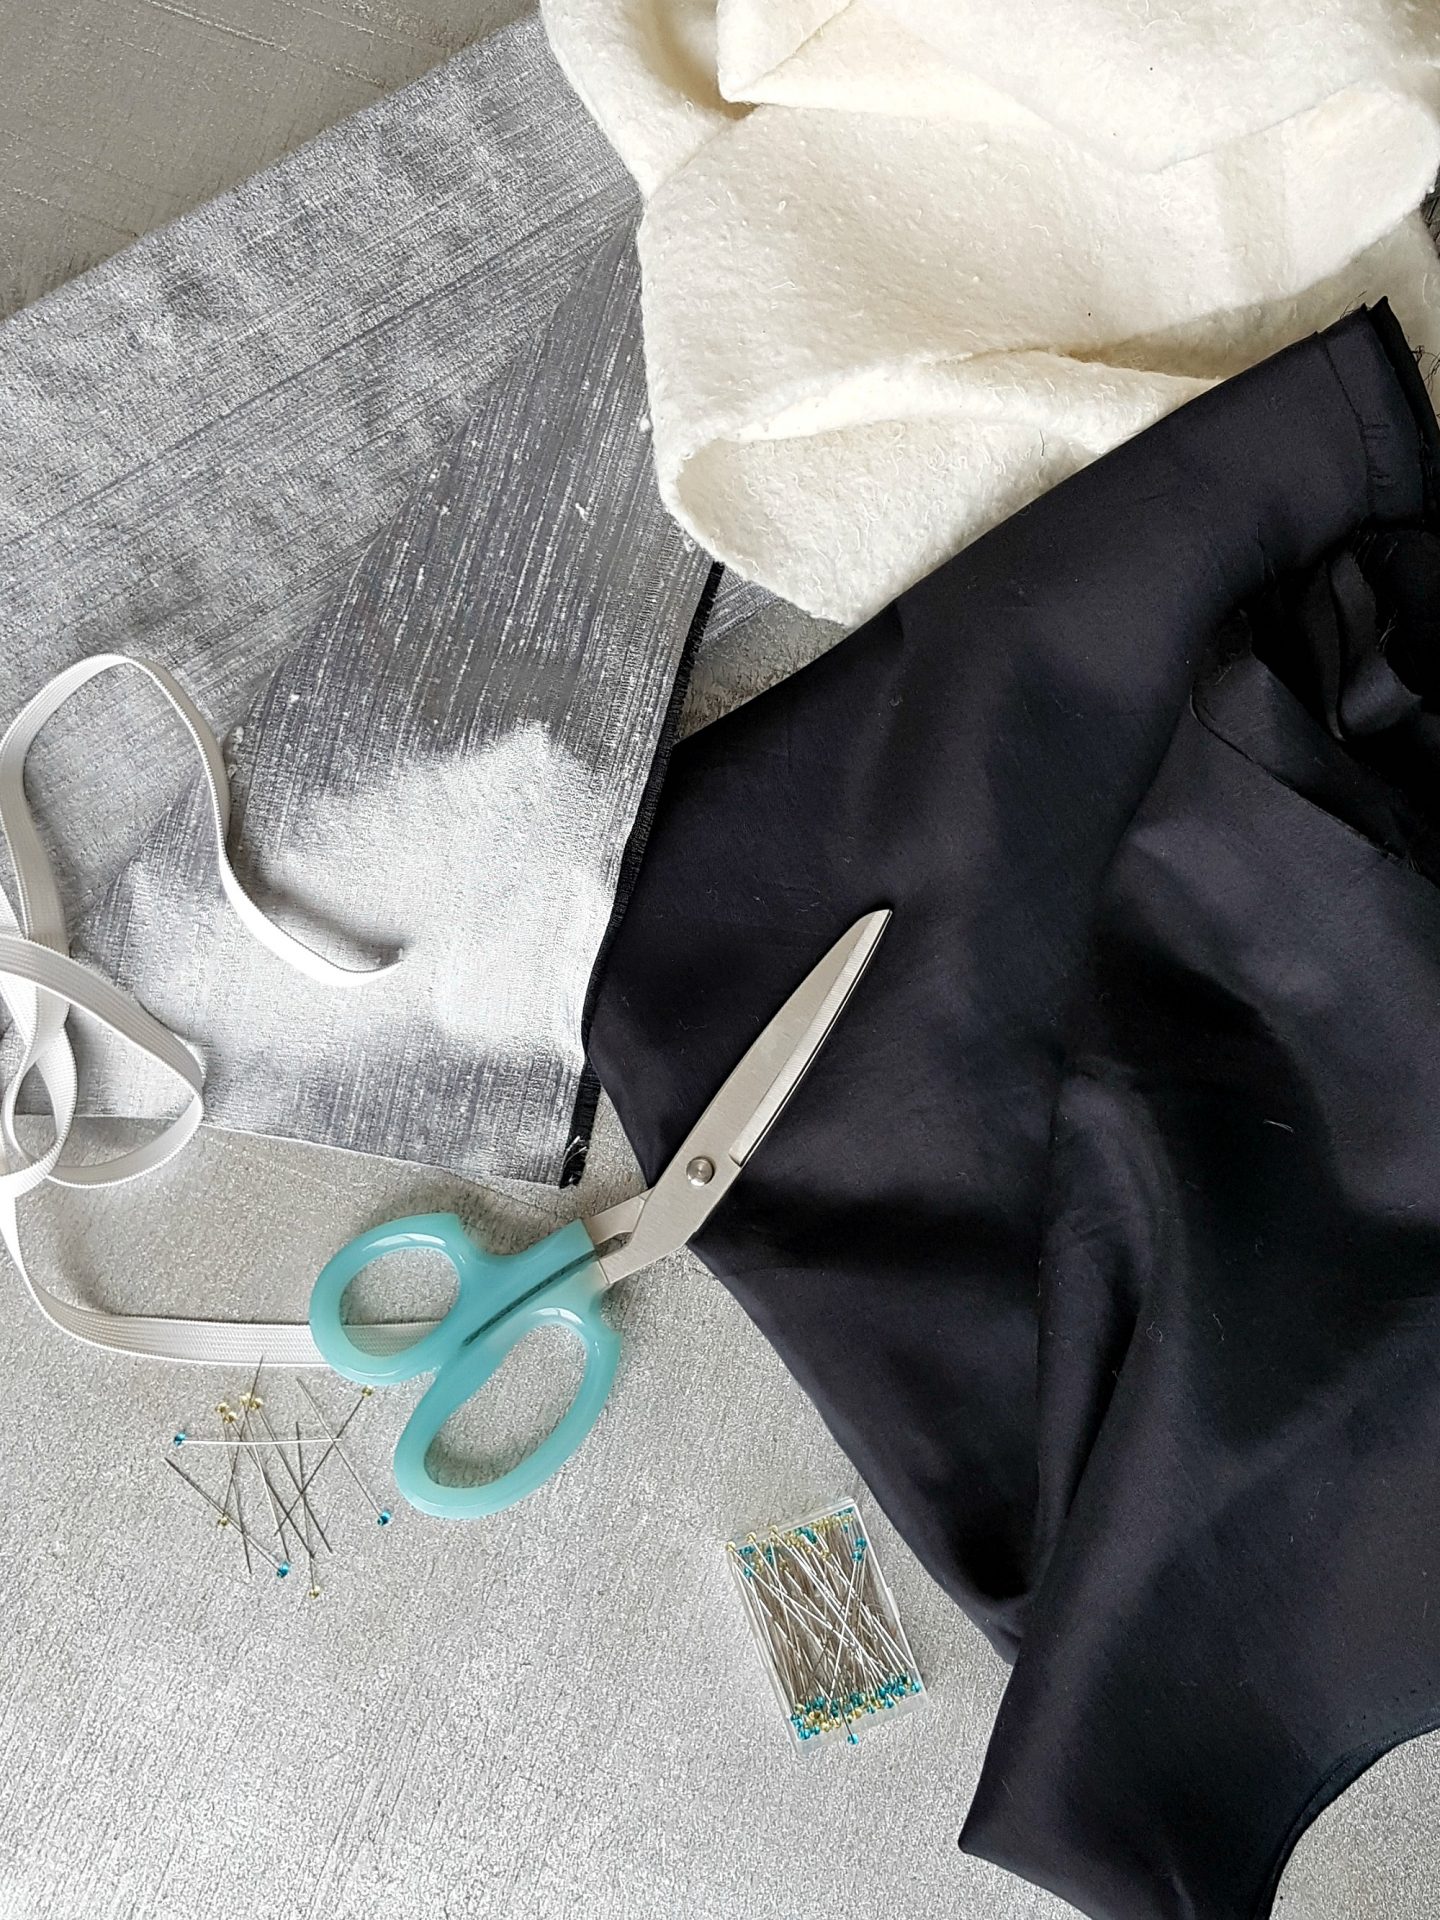
- Silk, silk/cotton or satin fabric (for the front and inside lining)
- Graph paper or pattern drafting tissue
- Cotton batting
- Flat elastic
- Scissors
- Straight pins
- Thread
- Large safety pin and/or bodkin (I used it to thread the elastic)
- Sewing machine

How to Sew a DIY Sleep Mask
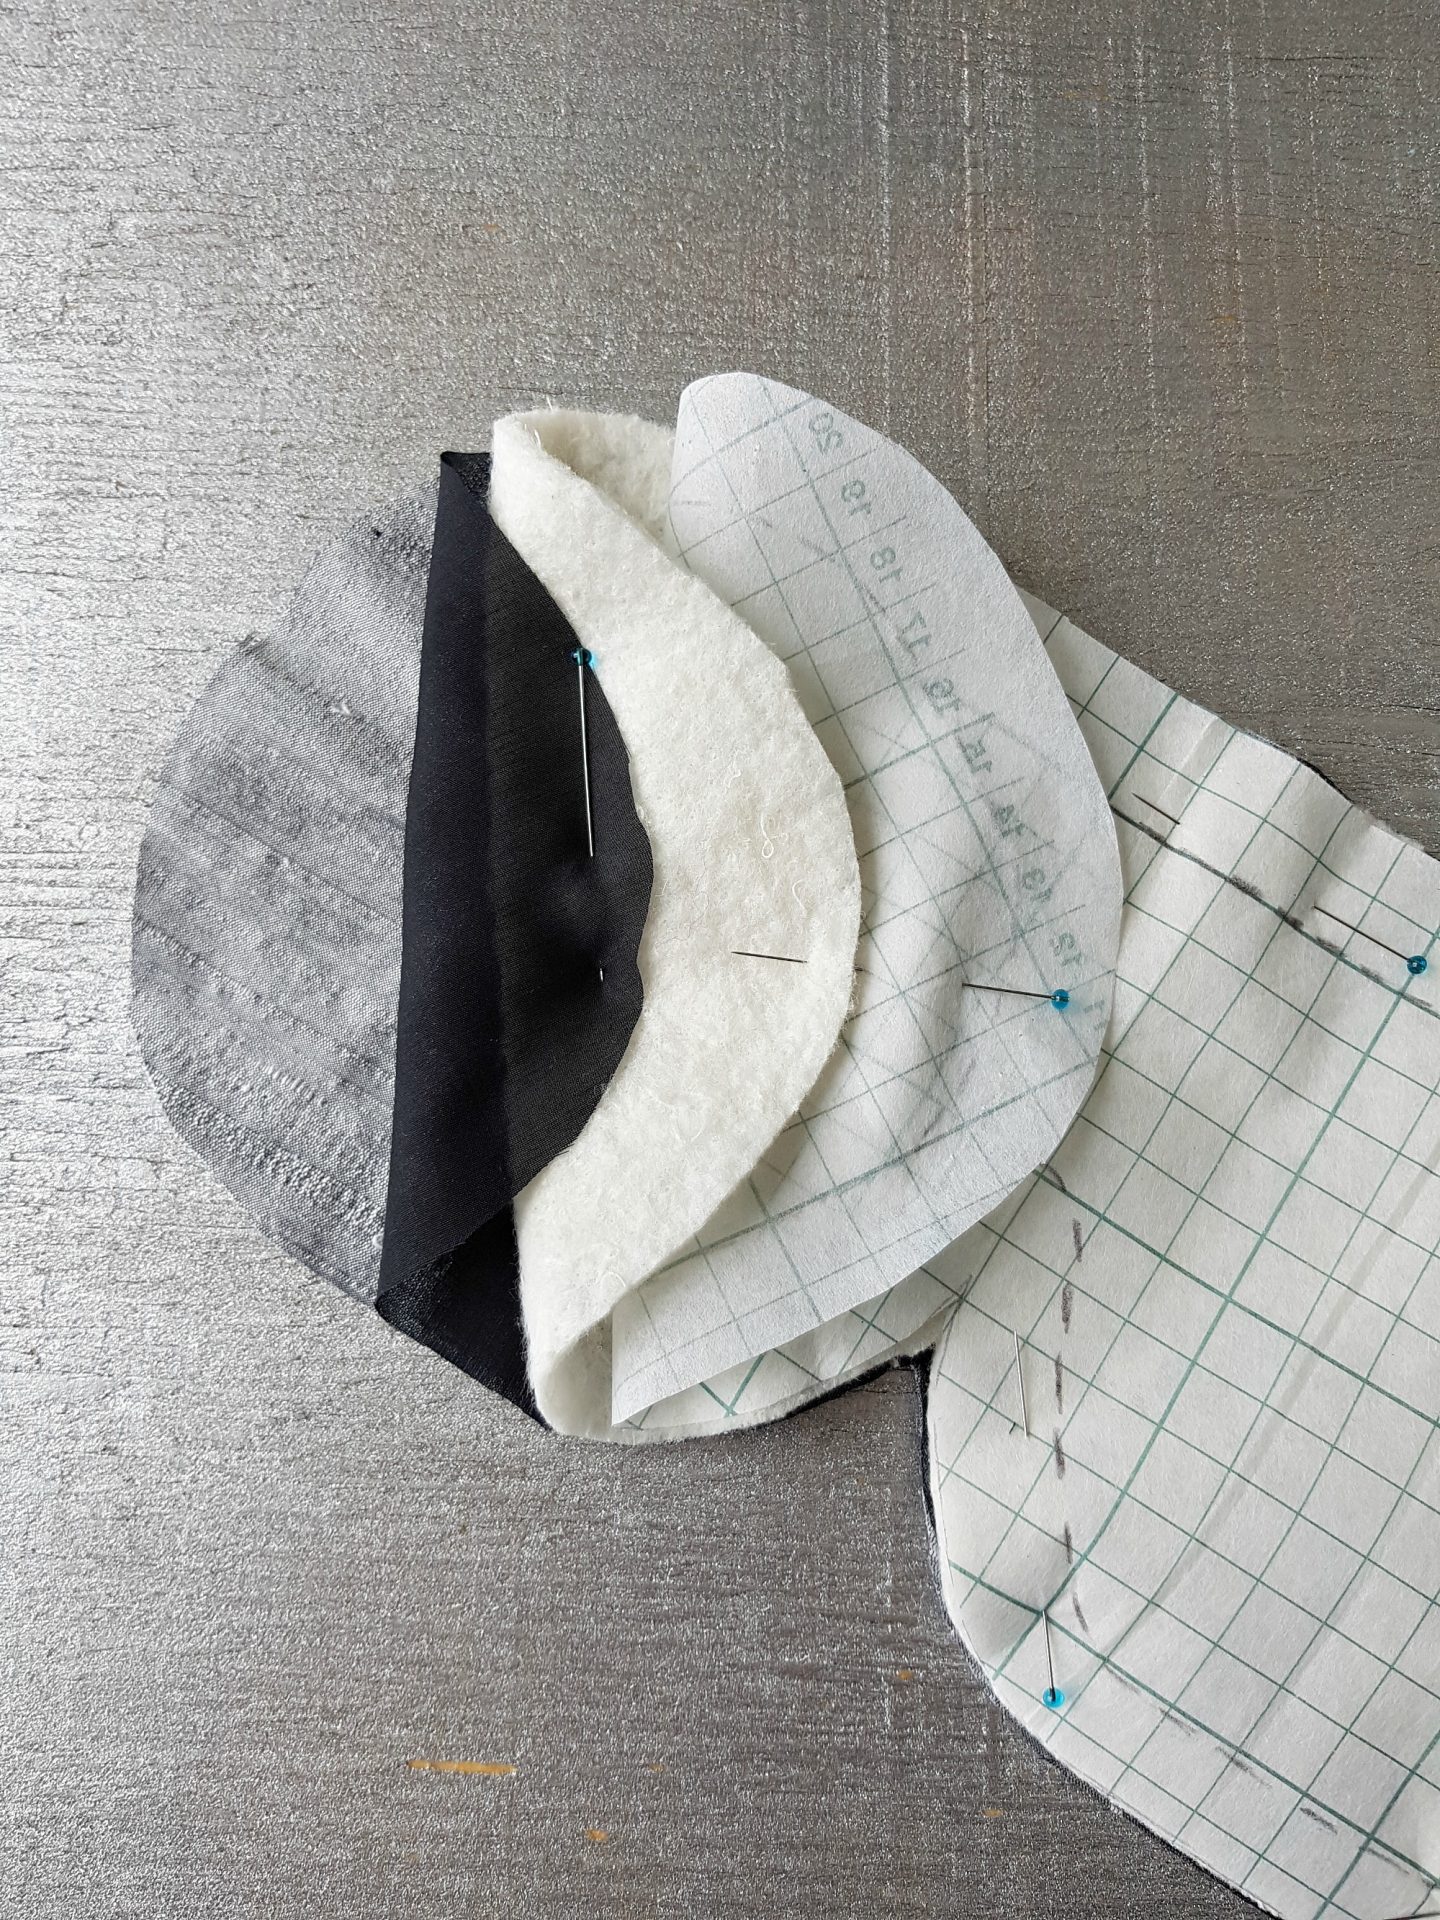
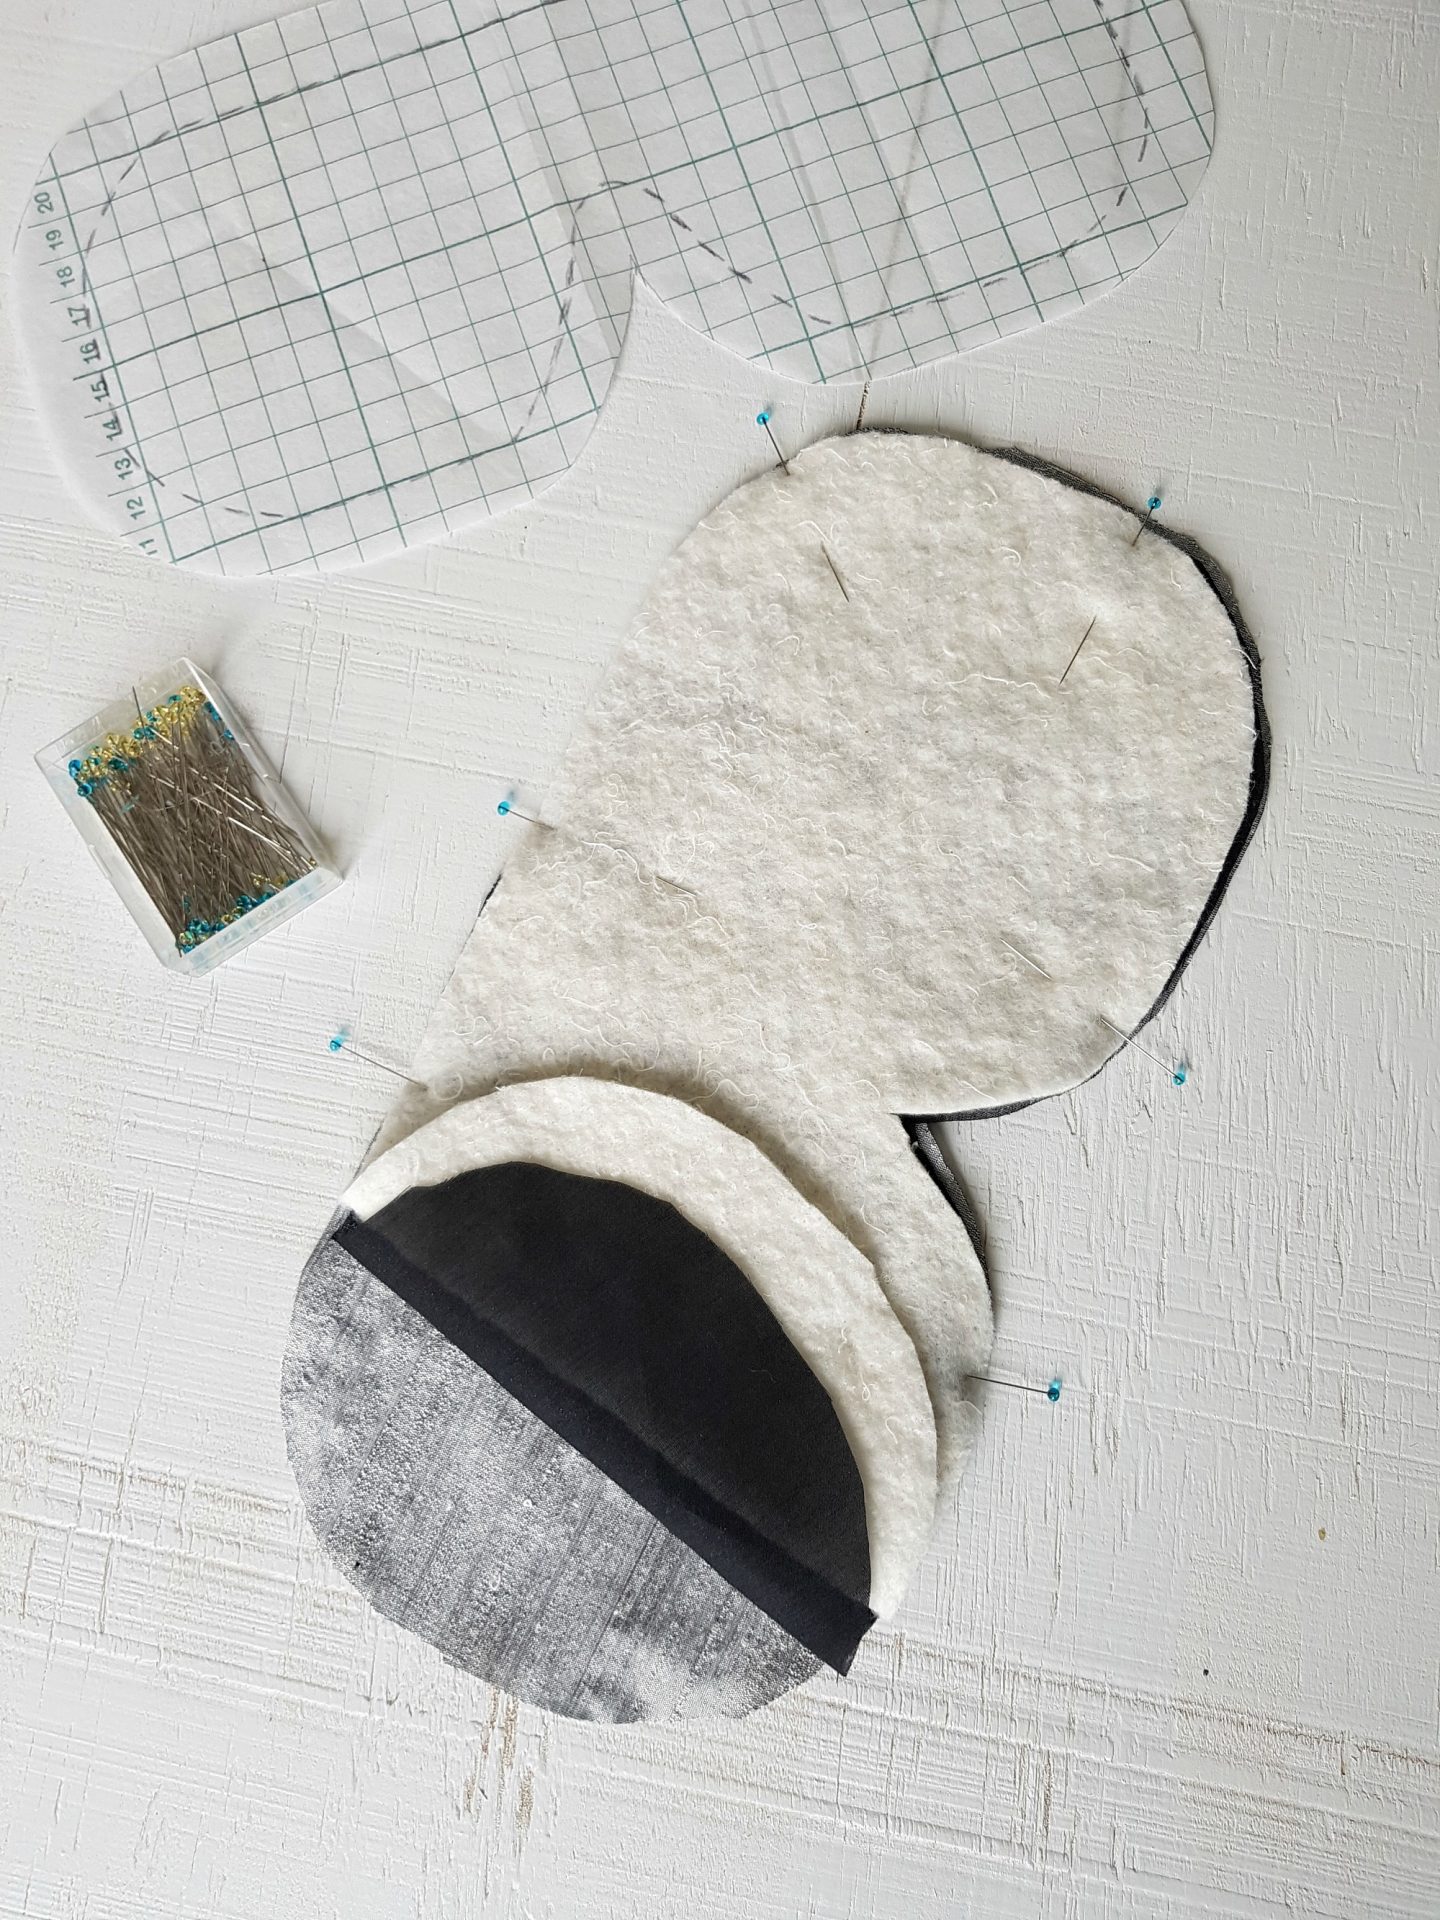
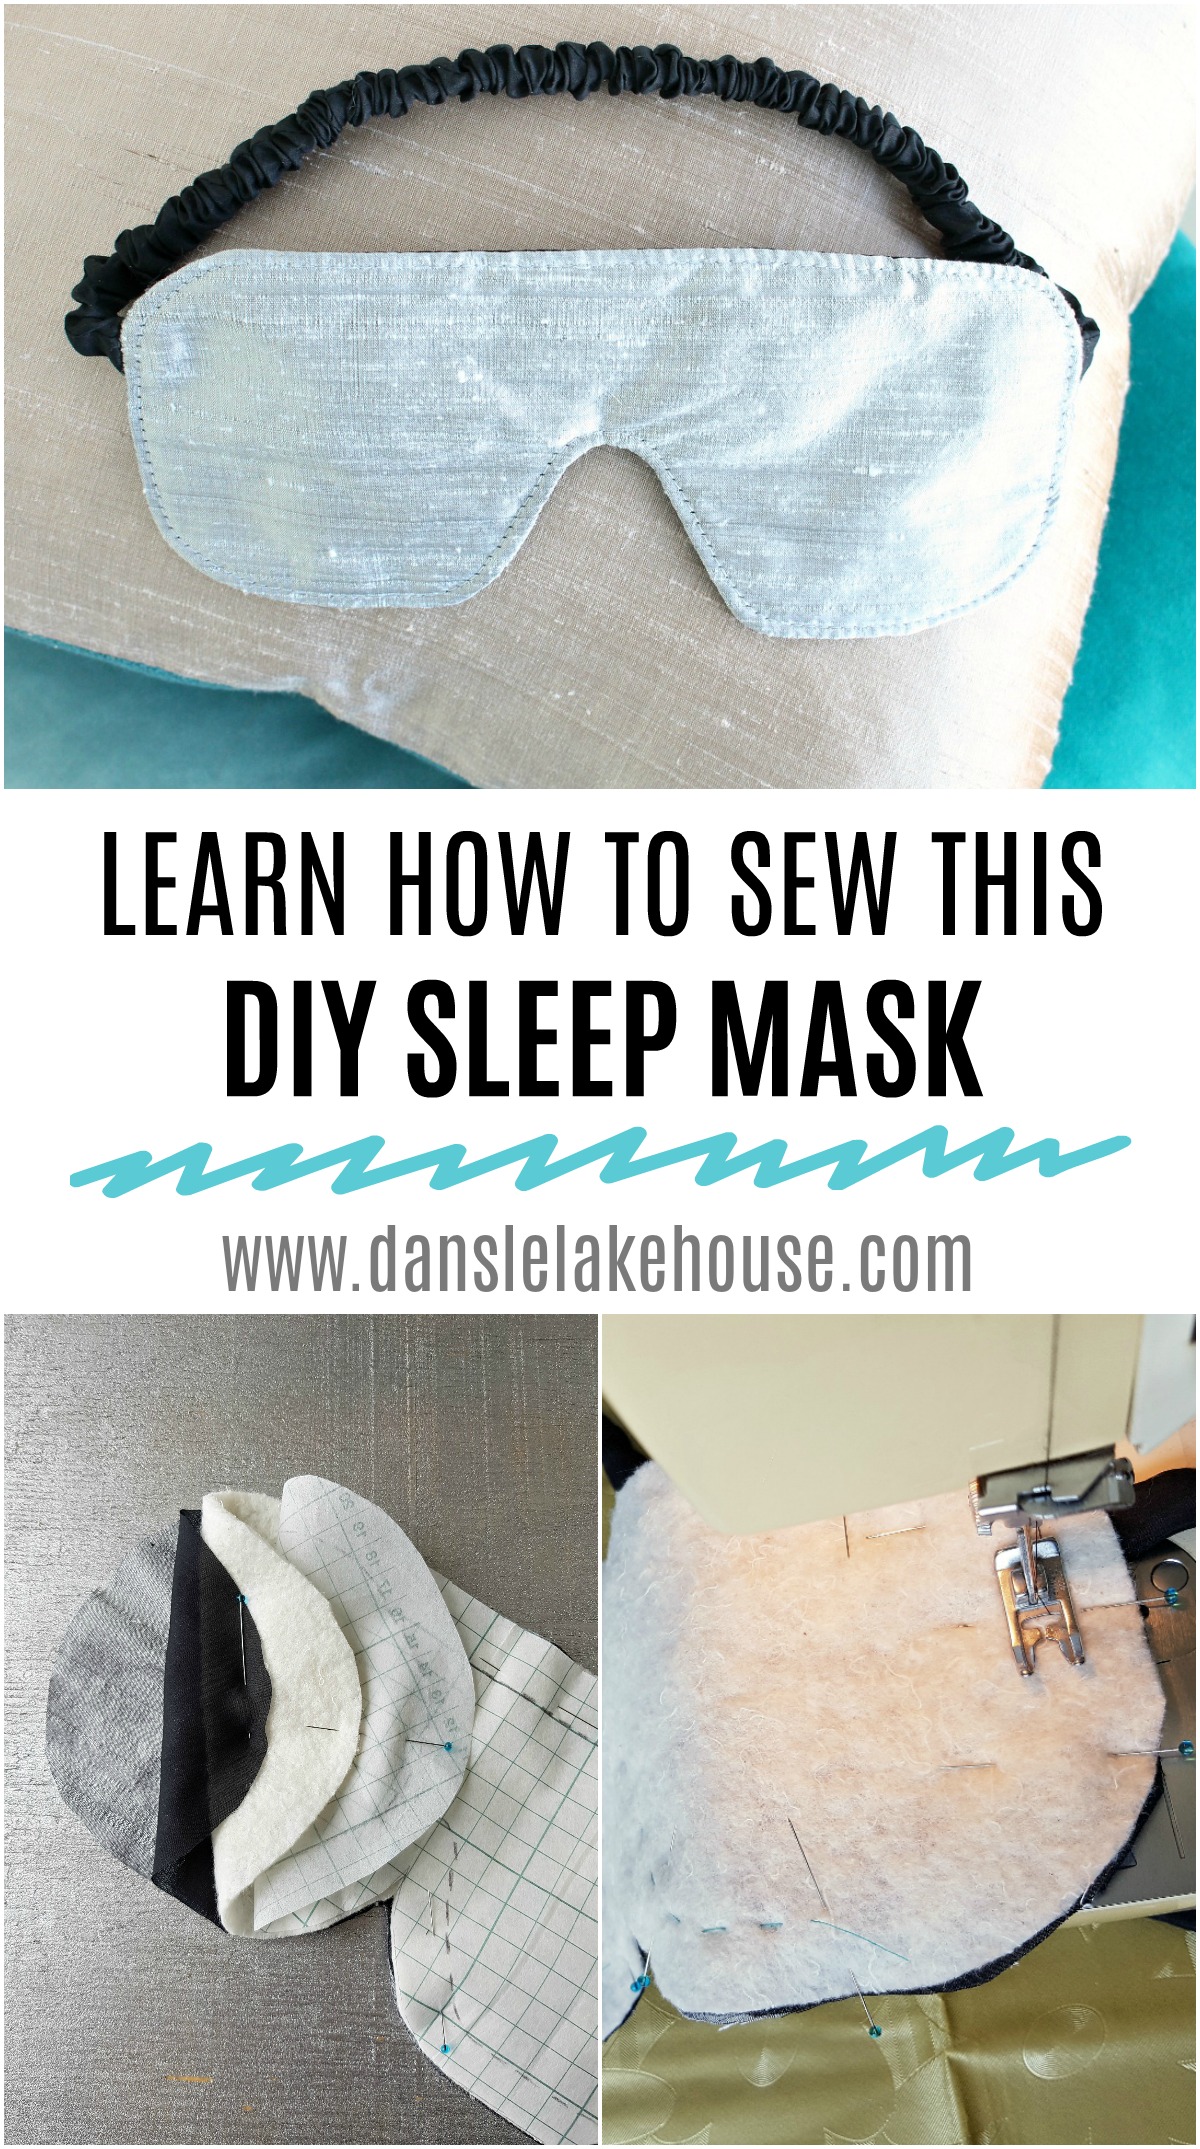
The first step is to quickly draft your own “pattern” or template, using a scrap piece of paper – or pattern drafting tissue if you have it. The graph helps to ensure an even, symmetrical design. Drafting your own pattern lets you customize the width and shape of the DIY sleep mask to your own face for a perfect fit. When creating your template, add a 5/8″ of an inch seam allowance (meaning: cut your eye mask 5/8″ larger than you’d like the finished mask). With your own template or pattern created, pin it to your fabric, lining, and batting and cut out all three layers:

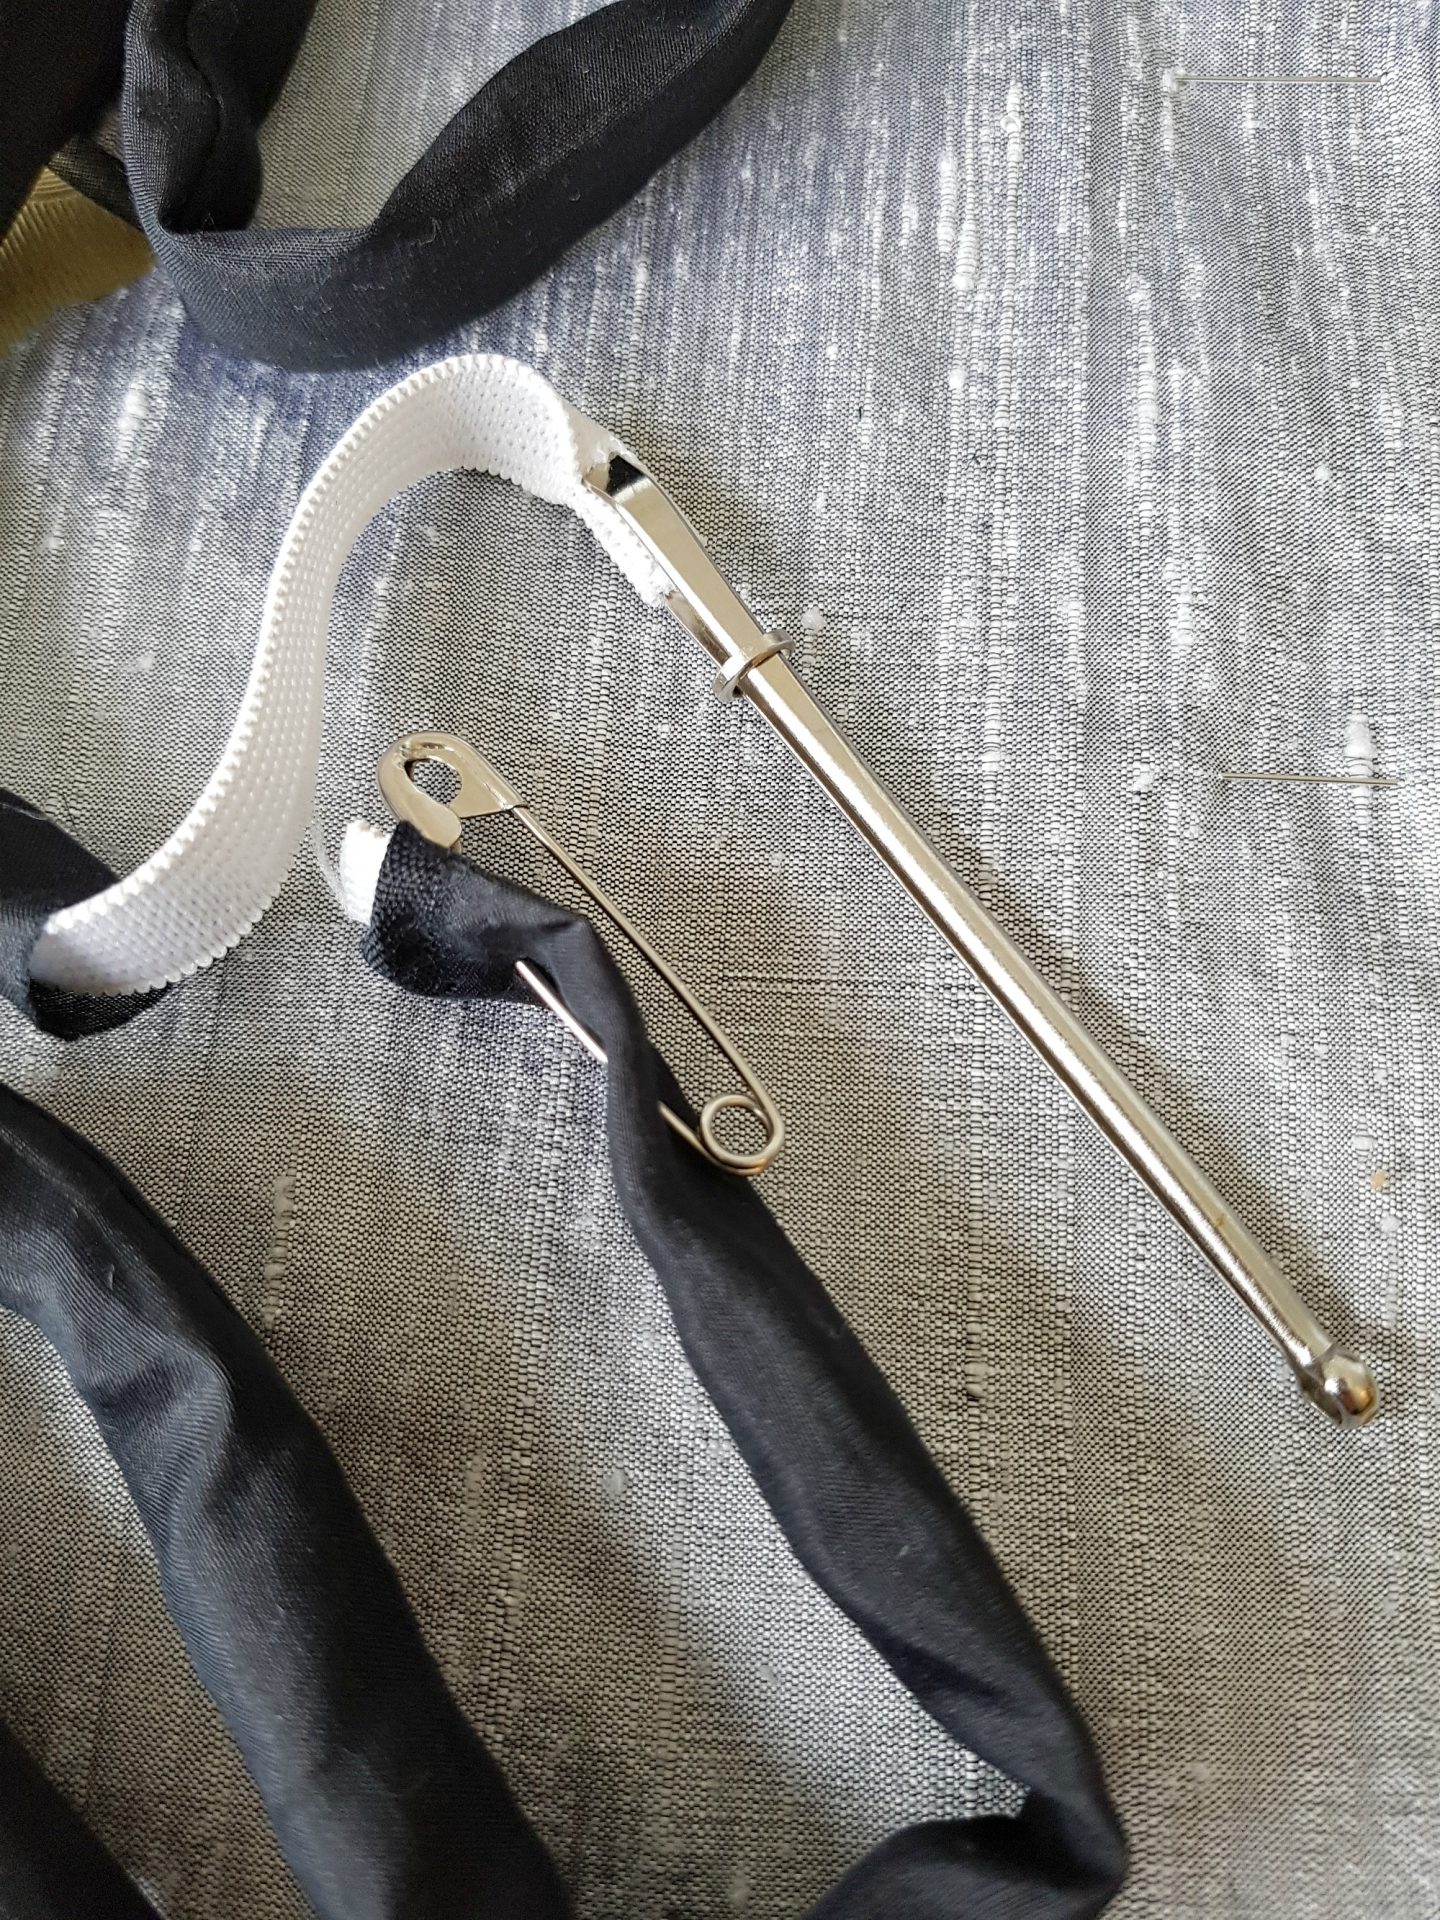
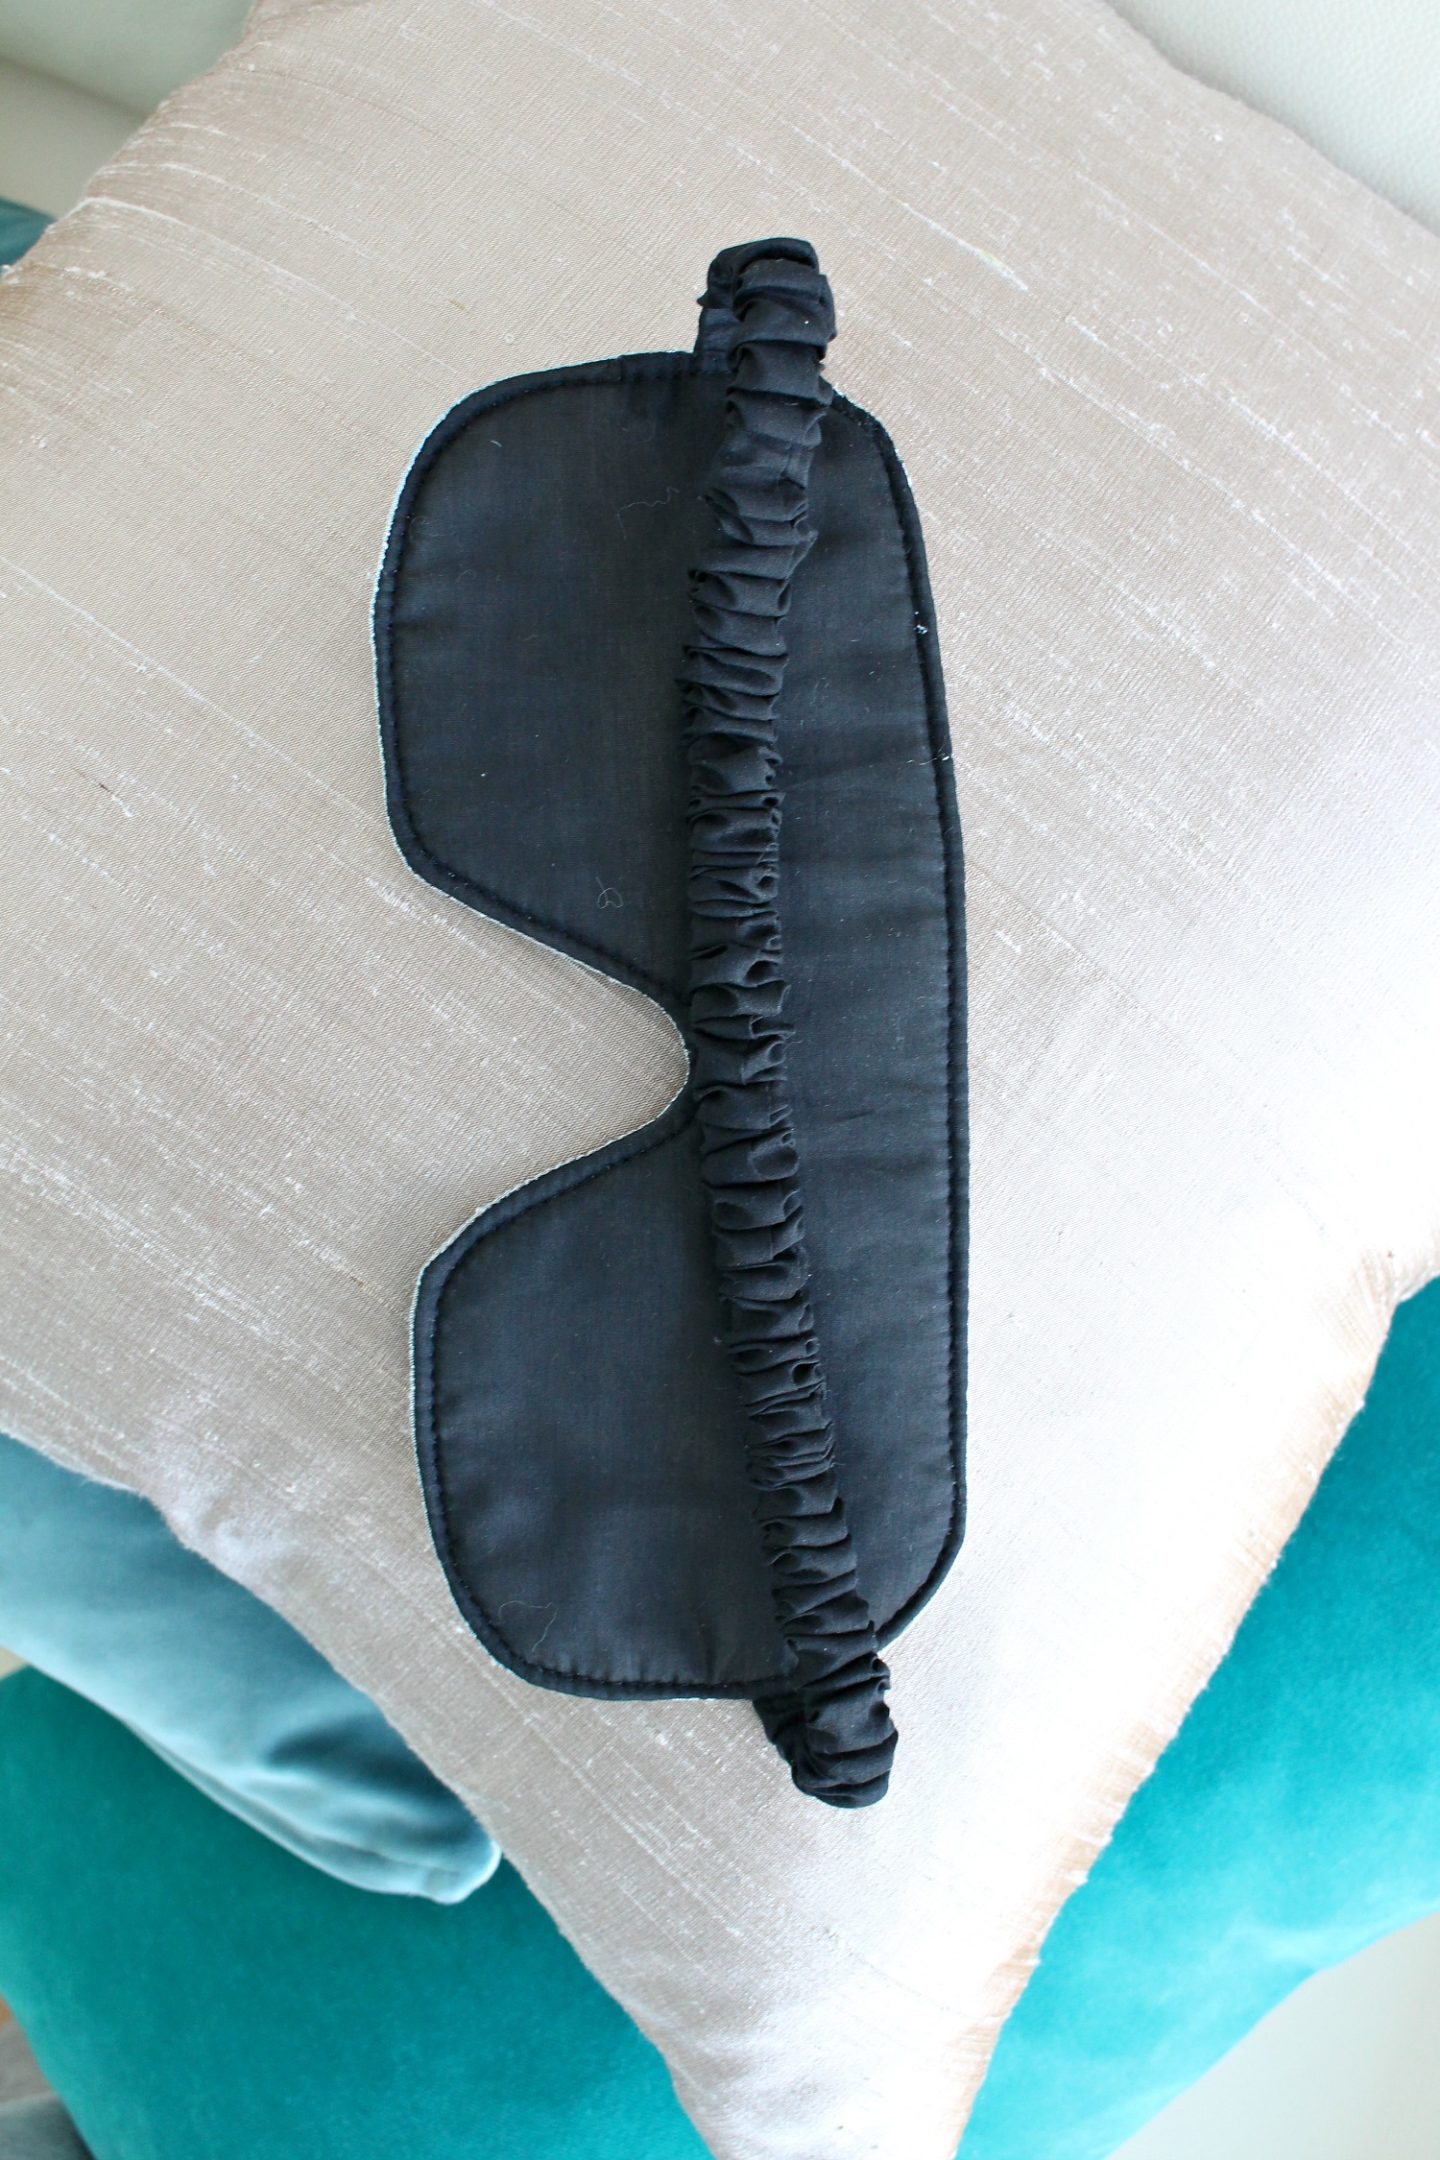
Set the eye mask aside and start making the band. Cut a length of elastic which fits comfortably around your head and remember to add approx 5/8″ of an inch to tuck into the mask. Cut a length of material approximately 2-3 times the length of the finished elastic and approximately 3 times the width of the elastic plus a seam allowance. For reference, my fabric was about 1.5″ (plus seam allowance) wide. Turn the fabric inside out and sew a tube (kind of like a very narrow scrunchie):
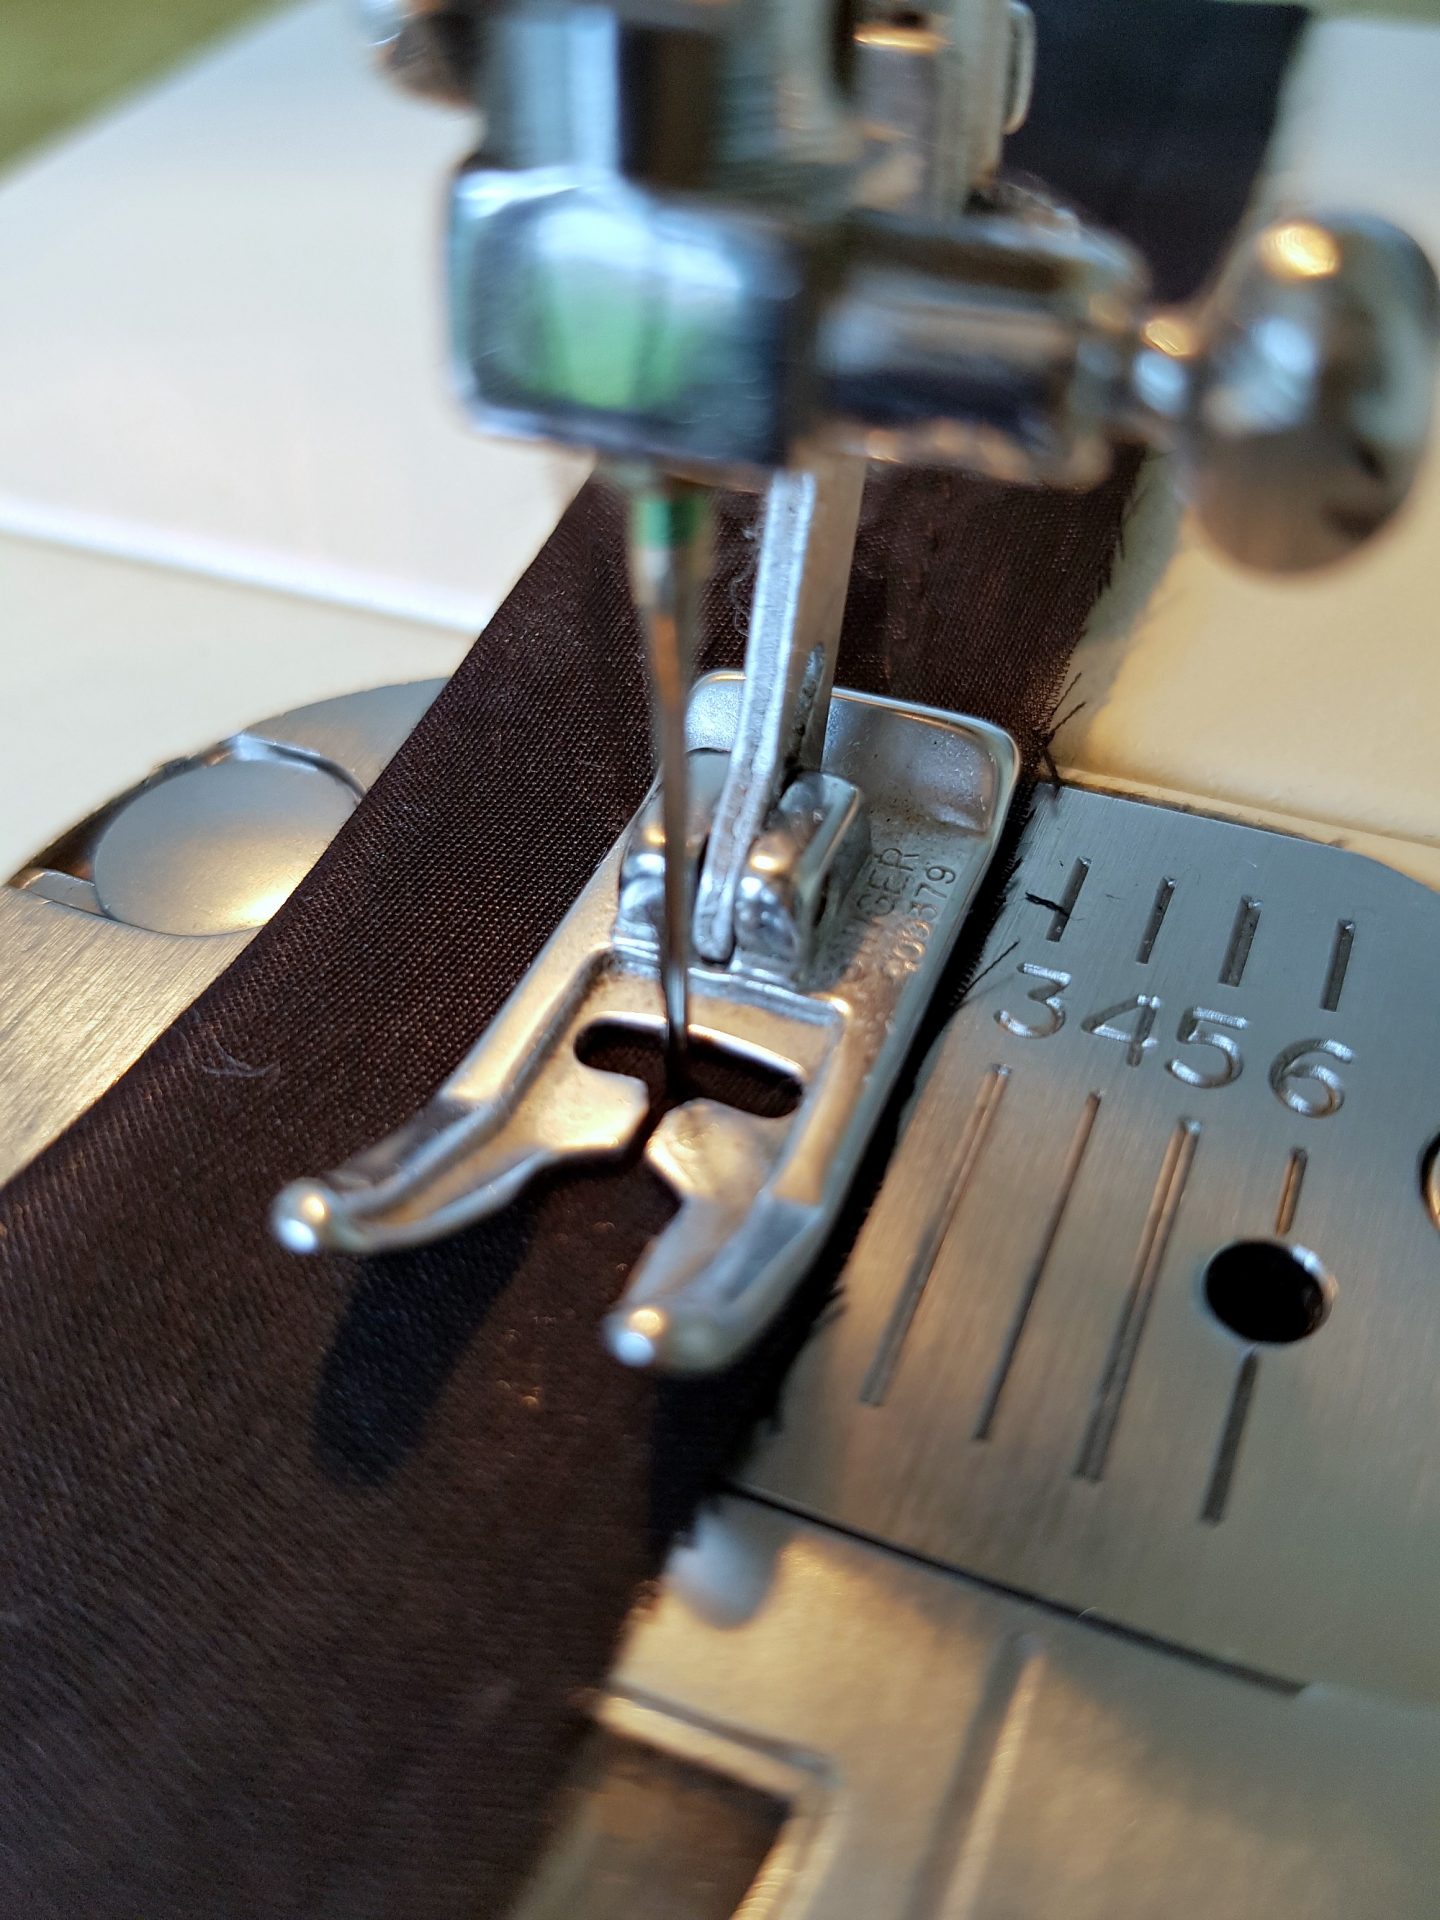
Turn the fabric tube right side out, press flat, and thread the elastic through the tube, anchoring it on one end with a large safety pin while you’re threading and then anchor with a few quick stitches:
Grab the layers of fabric for your eye mask. Place them on a table like this (top down): batting, lining, show fabric. The lining and the show fabric are right sides together:
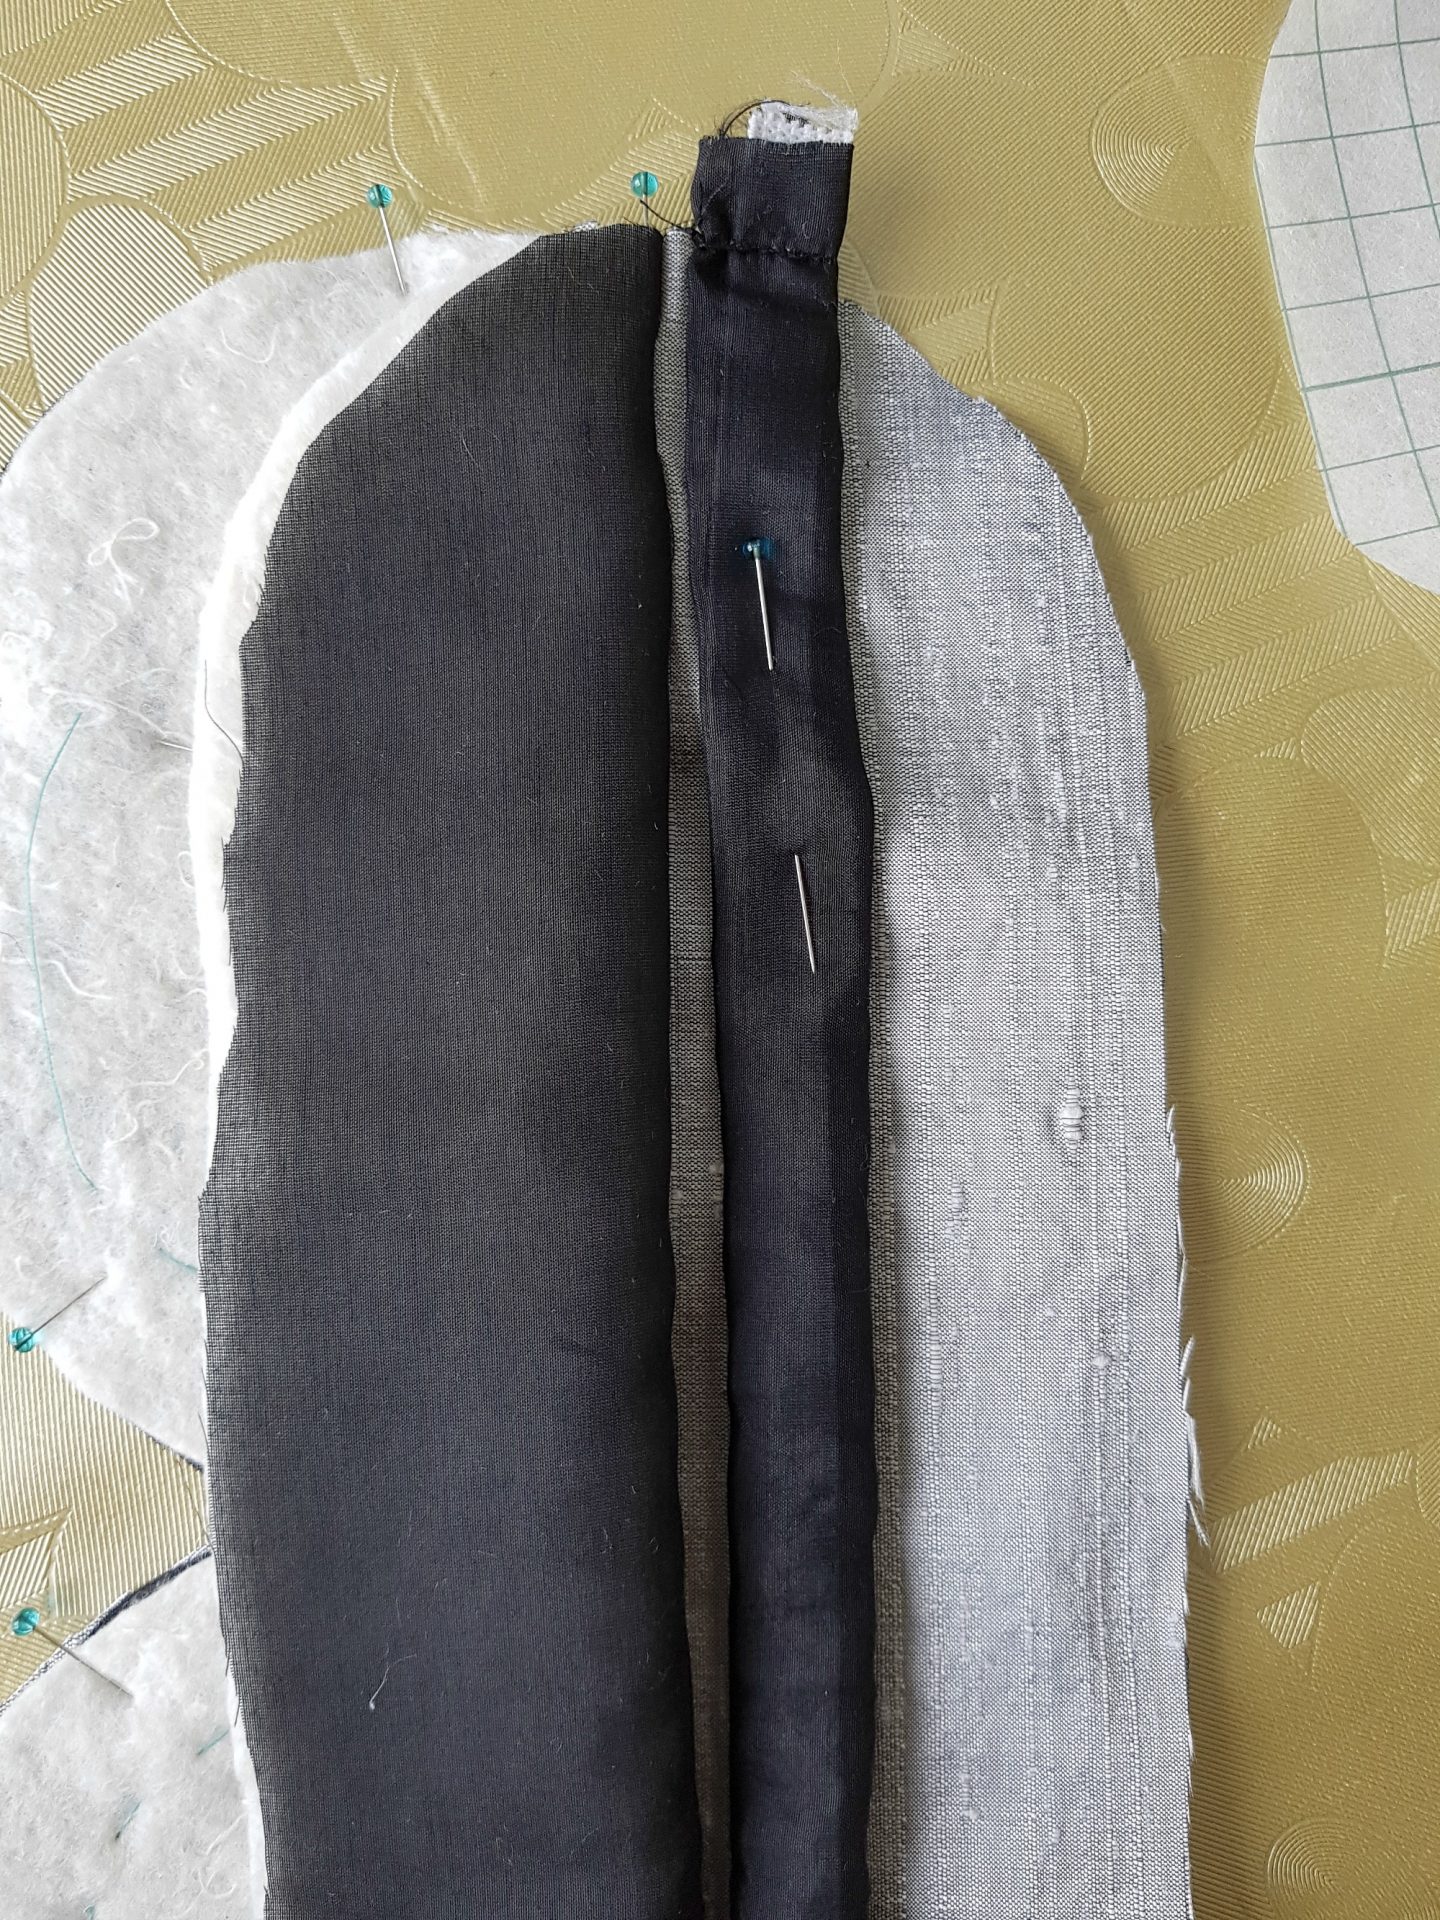
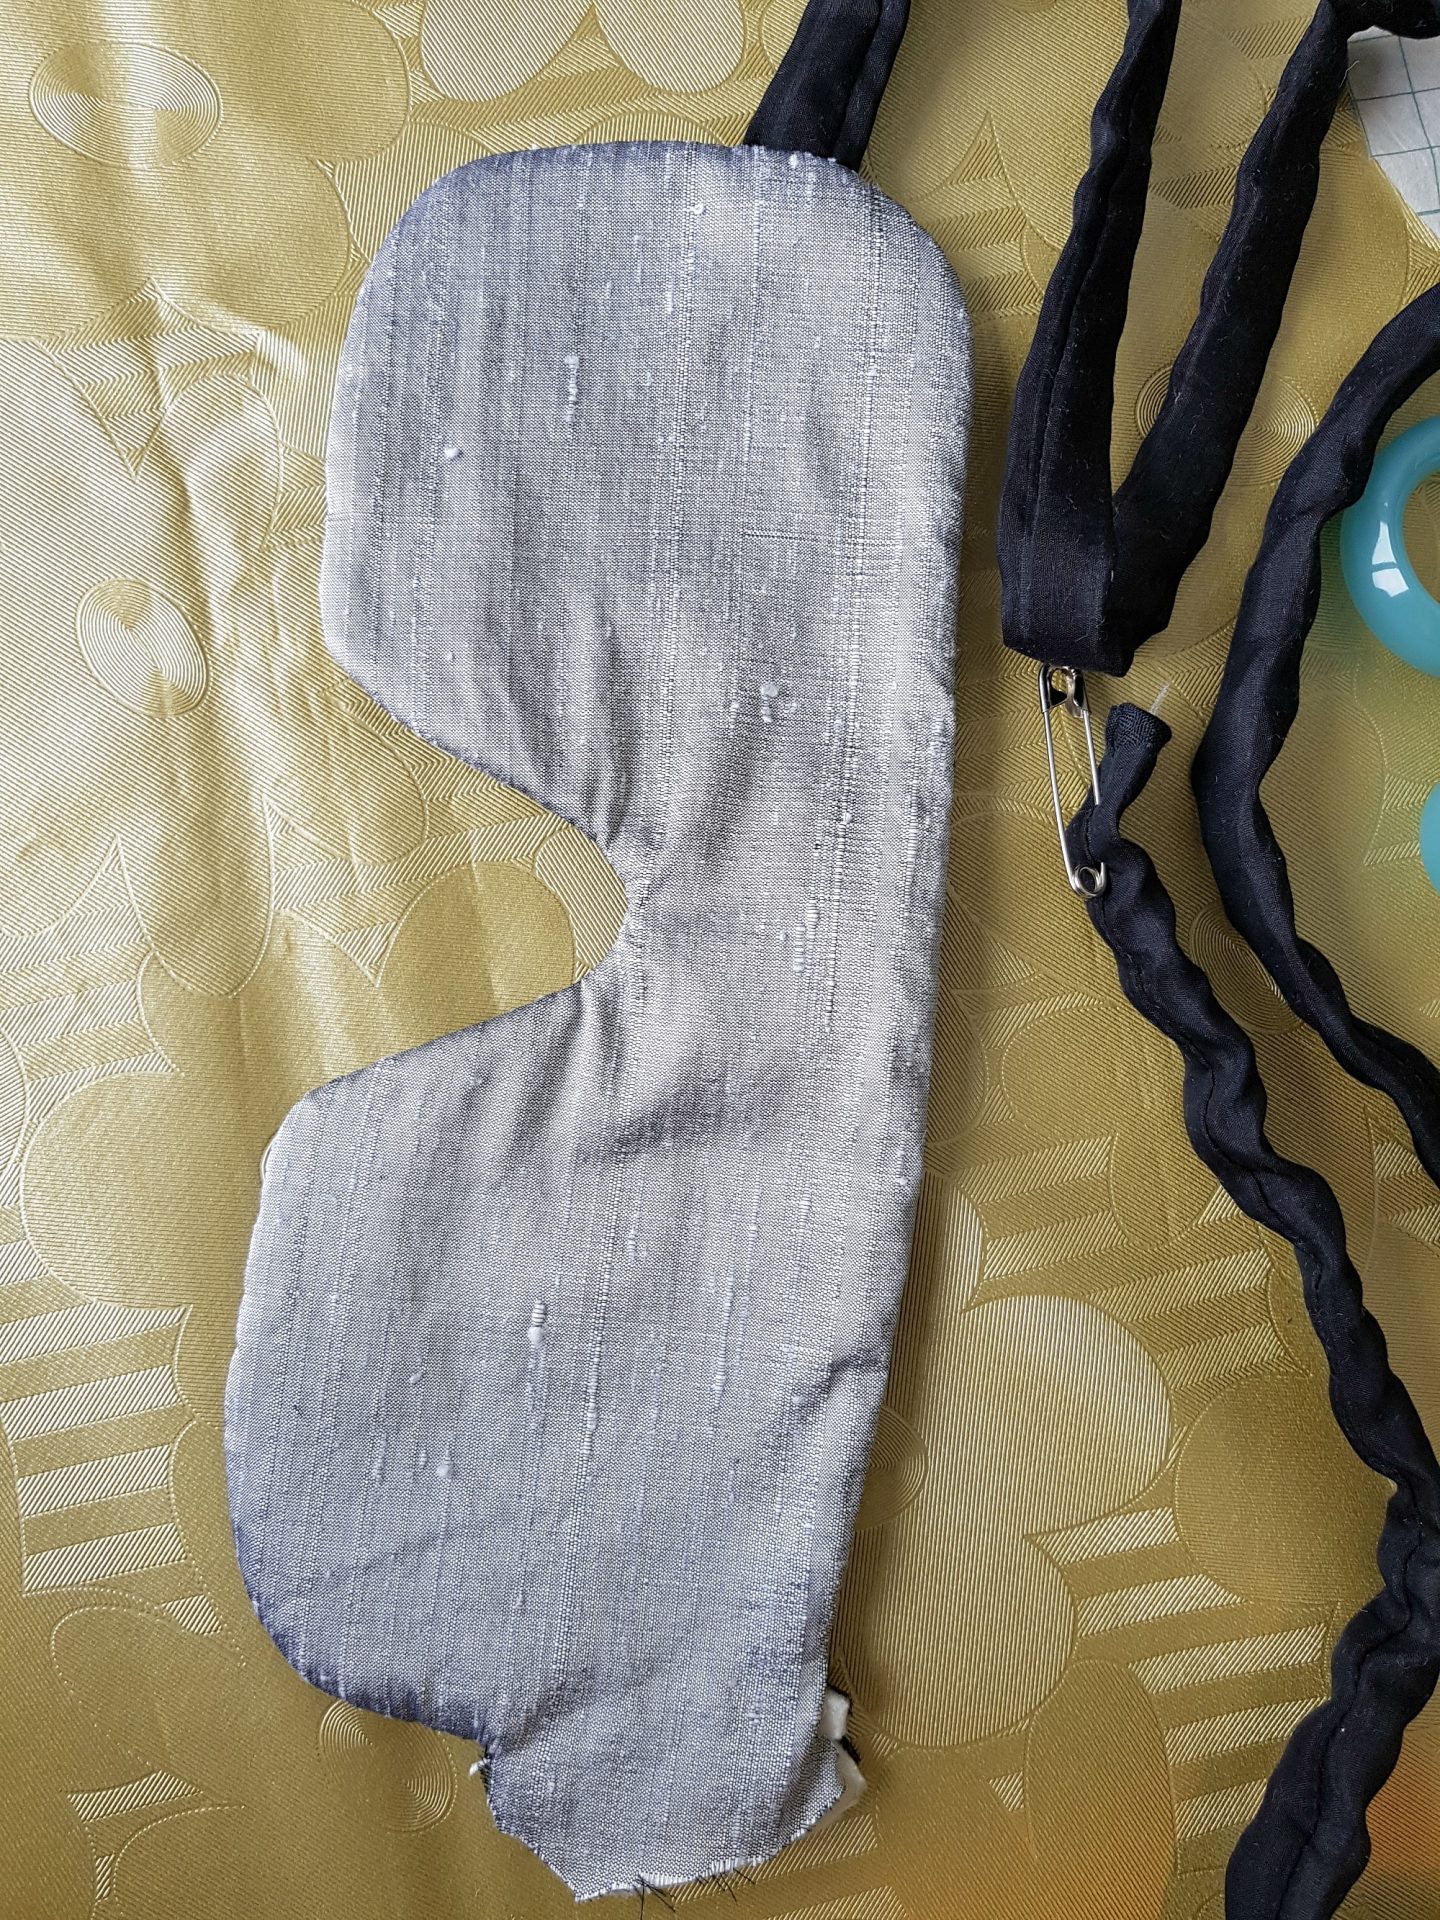
Now you need to think backwards a bit. Tuck the fabric encased elastic into the eye mask. Place the elastic between the lining fabric and show fabric. On one side, you will leave an end, and you will sew this side down. I did two layers of stitching for strength. The other end will be anchored later when you turn the mask inside out:
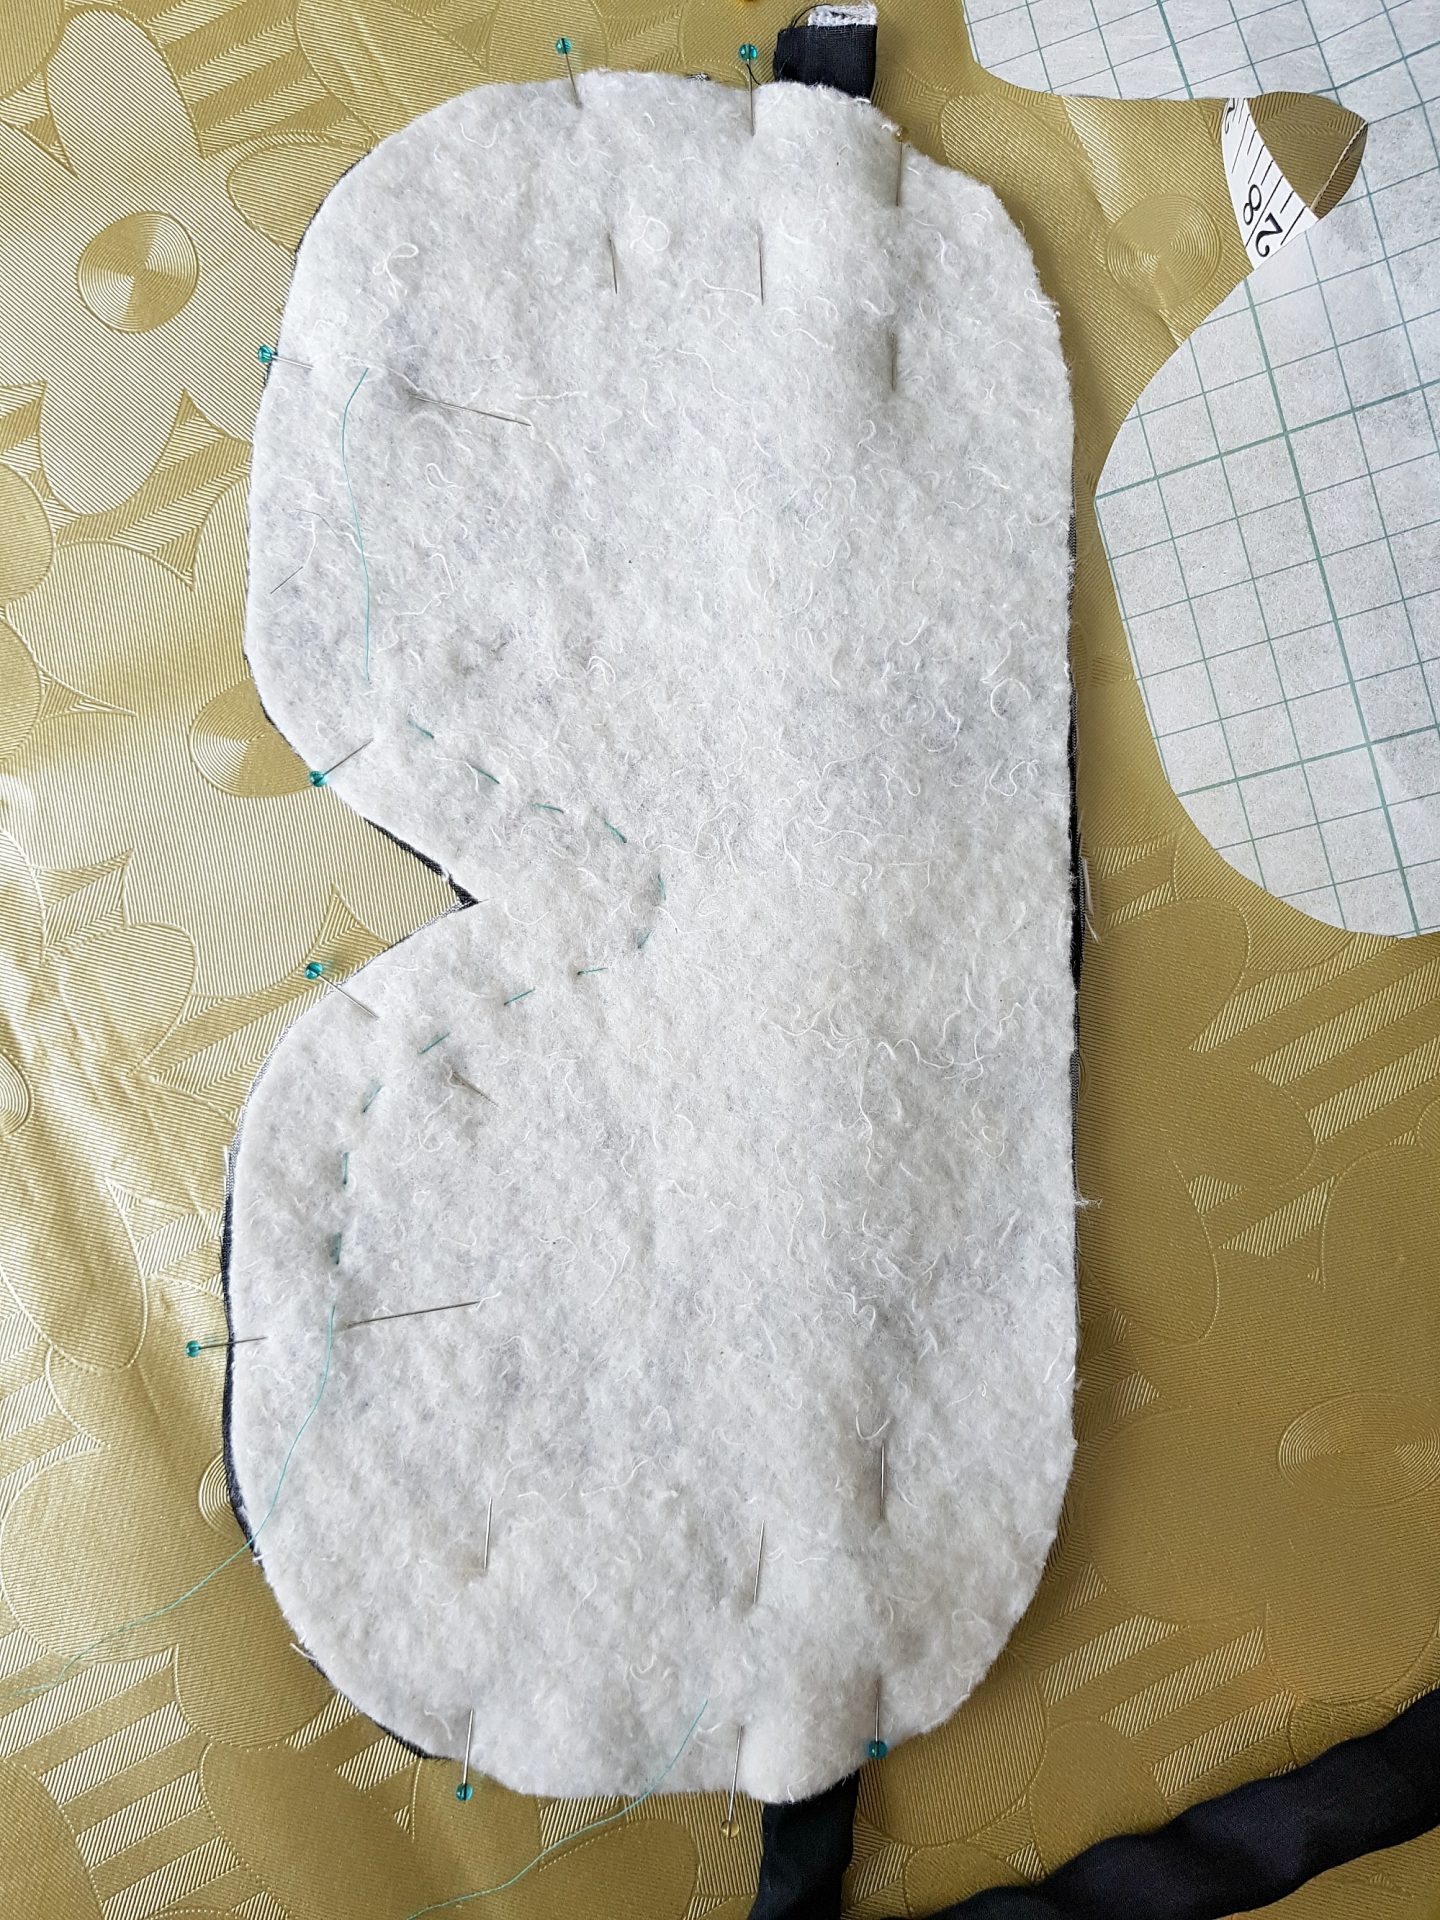

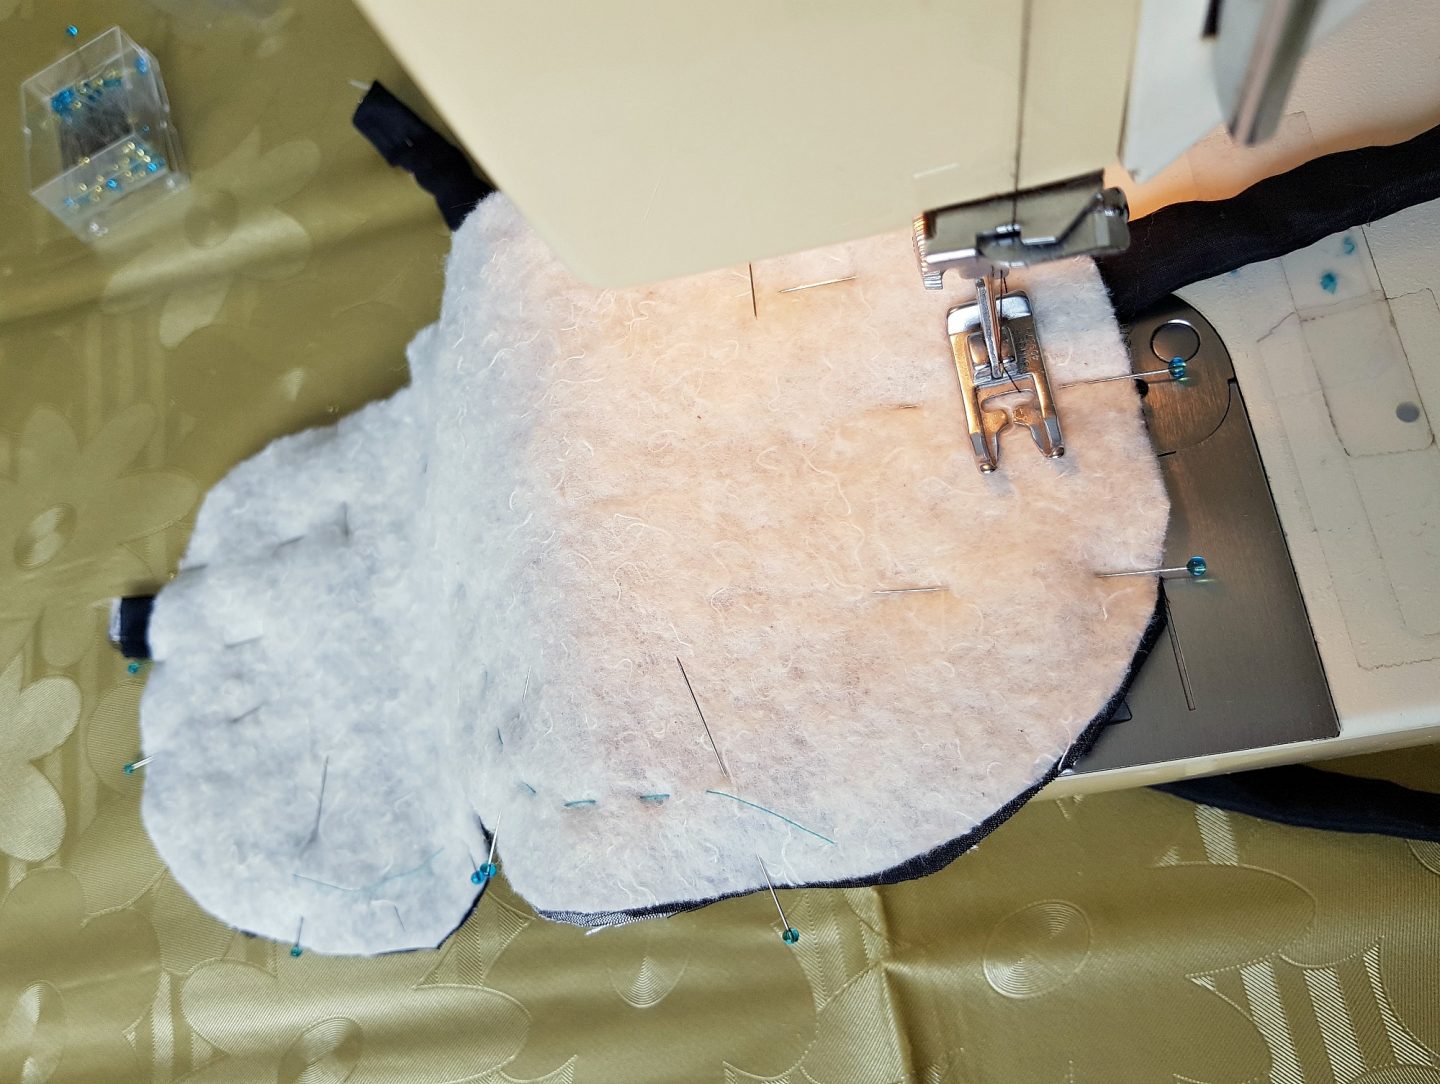
Sew all the way around the DIY sleep mask, but leave the spot where you’ll anchor the second end of the elastic band open because this is where you’ll turn the mask inside out. Before doing that, take a pair of sharp scissors and clip points along the edge, trimming the seam allowance at the same time. Be careful not to snip your stitches!
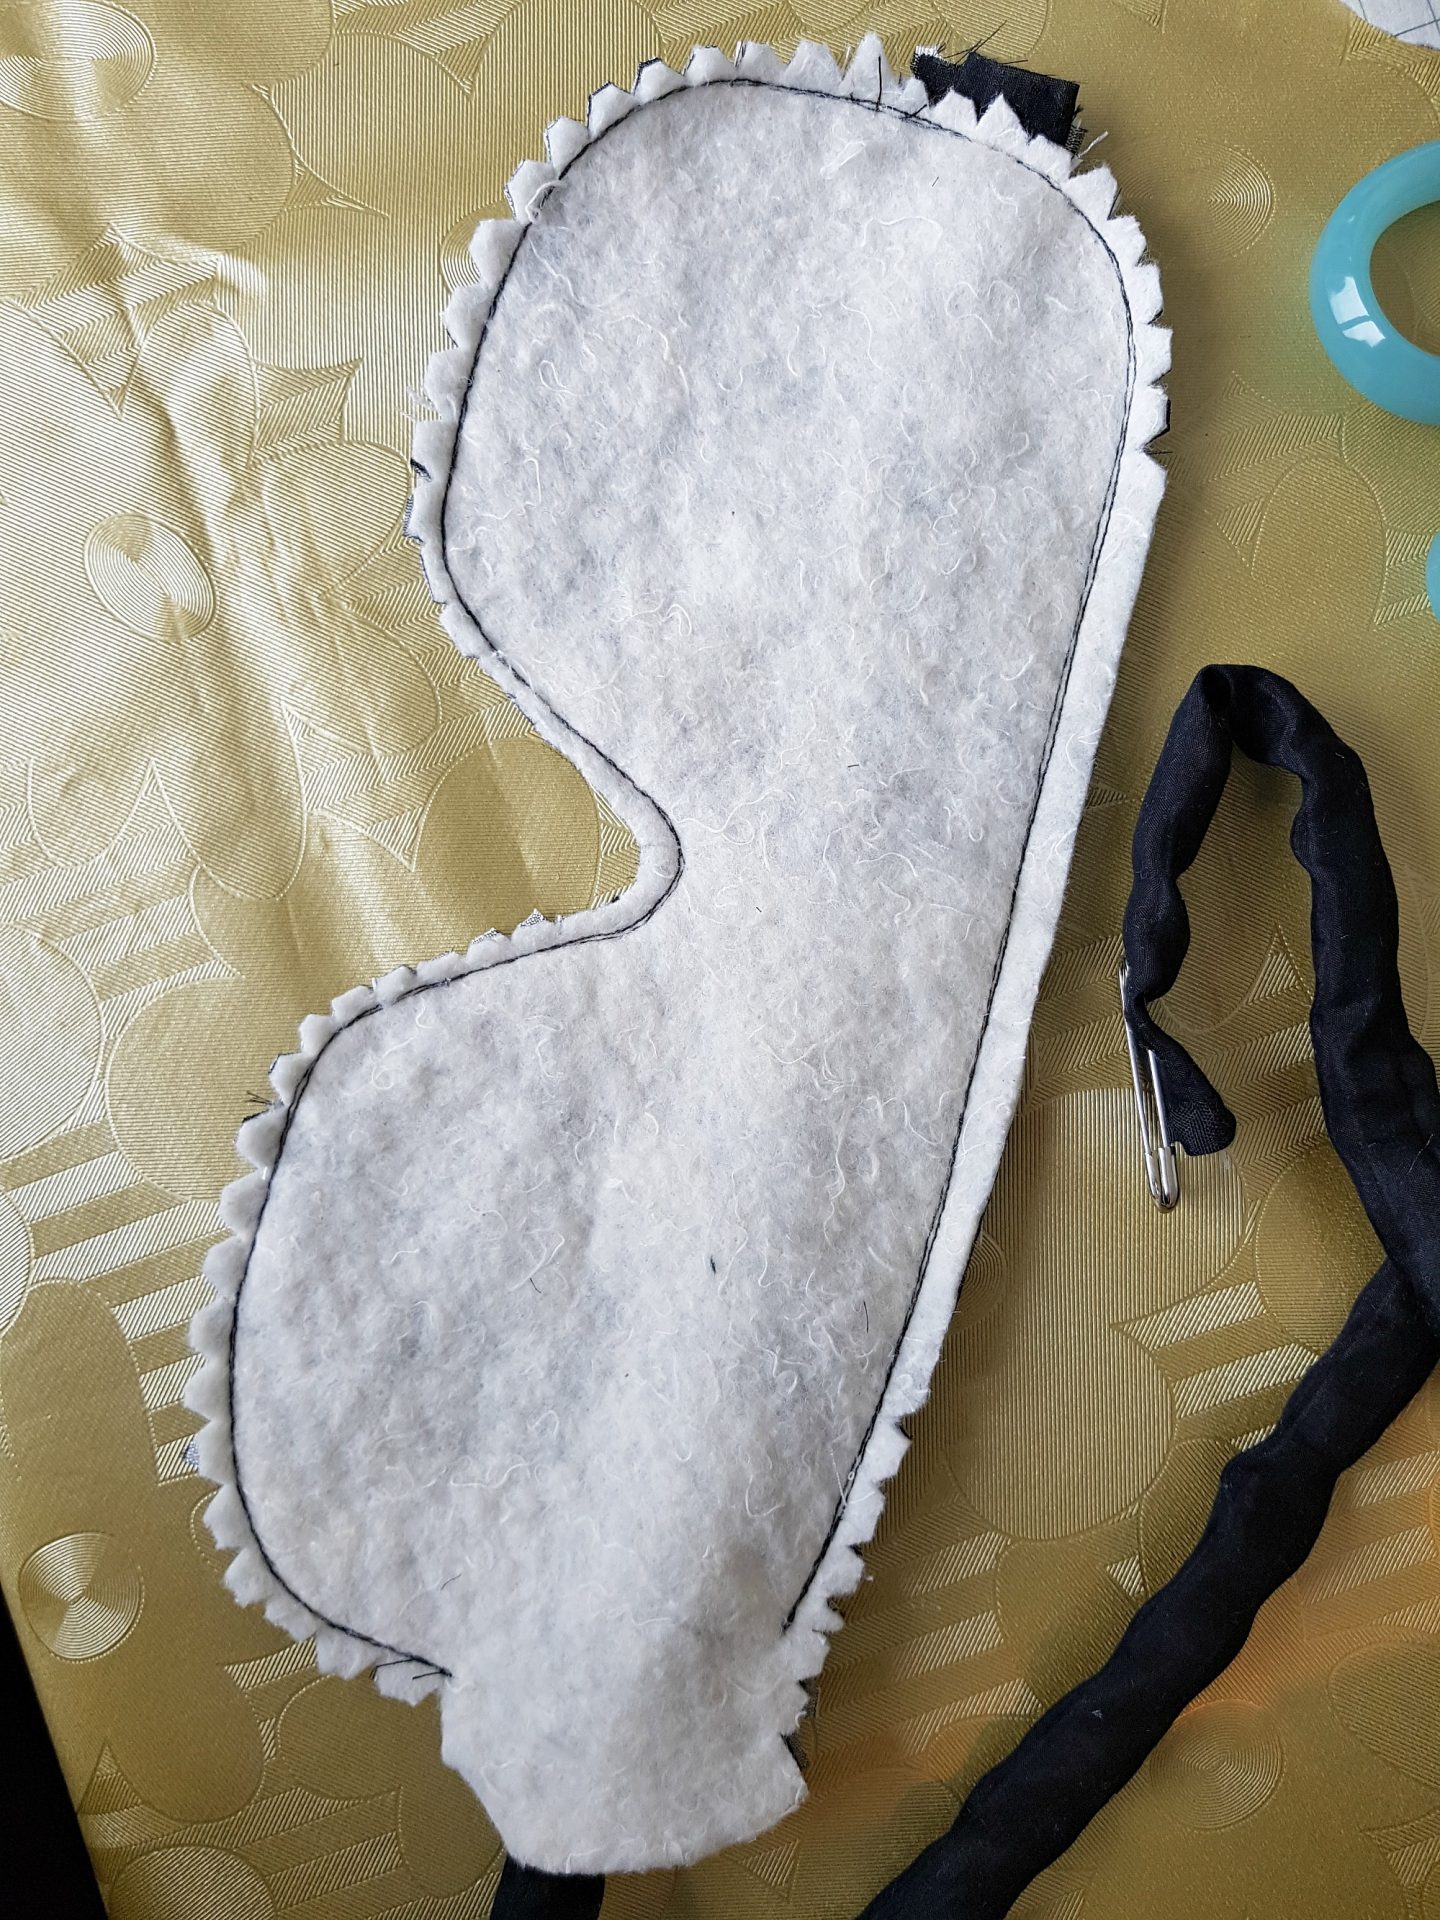
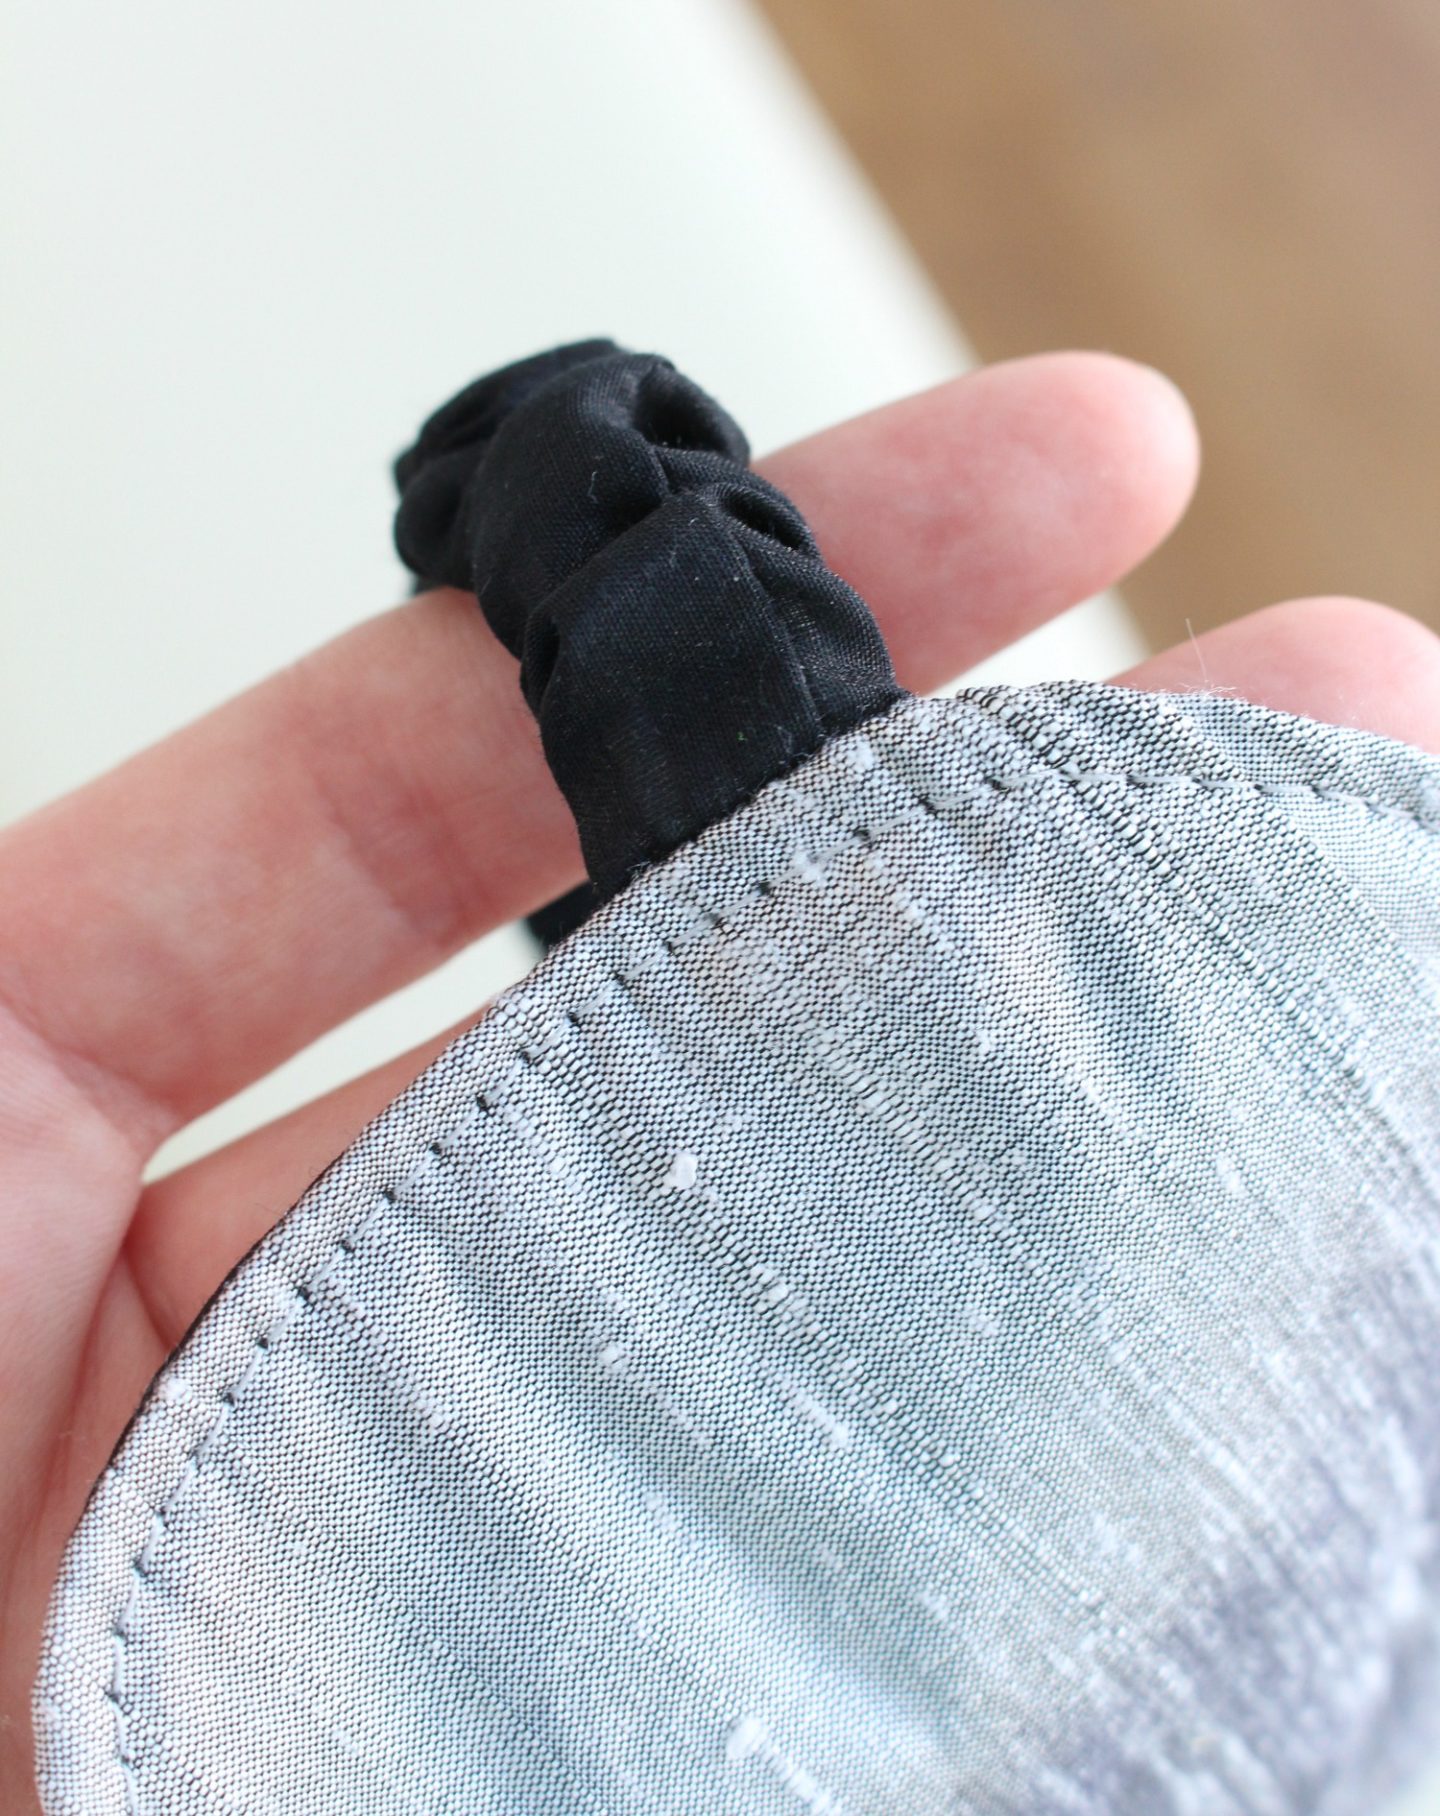
Gently turn your eye mask right side out and ruche the fabric along the elastic. Then tuck the other end of the elastic (making sure the elastic is lying flat and not twisted) into the opening. Hand baste the opening closed, which will make sewing easier. And then top stitch all the way around to anchor the elastic and close the opening. You’re done your DIY sleep mask!


The final step is to take a nap and test it out…
One note about fabric: I chose silk for my DIY sleep mask because beauty experts recommend sleeping on silk or satin because it’s better for your skin (prevent wrinkles apparently!) but even if you don’t use silk, choose something that feels soft on the skin. For the side of this DIY sleep mask that you show to the world, feel free to choose a funky fabric or add soft embellishments (nothing that will be uncomfortable to sleep on though). Sweet dreams!
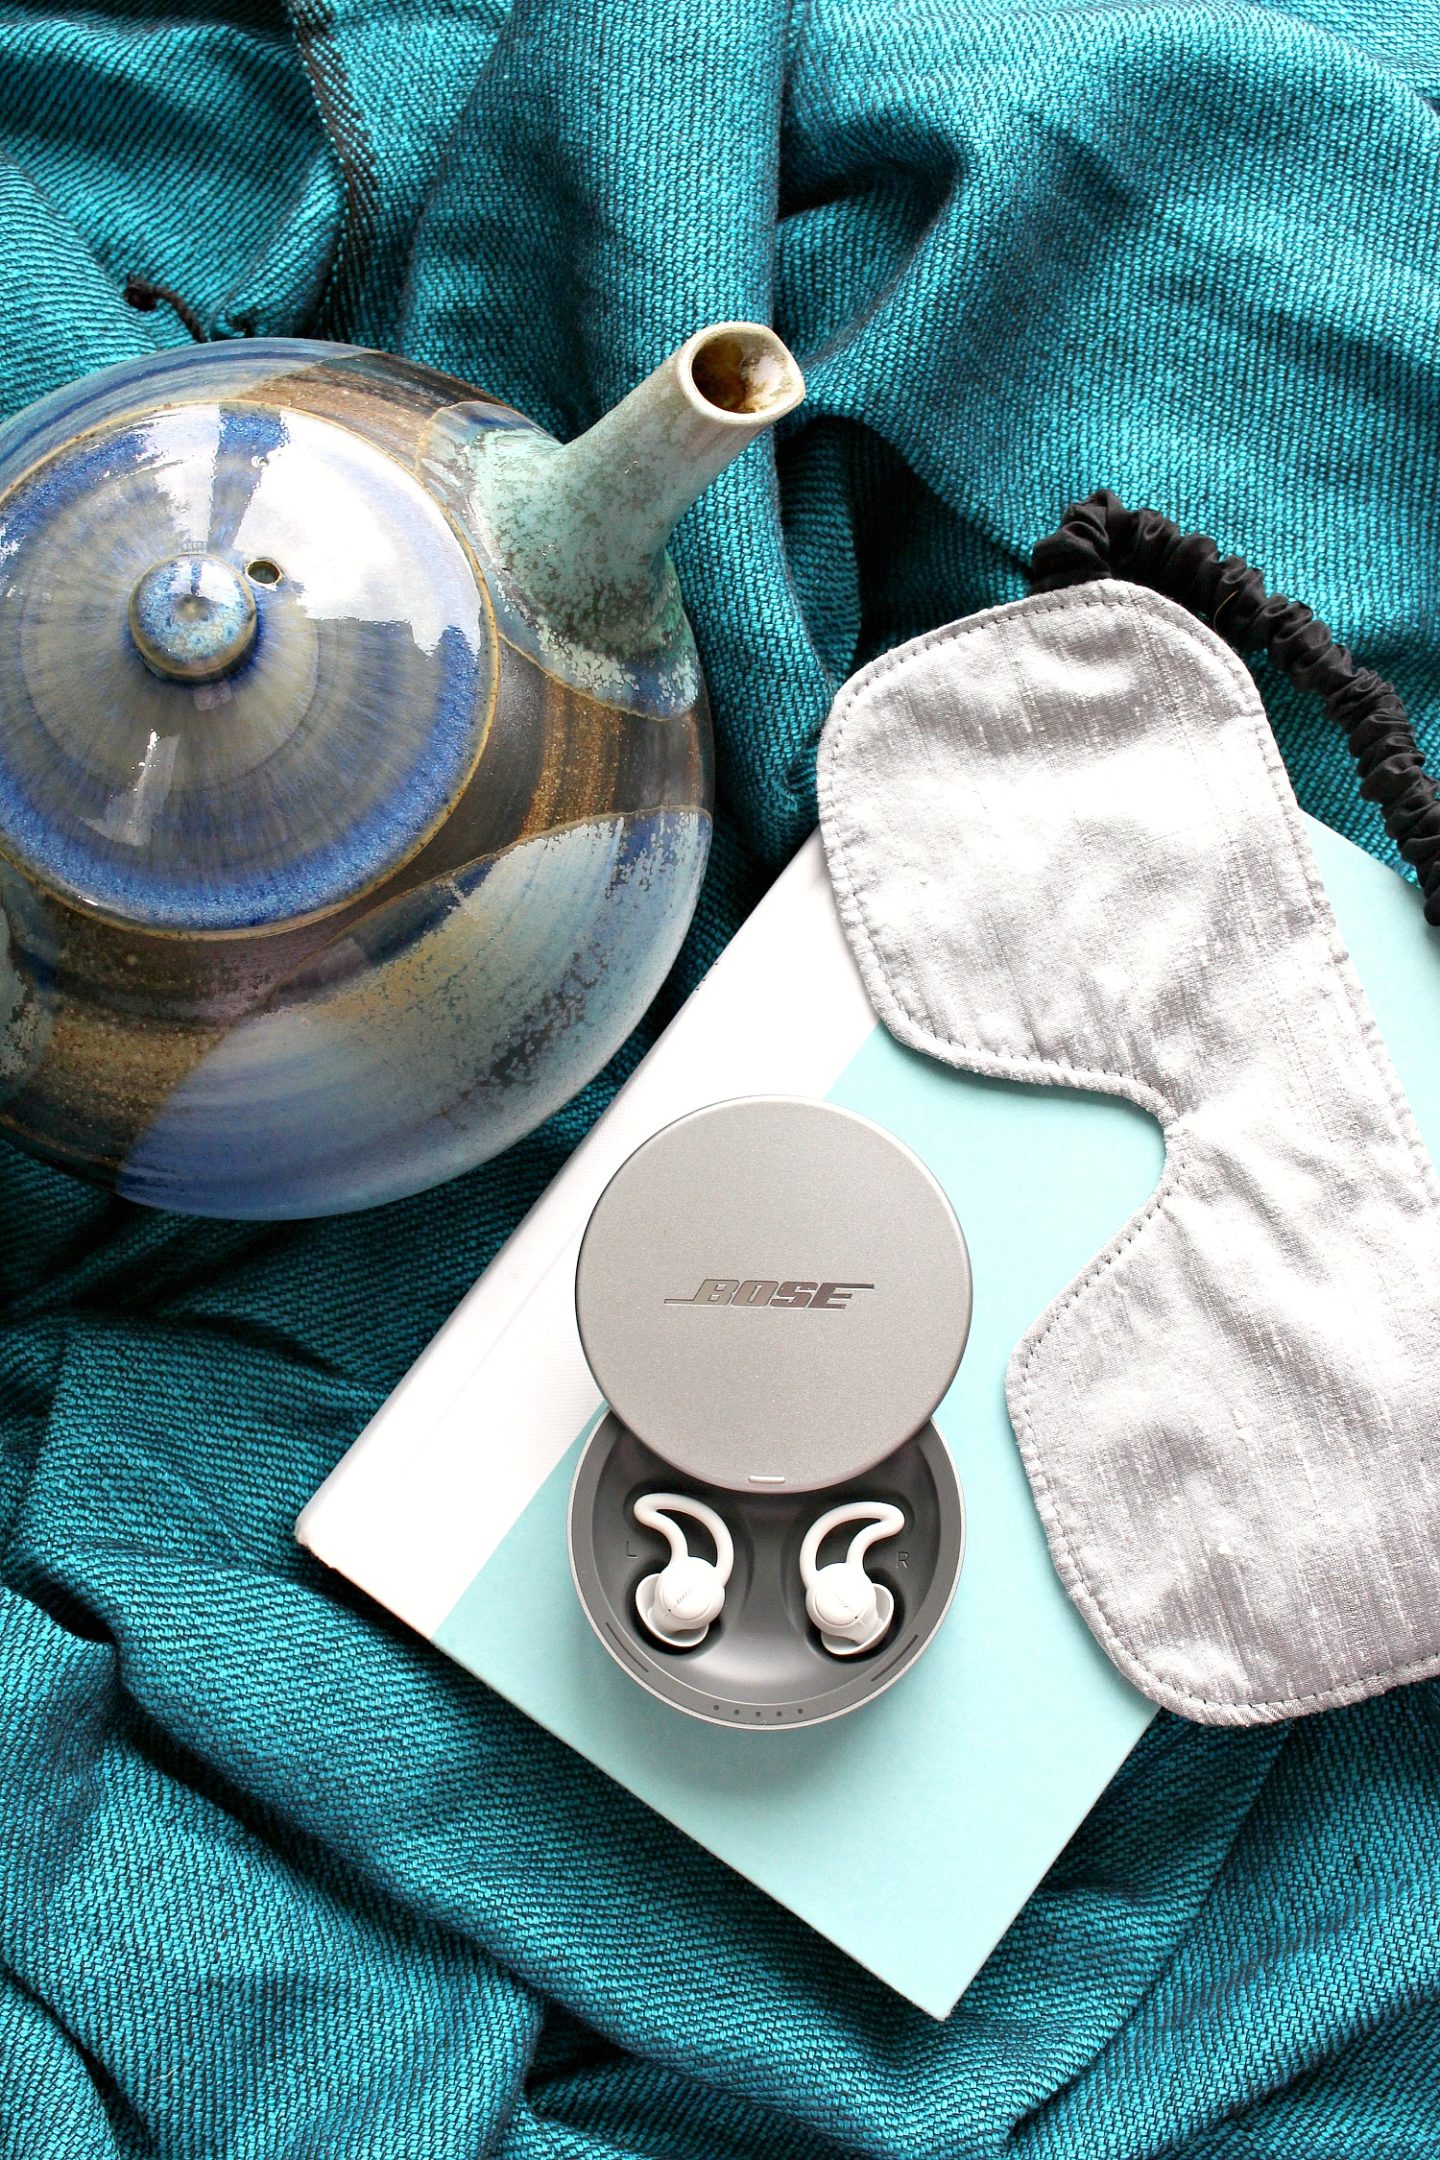
P.S. You might have originally spotted this DIY eye mask in my post about the Bose Sleepbuds. If you’re struggling to fall asleep because of city noise or someone’s snoring, check out my review here.
