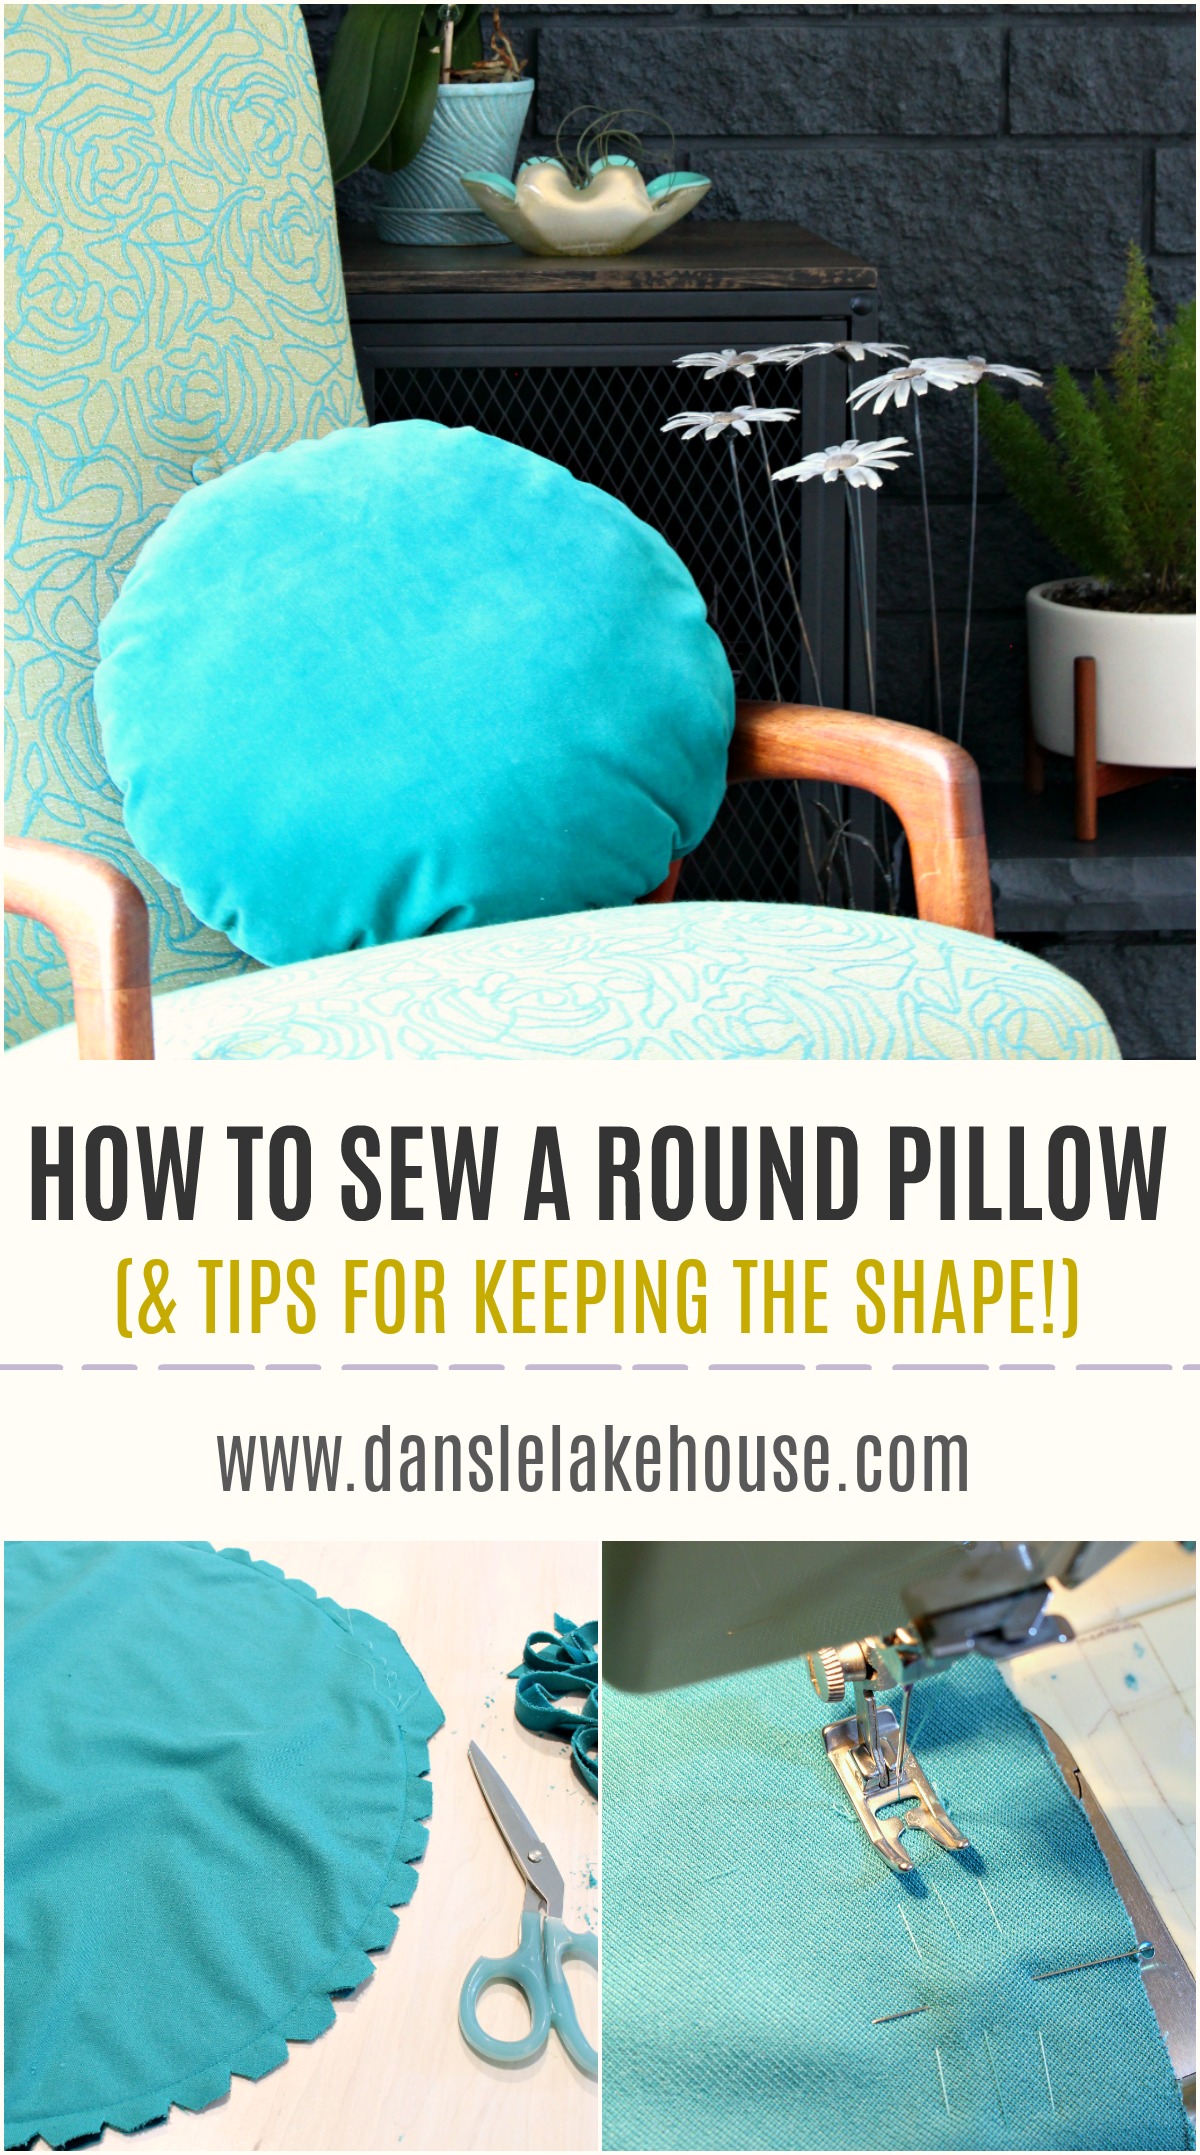
Let’s take a little break from chatting about the house exterior renovation so I can show you how to sew a round pillow – it’s such an easy DIY throw pillow project! My DIY mix and match velvet pillows were a hit on Instagram and some eagle eyed readers noticed that the little round velvet pillow matched. I used the leftover fabric from my teal velvet garbage chair for some of the pillows but because I had tried a (failed) matching ottoman project first, I had a weird circle of fabric leftover too. I didn’t want to waste it, so I whipped up an easy little round pillow – no zipper, nothing fancy, and just stuffed with leftover batting. A super quick little sewing project. I’ll show you how to sew a round pillow in this post, with some tips for how to keep it round.


Supplies:
- Teal velvet fabric – or any fabric of your choice
- Needle, pins, thread, scissors
- Sewing machine
- Poly-fill Premium Fiber (or just a round pillow form)
How to Sew a Round Pillow:
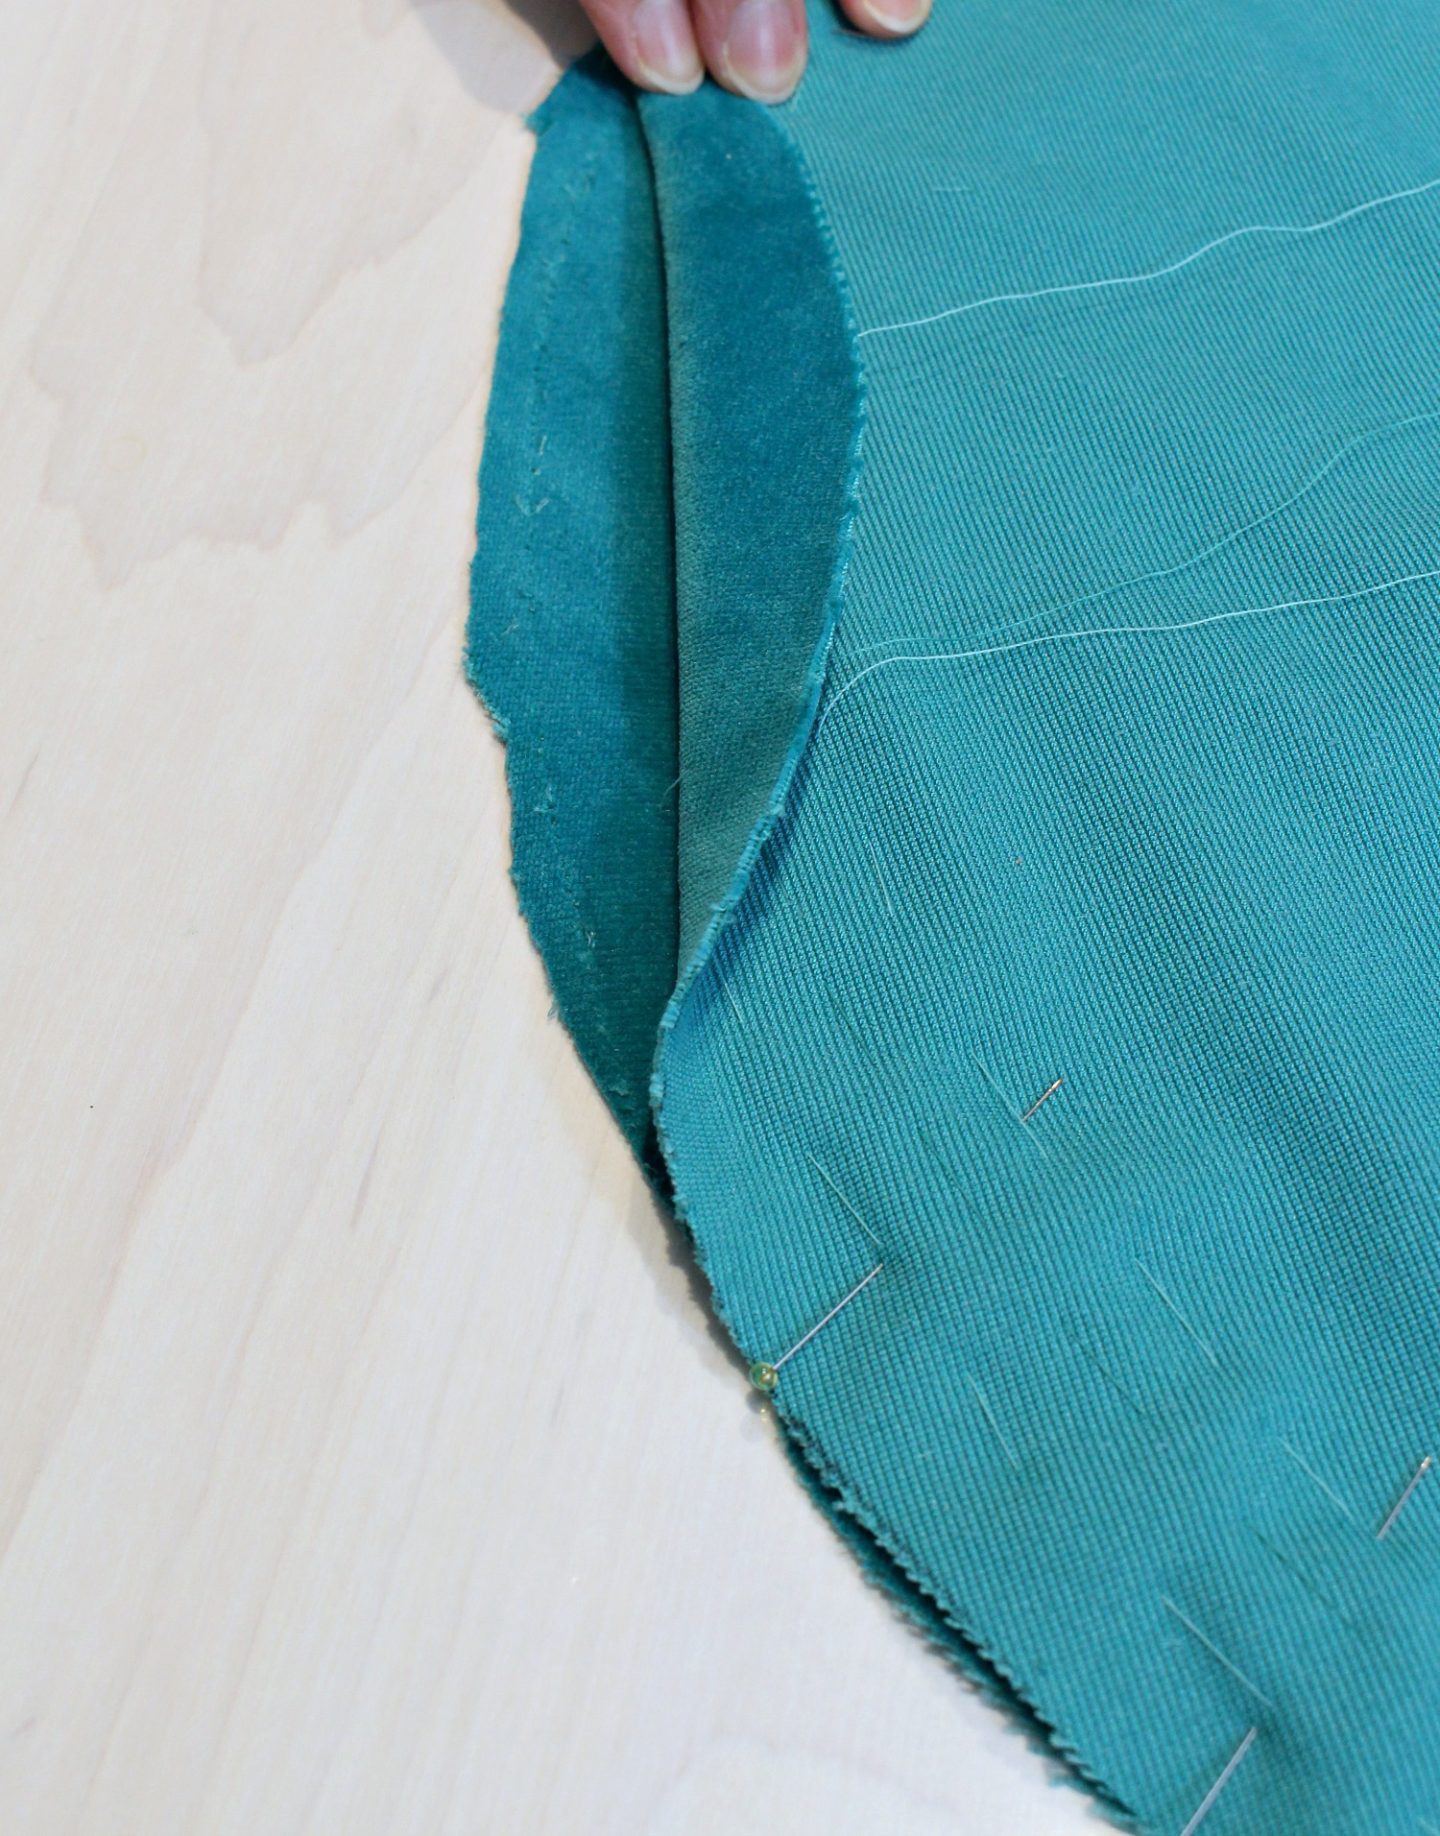
First cut out two circles – any size! – but remember to leave a seam allowance. With the two circles cut out, I place them good sides facing together and pinned them together. Because velvet has a tendency to slide around, and I didn’t want to lose the round shape while sewing, I quickly basted the fabric. I actually created a little guide with my basting so I would know where to sew. This step is optional – I’ve sewn a circle with and without this step – but this does help prevent any flat areas.


I stopped my hand stitched guide and left a small opening:
Using my sewing machine, I slowly sewed the circle by following my guide – remembering to leave the bottom open! Thanks to my basted guide, keeping the round shape was easy.

With the pillow seam stitched, I created another hand stitched guide along the opening so when I sewed that closed later, I didn’t accidentally sew a flat bottom! Then I trimmed the excess fabric.

After trimming the excess fabric, I cut little notches along the edge which help reduce the fabric bulk in the seam. I used this trick for my round DIY pot holder too!

Then I turned the round pillow right side out, stuffed with Poly-Fill, and hand stitched it closed. I had Poly-Fill on hand and used up everything leftover from another project. If I had bought some, I would have opted for a larger bag because the round pillow ended up a little less dense and full than I would like – but still super cute! You could also sew a pom pom trim along the edge (here’s my tutorial for that) or anchor the centre with a self covered shank button on each side for a little vintage inspired tufting. And that’s how to sew a round pillow!

Looking for more DIY pillow ideas?
Check out these tutorials for: how to sew a pillow with a zipper, how to make a gathered silk pillow, or how to to make a simple doily applique pillow. Happy sewing!

Very clear tutorial and great result ! Love the velvet fabric and the color. Would also work well as an XXL pillow !
Author
Thank you! So happy you liked it. And yes – that’s a great idea!