I came up with the idea (and even bought the metal and chain) for this DIY live edge table, with welded chain legs, last year. But because our exterior renovation was so delayed, we never ended up making it. And then this year, building the chicken coop took weeks longer than anticipated, so we almost ran out of summer again – but I was not going to let another year slip by! Especially because the folks at Live Edge Timber Co. had been kind enough to send their beautiful live edge pine to use for this project. So hubby and I hustled, and now we have a beautiful new, rustic modern patio table that looks gorgeous with our new dark and moody house exterior. So what do you think, was it worth the wait?


Well, I know that our new DIY live edge patio table has at least one fan:

I’m going to break this tutorial into two parts: the DIY live edge table top and the DIY welded legs with decorative chain detail.


How to Make a DIY Live Edge Table Top:
Supplies:
- Live Edge Wood
- Wood Glue
- Clamps
- Screws and Driver Bit
- Belt Sander
- Sandpaper (finer grit)
- Behr Exterior Wood Stain


I provided Live Edge Timber Co. with my measurements and they generously sent exactly what I needed to make my live edge patio table. Because they drilled the holes with a Kreg jig, they sent along this Kreg jig HD driver and HD pocket-hole screws as well.

You can shop directly from their website or head to The Home Depot and pick your pieces out in person. You can also pick up or order some pre-fab welded legs, which you can attach to the live edge pine table top – so no welding is required. Or, if you wanted to try my welded chain idea, weld it to these legs to make them a bit more one-of-a-kind, but still save a ton of time!

The wood came shipped in pieces, so first we assembled the wood table top. We dry fit the pieces and then applied a thin bead of wood glue between the seams, clamping and then screwing the table together.

Because the holes are pre-drilled, this part goes quickly.


When the wood glue had dried, I sanded the top with a belt sander just to smooth the surface a bit, level out the seams and remove any wood glue that squished through. The wood arrived planed, but this step helps the finished table surface feel even more smooth. The holes, as I mentioned, are pre-drilled and we found that they lined up 97% so if you’re making this, expect a slightly rustic top (which was a-okay for my outdoor table) or commit to a bit more sanding to create a perfectly smooth, ridge-less top. I only had an 80 grit for my belt sander, so I followed up with a tiny bit of hand sanding, using a finer grit (like a 120 or 220) just to give it an even smoother feel and to touch up the edges and near the live edge, where I didn’t want to get too close with the belt sander.

Staining the Live Edge Pine Top:
Because we’re using this table outside, I wanted to finish it with an exterior stain. Now that the house has sleek new grey/brown metal siding and glitzy copper roof, the bunkie wood siding looks a little out of place, so I wanted to add some warmth and a rustic touch to the house patio to tie the exteriors together. I tried to pick a stain close to the bunkie siding and this Behr Semi-Transparent Weather Proofing Wood Stain in Chestnut is reeealllly close, but I might re-stain it with one more layer of a more ashy wood stain (like Chocolate) to tone down the orange a bit. It’s a truly gorgeous shade, but I think I could match the bunkie even more with some tinkering – but maybe I don’t want them to match identically…? I do love this wood tone with the copper roof. I’ll wait and enjoy it first a bit. A sample pot and a half were all I needed to get two good coats applied.

Here’s the second coat going on:

And with two coats freshly applied:

Because I’m using this live edge table outside, I decided to keep the bark on. If we used it indoors, I’m certain the dogs would chew it off when I’m not looking. Or it might make a mess as we rub against it. You can peel it off and sand a smooth edge, but the edges of my live edge pine weren’t really curvy or shapely, so I think it needs a bit of bark to keep that interest.


The chestnut stain looks really different in different light, which gives it a lot of interest! I love how smoothly it went on and it’s doing an amazing job of protecting the wood. It has a velvety finish, which looks really natural. I chose a semi-transparent stain to highlight the grain, not hide it.

How to Make DIY Welded Chain Legs
I have had this idea for adding a decorative chain detail to welded table legs in my head for over a year, so it feels SO GOOD to finally see it come to life!
Supplies:
- 4.5″ Angle Grinder (we have this new Makita one and we LOVE it)
- Grinding Disk
- Cutting Disk
- 2″ Square Metal Tubing
- Metal Chain
- Welding Magnets
- Flux Core Wire Feed Welder
- Welding Gloves
- Welding Mask & Coveralls
- Work Bench (Optional – it helps!)
- Framing Square
- Clamps
- Rust-Oleum spray primer & paint for metal


We started by welding a rectangle with square metal tubing. You can see this welding post for details on how to put a basic frame like this together. Basically, we use a grinder with a cut off disc to cut four mitered corners at 45 degrees. We use a framing square to ensure the shape remains square and then use these magnets to hold everything in place. Then we tack weld the seams together in all four corners (checking to see that it’s still square), gently flipped it over and tacked the other side and then welded. When the welds were done, we used an angle grinder again, with a grinding disc, and smoothed the welds.

How to Weld the Chain:
Next we bought some chain. Make sure to choose something without a coating or finish so that it can be welded and painted. Any size works!

To weld the chain, we clamped one end to a work bench and suspended the chain, double checking that none of the links were bent funny or twisted. We needed it to hang perfectly straight. We chose a side to weld the links together on and kept the welds on the same side – which makes it easier to hide them. Then we just tacked the links together, working from the “top” down.

When we had welded enough chain for one length, we used the angle grinder with cut off disc to cut the welded section. We clamped it in place before cutting for safety – and to keep it steady:

And then I had a magic chain wand. I played with this for so long. Probably longer than it took to weld them all. I was so excited that it turned out!


Here you can see the welds, but they’re super small and easily hidden by paint! But by keeping them on one side, we could position the welds so they’re on a less seen side of the table (like facing inwards or down):

When the chain rods were all welded, we marked off where to position them and welded them to the frame at the ends (a full link is easier to weld, so we spaced out the chain so we ended up with full links):


Then it was time to make the tabs for affixing the welded legs to the wood top; you can see them below:

We used leftover slotted steel angle for this. You want to allow movement in the wood, because the wood will want to expand and contract (something we learned from my father-in-law, a very talented professional woodworker). The slotted holes (as opposed to just round holes) allow for that wood movement to happen. If you haven’t read it, check out this old post on understanding wood movement. To make those tabs, we cut pieces off using a cutting disc on the angle grinder and welded them into place, grinding off any excess and smoothing the edges with the grinding disc.

And then it was time to paint! I like Rust-Oleum for metal, and a matte black is always a classic choice. Although I love the rusted look, hubby is vehemently opposed… paint does hide the welds and seams nicely, so I have to agree that the black looks good. But one of these days, I want to do a rusty metal DIY. We are supposed to get extra tetanus shots as first responders/firefighters, so why not add some rusted metal to our decor if we’re getting those shots anyway, lol?


Putting the Live Edge Top and Welded Base Together:
Supplies:
- 1 1/4″ lag bolts
- Drill and drill bit
- Ratchet (with appropriate sized socket – depends on your lag bolt size)
To attach the welded metal legs to the live edge wood top, we picked up these 1 1/4″ lag bolts from The Home Depot Canada:

We used lag bolts because they’re stronger than standard wood screws. This table top and the welded legs are HEAVY so we wanted something really, really strong. We flipped the table upside down and marked where the legs should go – double checking that we could fit two of our outdoor dining chairs side by side in between!

Then we pre-drilled the holes and moved the table to the patio to assemble it there because it is HEAVY. (Note that we drilled the holes in the center of the slots on the tabs – see the photo below):

Then we used a ratchet to drive in the lag bolts.


Summoning all of our strength, we flipped this table over.


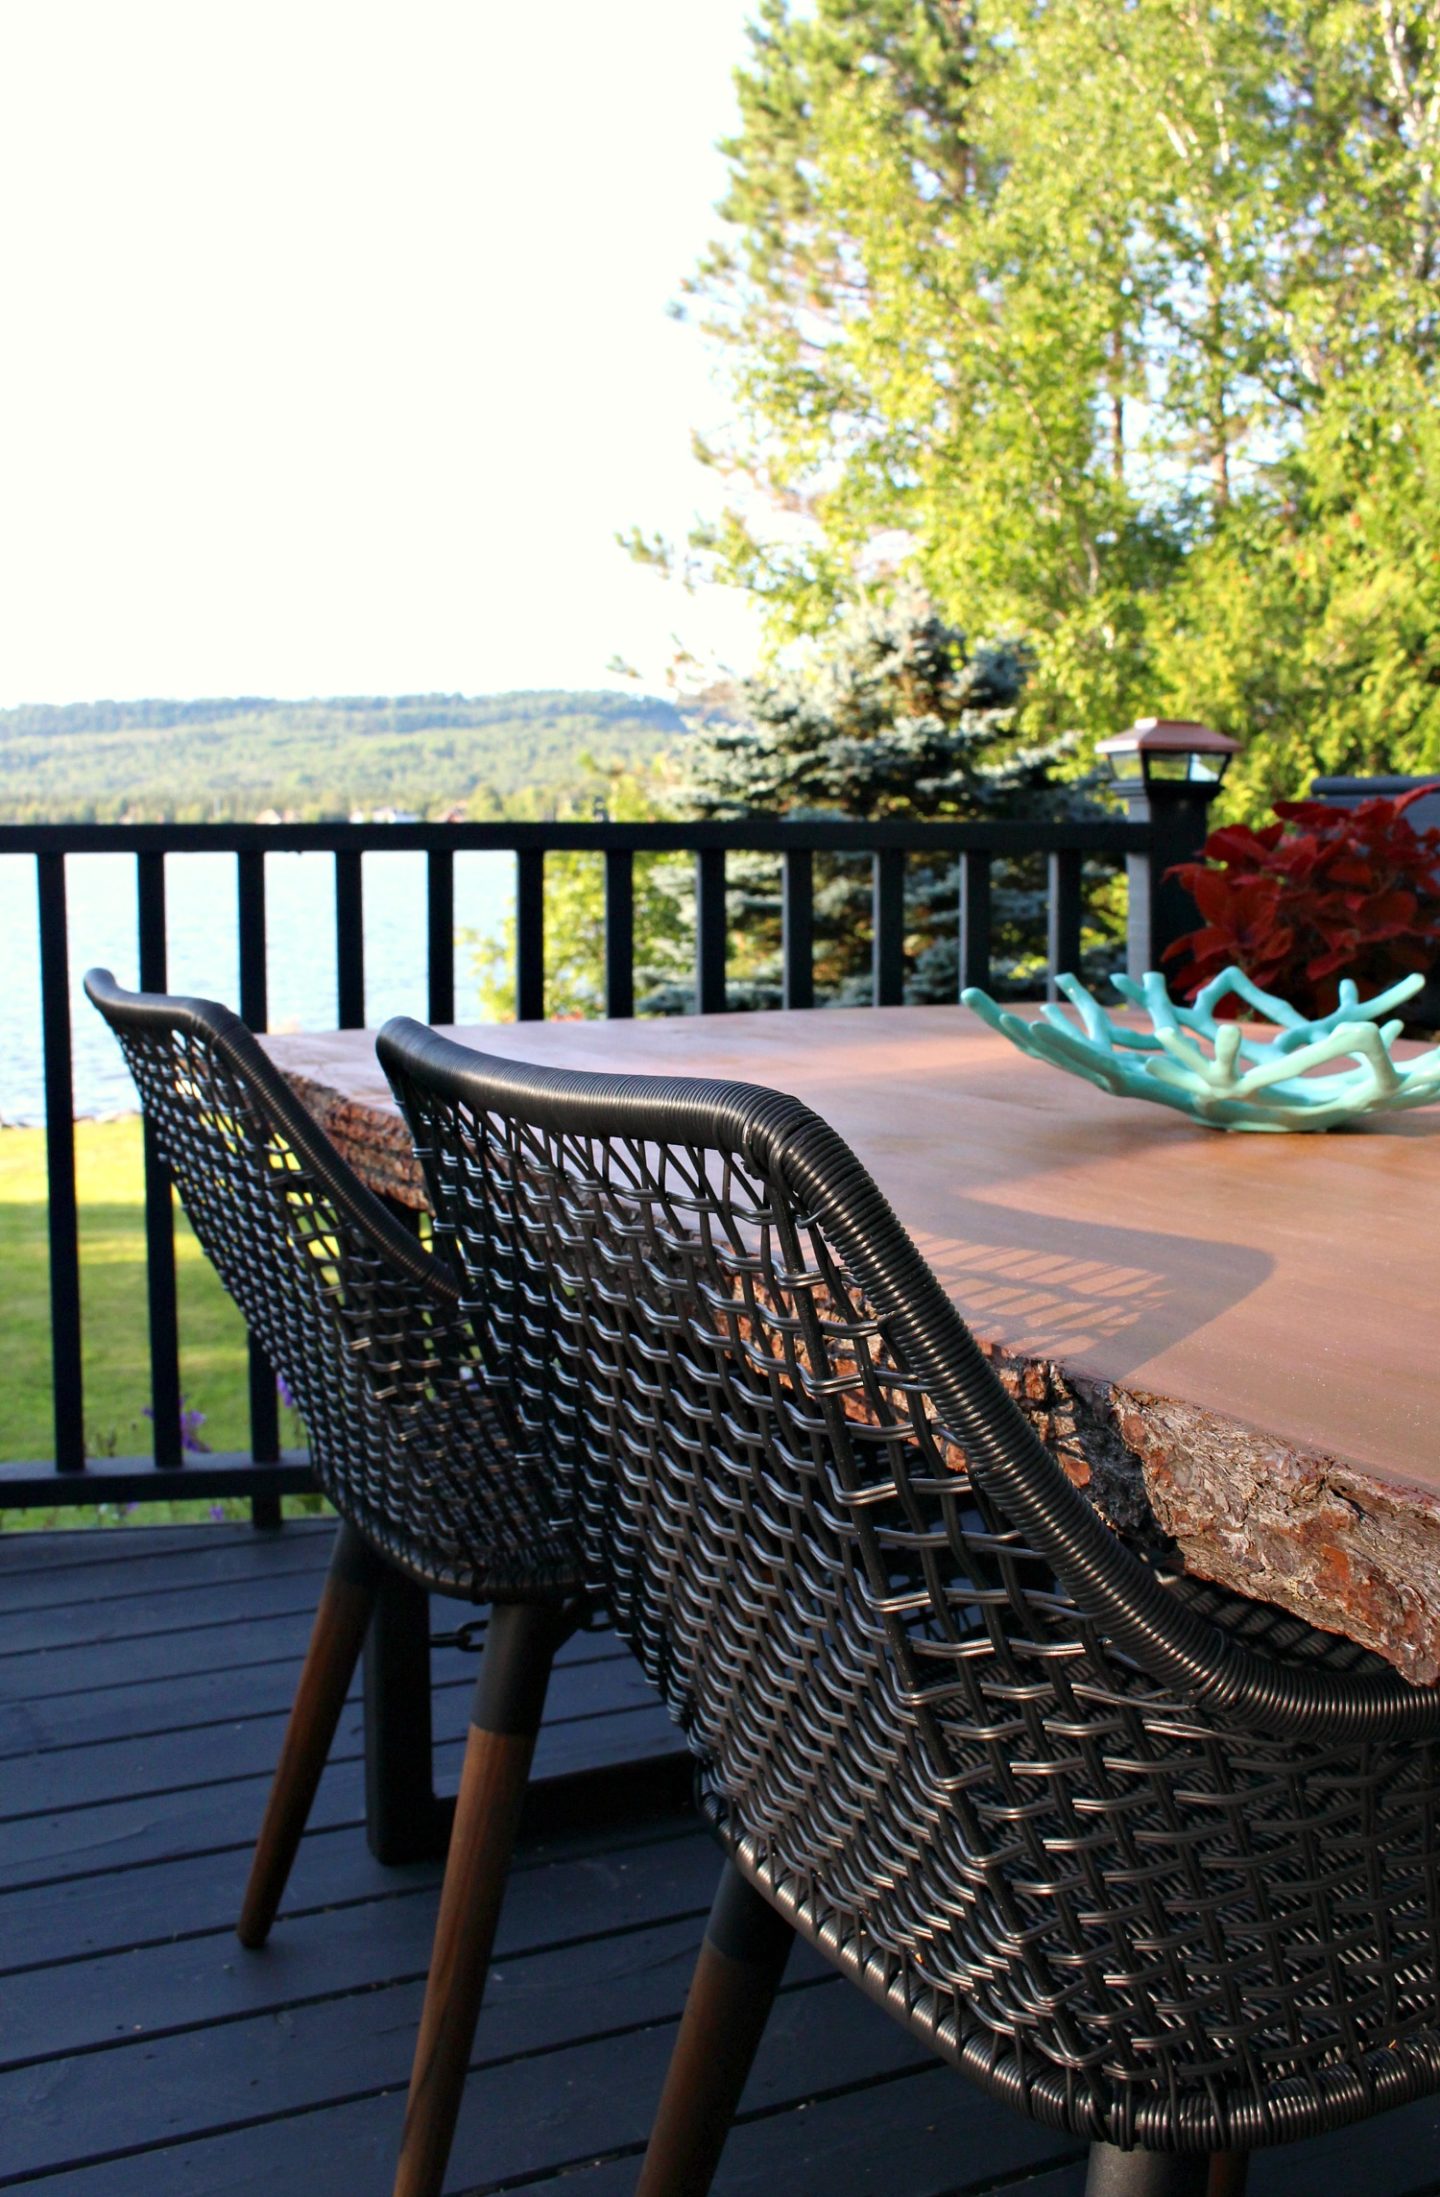
And that’s it! I immediately accessorized it with some aqua, like my aqua nautical knot pillows and a freshly spray painted faux coral bowl. The former owners used to have a dining table smack in the middle of the deck, which totally blocks the lake view, so I did something different. I made use of the built in bench on the deck and moved the table to the side and so I only needed two dining chairs. This way we maintain seating for four without blocking the view. We have chairs on the bunkie deck that we can always bring up to increase seating to six, even eight if we squish on the bench a little…

Even though I have included many “coastal” touches in our decor, like cool blues, creamy neutrals, and organic textures inspired by the lake, I haven’t had a very “nautical” style. But it’s happening. If you look closely, we have a decorative anchor, driftwood art, this very mod nautical door mat, copper ferry outdoor lights, and nautical knot pillows – I even own a ship’s wheel shaped garden hose rack! Slowly I’m embracing a more nautical and beachy style, and I love it. Lake life influences me so much, which is why I decided to incorporate chain into the welded legs of the table – plus I thought it would be an idea hubby would love (and he does).

Look at those gorgeous legs! I want to make so many more welded chain things now.


I love how the live edge wood table top ties in with the rustic vibe of the bunkie – although I do plan to replace the roof and soffit on the bunkie with something chic and black and less rustic at some point.


The best part is how good the patio now looks from the inside of the house! It carries out the warm wood tones from our teak furniture and walnut-stained floors – and of course I love the pop of turquoise and the gorgeous black patio chairs.

Sources:
Live Edge Wood | Welded Metal Legs | Exterior Wood Stain (Chestnut) | Coral Bowl (similar: mine was red, I painted it aqua) | Aqua Knot Pillows | Similar Black Outdoor Dining Chairs (mine are the Gulbranson Teak Patio Dining Chair by Ivy Bronx but they sold out; these are not similar but cute) | Black Patio Loungers (I love them!)
Huge thanks to Live Edge Timber Co. for providing the live edge wood. If you’re looking for other welded projects, check out our DIY Welded Step, DIY Welded Bench with Legs, DIY Welded Fire Pit (updated recently with the help of The Home Depot Canada), DIY Welded Desk Legs, and DIY Walnut Bed with Welded Legs.

I don’t foresee me making such a table, but can appreciate the outstanding tutorial you provided. This looks beautiful on its own, but especially perfect for your deck. So just what kind of centerpiece does one do for such a setting 🙂
Author
Thank you! That’s a really nice feedback to know that you enjoyed the tutorial. I always like seeing how things are made – even if I don’t plan on making them either.
Yes… time to think of a centerpiece. Something that won’t blow away with the Lake Superior winds haha. I guess I need to be thinking of fall decor already, don’t I?
I tried to think of something heavy AND fallish, but came up empty, so I am curious to see what you do. And as soon as it’s too cold to eat out there, disassemble the table and put into the garage. Don’t wait for snow. It’s too beautiful to sacrifice to the wicked winds god 🙂
Author
You are very right! I should stay on top of it this year – we always end up storing stuff with the snow is already flying. I never learn, lol.
Outstanding work! Enjoyed your writing!!
Author
Thank you! Happy to hear it.
I love understanding how you did this! I don’t even know the beginning of welding. It looks amazing.
Author
Thanks Jess! I’ve had a lot of requests to put together some basic posts for using the welder and other tools. Obviously you are a superstar in the other departments, but maybe a tutorial on welding 101 will help! I’m going to try and squeeze that in before it gets too cold. It’s just a lot of fun to do.
This looks great, Tanya! I’ve been contemplating making a simple live edge bench (we’ve had a bench-size piece for a while now) and this tutorial was very helpful – and motivating!
Author
Thank you so much! I can’t wait to see your live edge bench!