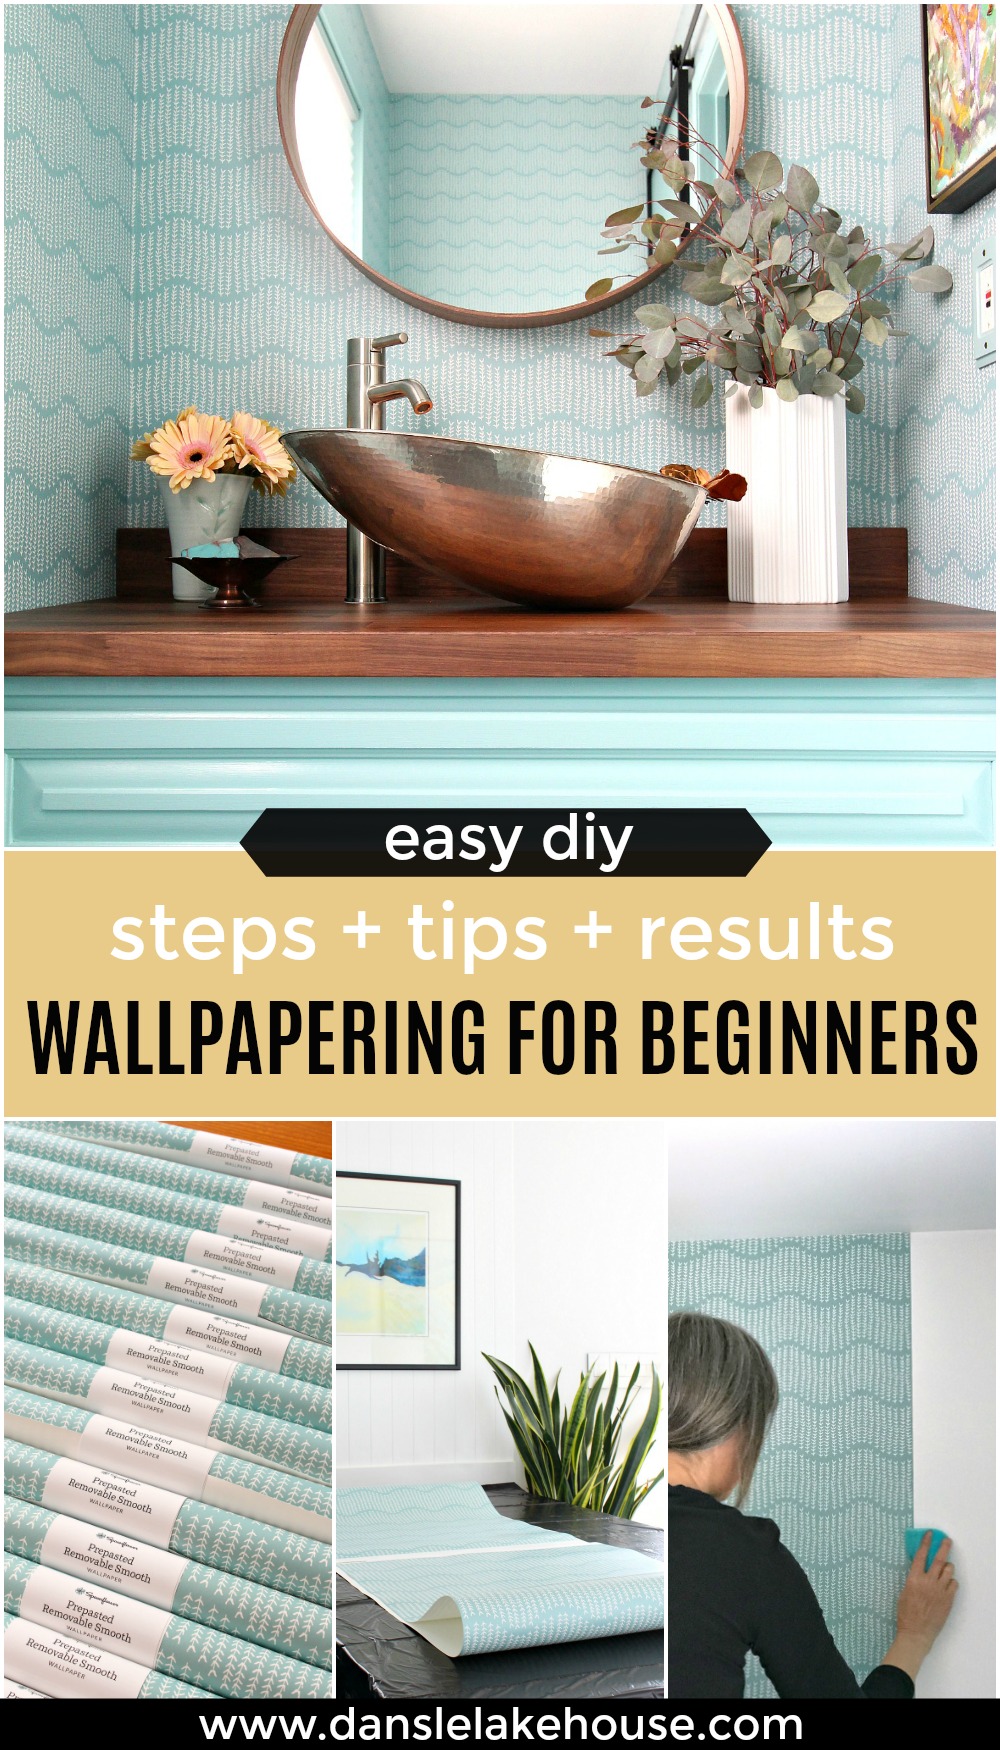
Now that the powder room makeover is done (and looks gorgeous, if I do say so myself), I can admit something to you: I was really nervous about wallpapering for the first time. I had never installed wallpaper – I had only ever gleefully torn it down. I vaguely remember my Mom installing wallpaper in our kitchen when I was really young, but that was the only room she wallpapered in my childhood home, so I didn’t even really see many wallpapered rooms in my lifetime. I was a total wallpapering newbie. I was really excited to try wallpapering for the first time, but I secretly pictured the paper tearing, lining up crooked, and gluing in place before I could fix it. But that was NOT my experience at all! Installing the Spoonflower prepasted removable wallpaper was a dream.

With my Mom’s help, the wallpaper installation went really, really smoothly and we didn’t have any problems. It took us two days to wallpaper the small powder room, but that’s largely because I wanted it to look perfect in photos so we worked slowly and carefully. Spoonflower provides really detailed instructions for installing the wallpaper (including a video), so you’ll find lots of great resources and support if you decided to try wallpapering your own space. To offer some encouragement, I’m going to share my experiences below – and hopefully dispel any fears you have about wallpapering as a newbie. And if you’re a wallpaper pro, share your wisdom with us in the comments!

Disclosure: As you know, Spoonflower generously provided the wallpaper for my One Room Challenge makeover, but I wasn’t asked or encouraged to provide a positive review. I also wasn’t asked to share a tutorial or how-to, but I got so many questions about the process from fellow newbies, I wanted to share my experience.

DIY Wallpapering Supplies:
- Paint roller (clean)
- Paint tray (clean; here’s a kit with paint roller and tray)
- Clean water
- Drop cloth (waterproof is best)
- Sharp utility knife (I used this one)
- Large and small sponge (look for large grout sponges in the tiling department)
- Wallpaper buddy
- Merci chocolate (for wallpaper buddy)
Preparing Your Wall for Wallpaper:
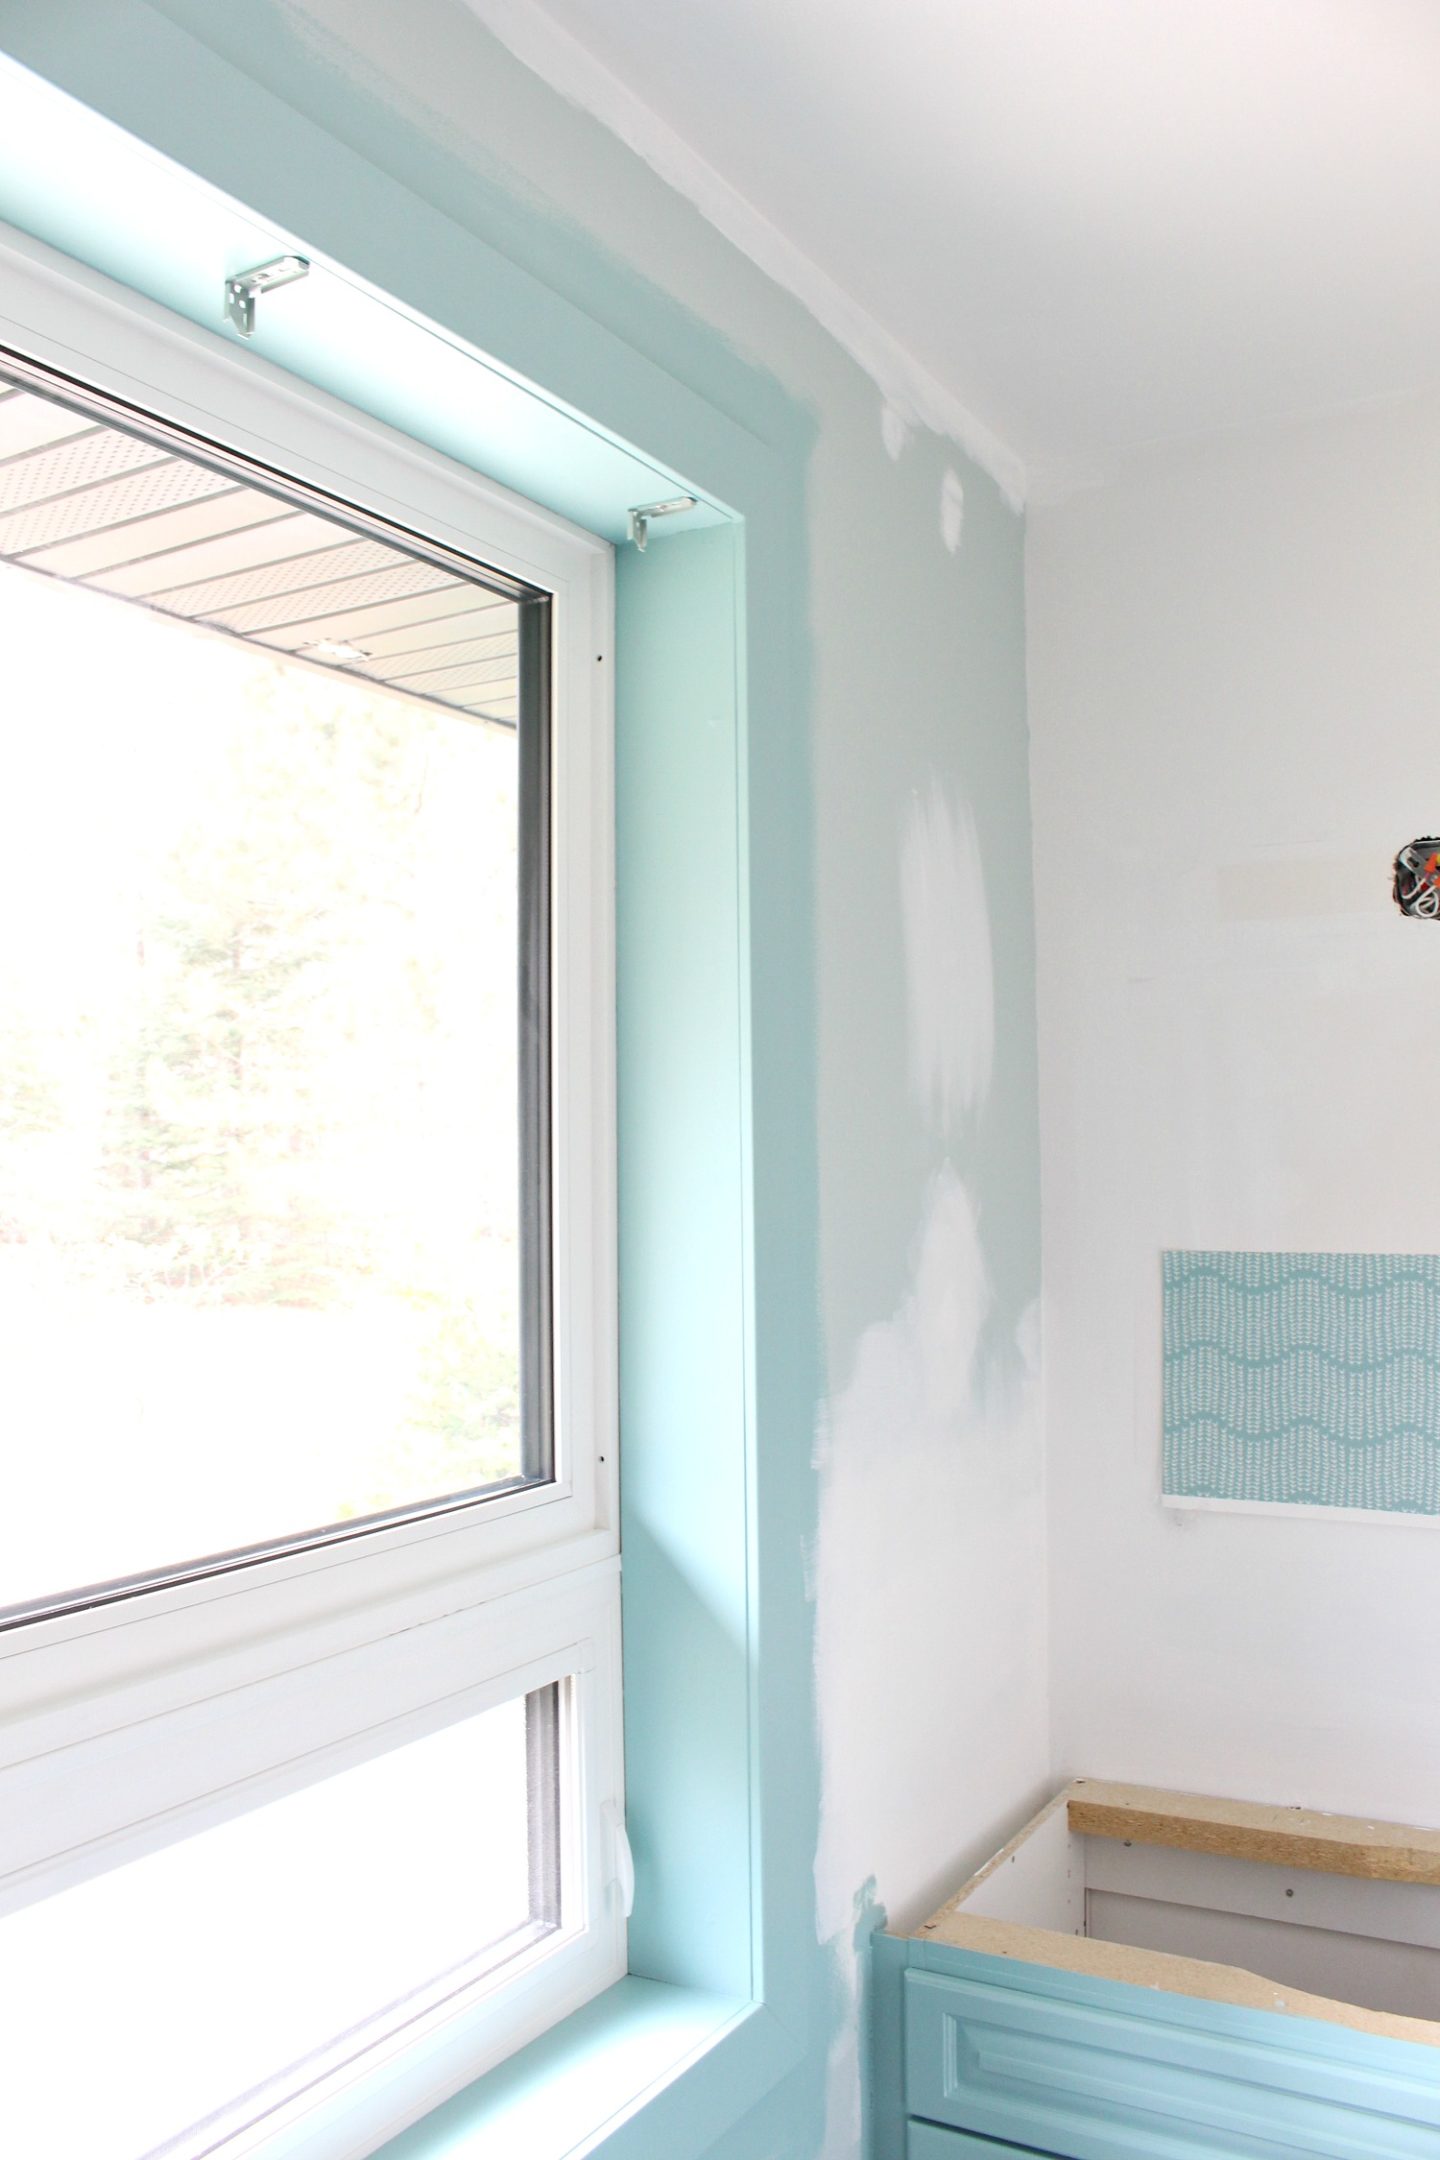
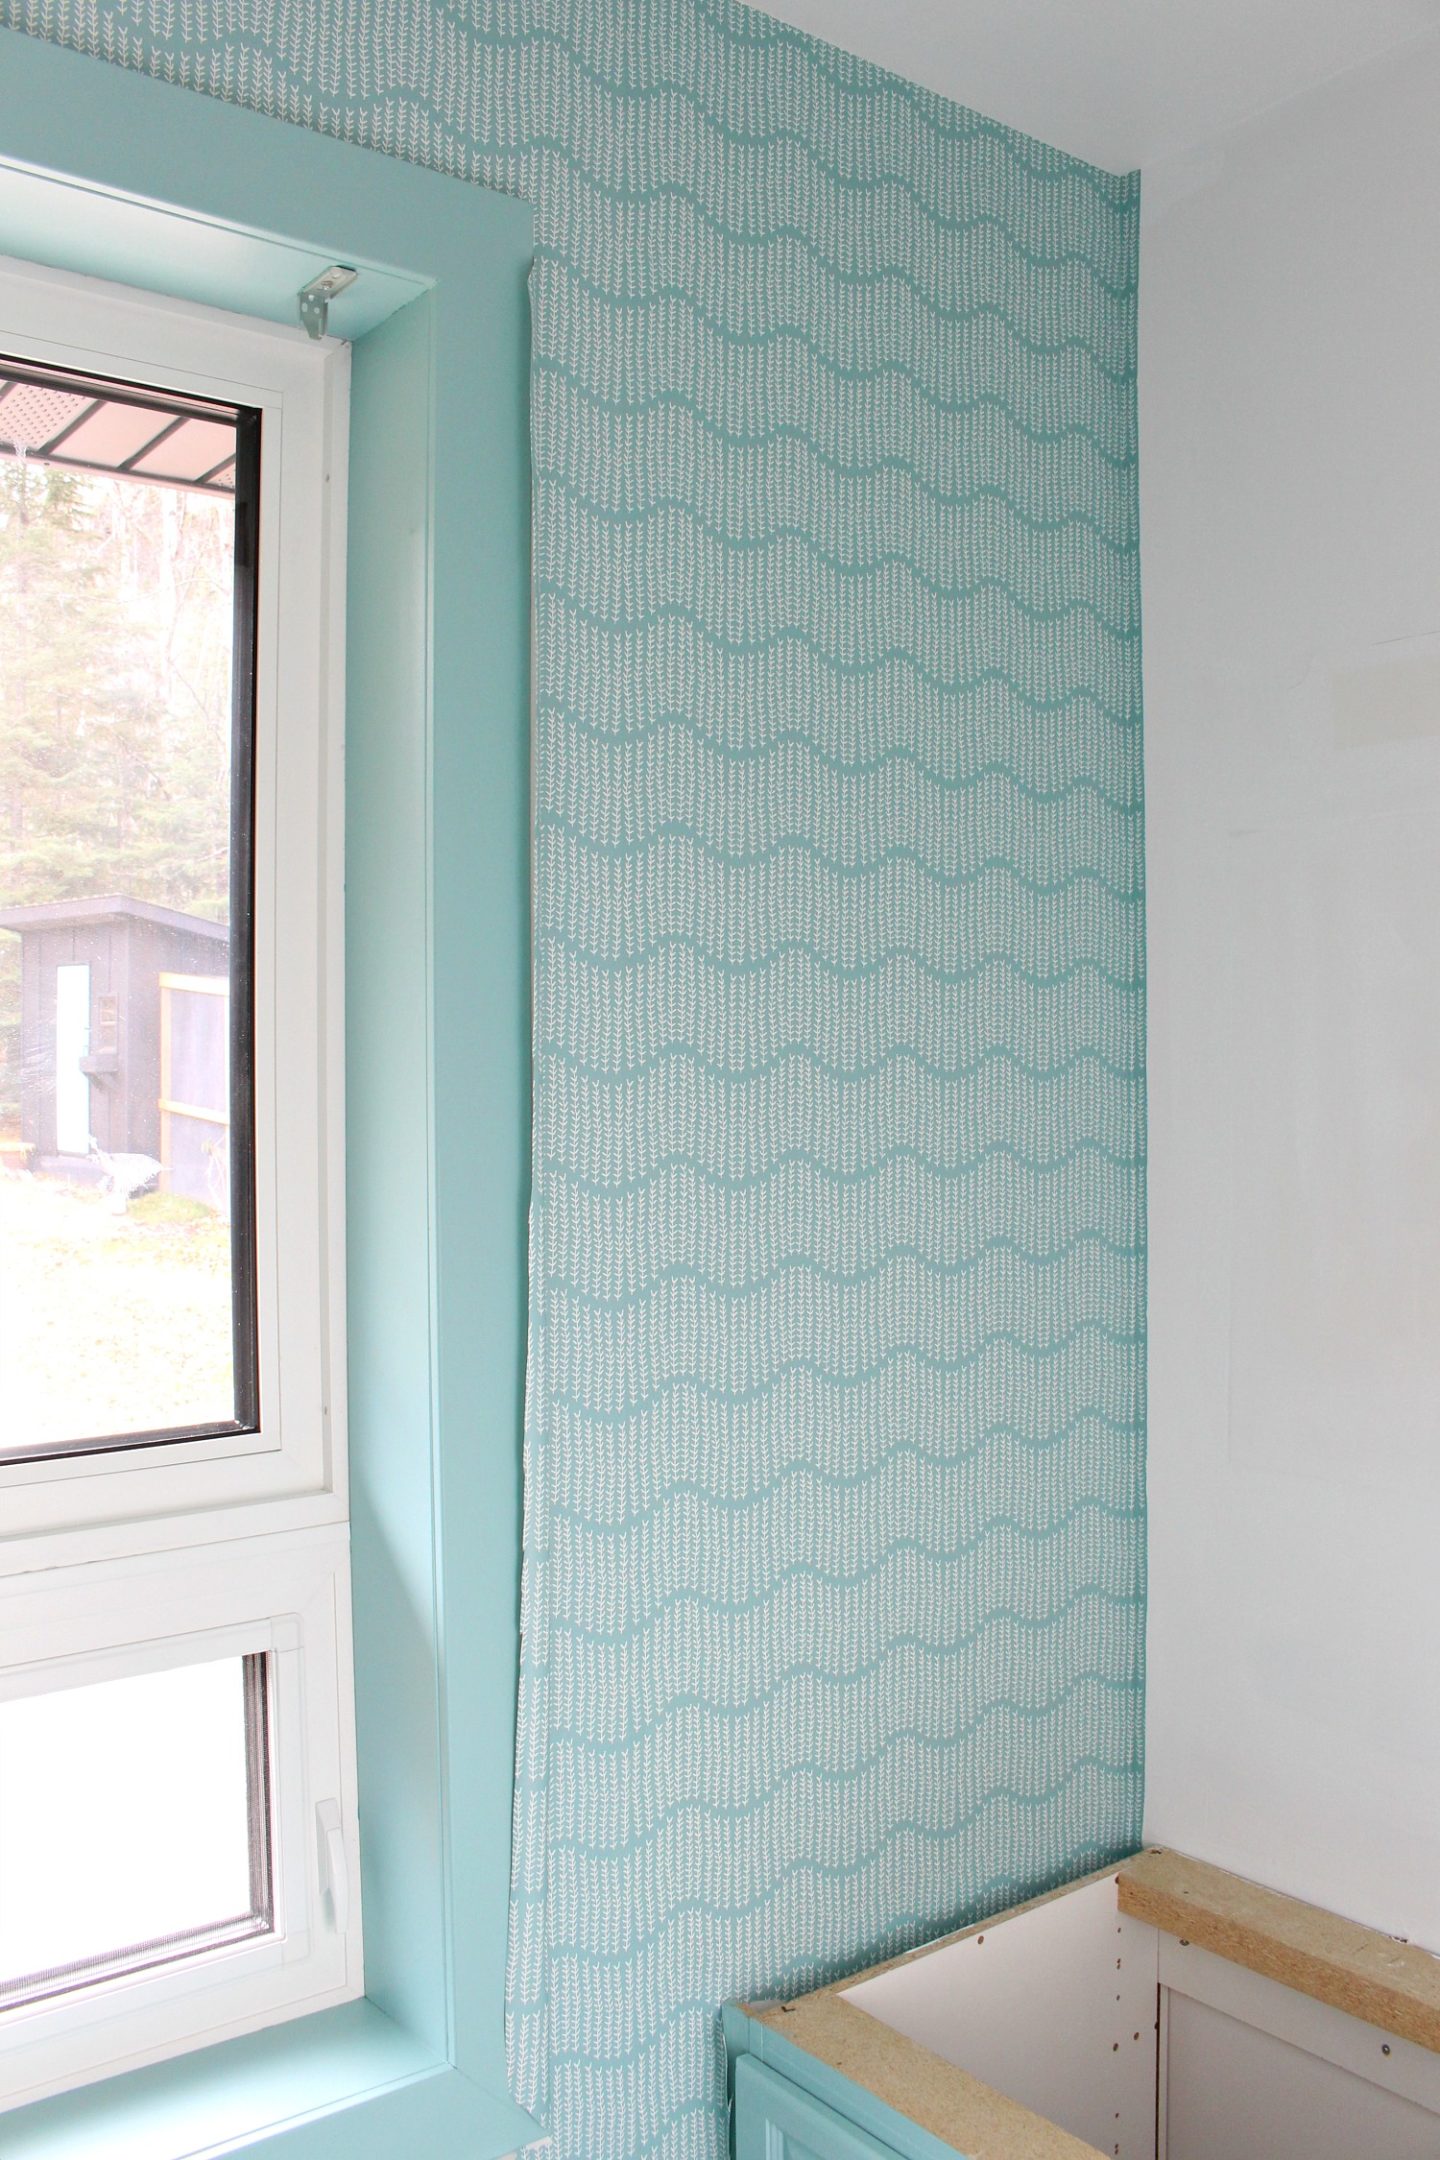
Before wallpapering, make sure the wall is smooth, clean and free of any dirt or dust. I found the wallpaper to be really forgiving. It even covered up an area of drywall tape that we didn’t put enough mud behind. I was so worried that would show through or create a ridge but nope, totally covered. Having said that, the better condition your wall is in, the better the wallpaper will look. So take the time to patch and sand any holes or sharp areas that could tear the wallpaper. And, a tip from my Mom: don’t wallpaper bare drywall – she used removable wallpaper too (back in the day), but it didn’t want to let go of the drywall when she tried to remove it decades late. She really regretted not priming/painting the new drywall first! So make sure to paint or prime walls, and tackle that at least 4 weeks before wallpapering. A solid, light color wall ensures the best look (avoid high texture or scrubbable paints). I had previously painted the one window wall a light green when we got our windows replaced and enlarged, and I was worried that if the top edge of the wallpaper wasn’t installed perfectly, or if I had gone over a bit with the green paint, that it would show. So I quickly gave the ceiling a fresh coat of paint and brought down the paint line an inch from the ceiling – just in case (see the photo below).
Getting Ready to Wallpaper for the First Time:
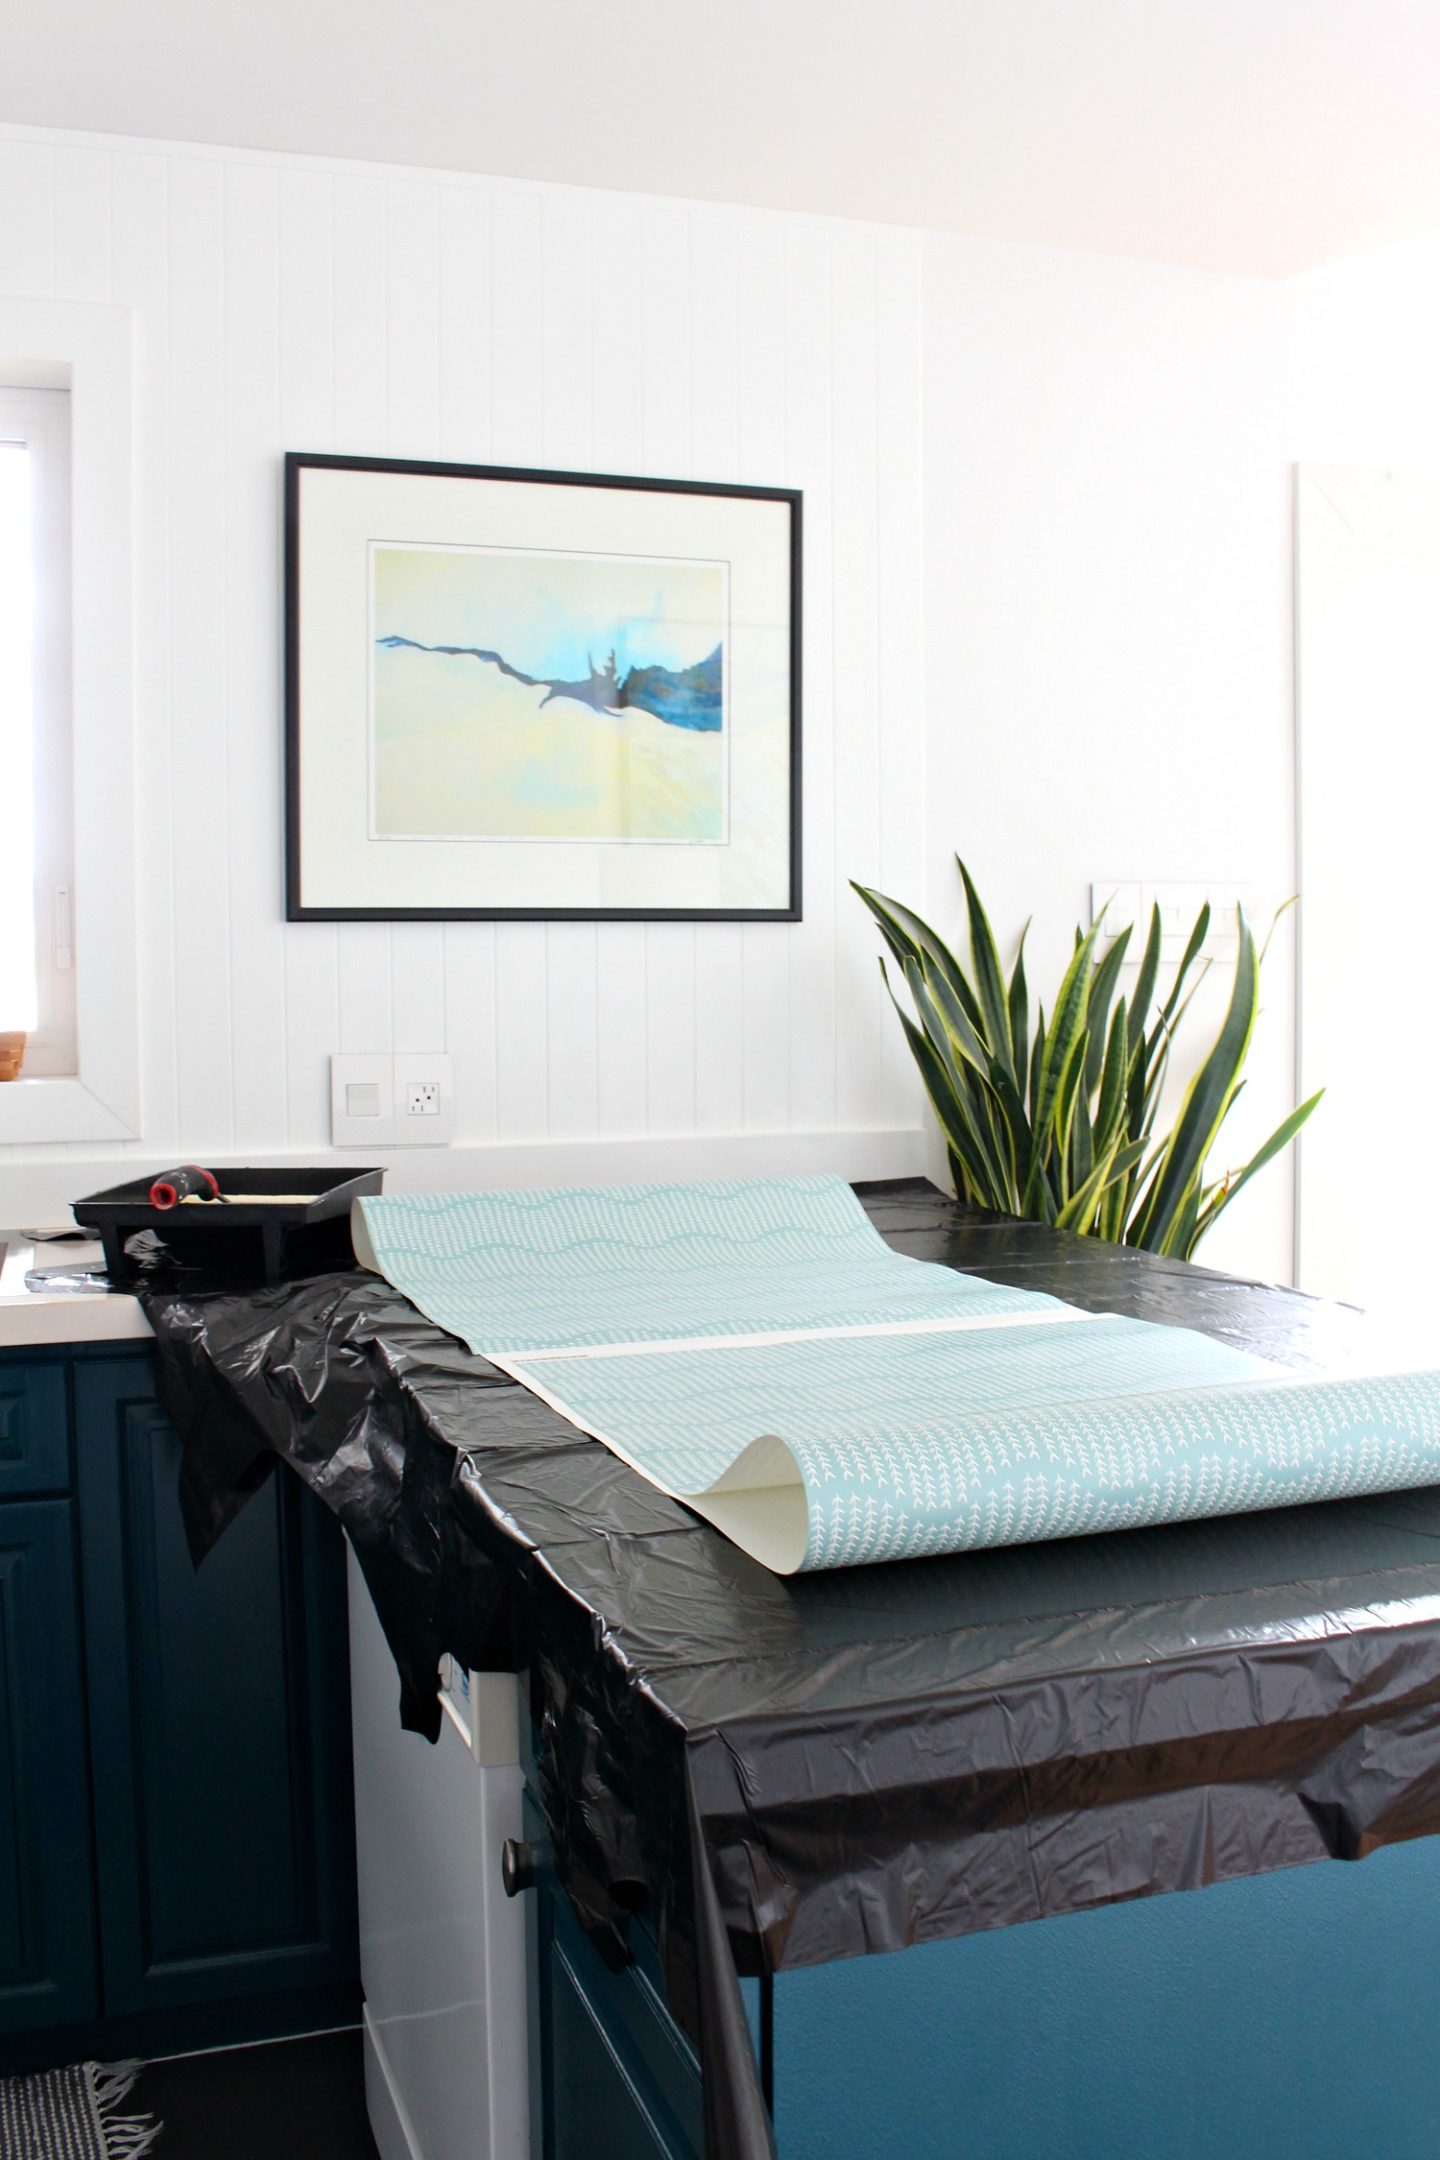
First, coax a friend into helping because wallpapering is definitely a two-person job. Ply them with chocolate if you need to – but not wine, lol, because their job is to check for straight lines. And you want to get an early start because working in the day light helps a lot. Set up an area to work – I chose the kitchen counter, and I covered it with garbage bags to protect the surface. I filled a clean, brand new paint tray with water, and grabbed a fresh roller. We also corralled the dogs in the bedroom so they wouldn’t trip us as we carried the wet wallpaper from the kitchen to the powder room. That was back when I was worried about the wallpaper – I pictured Szuka tripping me and me tearing the sheet in half as I fell. Totally unfounded fear! But it was easier to work without them underfoot.
Planning the Wallpaper Installation:
Before starting, we planned our course of action. We decided to start in the corner where the sliding barn door would hide the seam, and work clockwise from there. If you’re wallpapering an entire room, you might not have the pattern line up perfectly at the end so we decided that corner wouldn’t be noticeable, especially when the door was closed. In the end, it lined up really, really well, but I still wanted the seam somewhere less noticeable.
Hanging the Wallpaper:
For this wallpaper, you apply the water to the prepasted side with a roller dipped in water. The roller really helps evenly distribute the water and it isn’t messy.

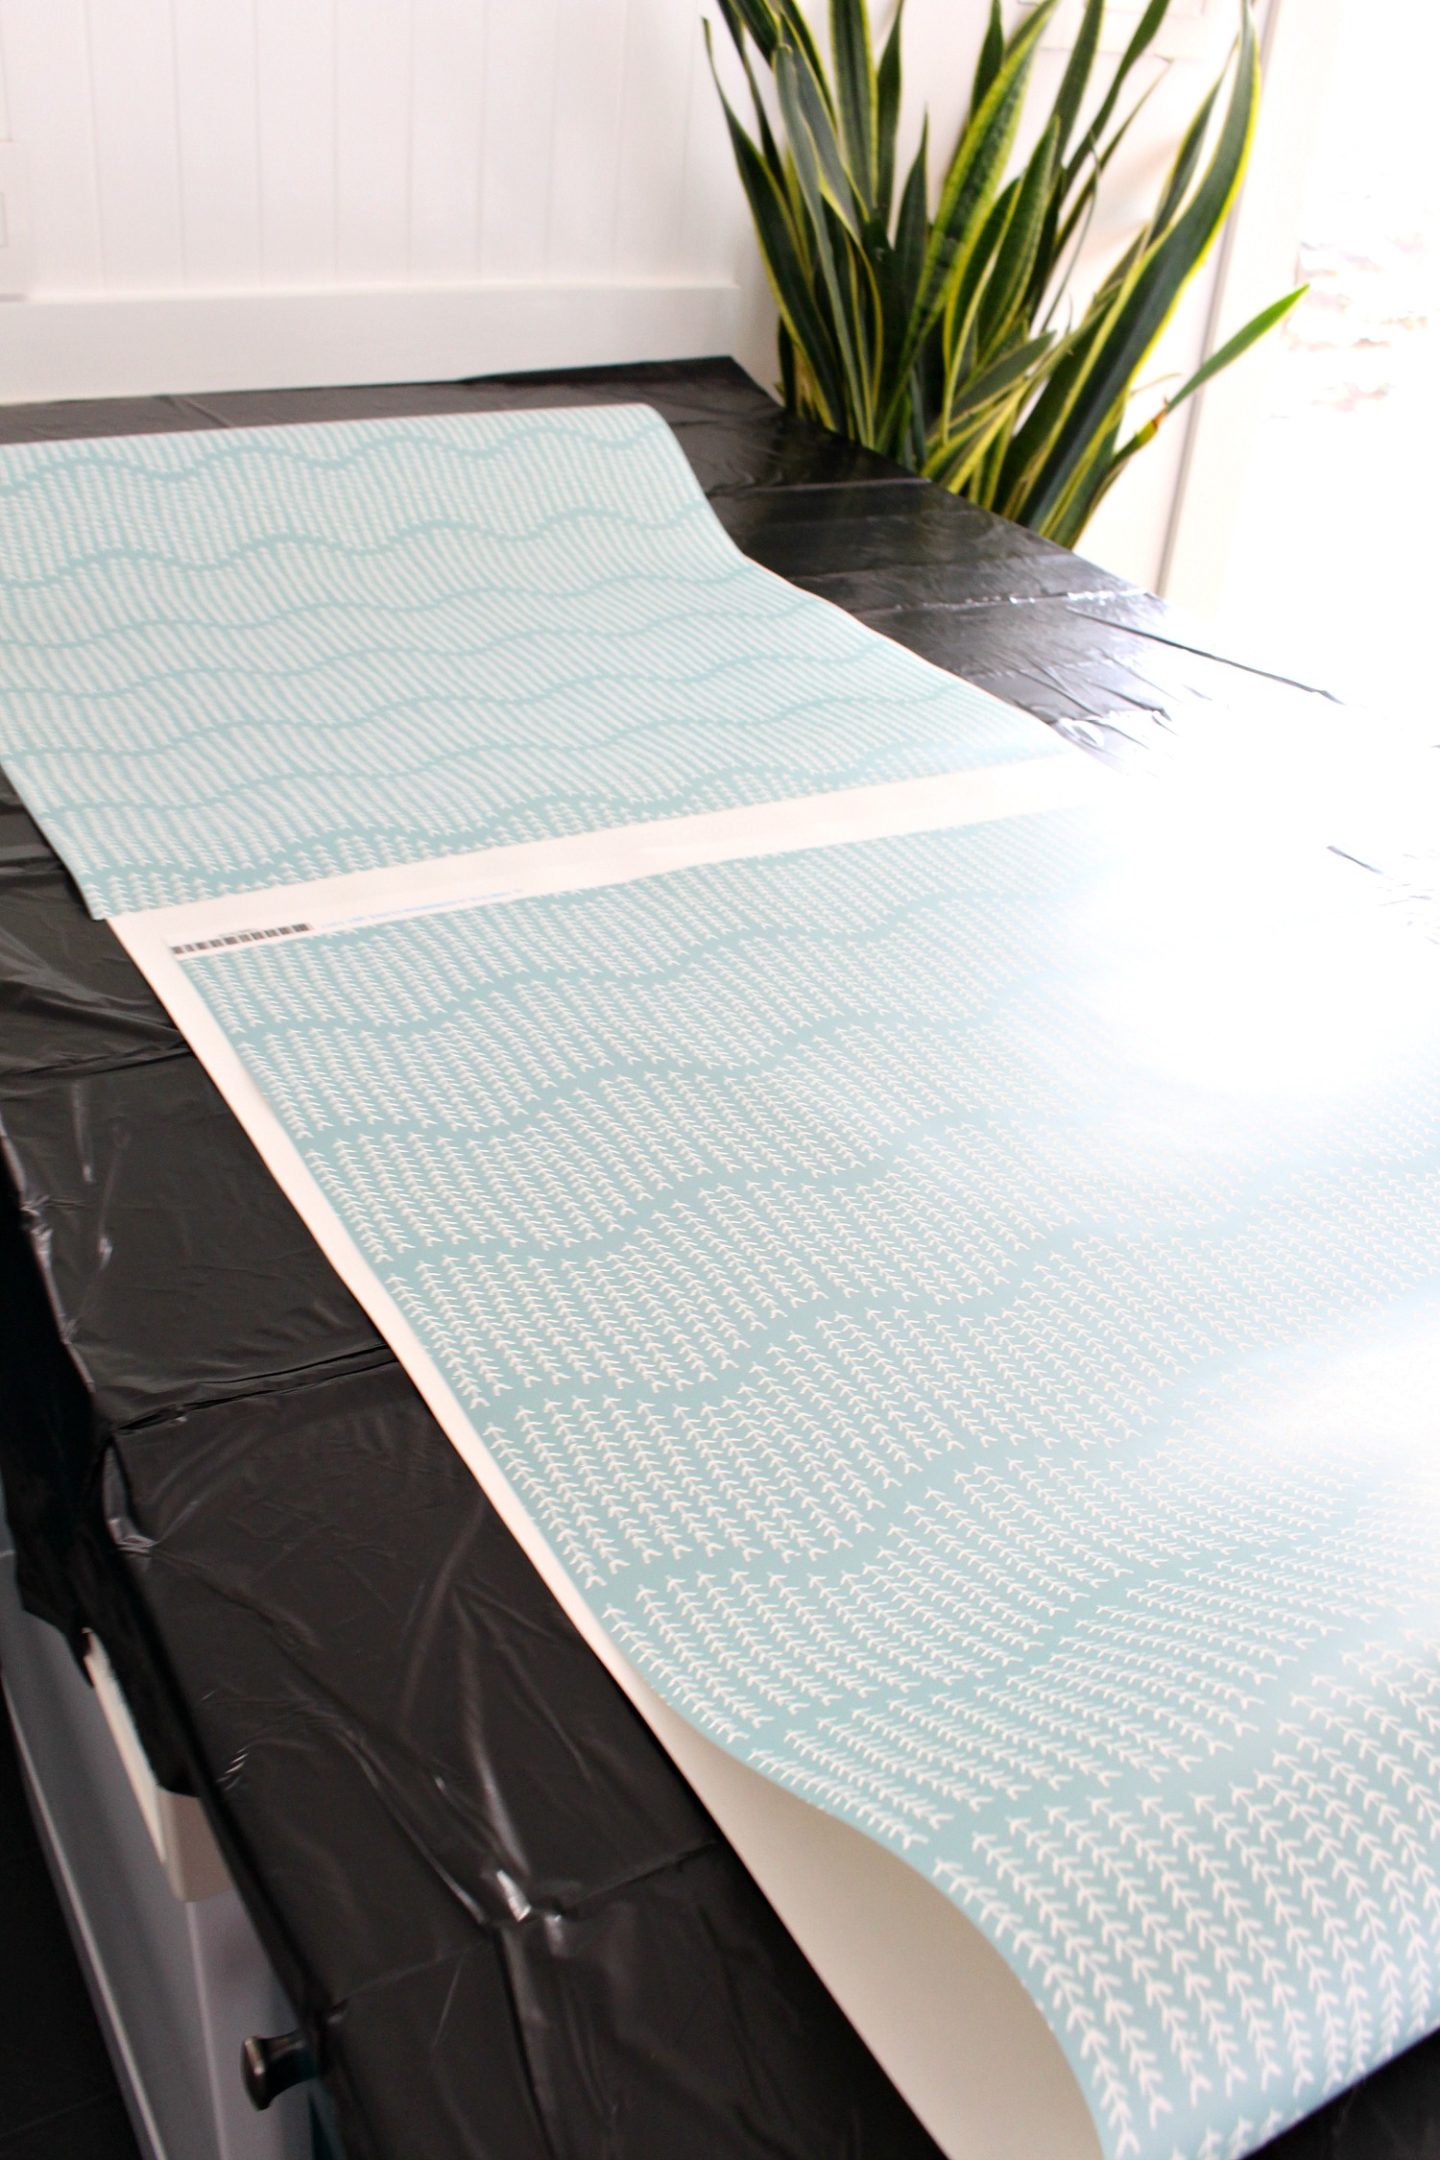
Then you book it for 2-5 minutes – see the photo below. This activates the adhesive. We set a timer for each strip so we didn’t lose track of time and then carried it over to the powder room when the time was up. It was easy to carry still booked – it’s tough and not flimsy or thin as I imagined.
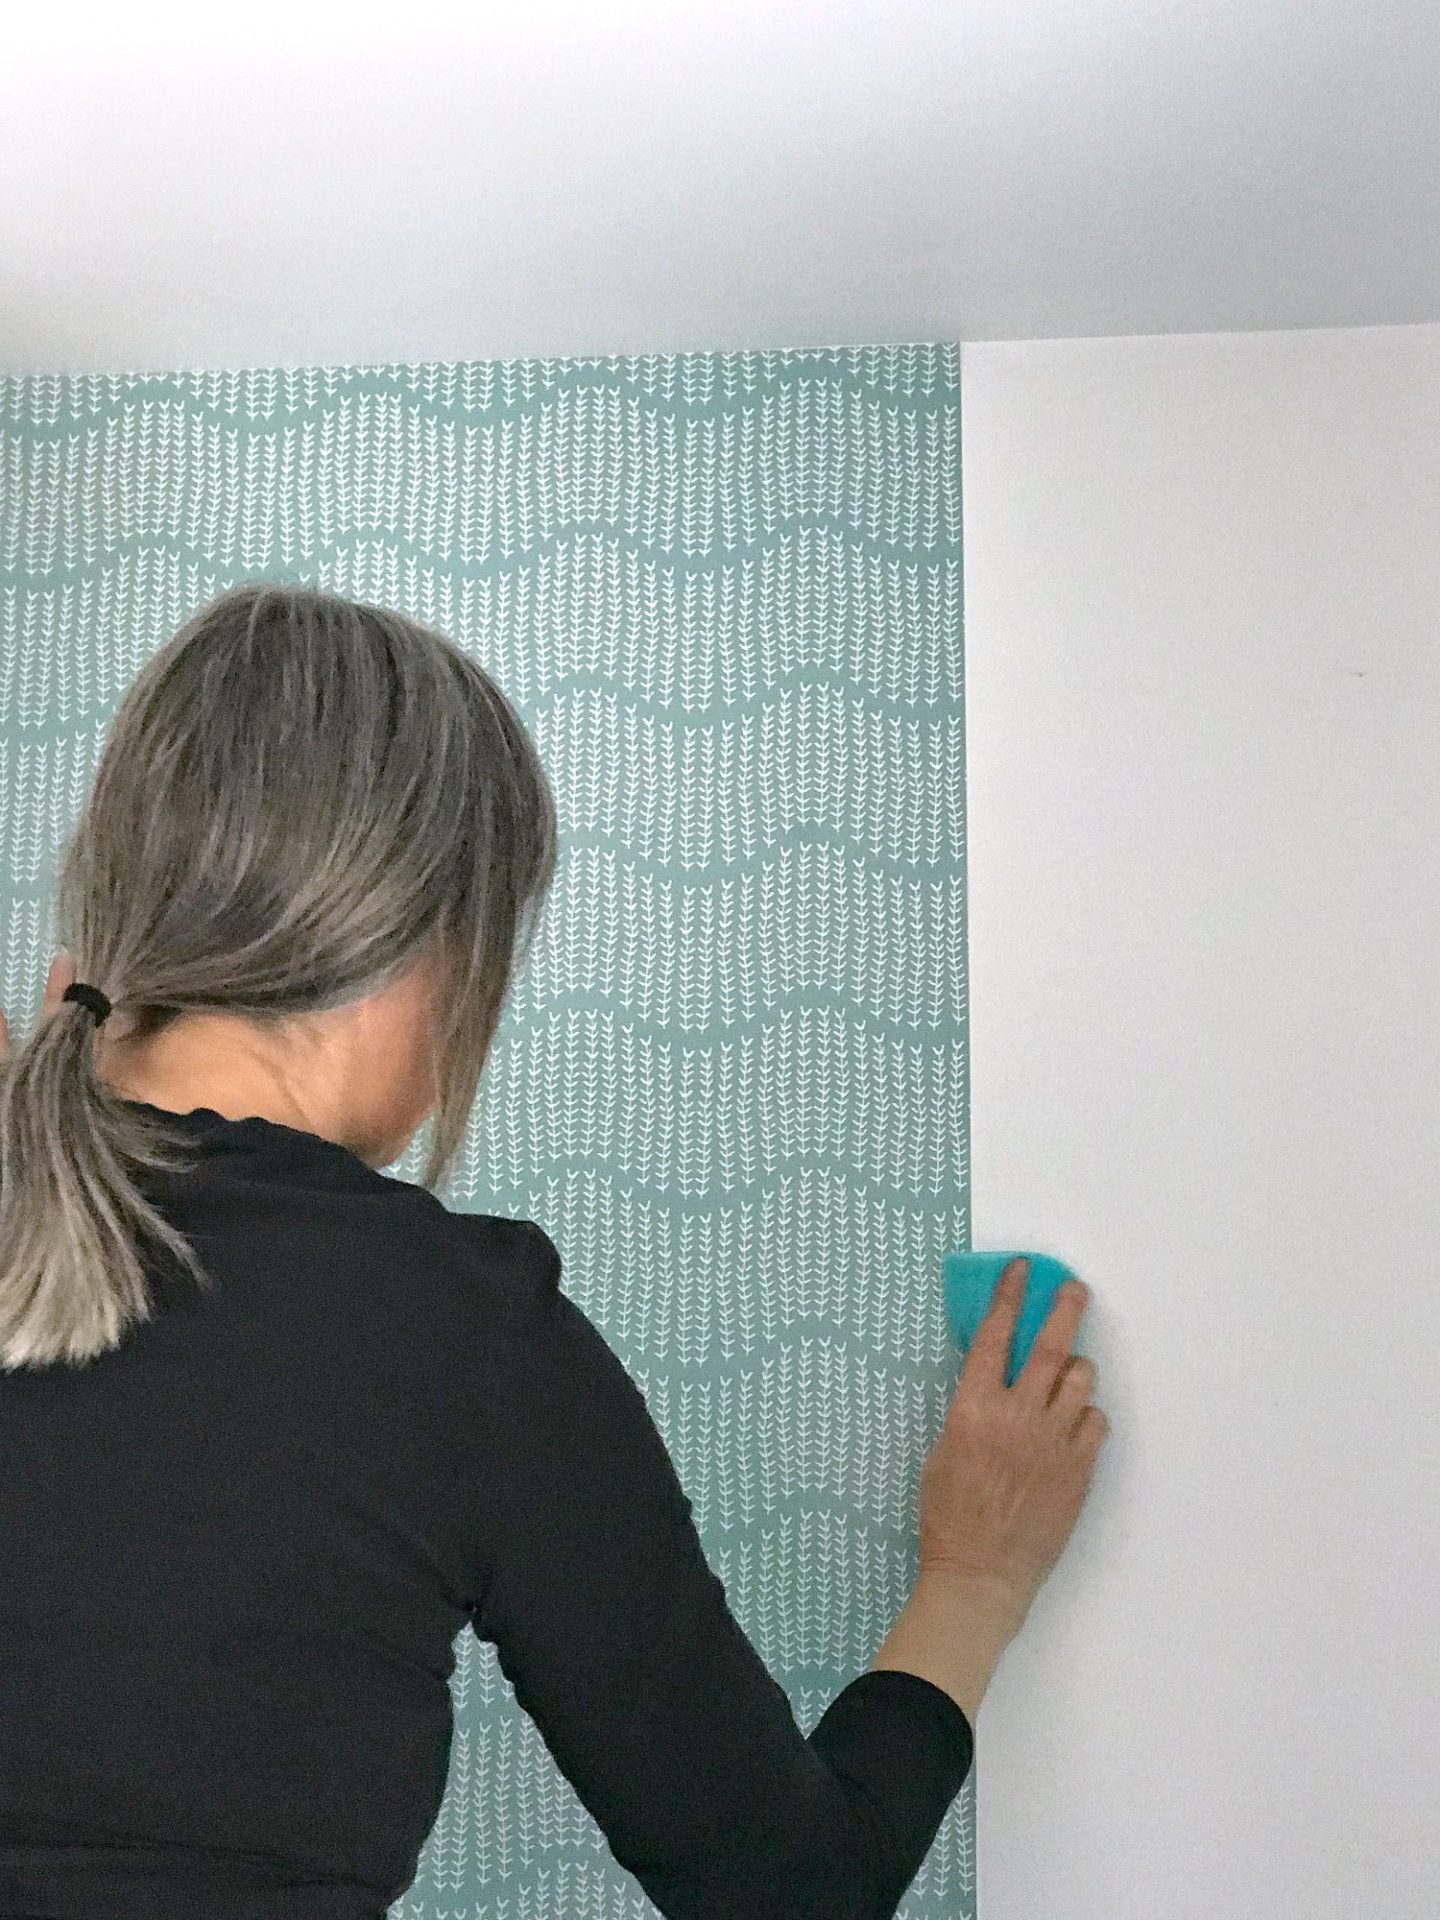
We unfolded just the top, keeping the bottom booked, and aligned it with the ceiling, keeping the edge straight and even with the wall. Once it was in position, we unfolded the bottom and began smoothing it downward with a damp sponge. This was a really easy process, but took some time. The wallpaper was easy to reposition if we needed to and it was also easy to smooth out any bubbles. We were able to take our time to position and smooth the wallpaper – the adhesive dried at a really good pace. We used a large sponge for the main area and a smaller sponge when we did seams and worked around edges and corners, etc.
Then we repeated the process around the room. The interesting thing about this wallpaper is that you don’t meet up the edges – you overlap them. That makes matching up the seams easy, but it wasn’t what my Mom was used to. After the first couple of rolls, it went much faster. We trimmed any excess so that there was only a few inches left around trim and doorways, and kept working.

When the wallpaper was completely dry, we used a sharp utility knife and trimmed the excess wallpaper. In a couple of spots around edges, it hadn’t stuck 100% so we wet the smaller sponge and were able to reactive the adhesive and get it to stick down perfectly. Any spots with extra adhesive were wiped with the big damp sponge as we inspected our work.

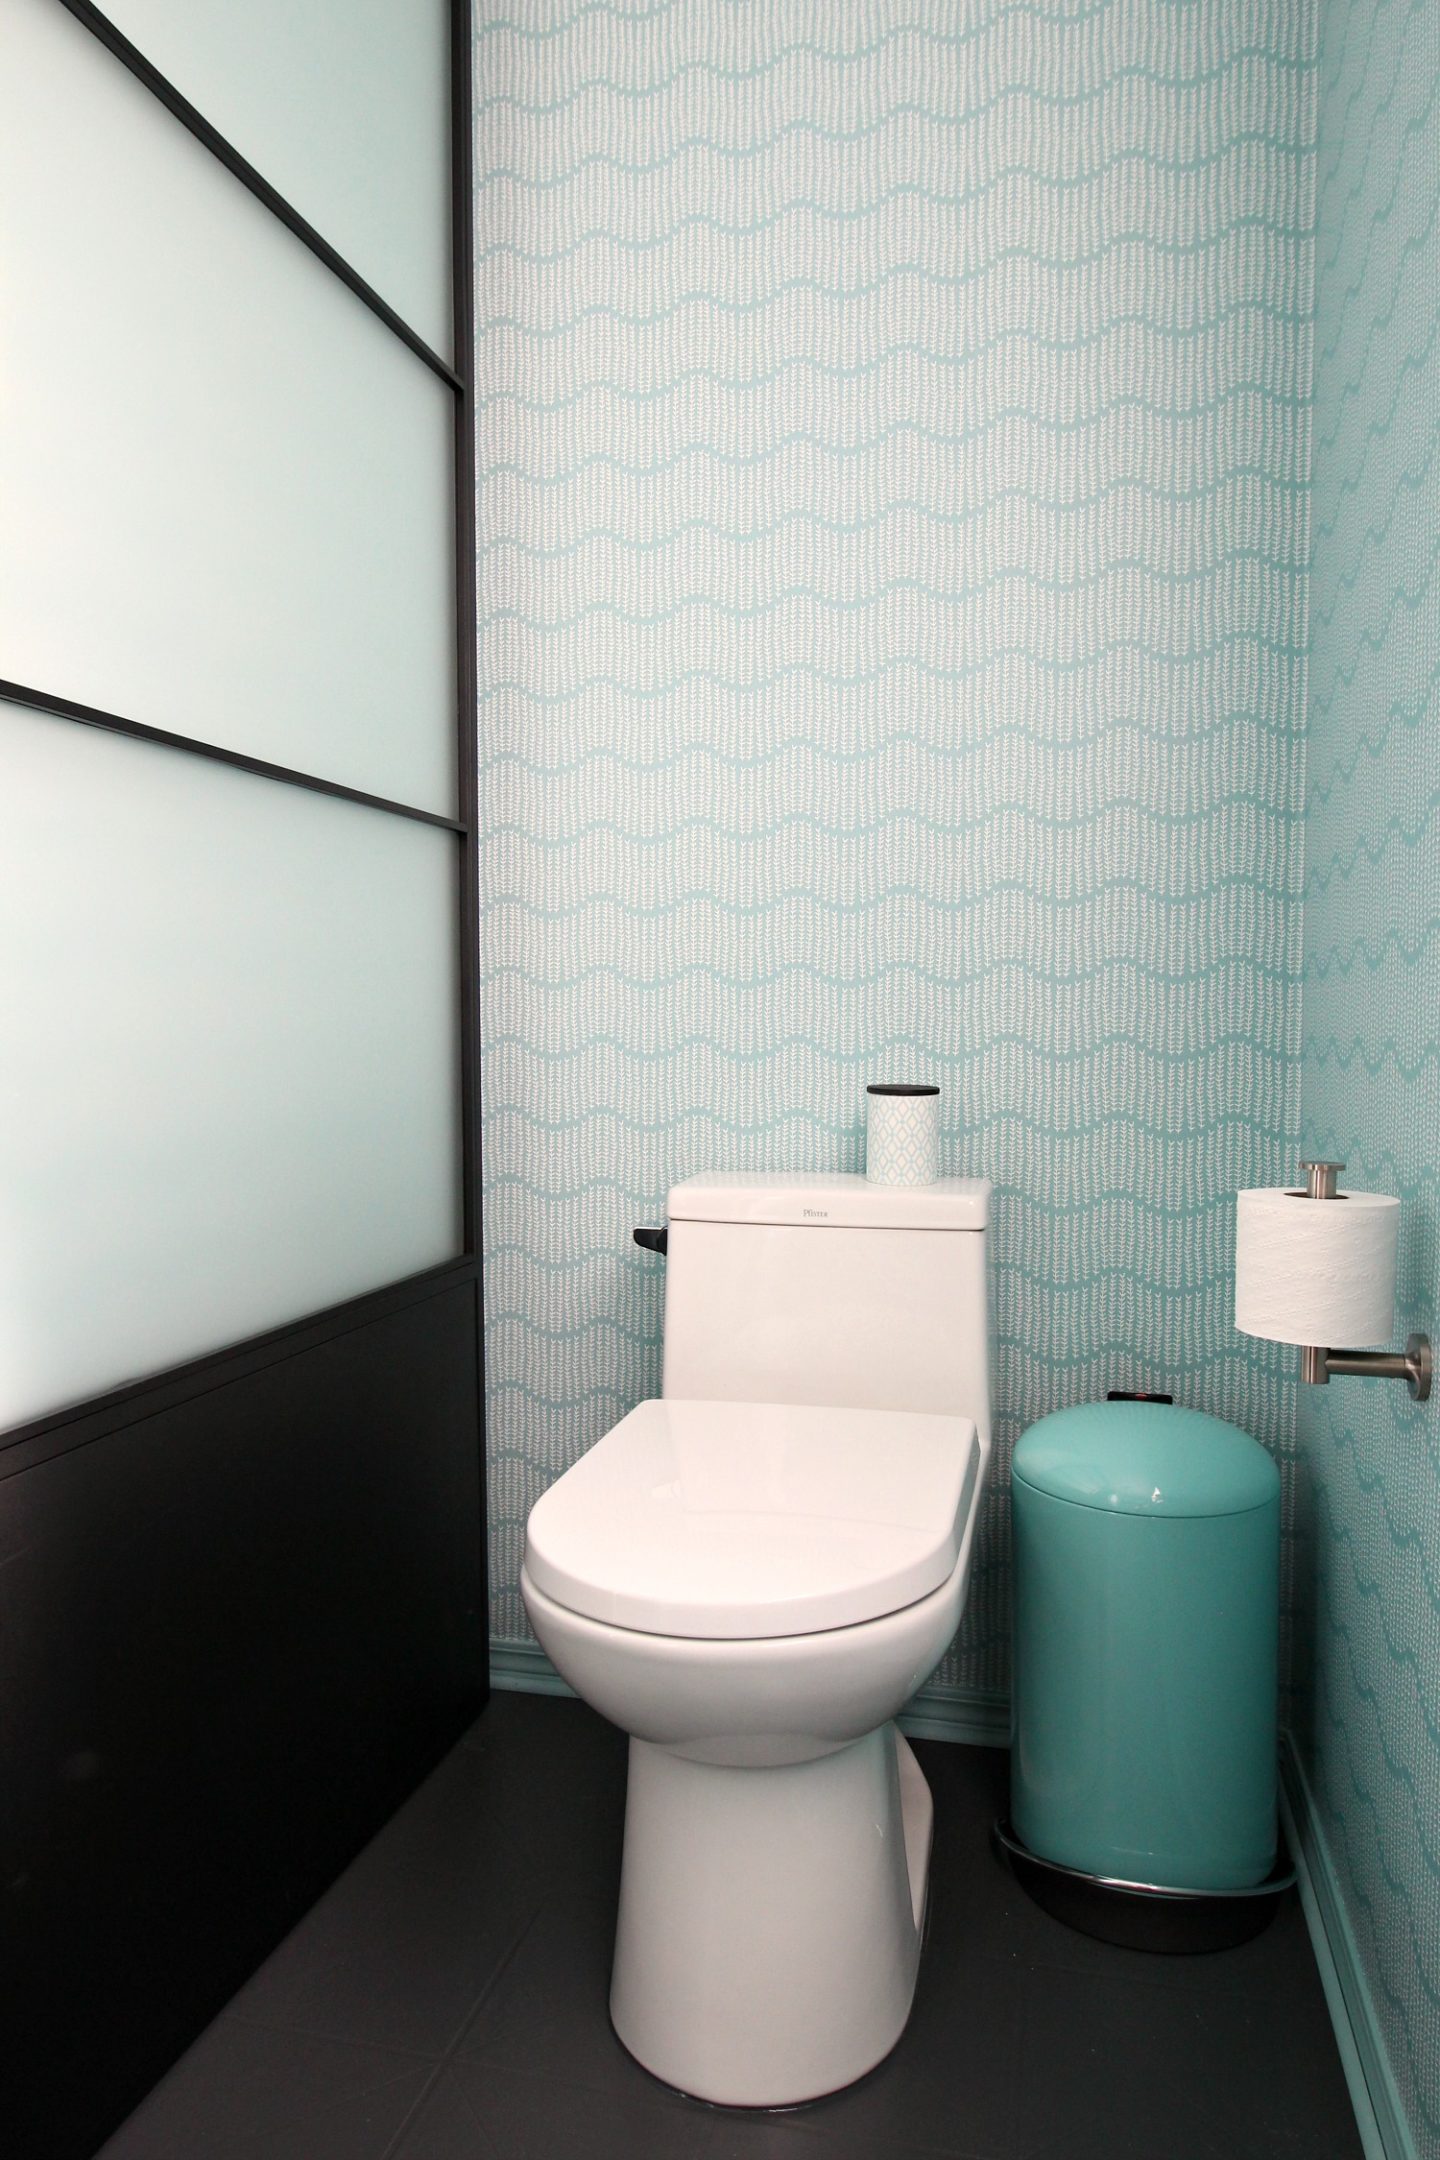
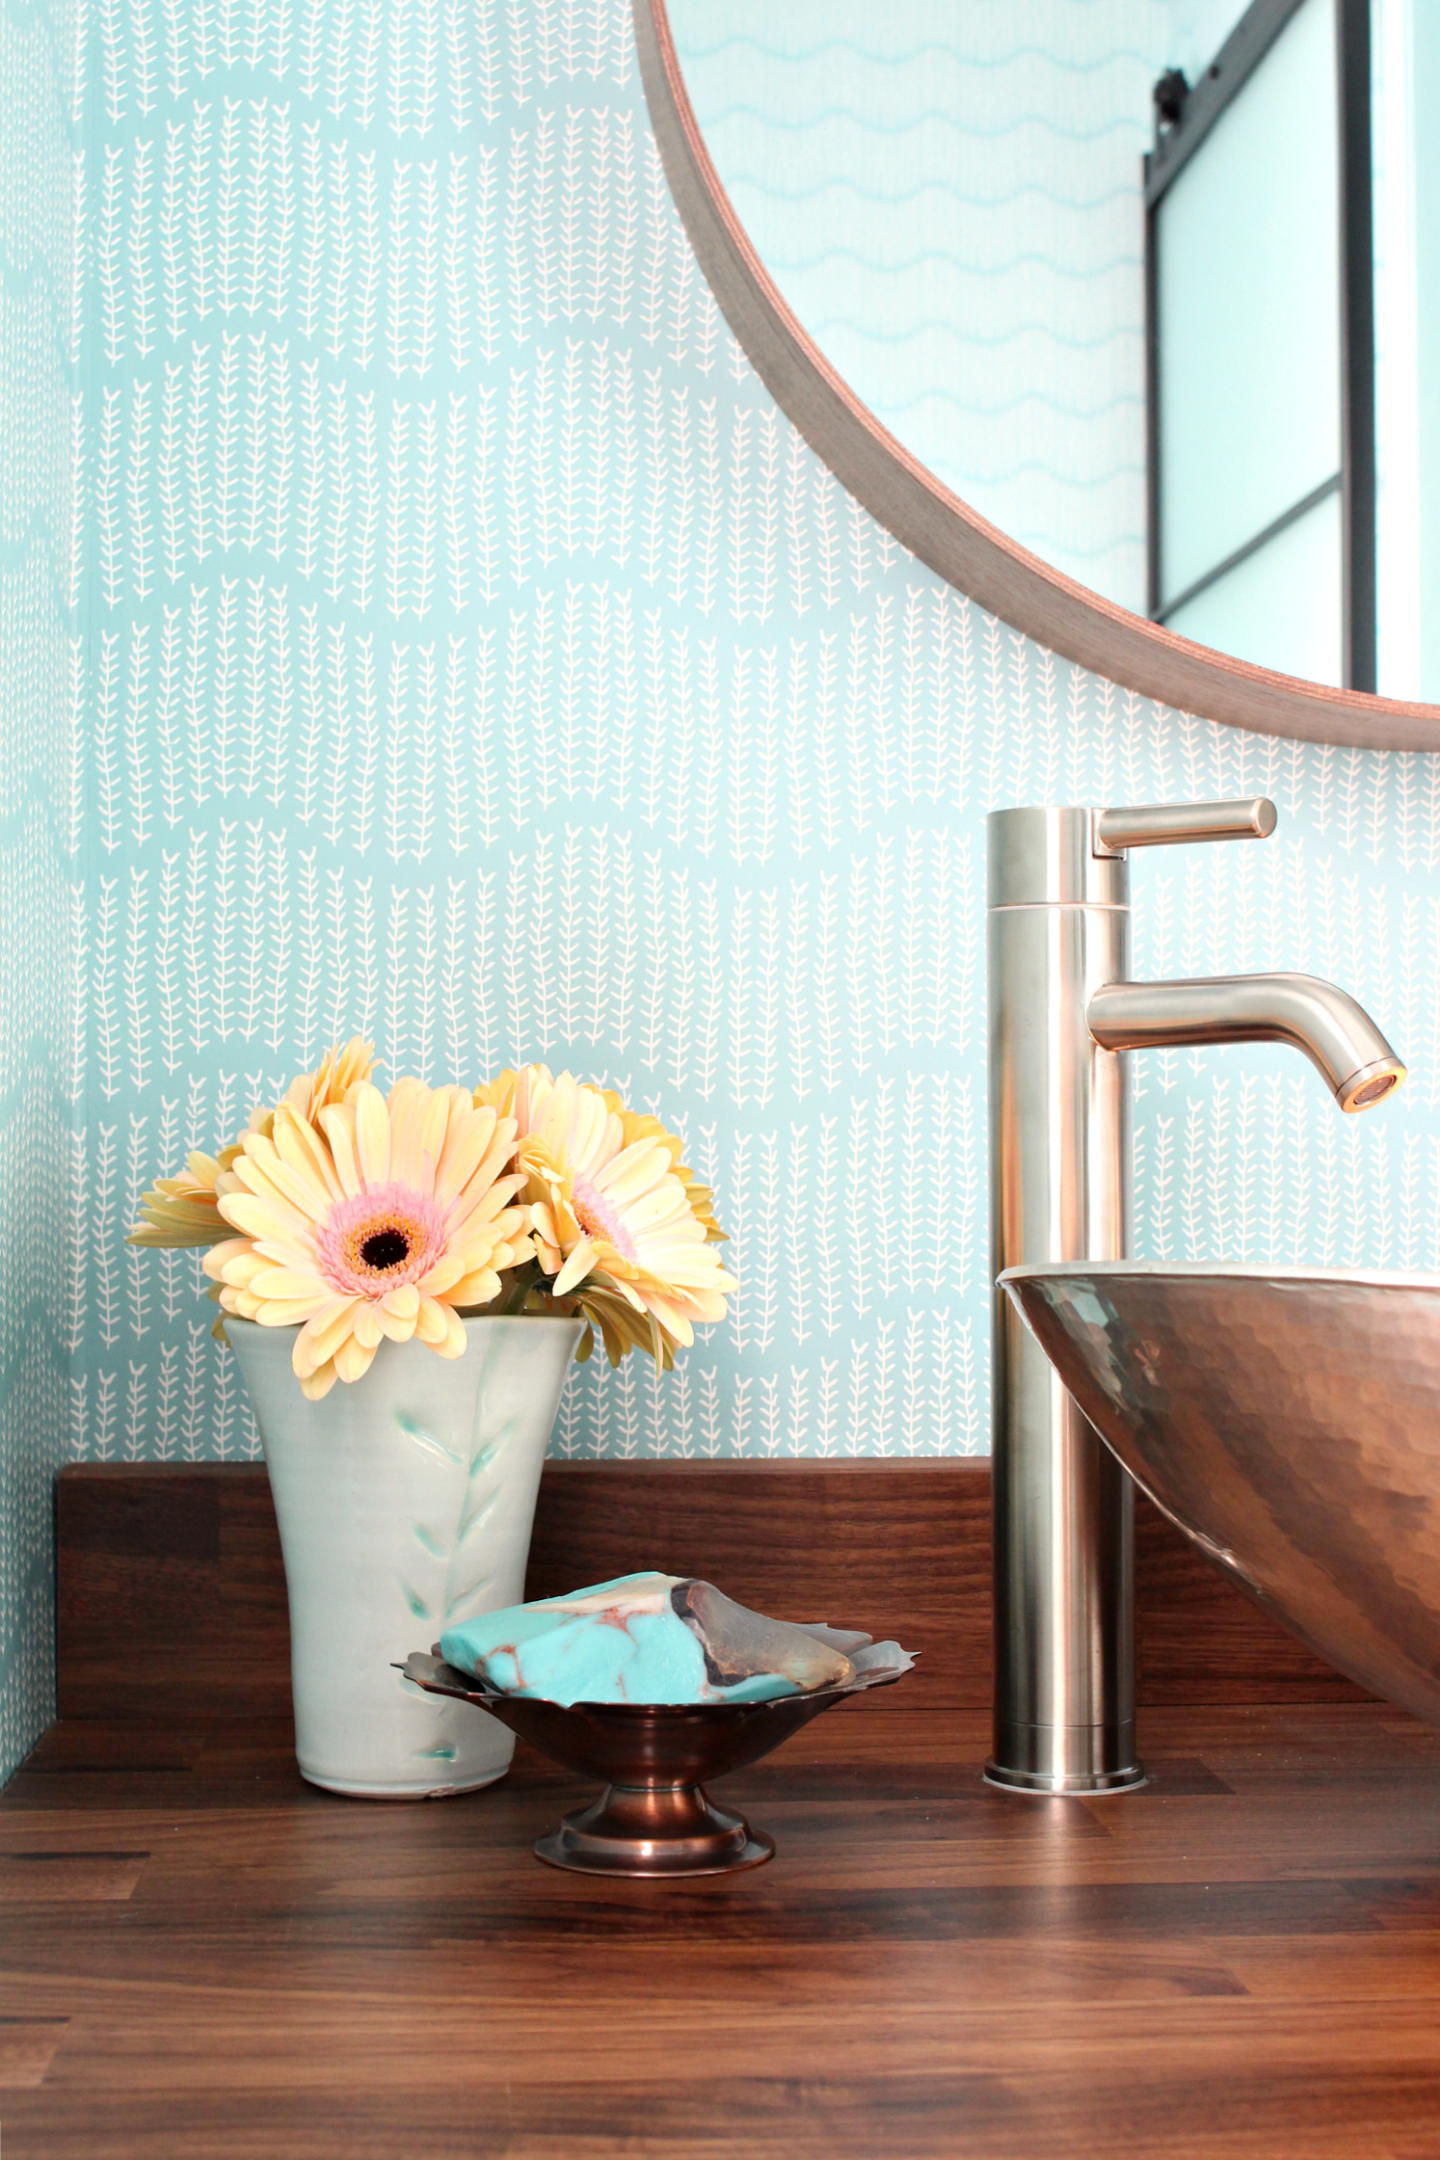
It turned out so beautifully!! All of my fears: glue sticking, paper tearing, dog tripping, never happened and when we finished this room, I was actually eager to wallpaper again! I can see how people end up with 16 different wallpaper designs in the house because it’s so rewarding. A couple of days and we made a HUGE impact! I love the pattern I chose (Sprigs on Ocean) and the wallpaper has luster and movement that were missing in my life.


I don’t plan on EVER taking this down, so I probably can’t speak to how well it can be removed, but I’ll definitely update you on the wear. In the meantime, check out this book, Bitten by Witch Fever: Wallpaper & Arsenic in the Nineteenth Century Home. I haven’t read it yet, but it sounds really interesting!

How did you tackle the corners? My daughter and I are going to do her bedroom soon and I’m stressing about the corners!
Author
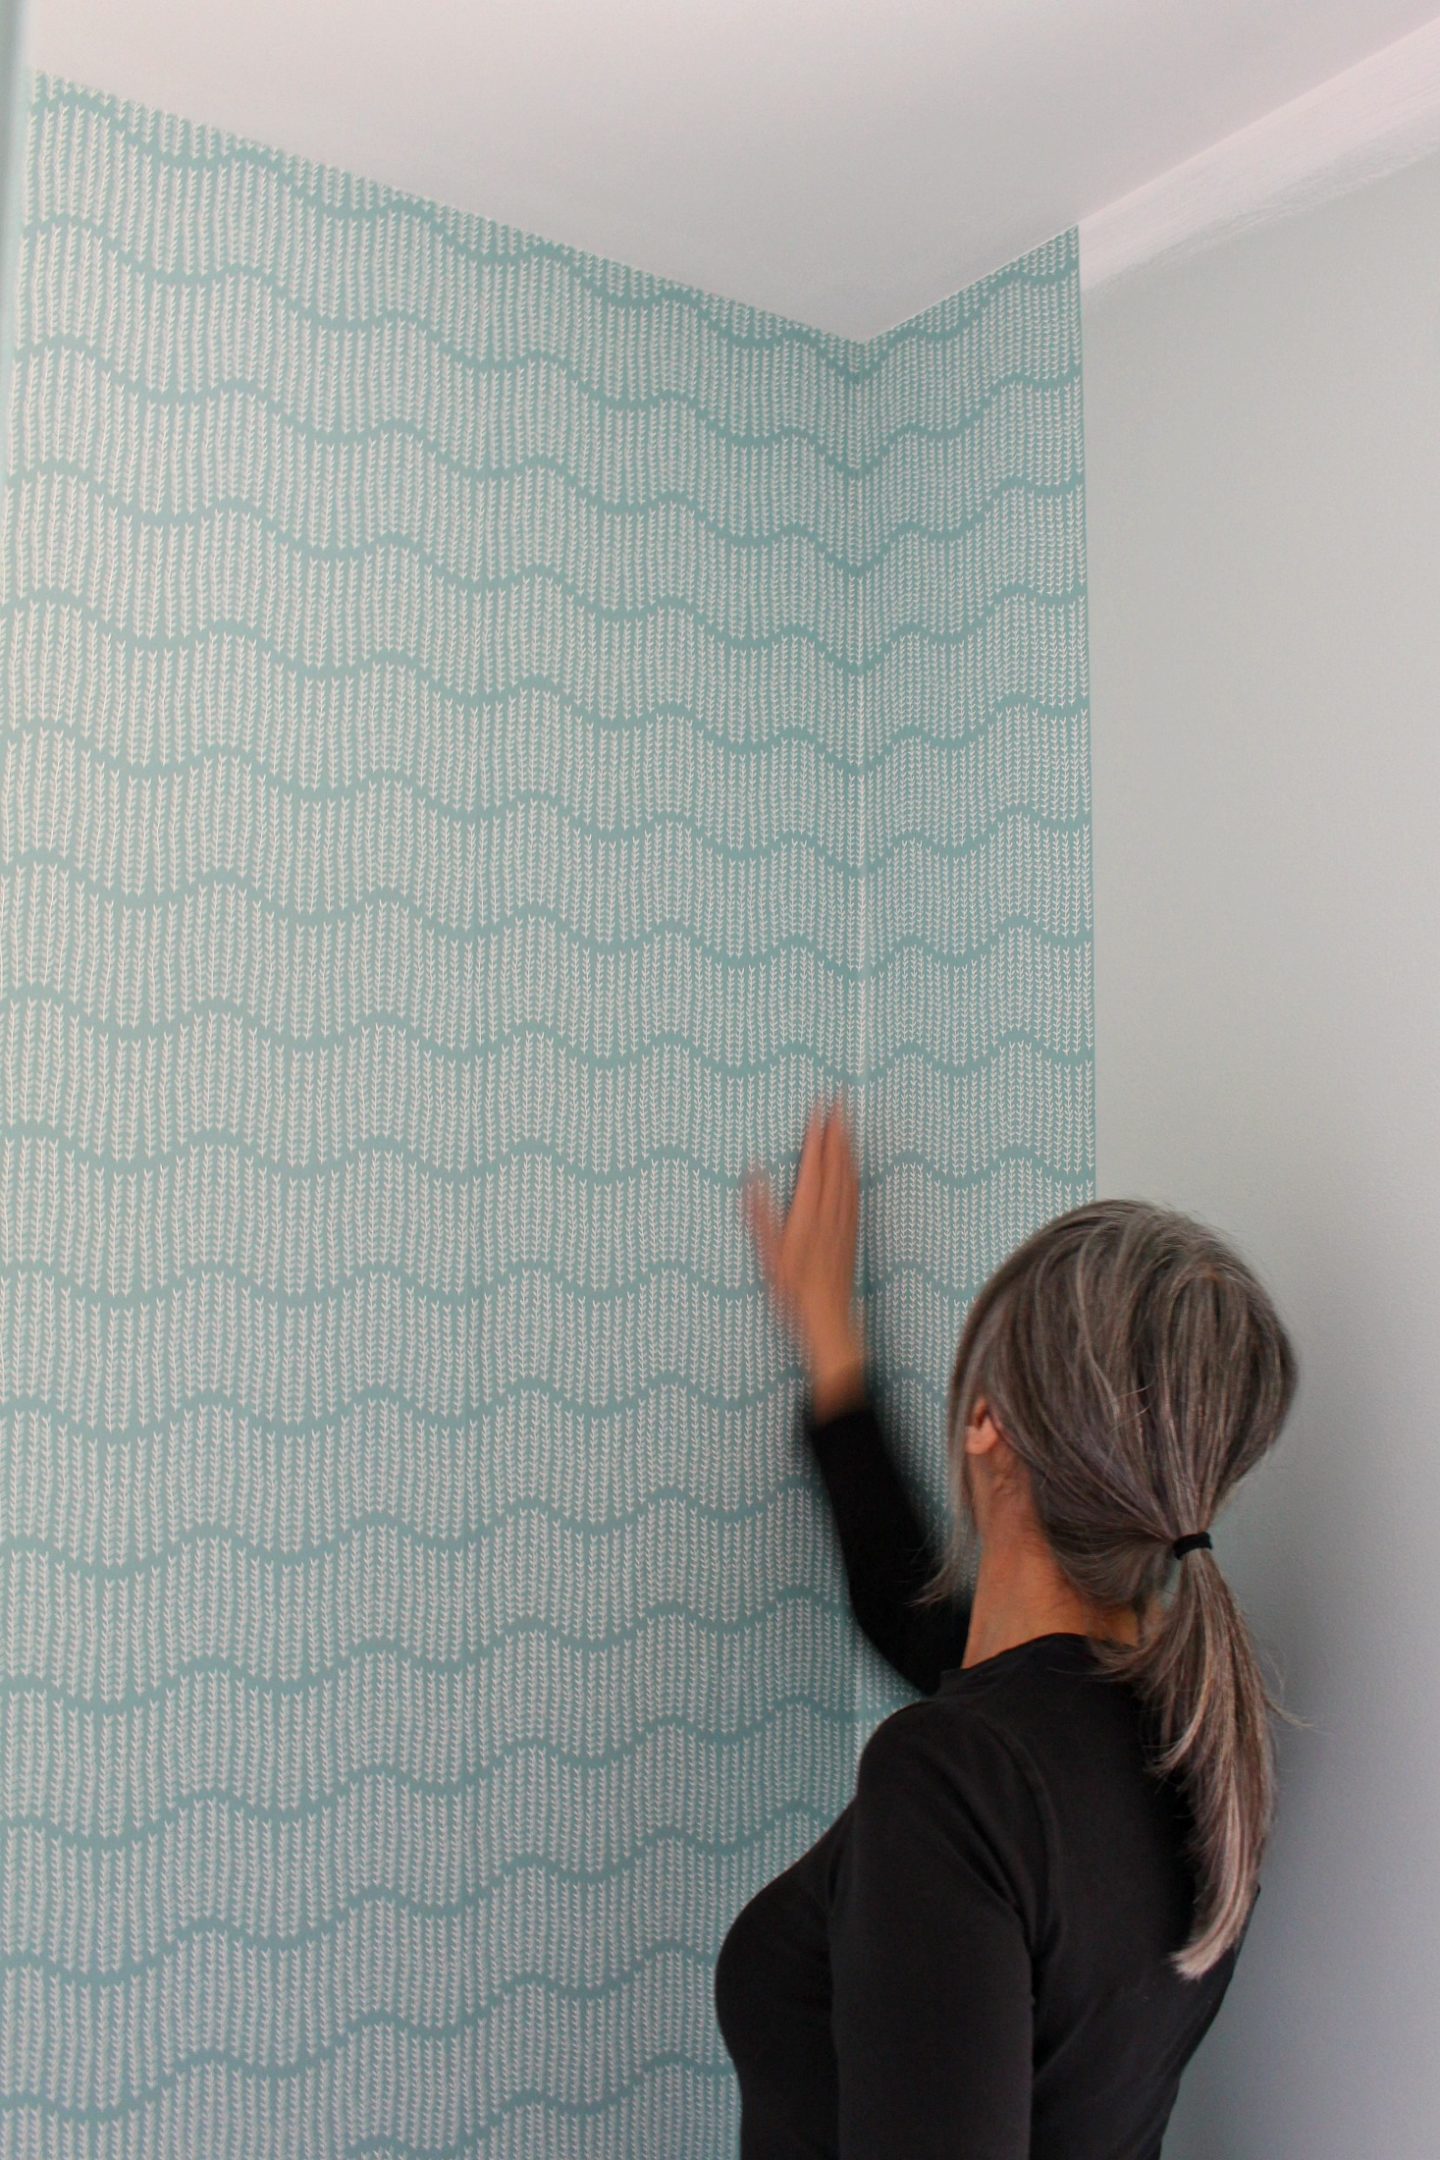
Good question! Corners were not too scary. It usually worked out that we wrapped the same piece across a corner and because the room isn’t square there was one weird spot so we carefully just cut out a piece with an exacto knife and no one is the wiser. It takes a bit of fussing but wallpaper is very forgiving, you have time to work with it and corners hide a lot. If you start right and make sure it’s level it will work out okay!
I read reviews that Spoonflower wallpaper scratches or scrapes easily. Did you have any problems with that?
Author
I haven’t, but then I don’t have children and this is also in a powder room so it’s not getting the kind of wear and tear a hallway or other high traffic space would. Mostly people sit here and contemplate, lol. It’s been almost a year and the wallpaper still looks brand new to me.
Your powder room looks fantastic! I am choosing a graphic pattern similar to this, Spoonflower’s description ‘subtle sheen’ vs online reviews of ‘shiny’ has me undecided. The paper is for one wall of the living room and there is so much natural light coming in. I would like the matte of the peel and stick but it being woven makes me wonder if it will dilute the effect of the simple graphic. How shiny would you describe your wallpaper?
Author
That is an interesting question! I would definitely say mine is more closer a matte, really, but not dull. I would not say shiny. And I have a massive window in this room. But the best thing is to order a sample! When I couldn’t choose, I ordered samples and they are really large, generous samples and that way you can be 100% sure because wallpaper isn’t cheap!
Hi,
Thank you for doing such an in-depth review of the wall paper! I absolutely love the design!
I was wondering, did you leave the wallpaper overlapping or did you cut down the middle of the overlap and remove the excess?
Author
Thank you! I’m glad it was helpful. I’m sorry I’m not 100% clear on your question… ?
Hi, Thank you for your reply, the spoonflower paper overlaps at the edges to keep the repeat pattern flowing cohesively and I wanted if you left the edges laying over each other and whether this leaves a noticeable bump at intervals on the walls? Or if the overlap is unnoticeable when in the room.
Author
I was surprised about the overlap at first, given that traditionally wallpaper butts up, but I left it as is and the overlap is not noticeable. There’s no bump that you can see. This wallpaper is very thin (in a good way) and so once it’s installed those overlaps disappear. But my pattern is also very busy – perhaps with a pale white background it could show? I have only installed it the once, so I can only speak from my experience, But I am very happy with the installation – those overlaps were easier to install and look beautiful. If you’d like, I can snap some super close photos and email them to you so you can shop with confidence.
Hi Tanya! I have the same question as above. I am not as industrious as you and am having someone install for me, but he is concerned that you’ll be able to see where the paper overlaps. (As a professional I think he’s a bit skeptical, ha!) Would you mind posting or emailing me a photo of a seam? Thanks so much!
Author
For sure! I’ll email you some photos I just took with my cellphone, with zero editing. In my opinion, you cannot see the overlap – it has a seam that could be a butt joint. I have since wallpapered a couple of time with more traditional style wallpaper that doesn’t overlap and the difference was that the Spoonflower wallpaper is a lot thinner (in a good way). It was hard for me to find the seams to photograph – I had to feel along the paper, lol.
Are your walls smooth or did they have any texture? My walls have a bit of texture and I’m afraid I’ll have to skim coat them first.
Author
My walls are regular drywall, with a couple decades of paint rollered on. So smooth-ish. But there was a spot where we had replaced the drywall and hadn’t patched well and the wallpaper covered it up so well. Surprisingly smooth application. Here is an article from another blog about wallpapering over texture, hopefully it helps!
Im going to do a small foyer with three doors. How do you know her w much to order when theres so many doors?
Author
There should be a calculator online to help. But in my experience, doors and windows don’t change how many rolls I have needed. That’s because the wallpaper usually ends up a sliver on either side or above (or below, with windows) so it’s sort of like you wallpapered the whole room and then just cut out the doors/windows. Does that make sense?
A little off topic, but where did you get your fixtures? Particularly that vanity awesome light!
Correction…that awesome vanity light! 😁
Author
Haha no worries I understood 🙂 It’s from a company called Varaluz and the style is called Fascination.
Your bathroom looks great. I picked a dark blue background with White Sea stars-so beautiful, unfortunately the overlap was very obvious and the edges of both sides of the paper leave little white lines. (Edges are not colored) So I highly recommend not using pattern that has dark sold background.
Author
Oh no, I’m so sorry to hear that! Thanks for taking the time to share your experience and advice for others shopping for wallpaper.
Hi Tanya, I have concerns, also, about being able to see the overlap marks. I’ve hung quite a bit of regular paper and have always butt the seams together. You mentioned that your mom wallpapered before so I was wondering about a few things. With “normal” wallpaper you submerge the prepasted paper in a water trough then book it. Would this work using this paper? Then, usually, you don’t wrap paper around or inside corners. You cut the paper a little bit longer, a half inch or so, and wrap that around the corner then use the leftover paper to start fresh, drawing a new plumb line. Is that something your mom questioned? Did she think it was odd that you would wrap the paper around the corners? Also, you usually trim the paper, after hanging, right away. Why wait until it’s dry? Was that something your mom mentioned? Thank you!
Author
So this wallpaper is designed to overlap – you cannot butt the seams. I have installed wallpaper in two other rooms (using non-pasted wallpaper – click here for that post – and paste the wall wallpaper – click here for that post). And this was very different because if you do not overlap the paper as instructed, the pattern will not match up.
If the overlap worries you, then I’d recommend a different brand (you can see the links above for my experiences with two other popular brands). I can only speak to the seams on my wallpaper, which are totally invisible, but I don’t know how other colors/patterns will look. You can also order a sample and experiment before committing. The samples that I received was large, so you could easily but that and wallpaper onto a scrap piece of drywall to see how visible the seams will look. It’s a big investment and you don’t want to be disappointed.
I would not recommend the water trough method for this particular wallpaper, as it’s not designed for that. That is how my mom installed wallpaper in the 1980s, so she was befuddled by this too, but now there are so many different kinds you should defer to manufacture’s instructions. This was definitely very easy – you just need a little room to work.
If you are already experienced in wallpaper installation, you can plot out the installation however you like when it comes to corners. This is just the way we wanted to do it and we were lucky that the corners in my powder room and her dining room (which we wallpapered next) we forgiving. It was honestly just easier this way.
In terms of waiting for the wallpaper to dry before trimming, this wallpaper just moves around really smoothly on the wall – must be the paste – and so it was just a little too wiggly to trim when it was wet. But again, if you’re a wallpaper pro, which it sounds like you are, you can do things differently.
What I have shared is just what worked best for us and, hopefully, gives someone a good start if they plan to try using this particular wallpaper. As you have installed wallpaper many times before, you can defer to your own method of doing things – but just make sure not to go against any manufacturer’s instructions.
Hope this is helpful? Don’t hesitate to ask anything else about this. I’ve since wallpapered two more times (and done a peel and stick mural twice) so I’ve become quite fond of wallpaper myself! I would definitely use this wallpaper again.