I received a lot of compliments on my tea towel when people spotted it in my kitchen photos a few months ago, so I wanted to show you how to sew this DIY tea towel, with an optional step of how to sew a mitered corner. Keep reading to learn how to sew a tea towel with either the simple version of this DIY tea towel or the slightly more sophisticated twist. I’m also showing you some of the tools I use to make cutting fabric and sewing hems SO much more straightforward.

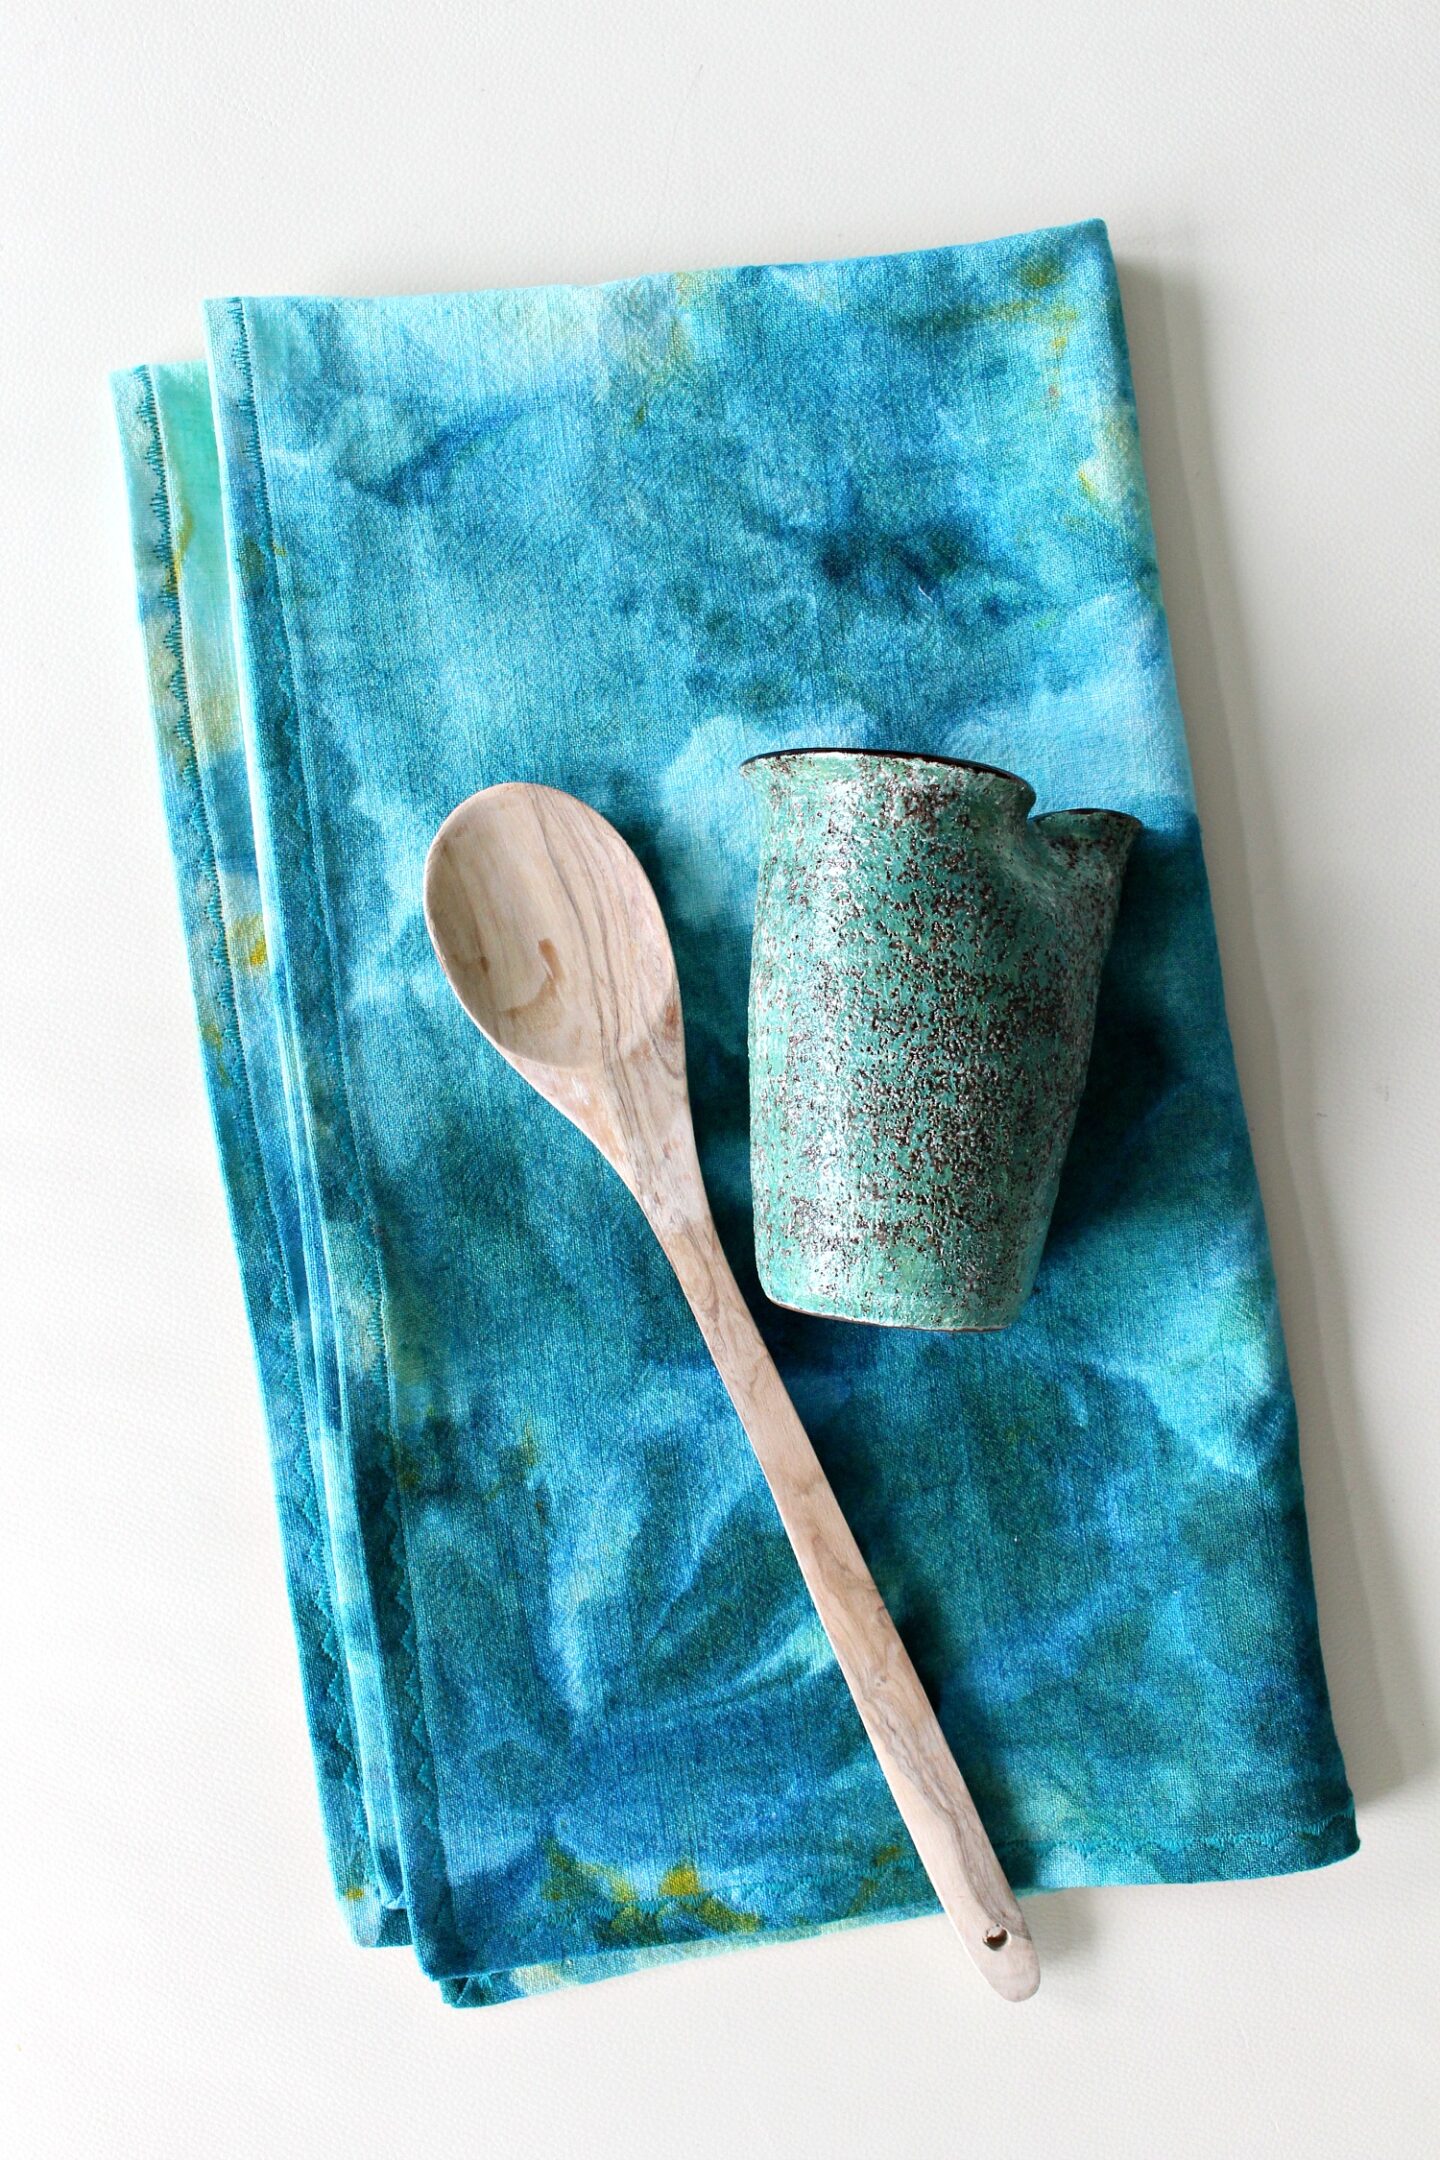
I made my tea towel extra wide and long to cover as much of my old stove as possible, haha! I dyed the fabric myself, using my own ice dye tutorial, so I waited to share this DIY tea towel sewing tutorial until I could test it out. I wanted to make sure the dye was colorfast for such a hardworking, often washed item! Months later, it looks just as vibrant.


Supplies for a DIY Tea Towel
- Linen or cotton/linen blend fabric (I ice dyed mine first, using my ice dye tutorials)
- Coordinating thread
- OLFA self healing rotary mat (optional)
- OLFA rotary cutter (optional – scissors work too!)
- Meter or Yard stick (or measuring tape and a straight edge)
- Sewing machine
- Iron & ironing board
- Straight pins
- Clover hot hemmer (optional)

Sewing tutorials are tricky because I need someone to either sew so I can take photos, or take photos while I sew – luckily my Mom kindly stepped in and offered to help me so I could put together this easy tea towel sewing tutorial. And I’m so glad, because it’s also just more fun to do projects with her!
How to Sew a DIY Tea Towel
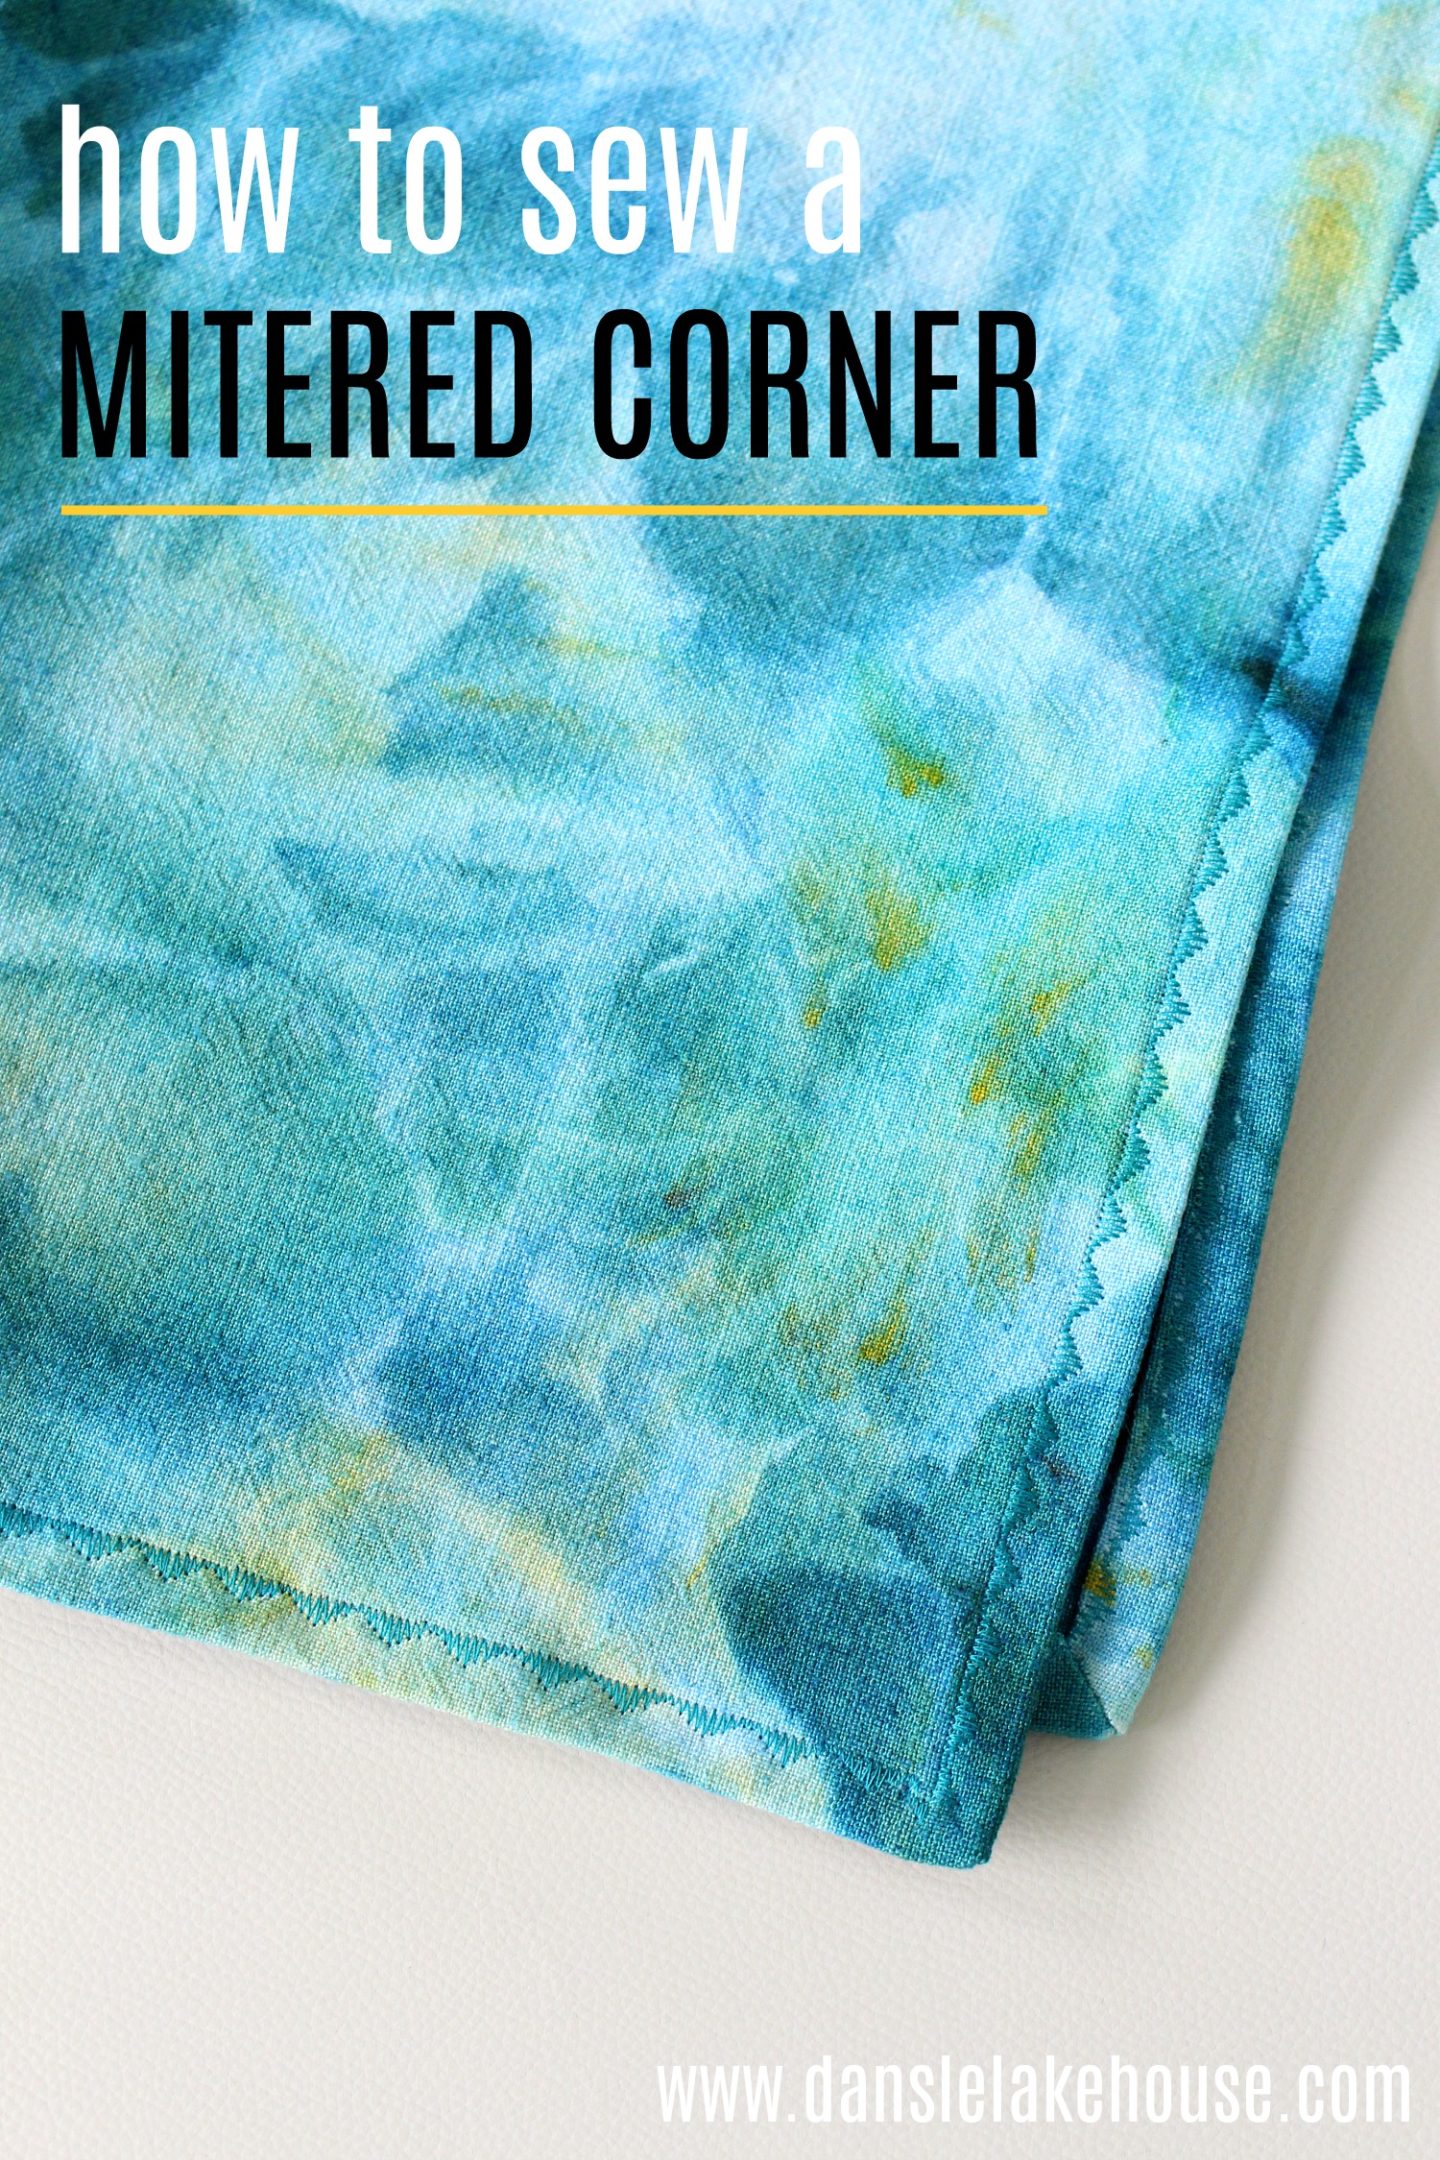
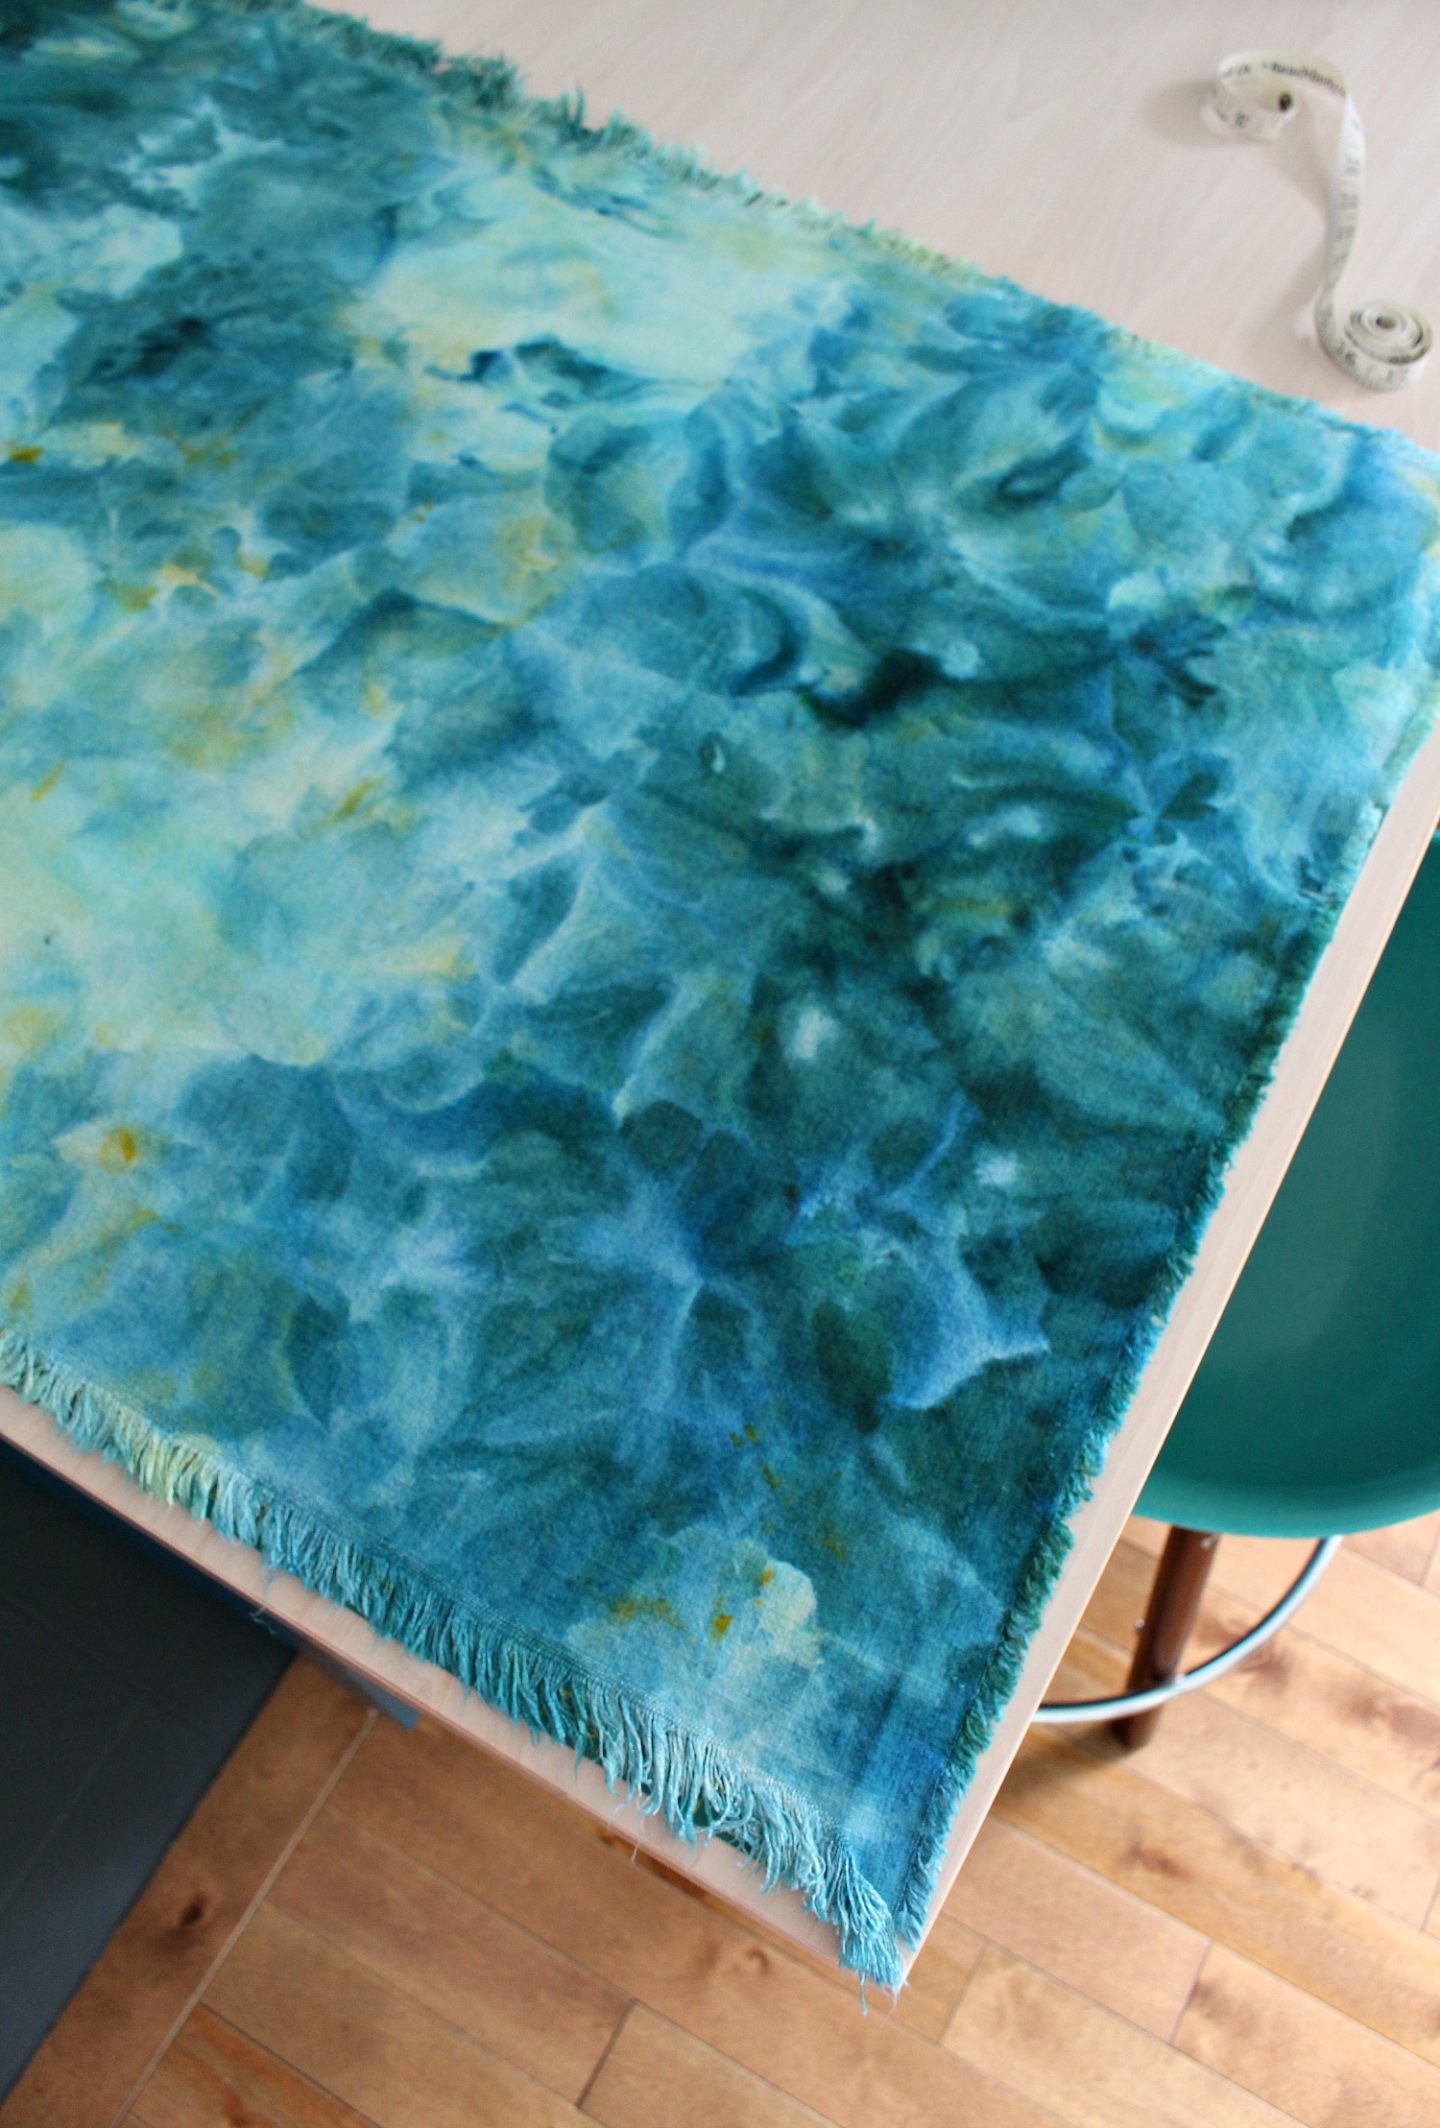
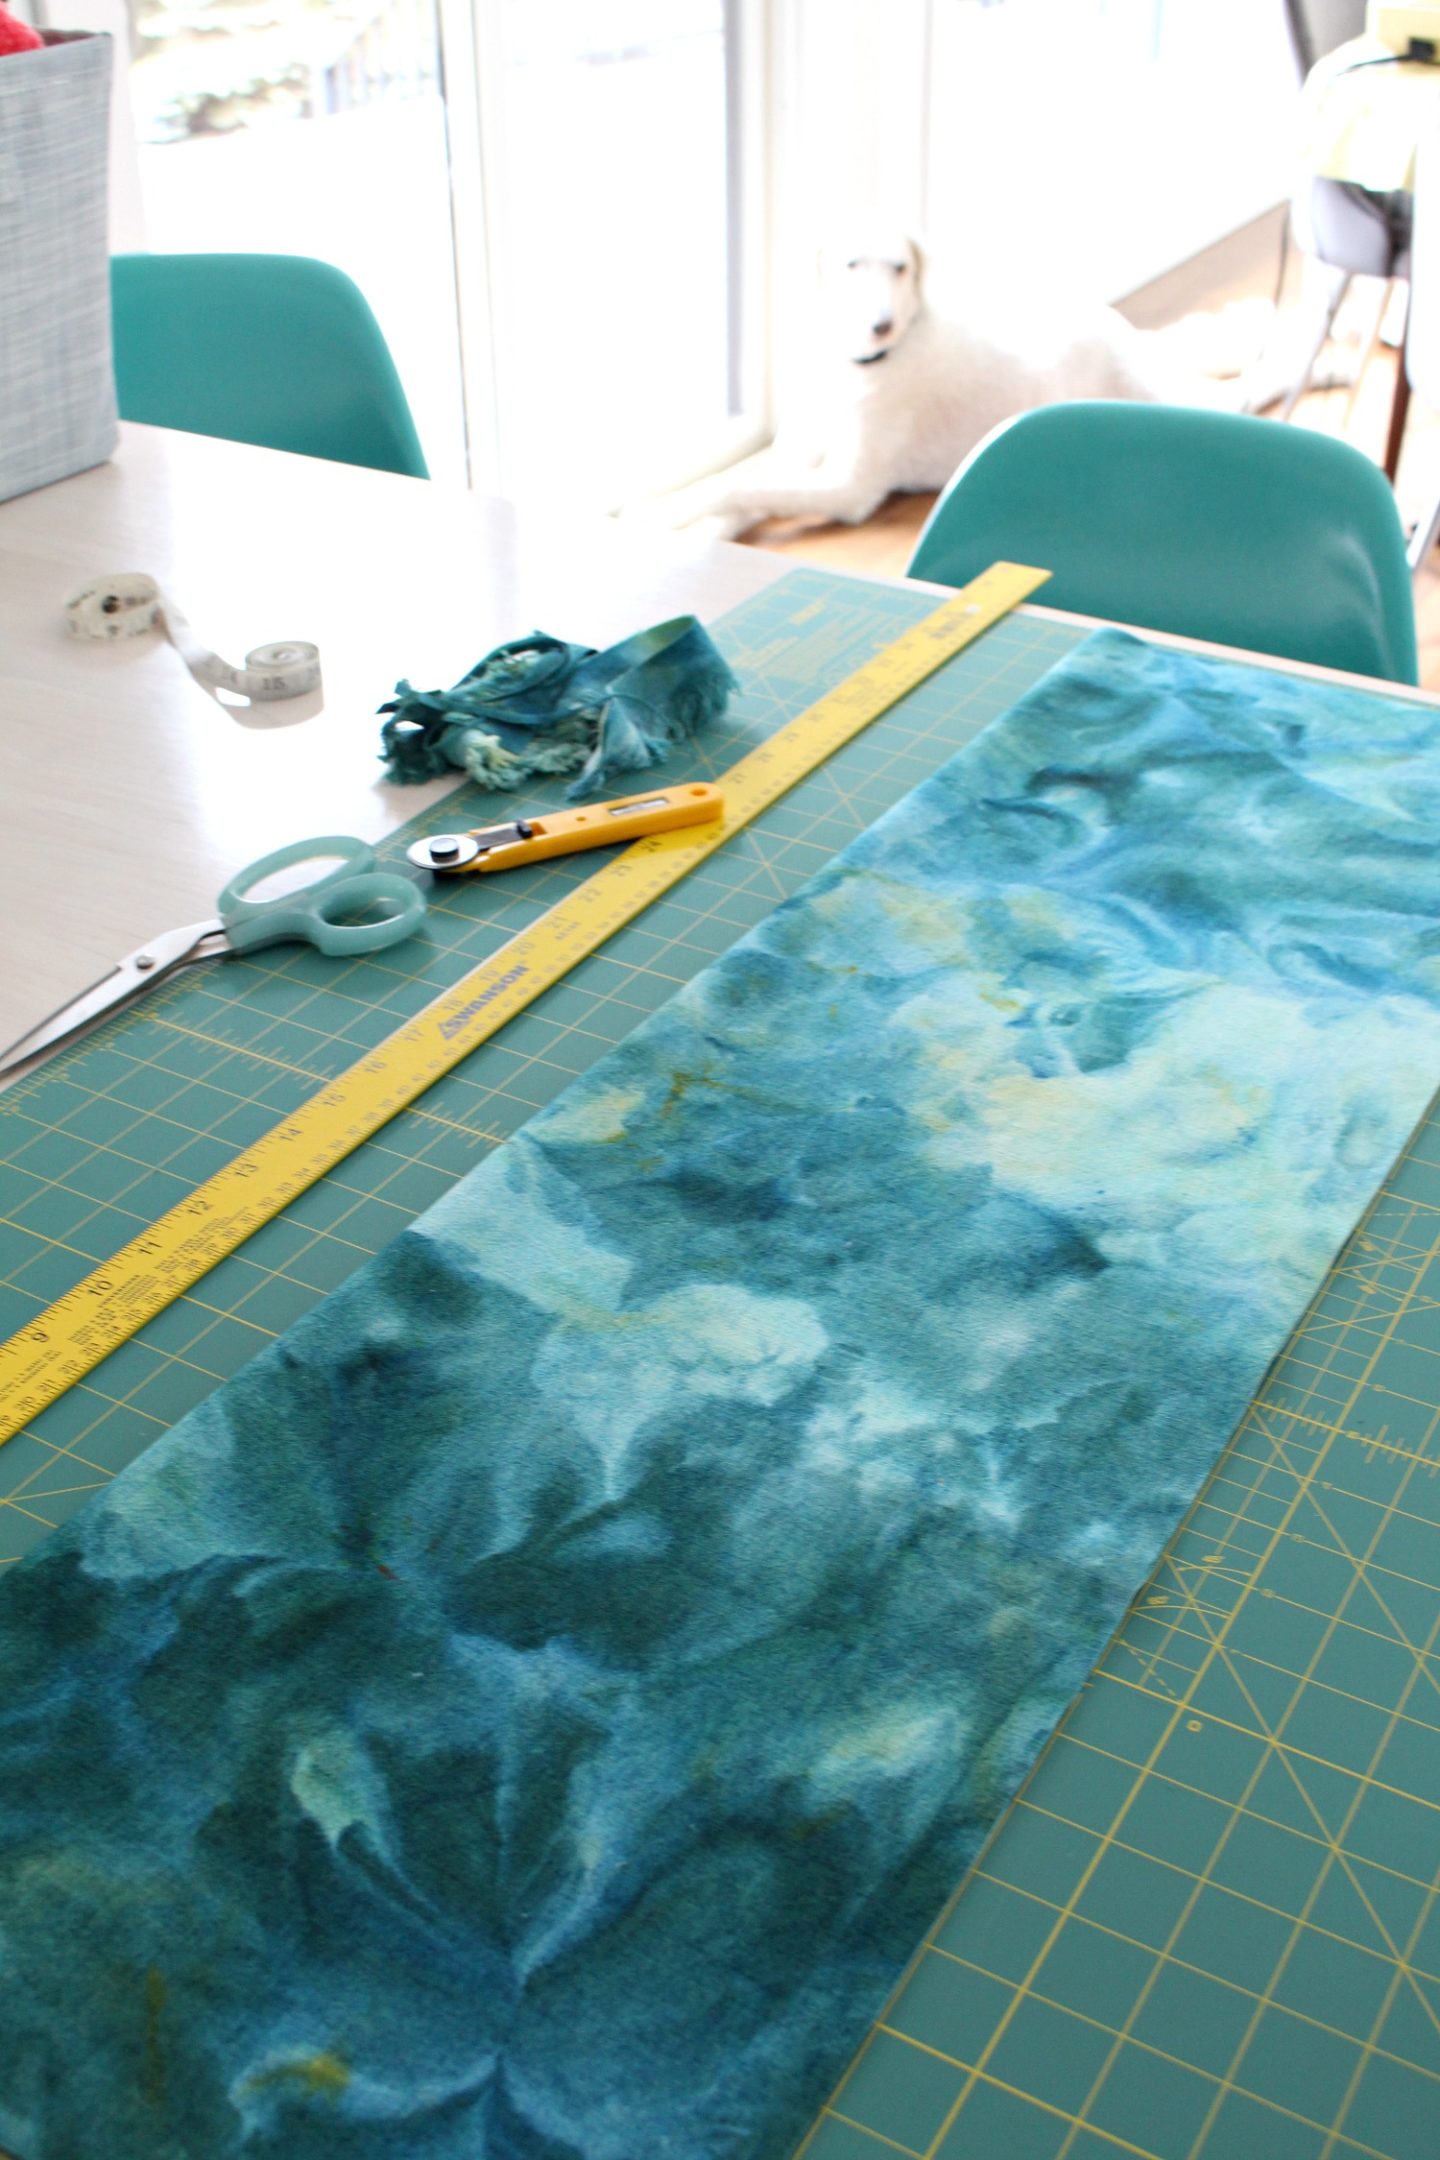
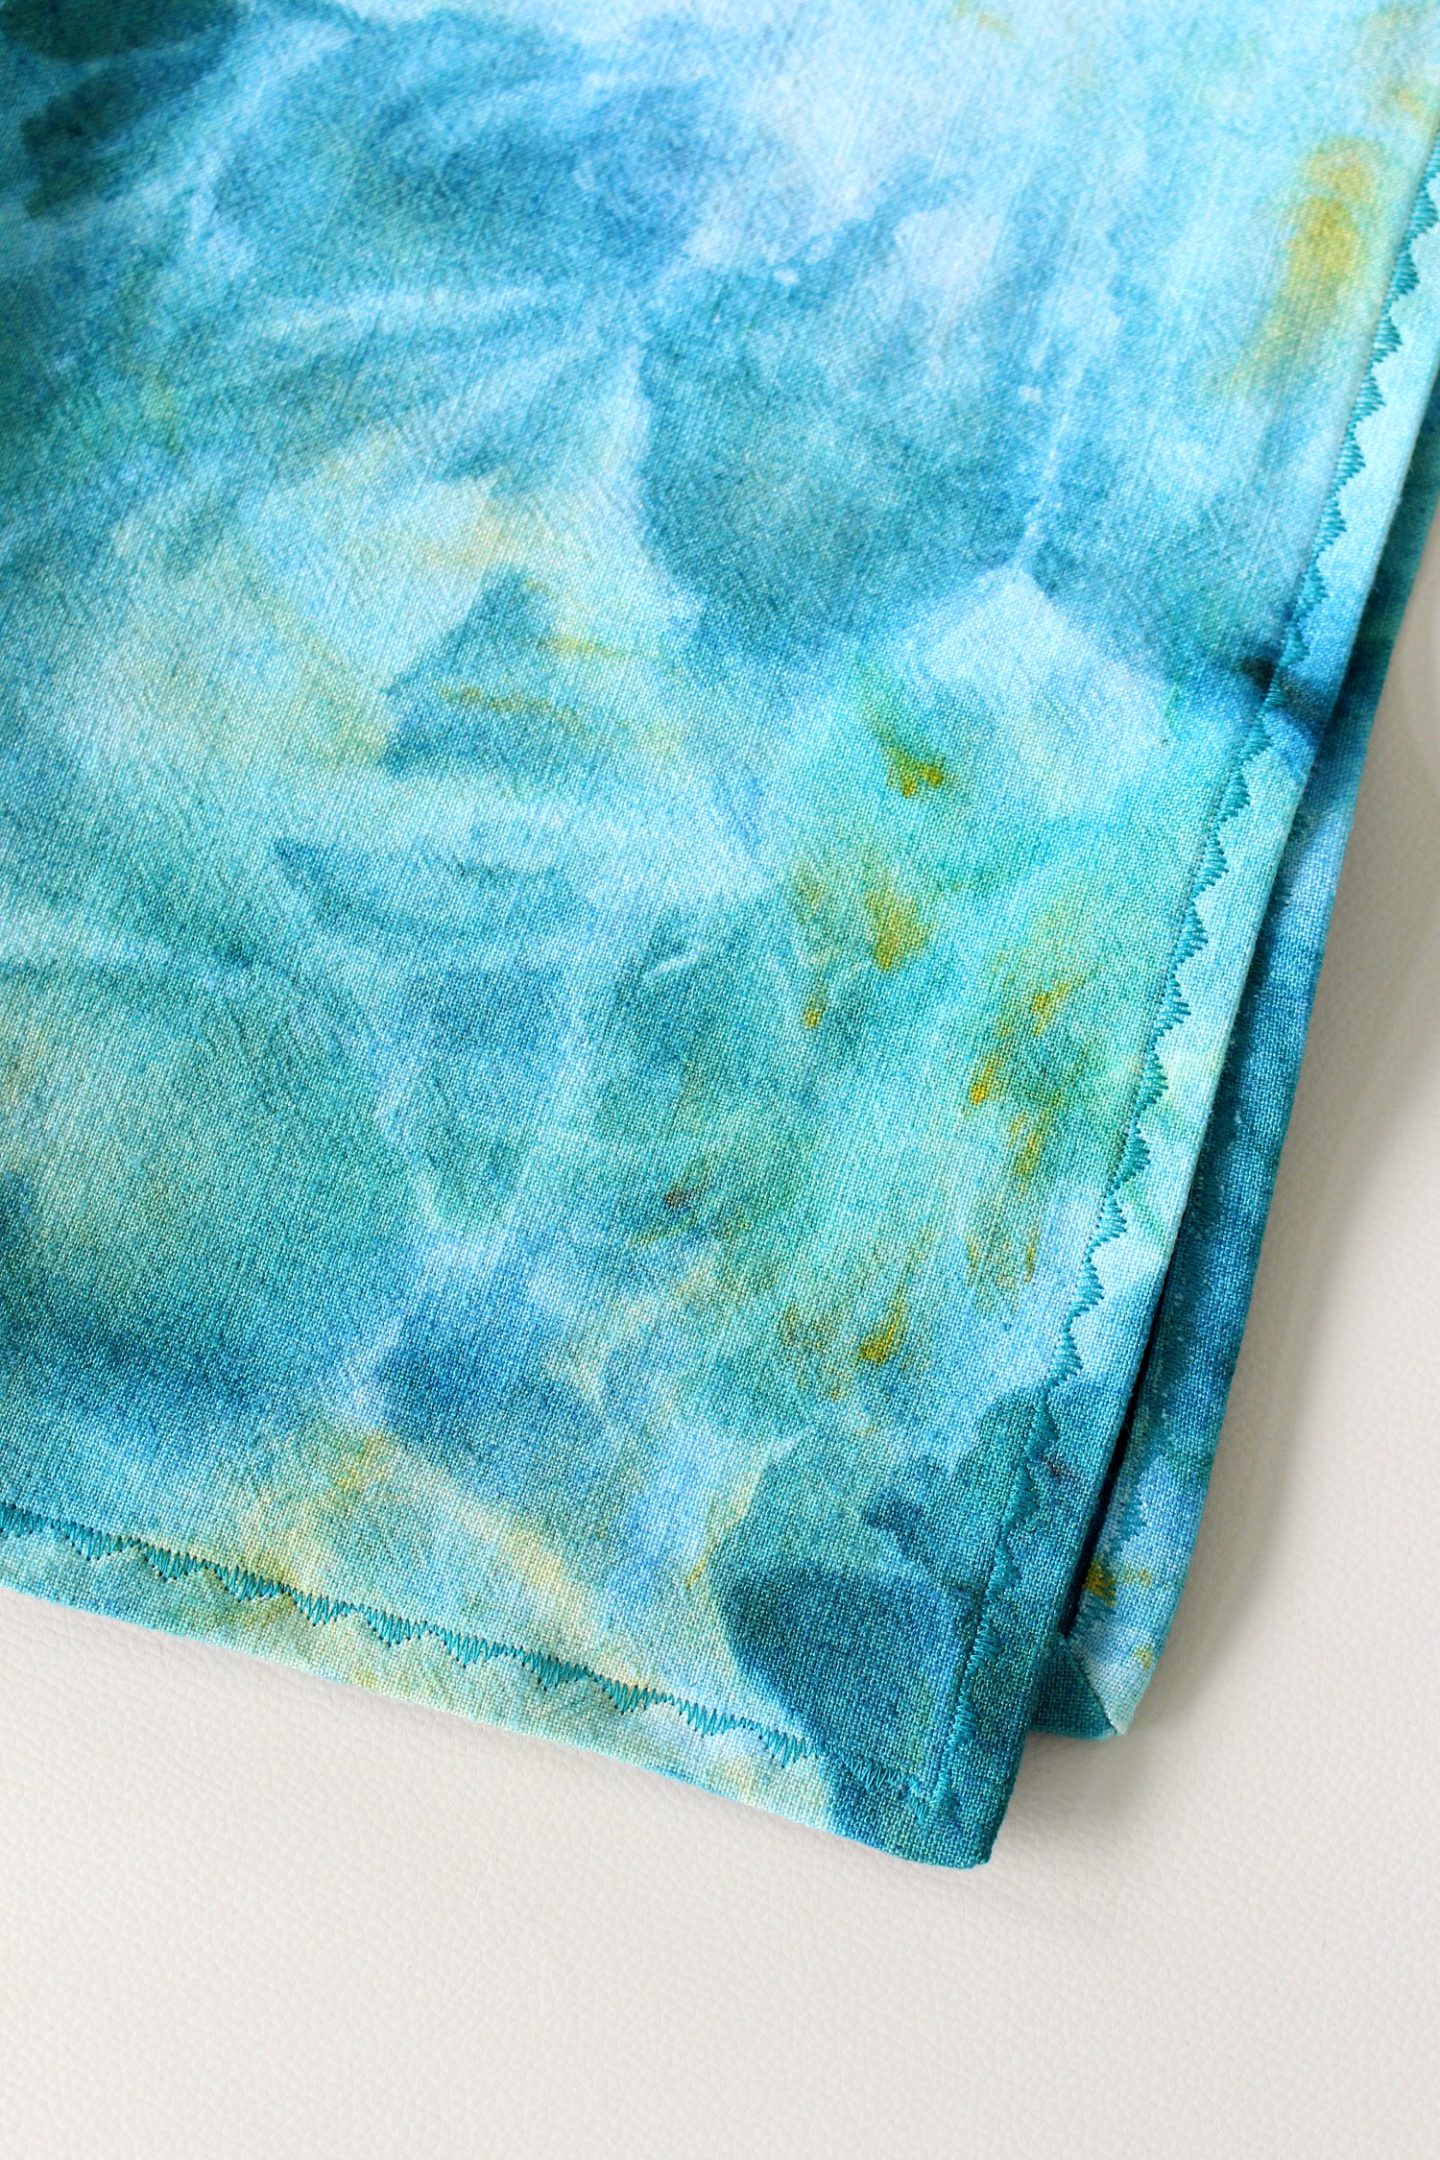
Here’s a better look at my fabric. Using my own ice dyeing tutorials, I dyed it a vibrant teal – this is a cotton/linen blend fabric, with a nice heavy weight. I washed it in warm and tossed it in the dryer after dyeing it, so it can easily be laundered after sewing without fear of shrinking. I used a few of my favorite tea towels to figure out an approximate size, but I made mine even bigger to hide more of my old stove – you can choose any dimensions you’d like!
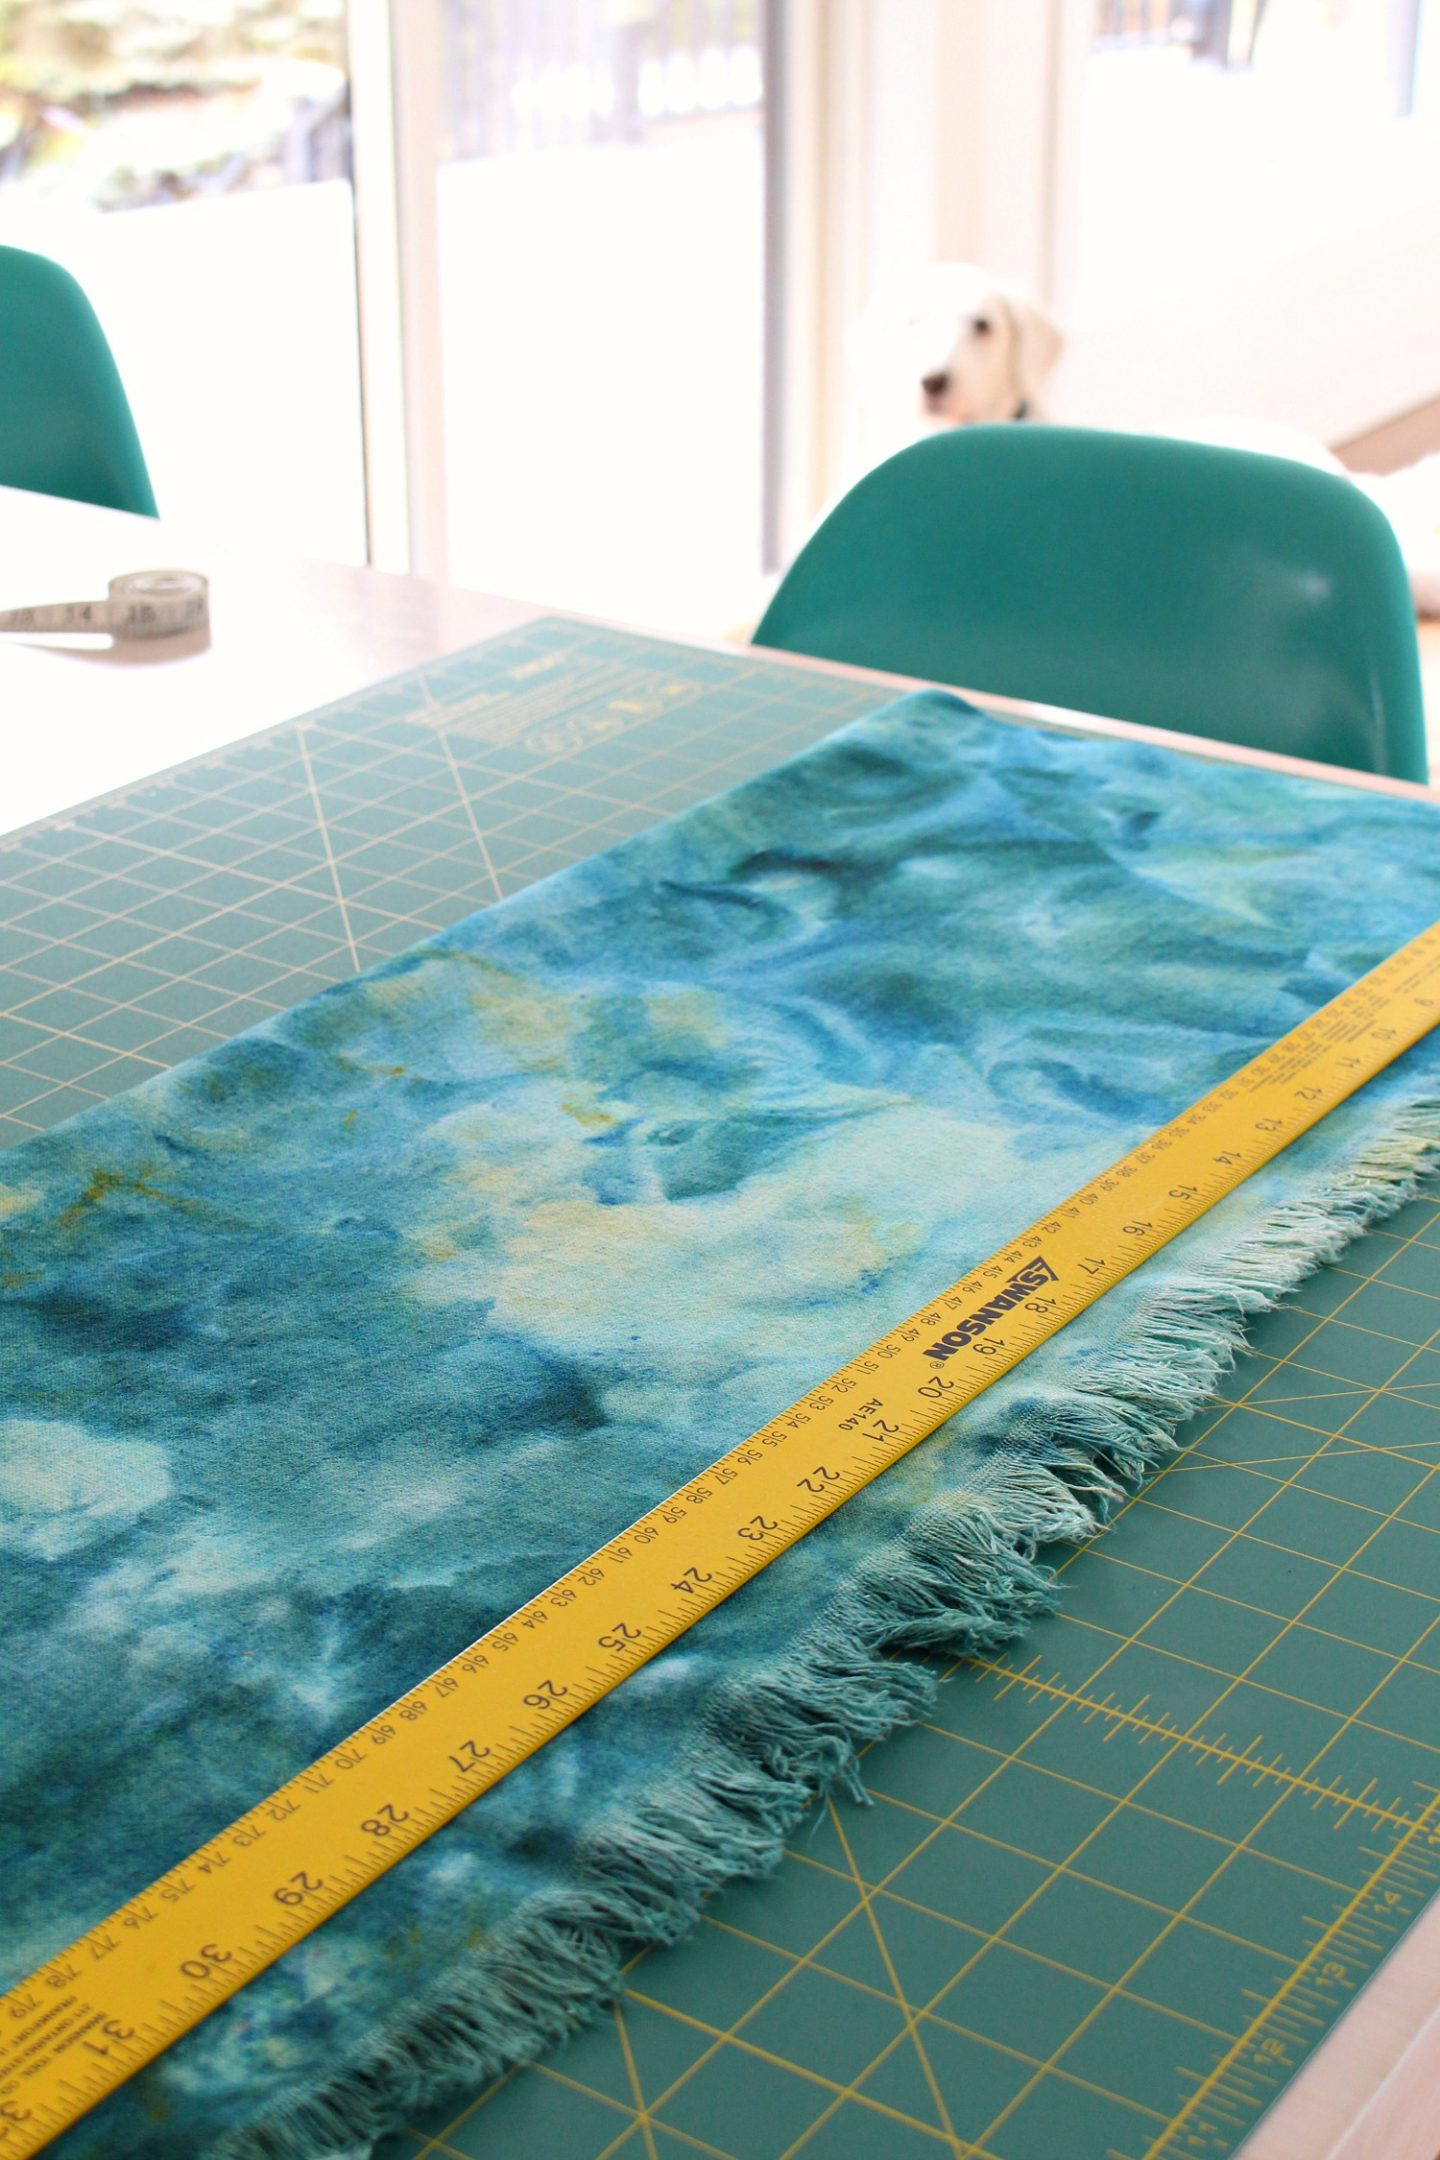
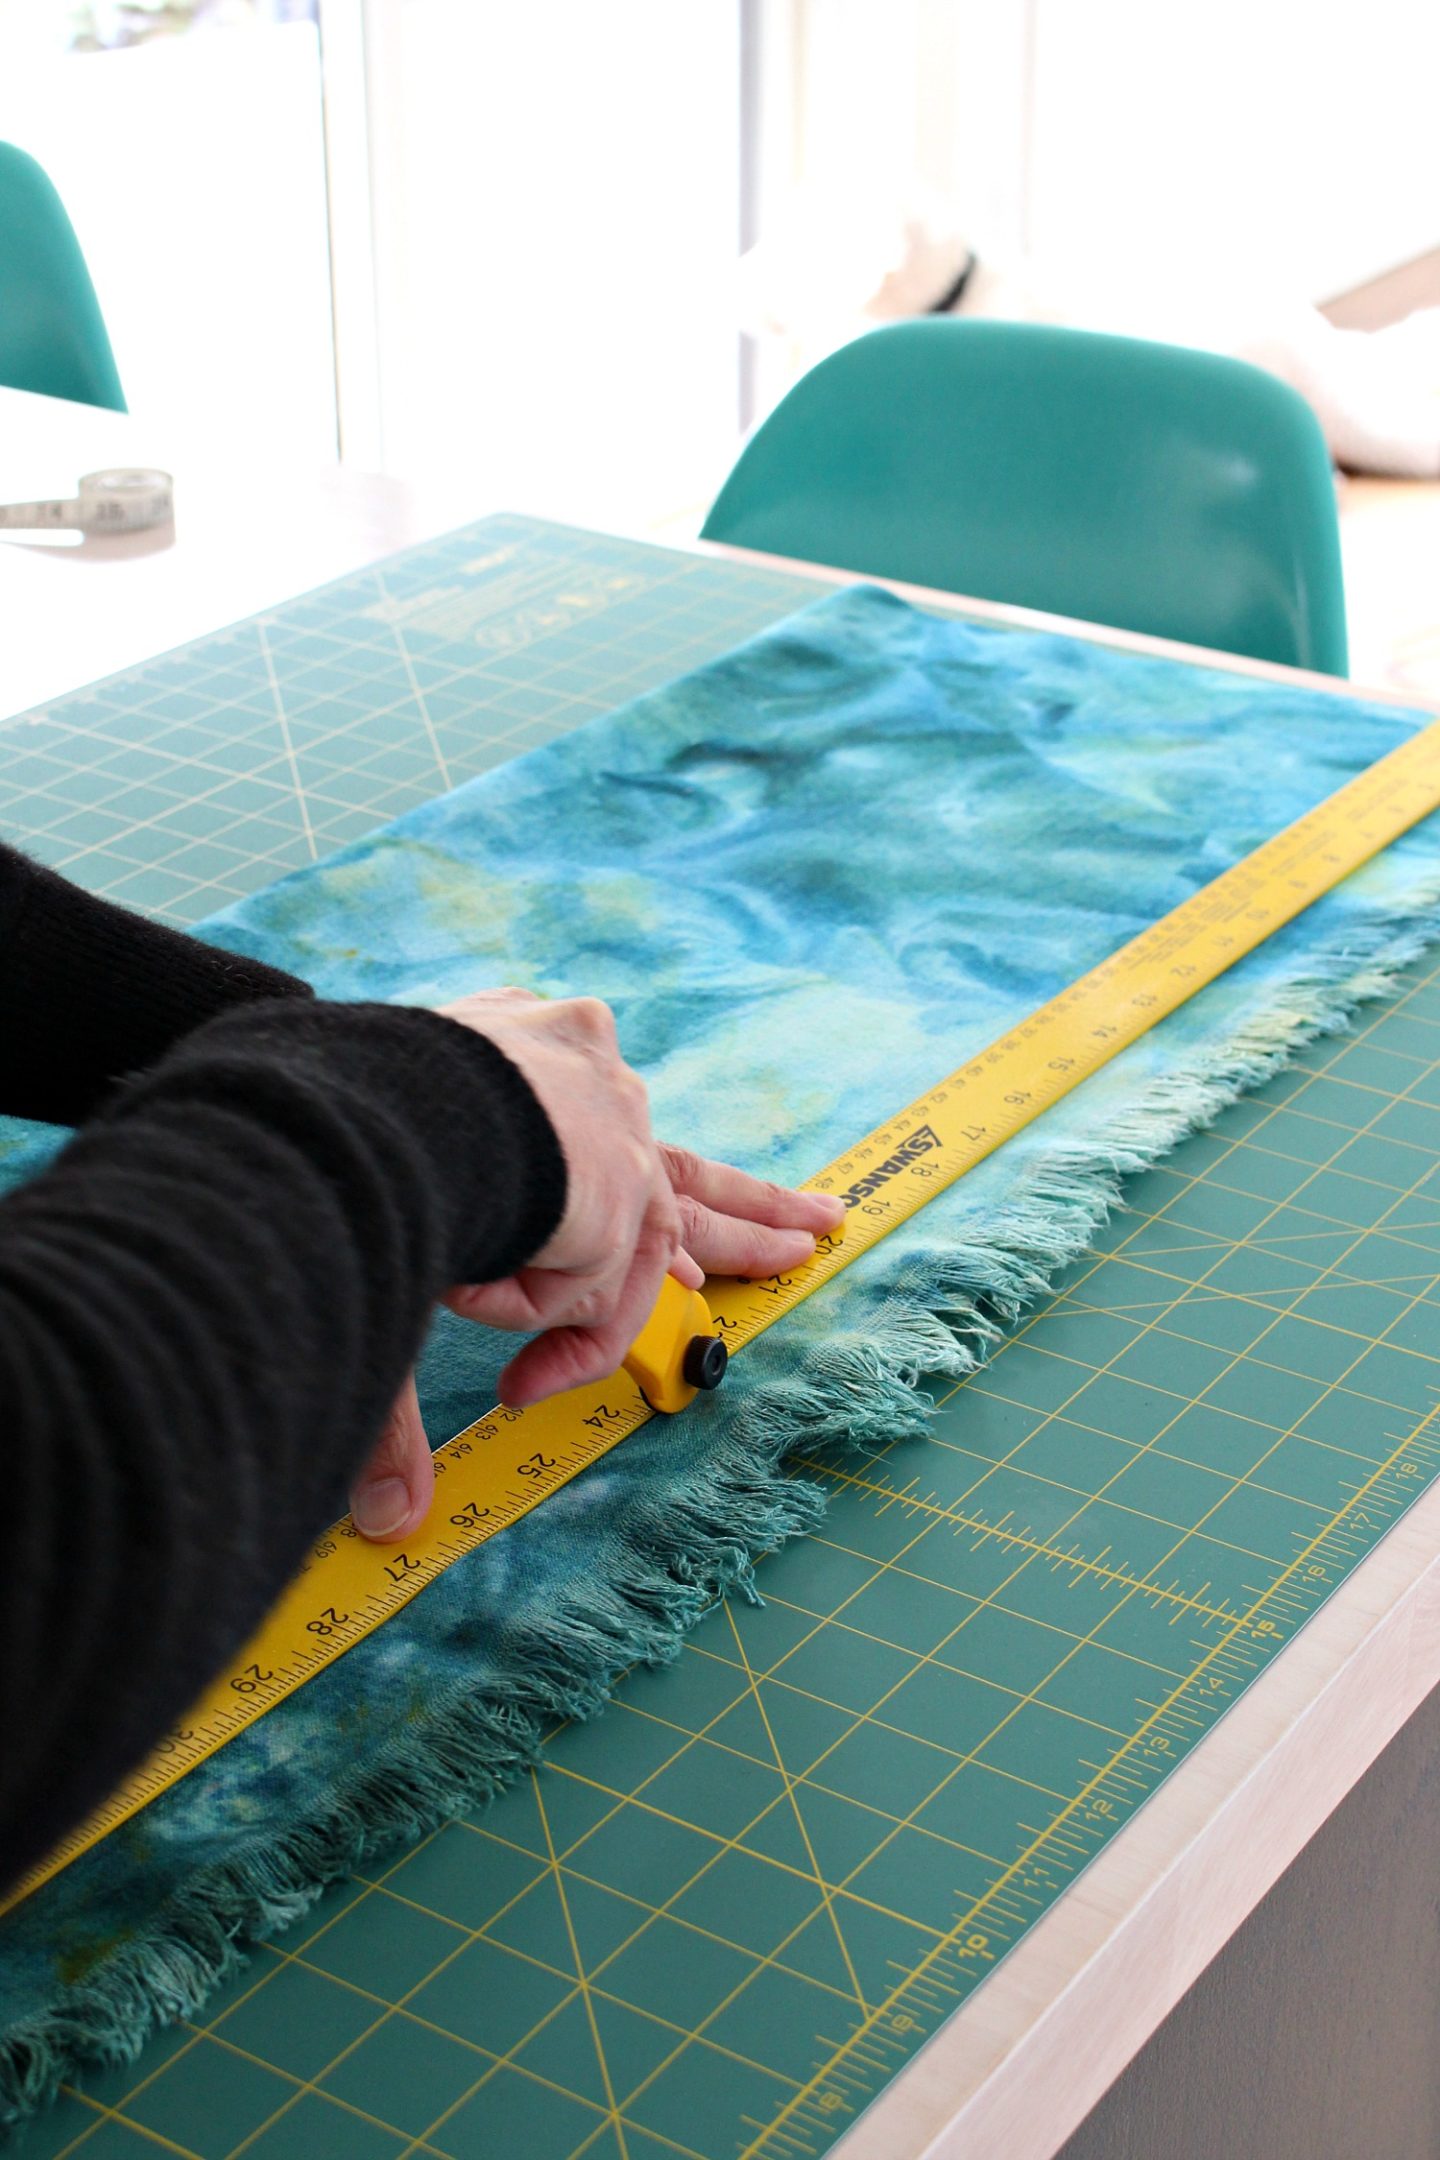
You can just use scissors but to get a super straight cut, I recommend a self healing OLFA mat with an OLFA rotary cutter and a straight edge, like a yard stick:
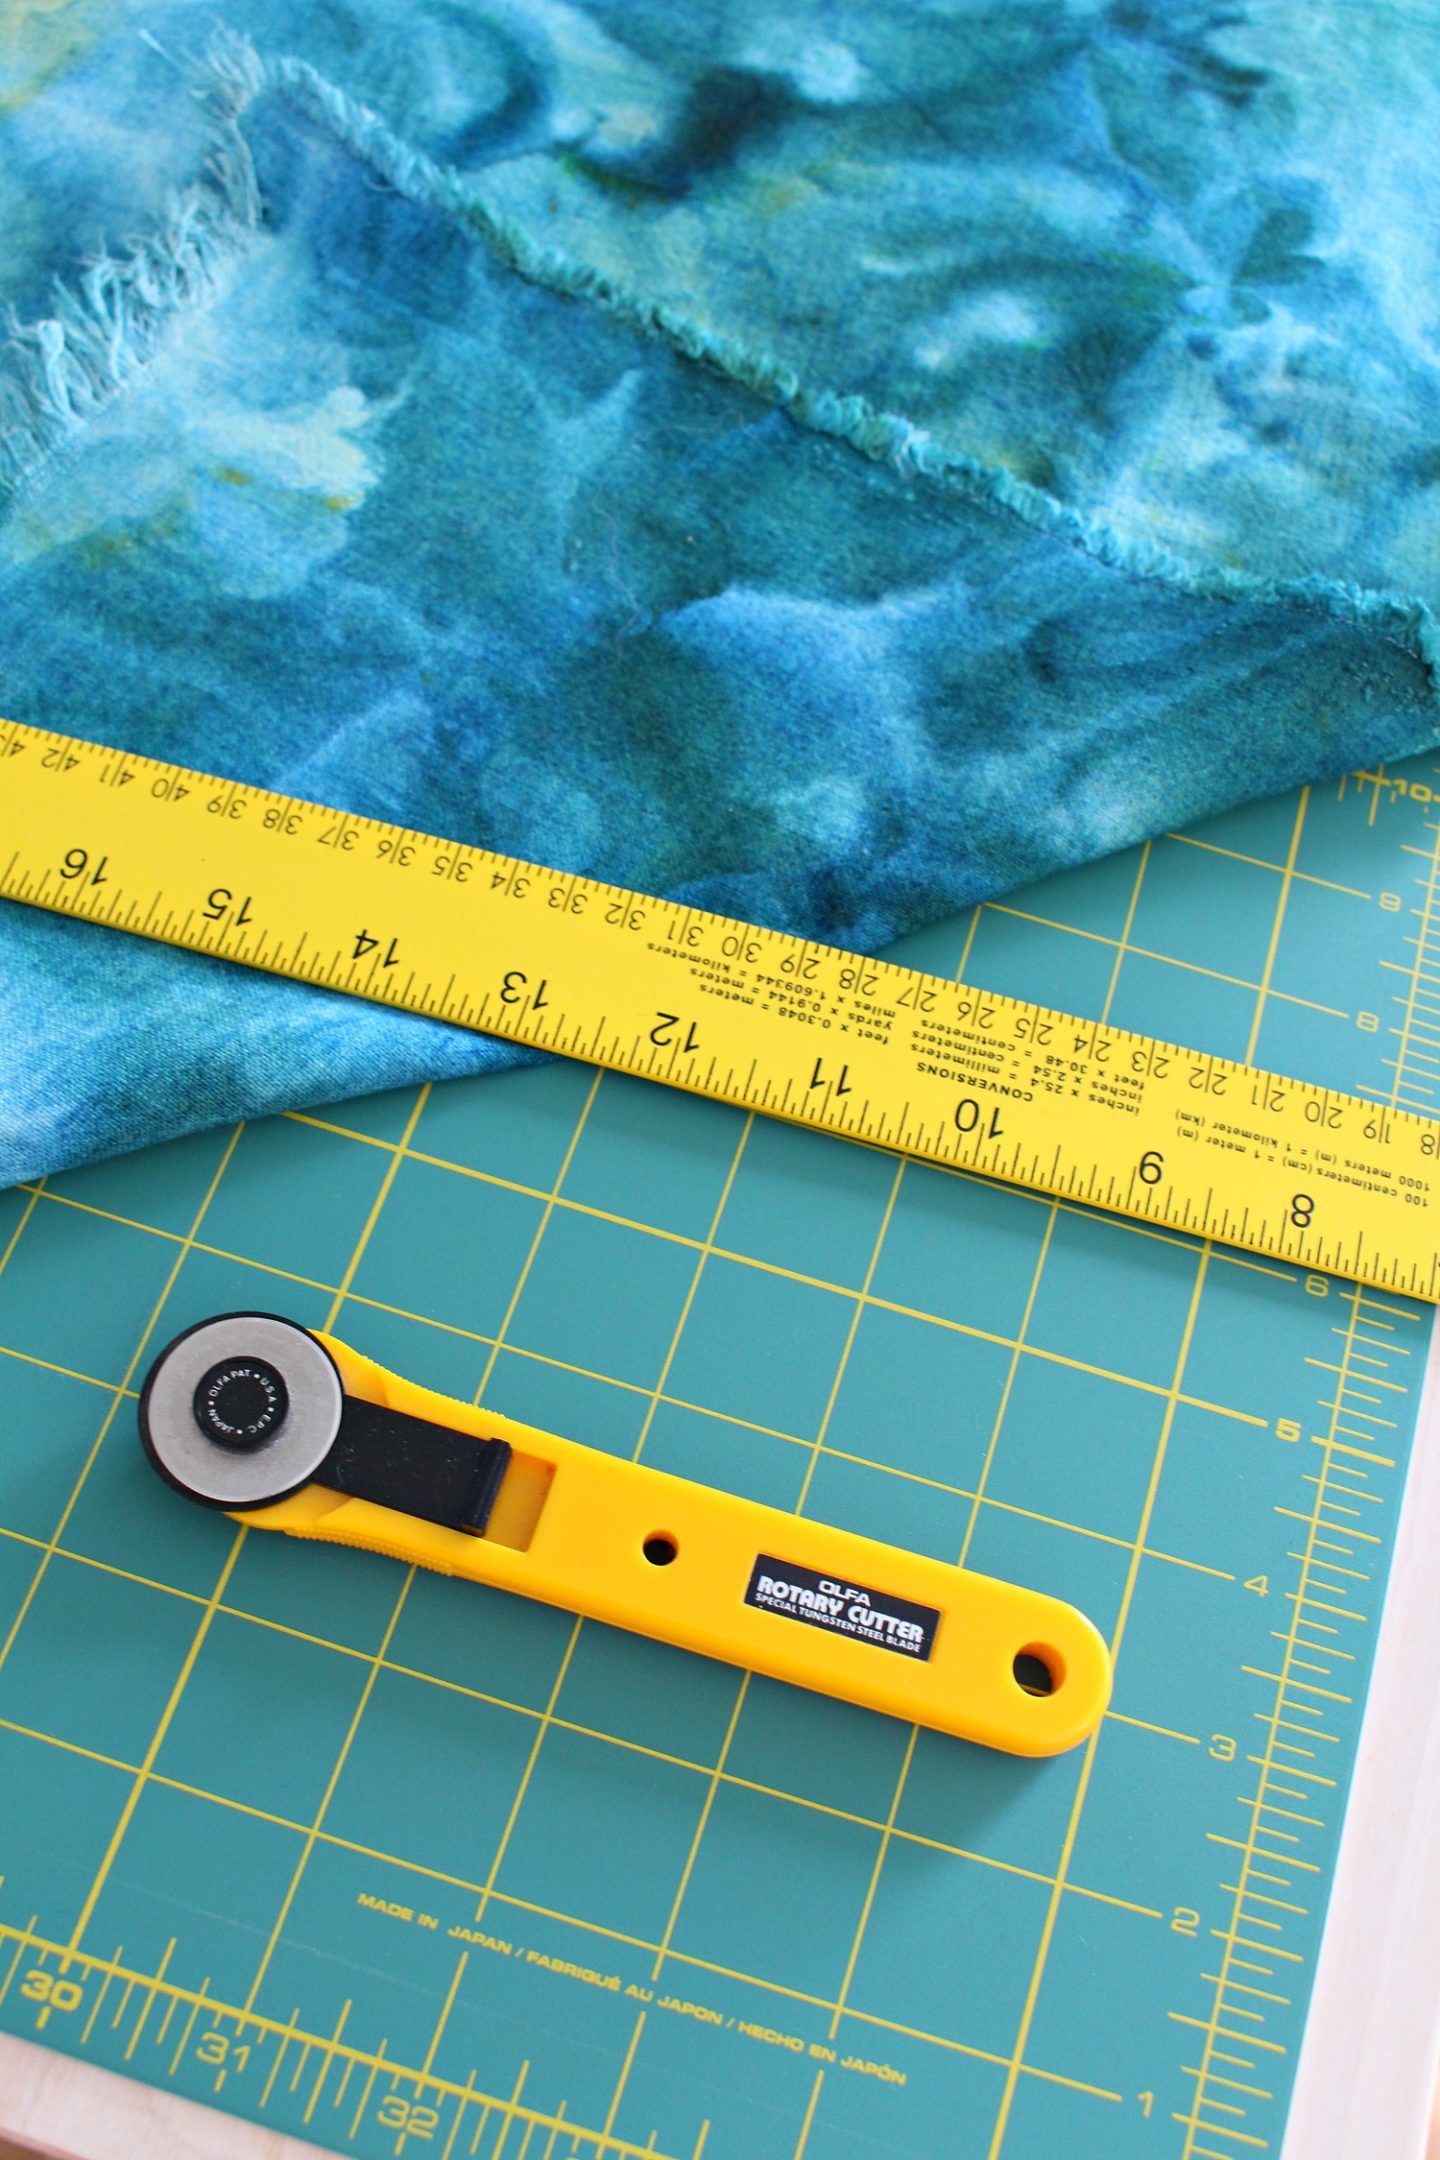
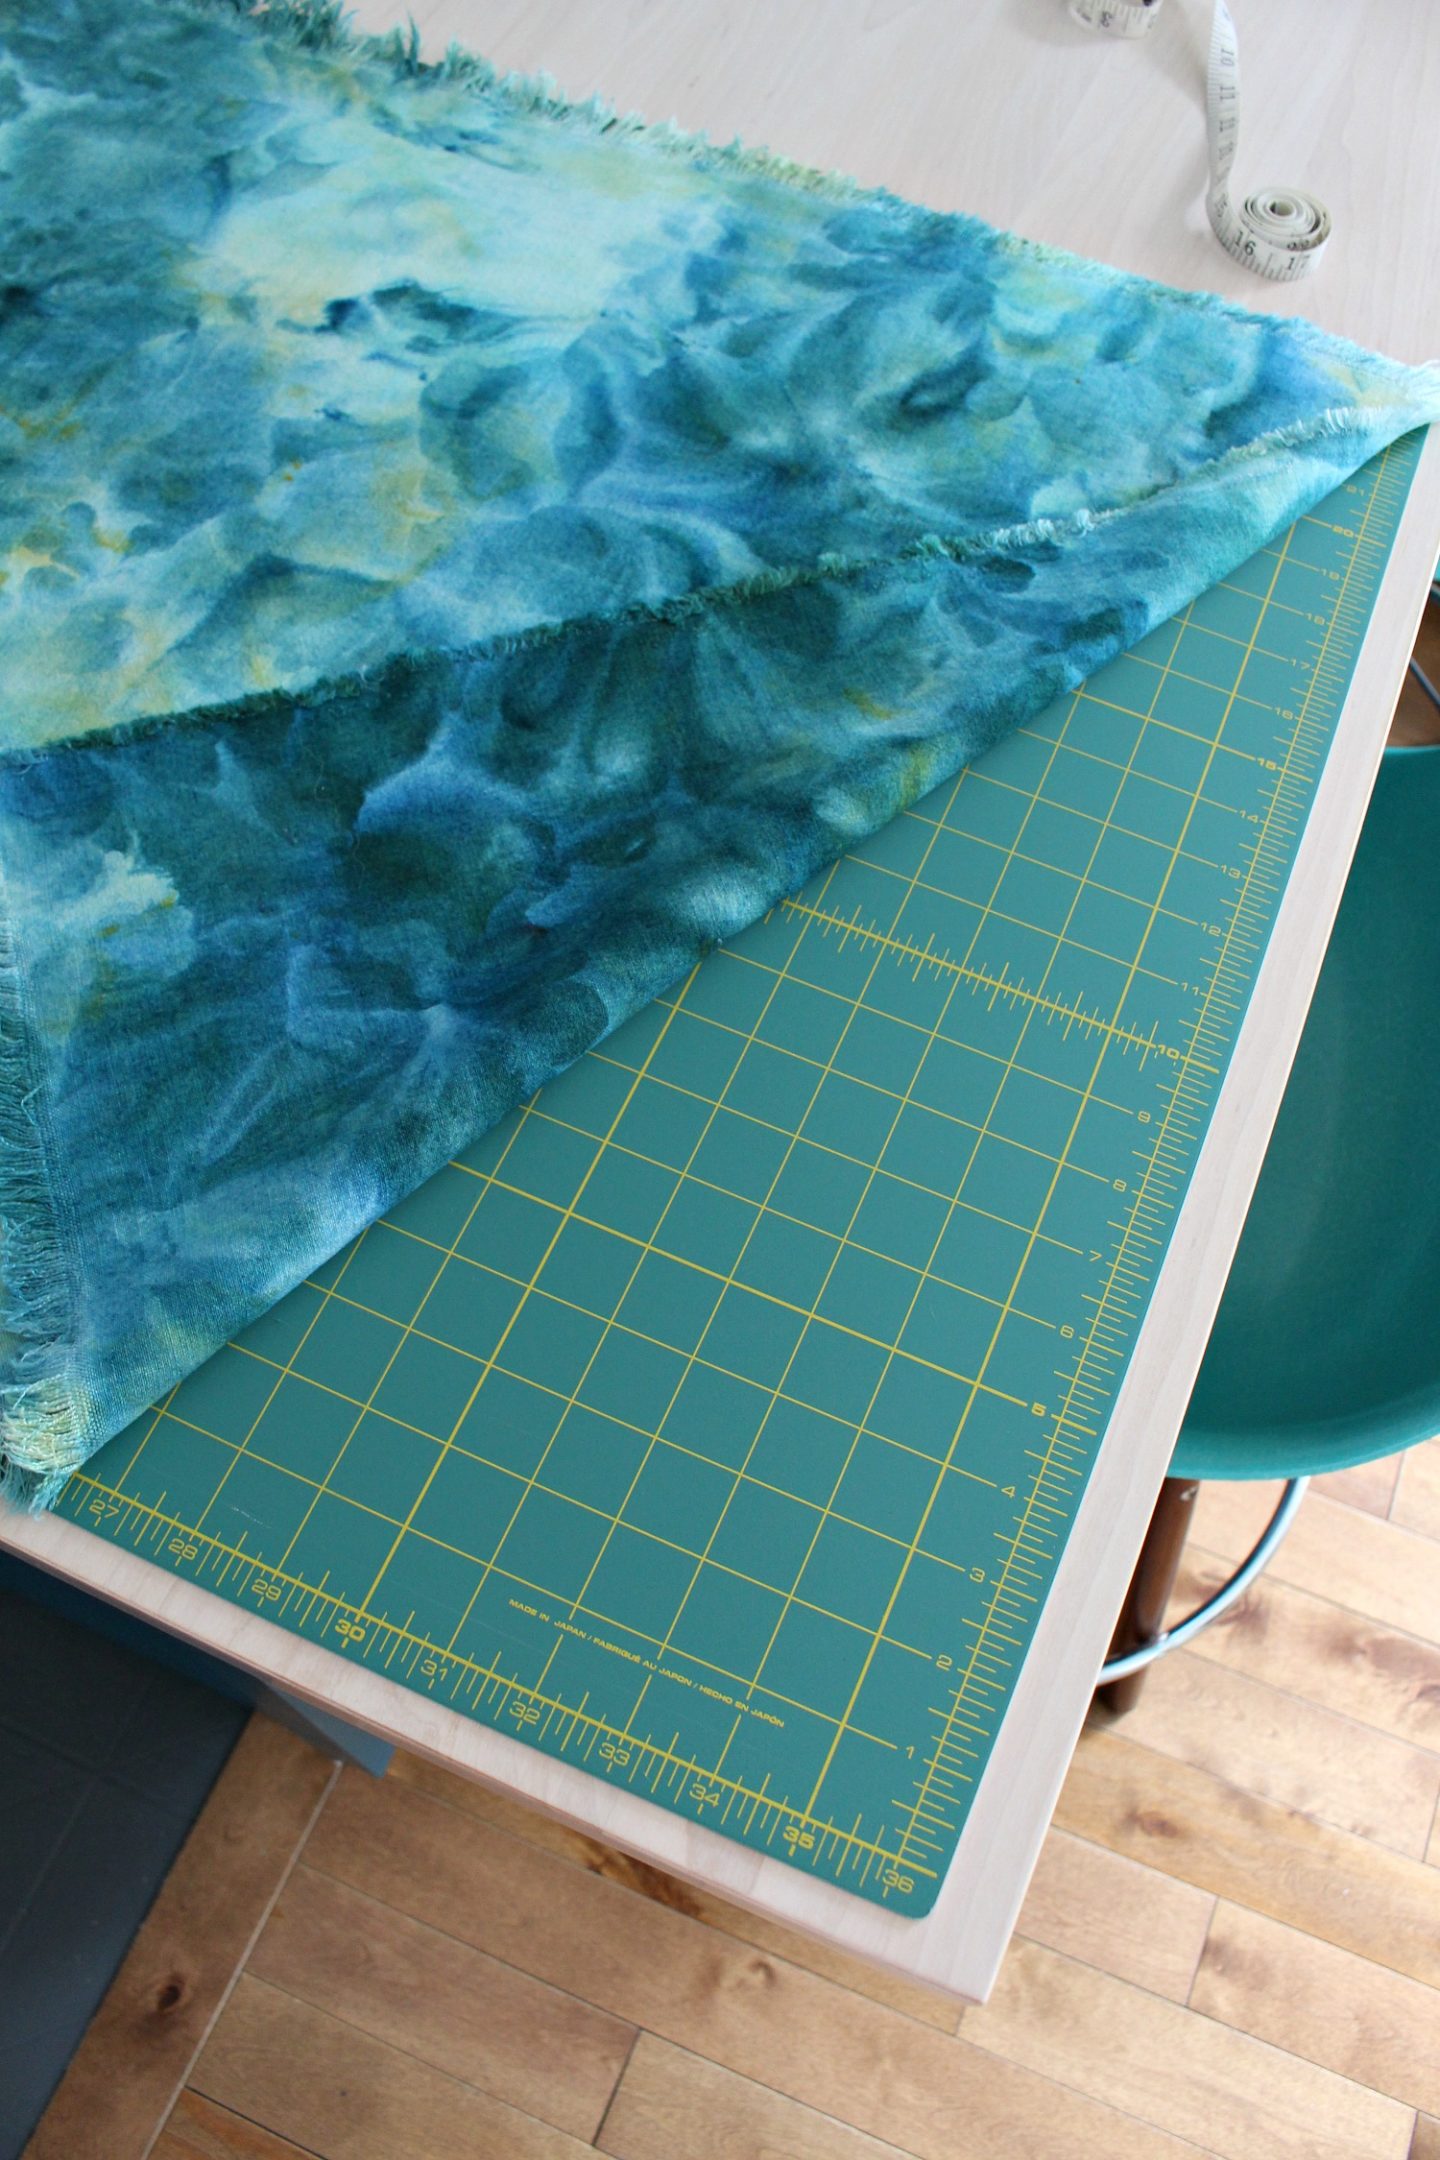
If you plan of sewing a bit, these investments making cutting straight edges so easy! You can even layer fabric and cut multiple edges at once. Just position the straight edge where you want to cut, using the OLFA mat as a guide for measurements, and then run the rotary cutter alongside it – pressing firmly.
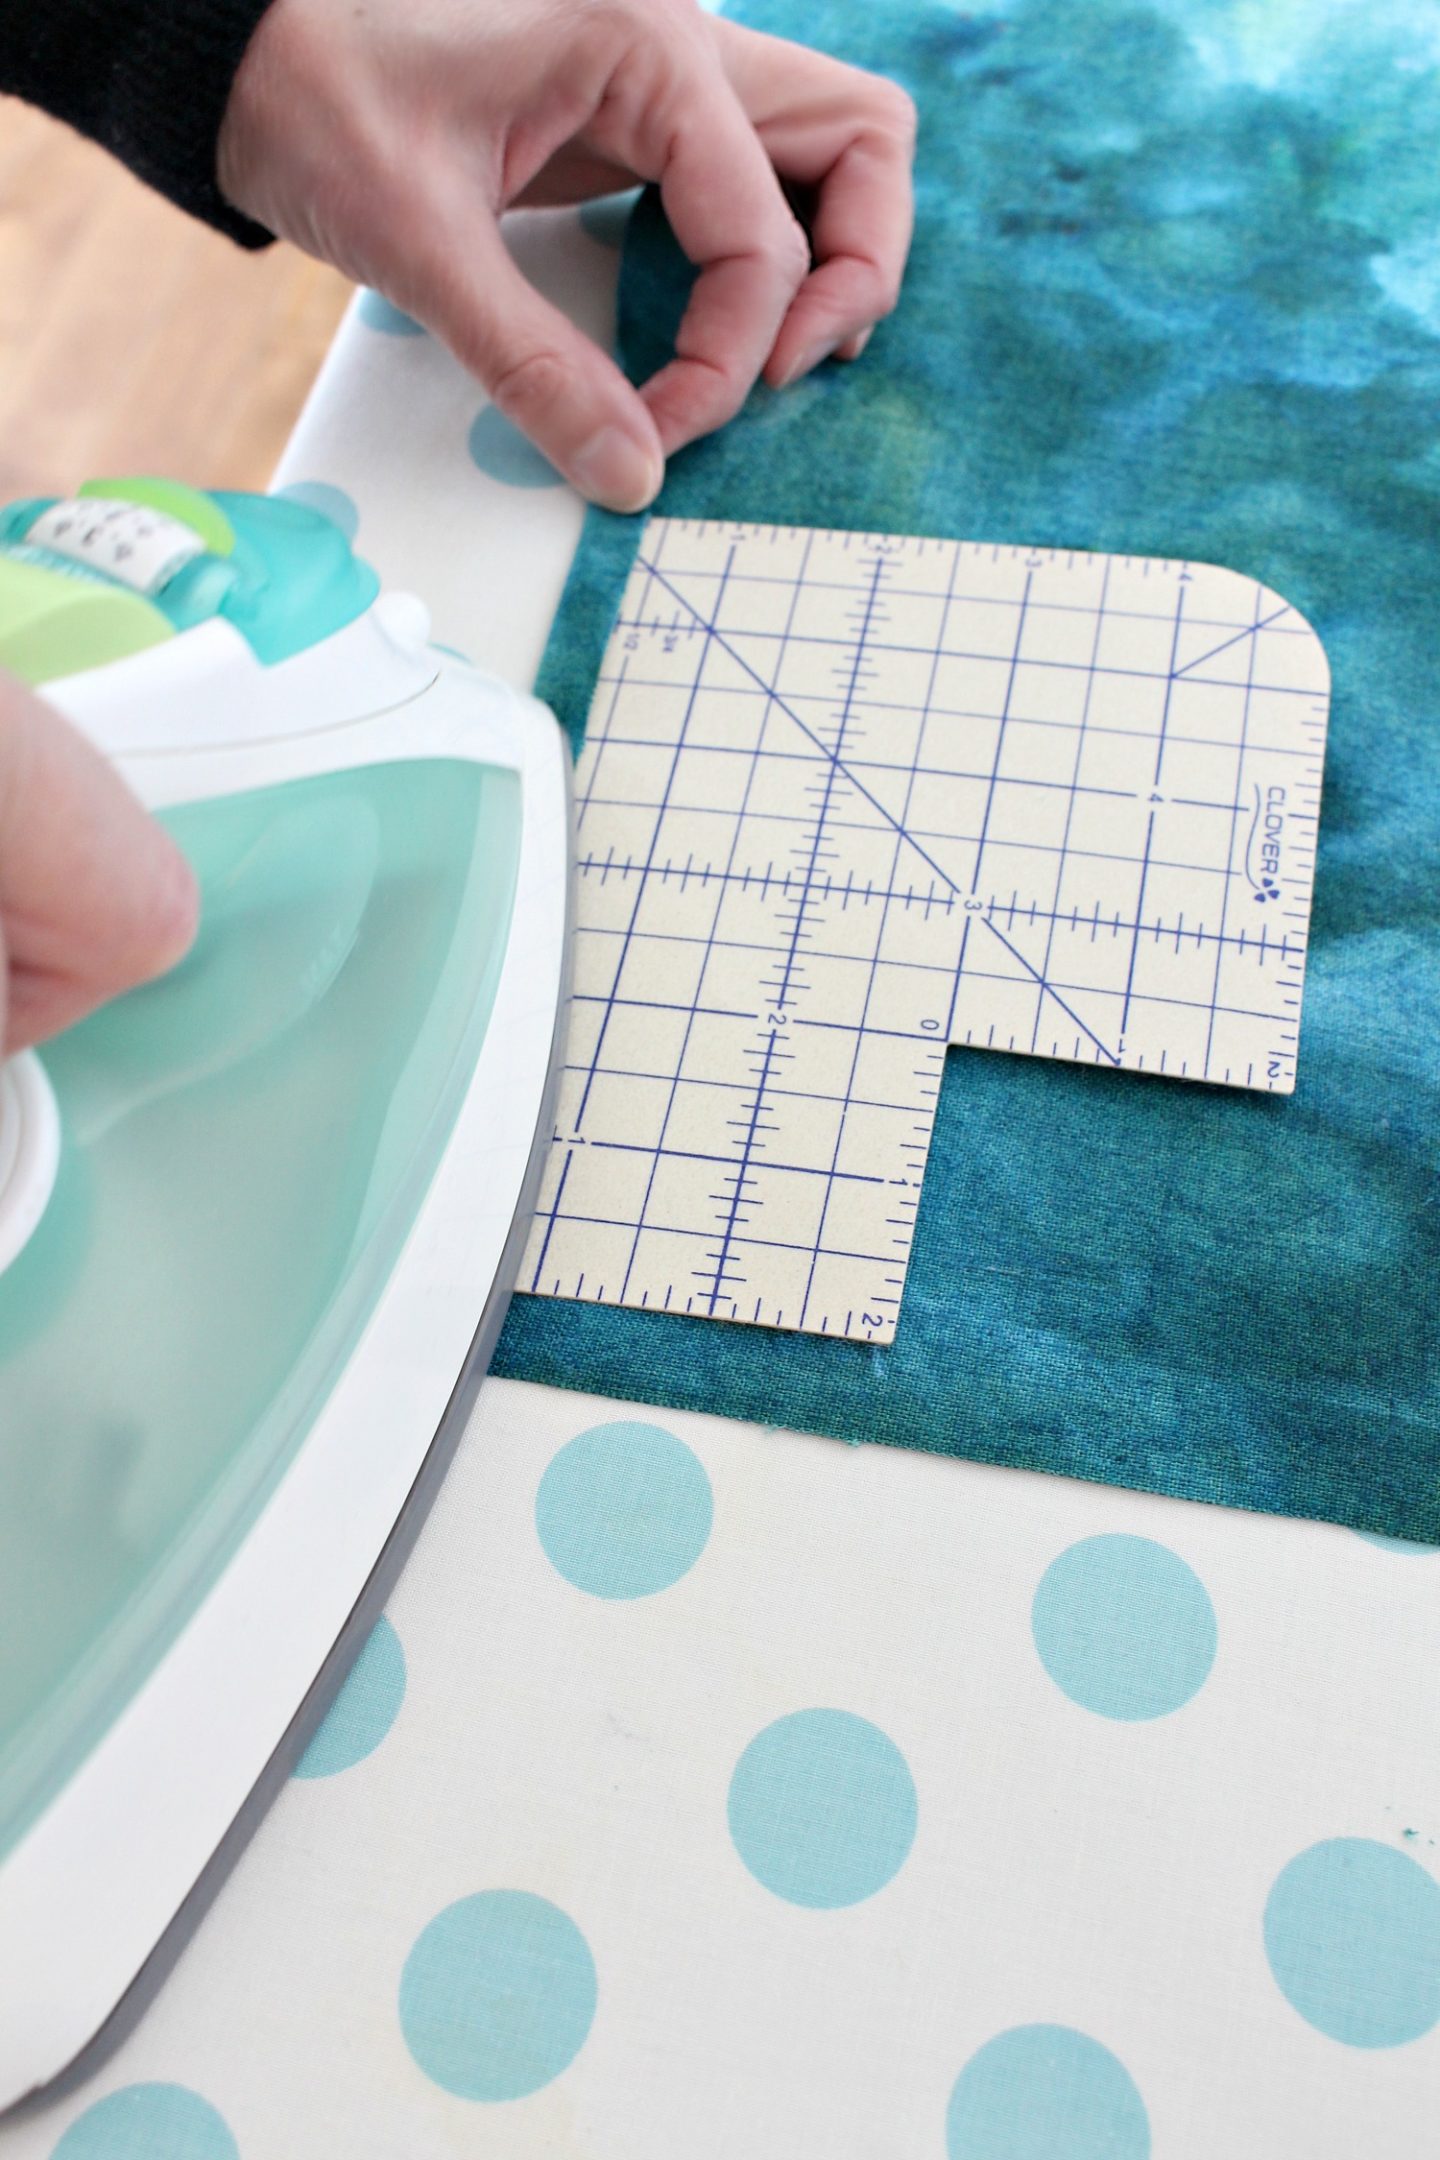
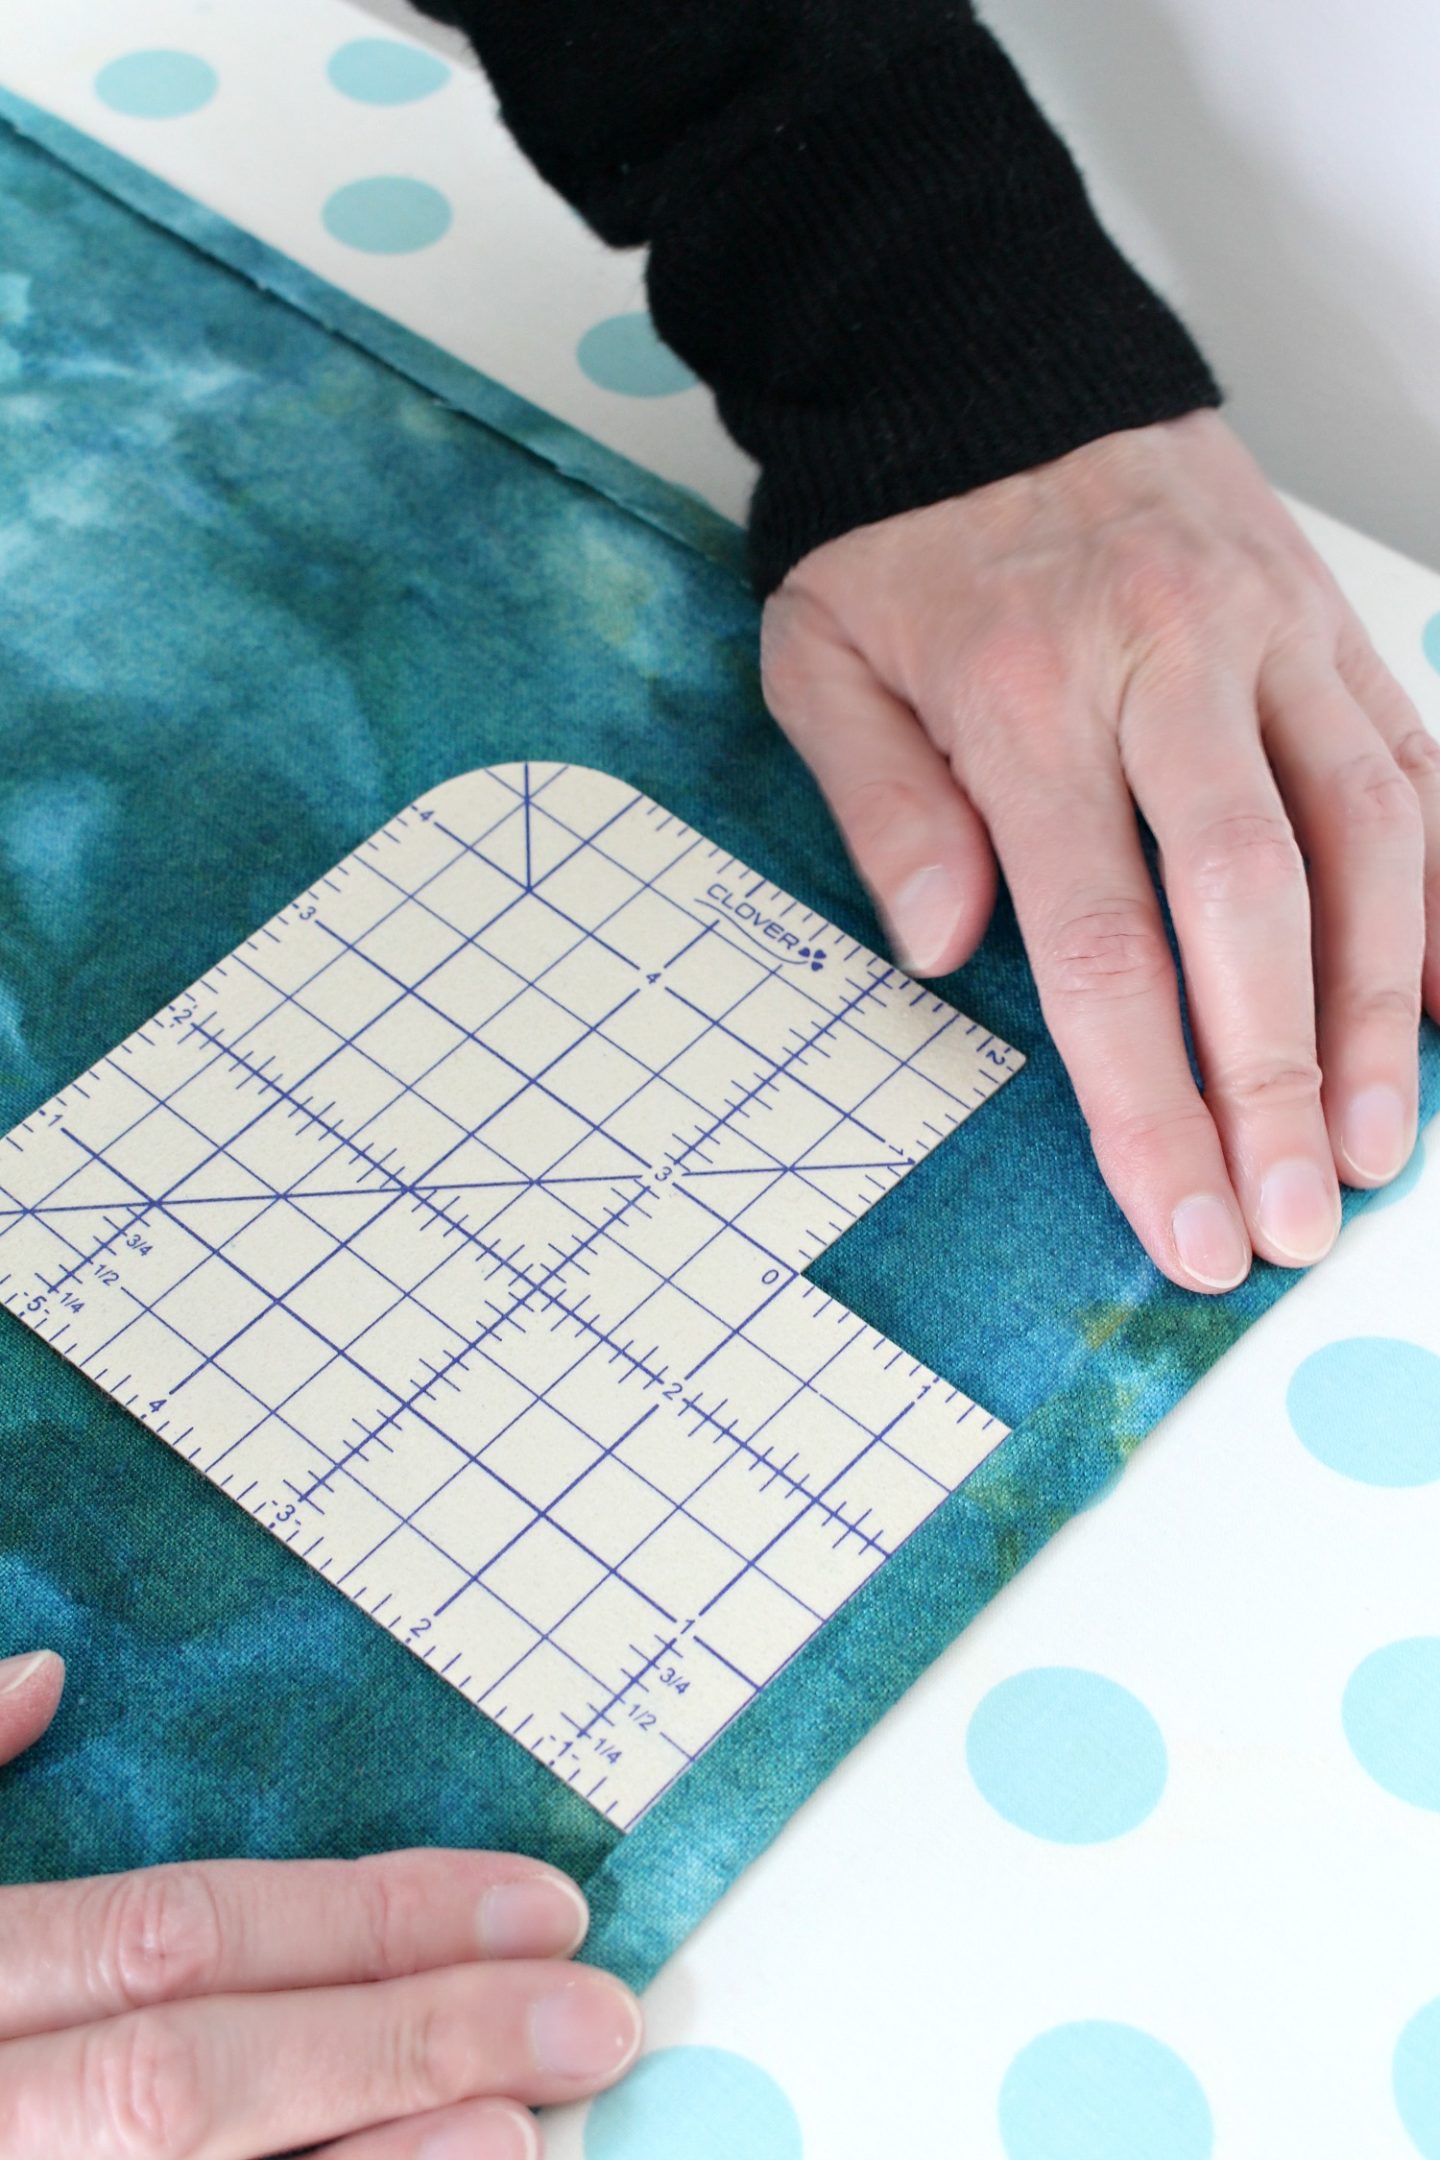
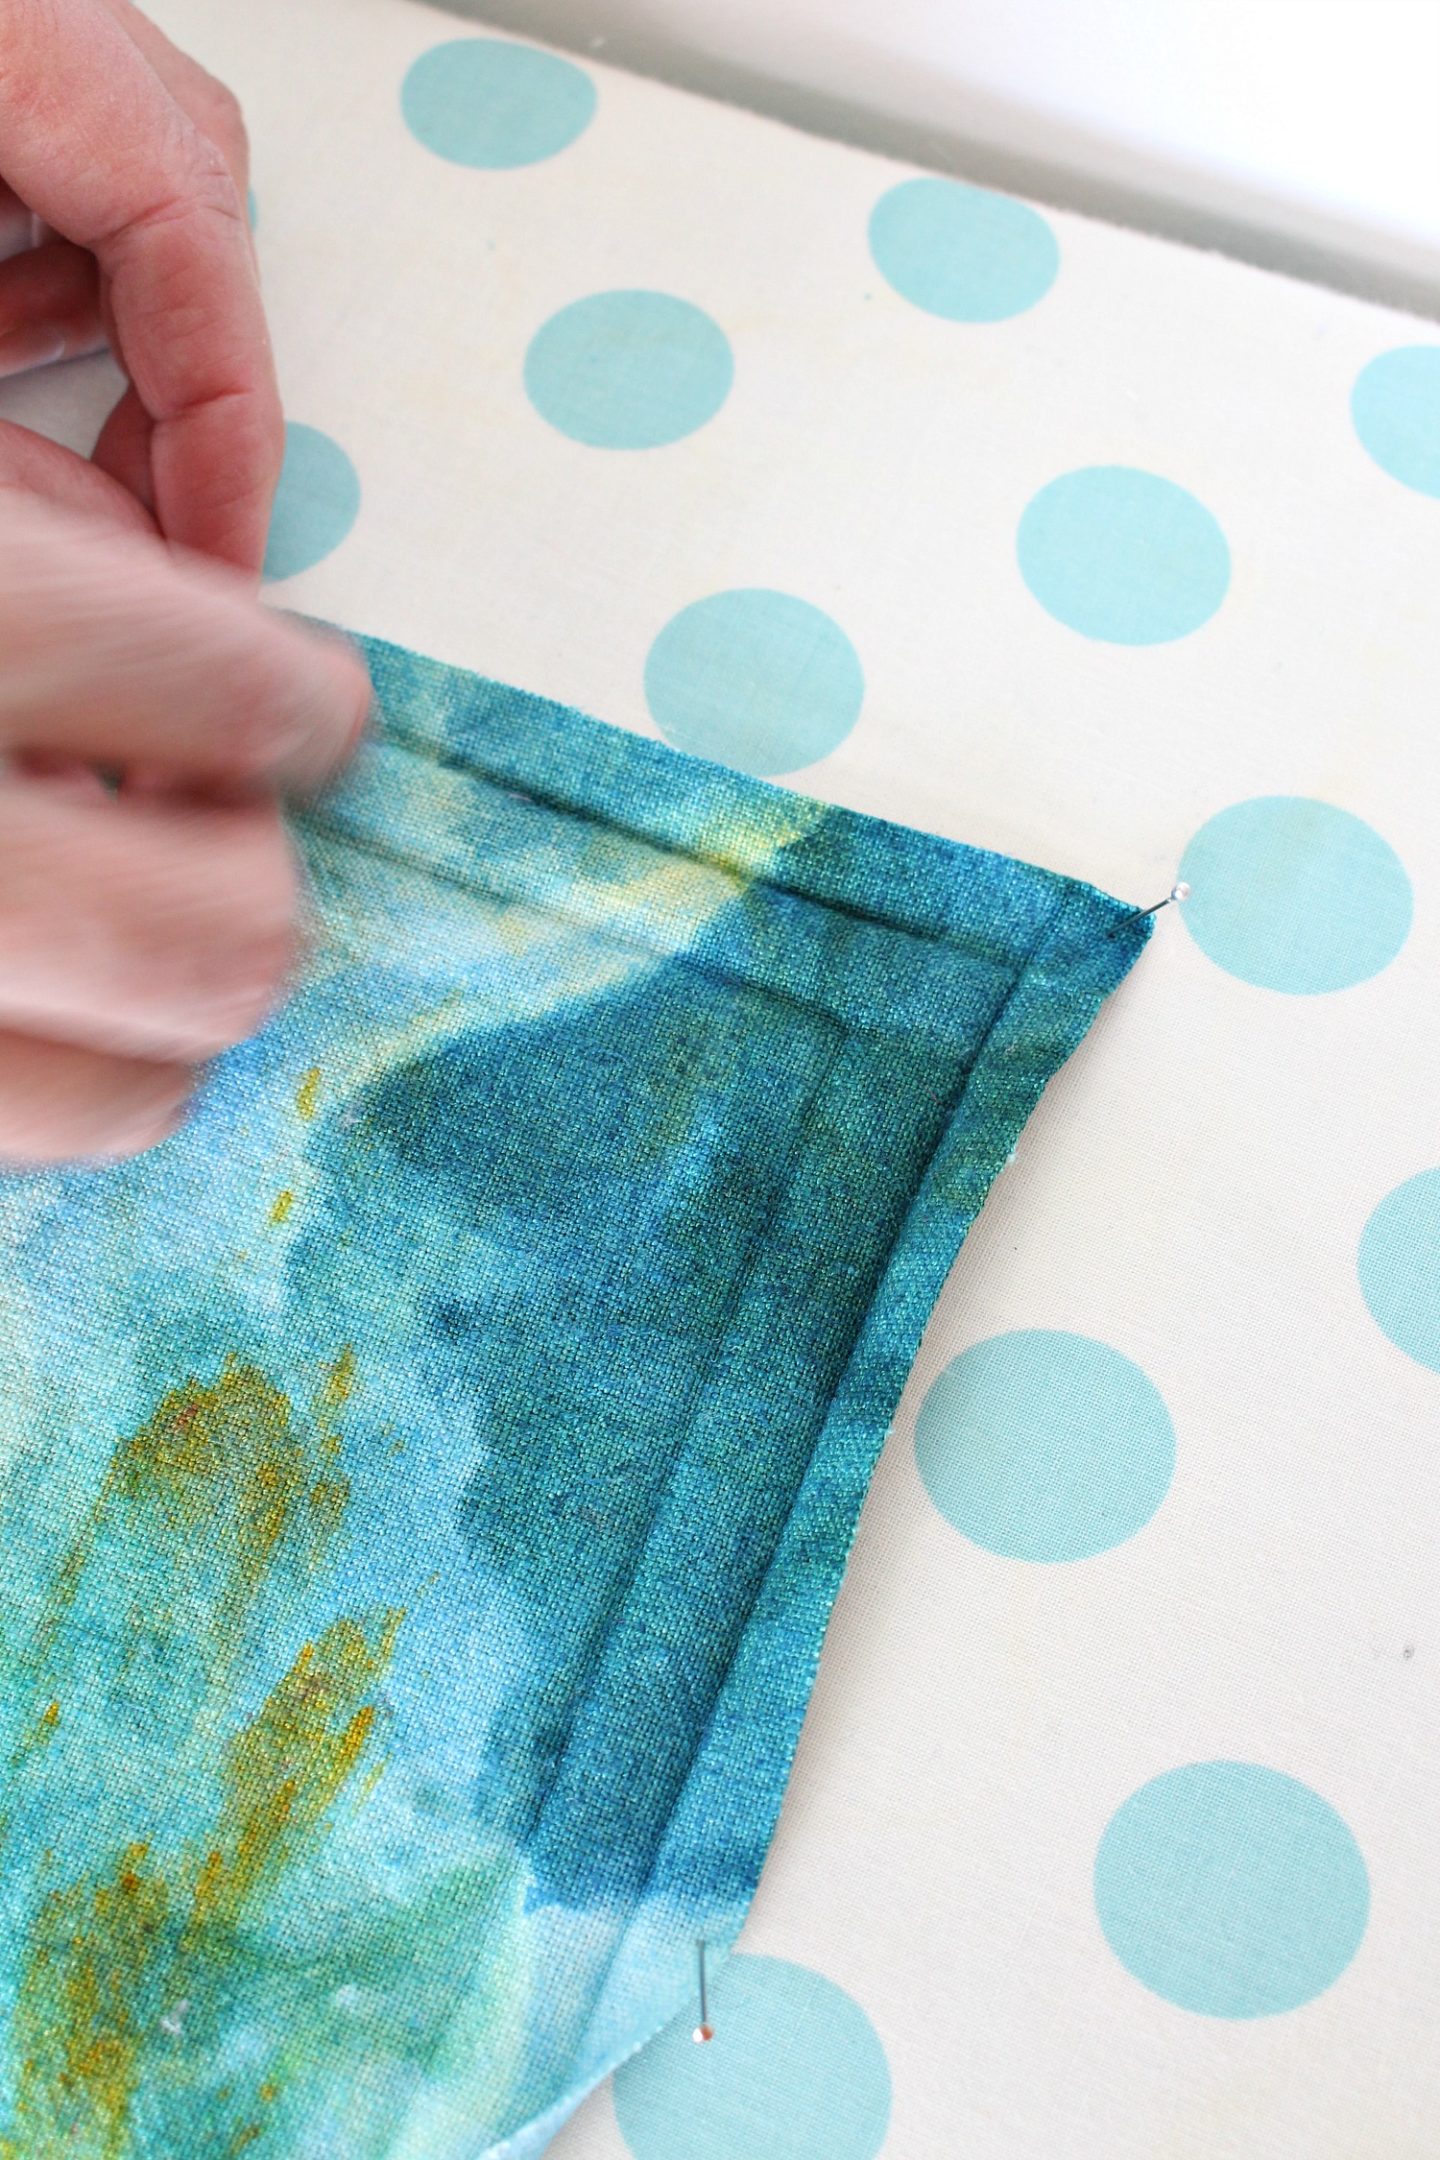
It’s optional, but you can use a Clover brand hot hemmer to ensure an even hem. You just fold the fabric over and it’s designed to take heat from an iron, so you can use it as a guide to press the fabric in preparation for pinning and sewing. Using it – or go freehand – fold the fabric over twice, creating a neat hem all around the perimeter of the tea towel:
Pin the folded/ironed edge in place so you can sew it:
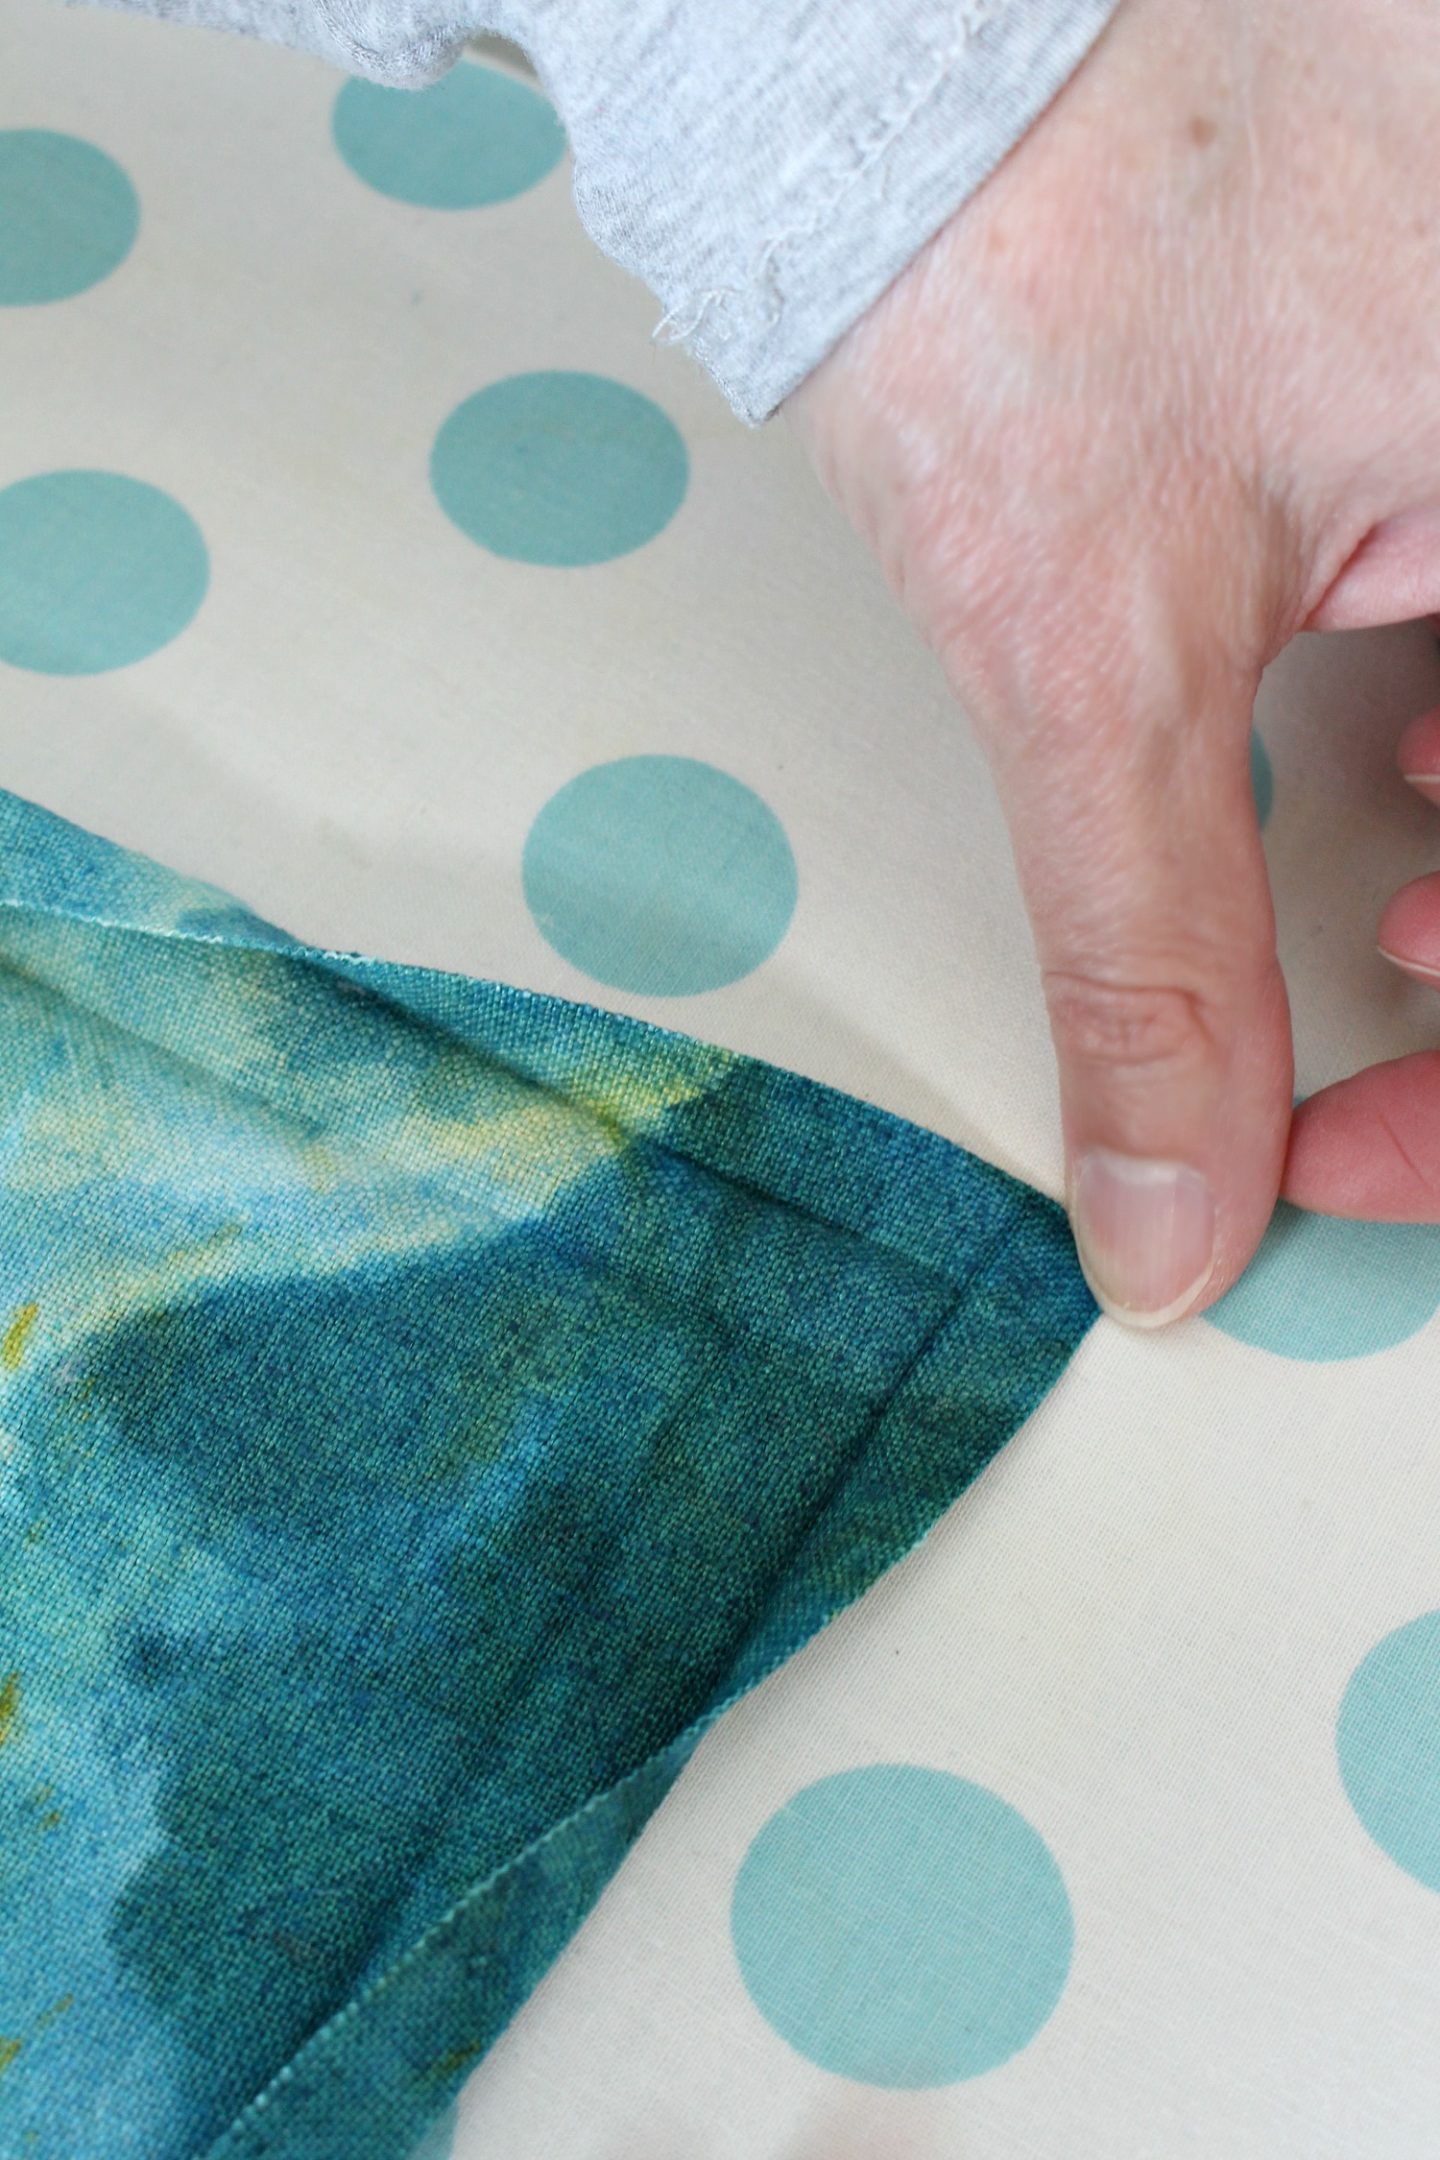
Now, you could just sew along the edge and be done (easy peasy DIY tea towel!) but you’ll end up with a bulky corner like this:
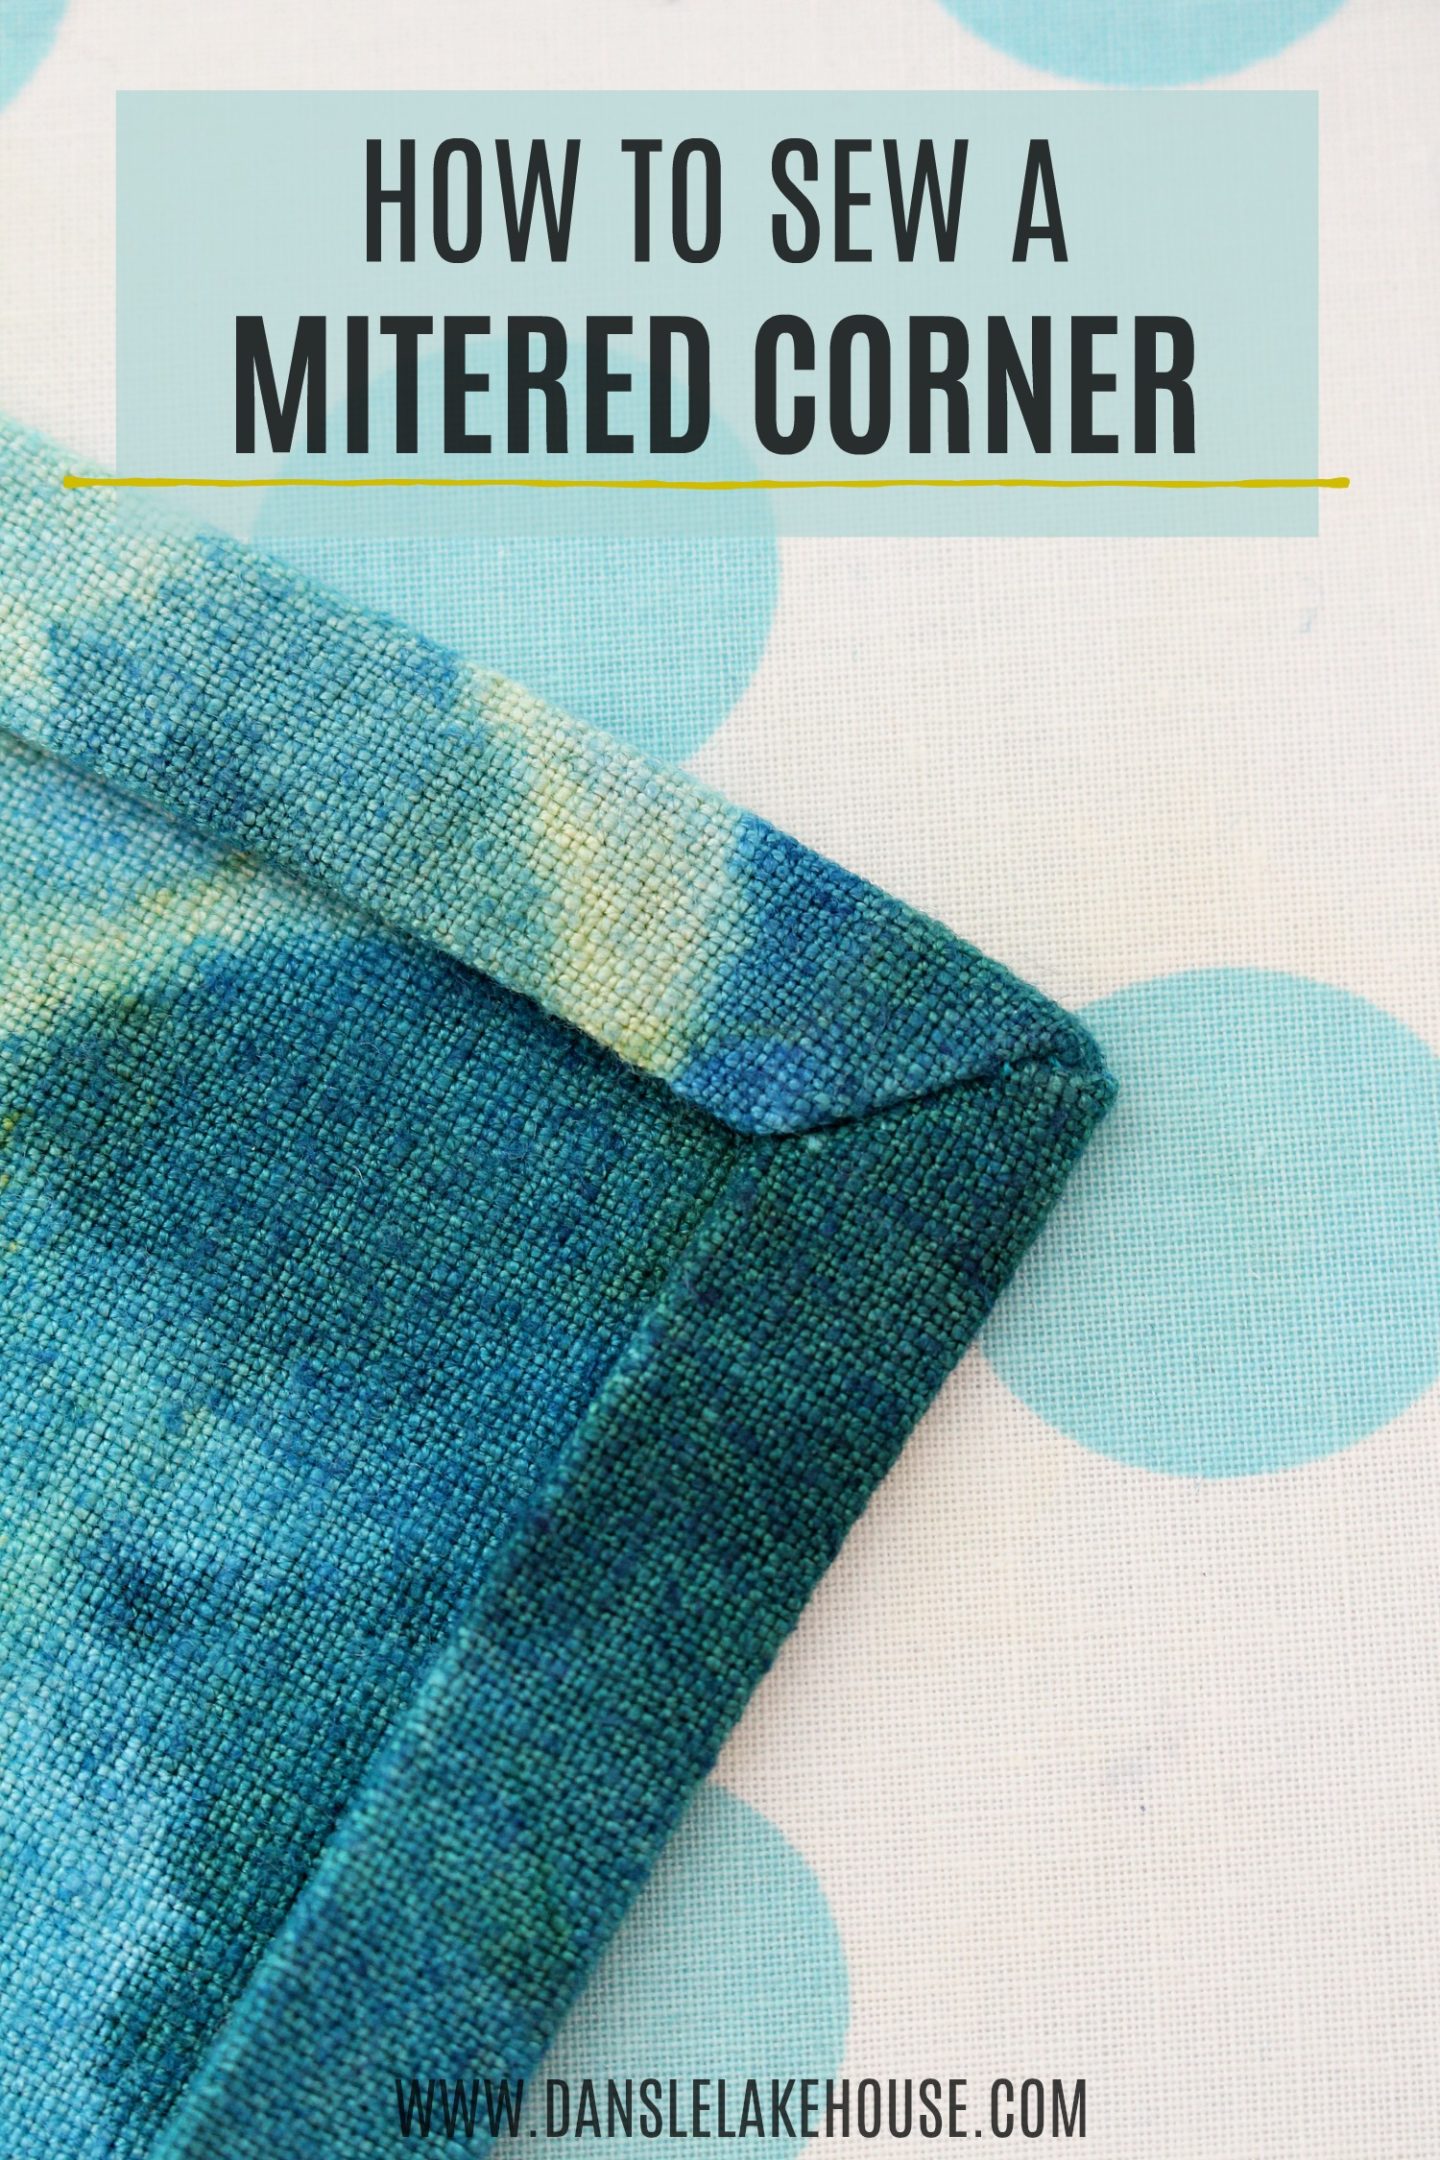
That corner is perfectly fine! But, if you’d like to get a little fancy with your DIY tea towel, you can create a mitered corner which is less bulky and looks super professional. To miter a corner, lay the fabric flat and open up the corner like this:
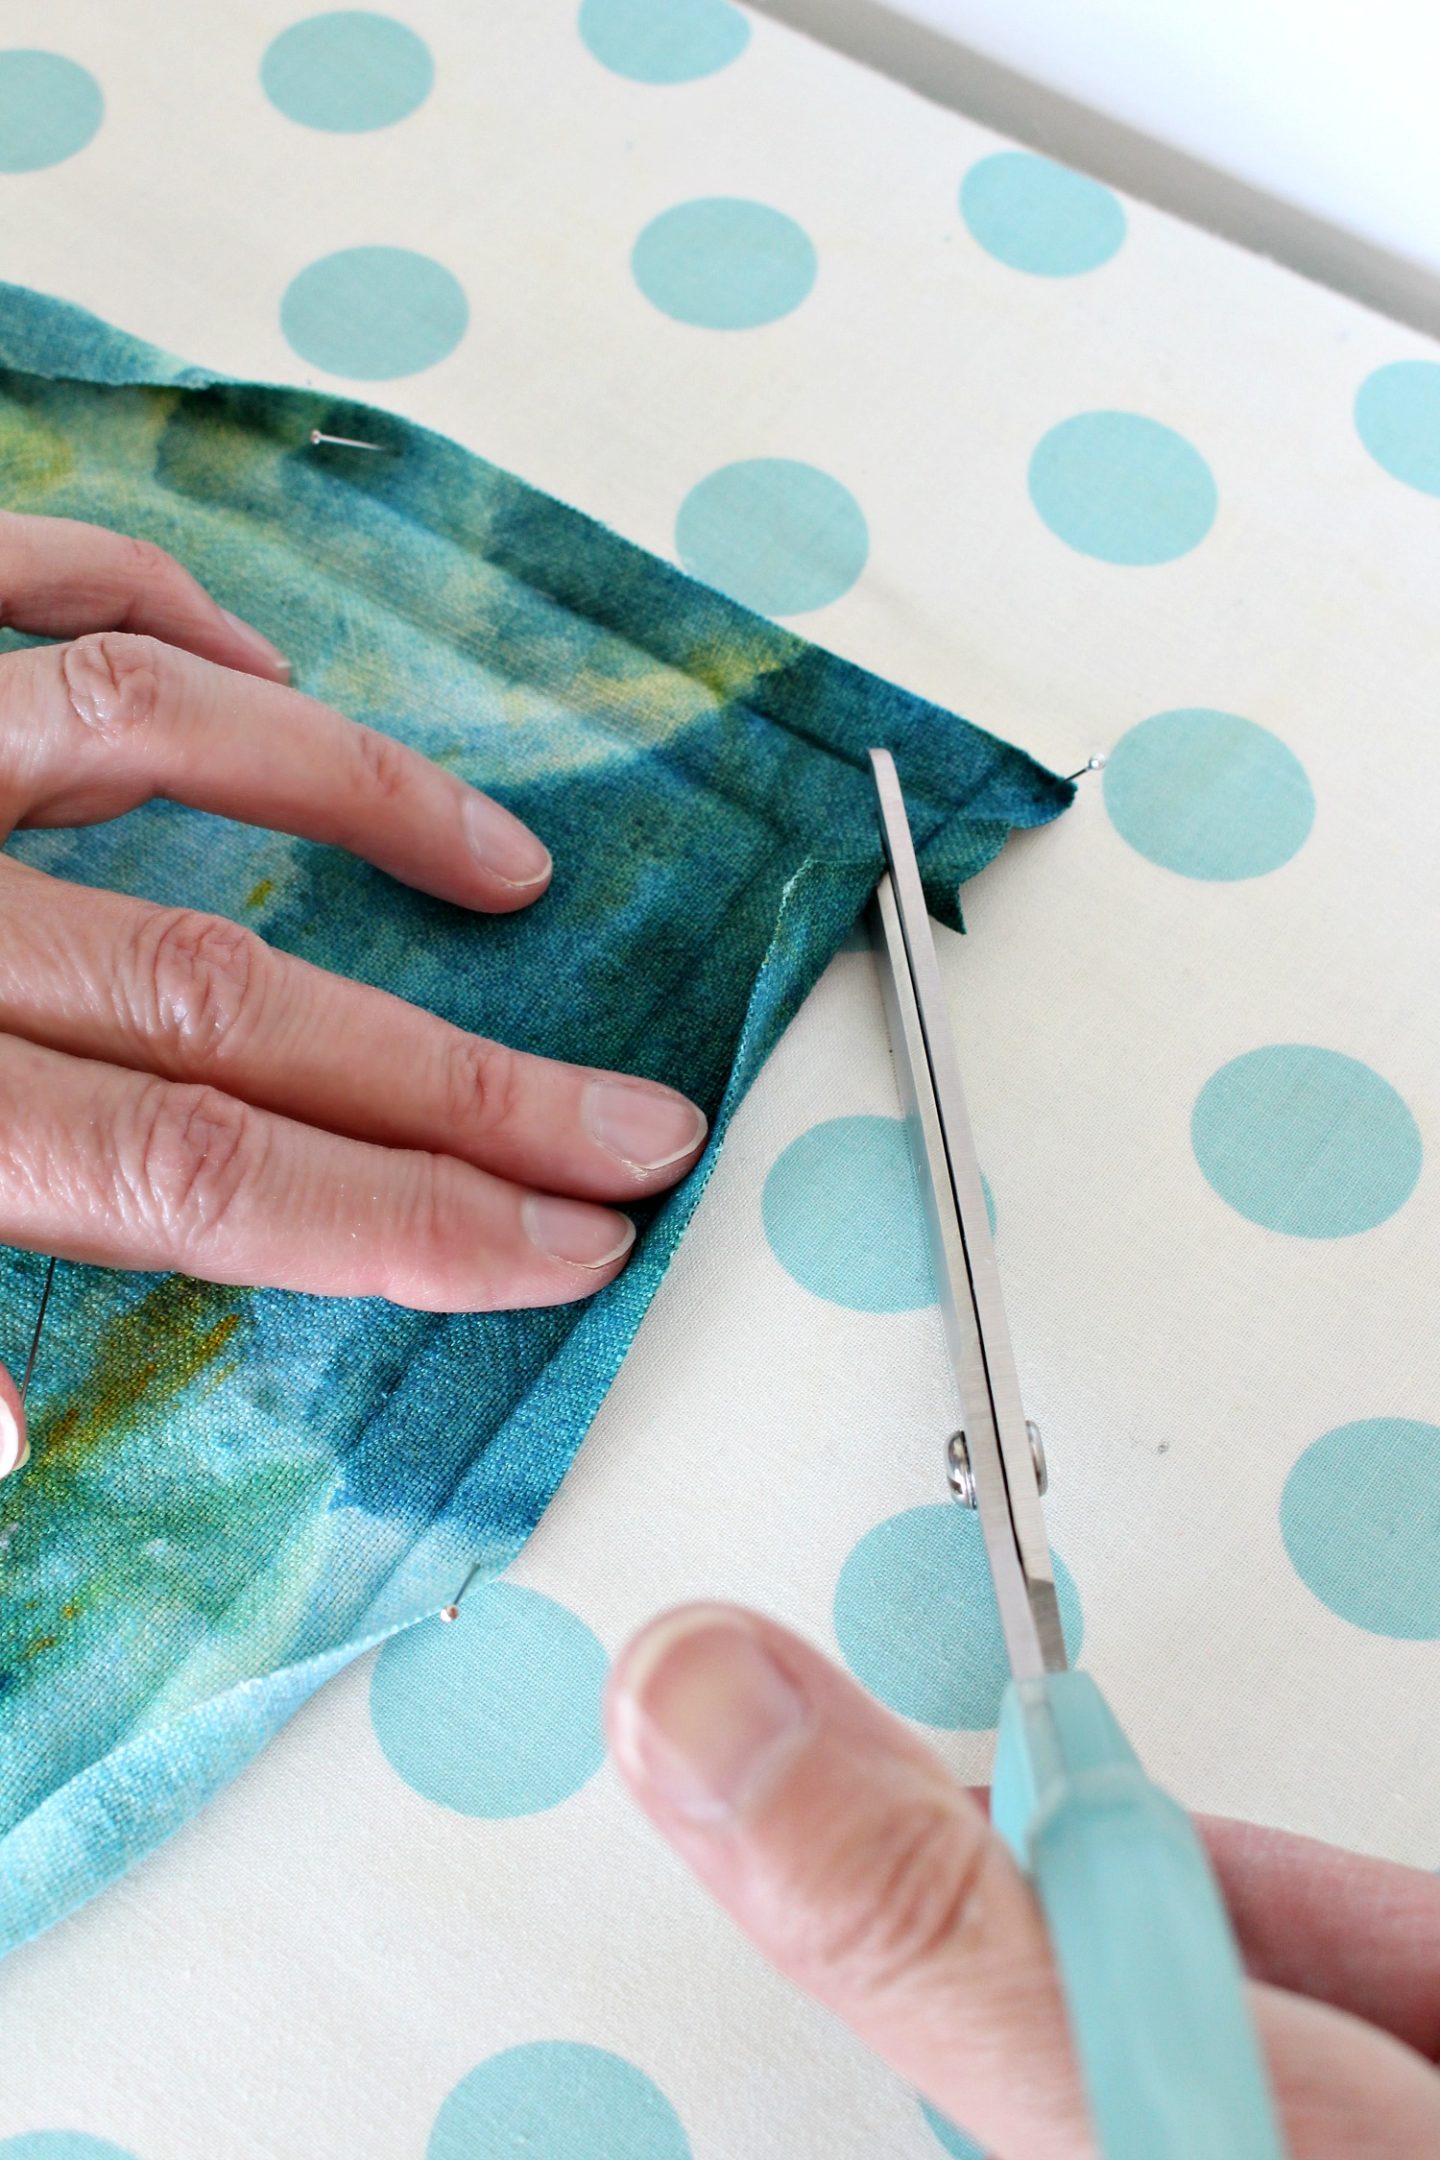
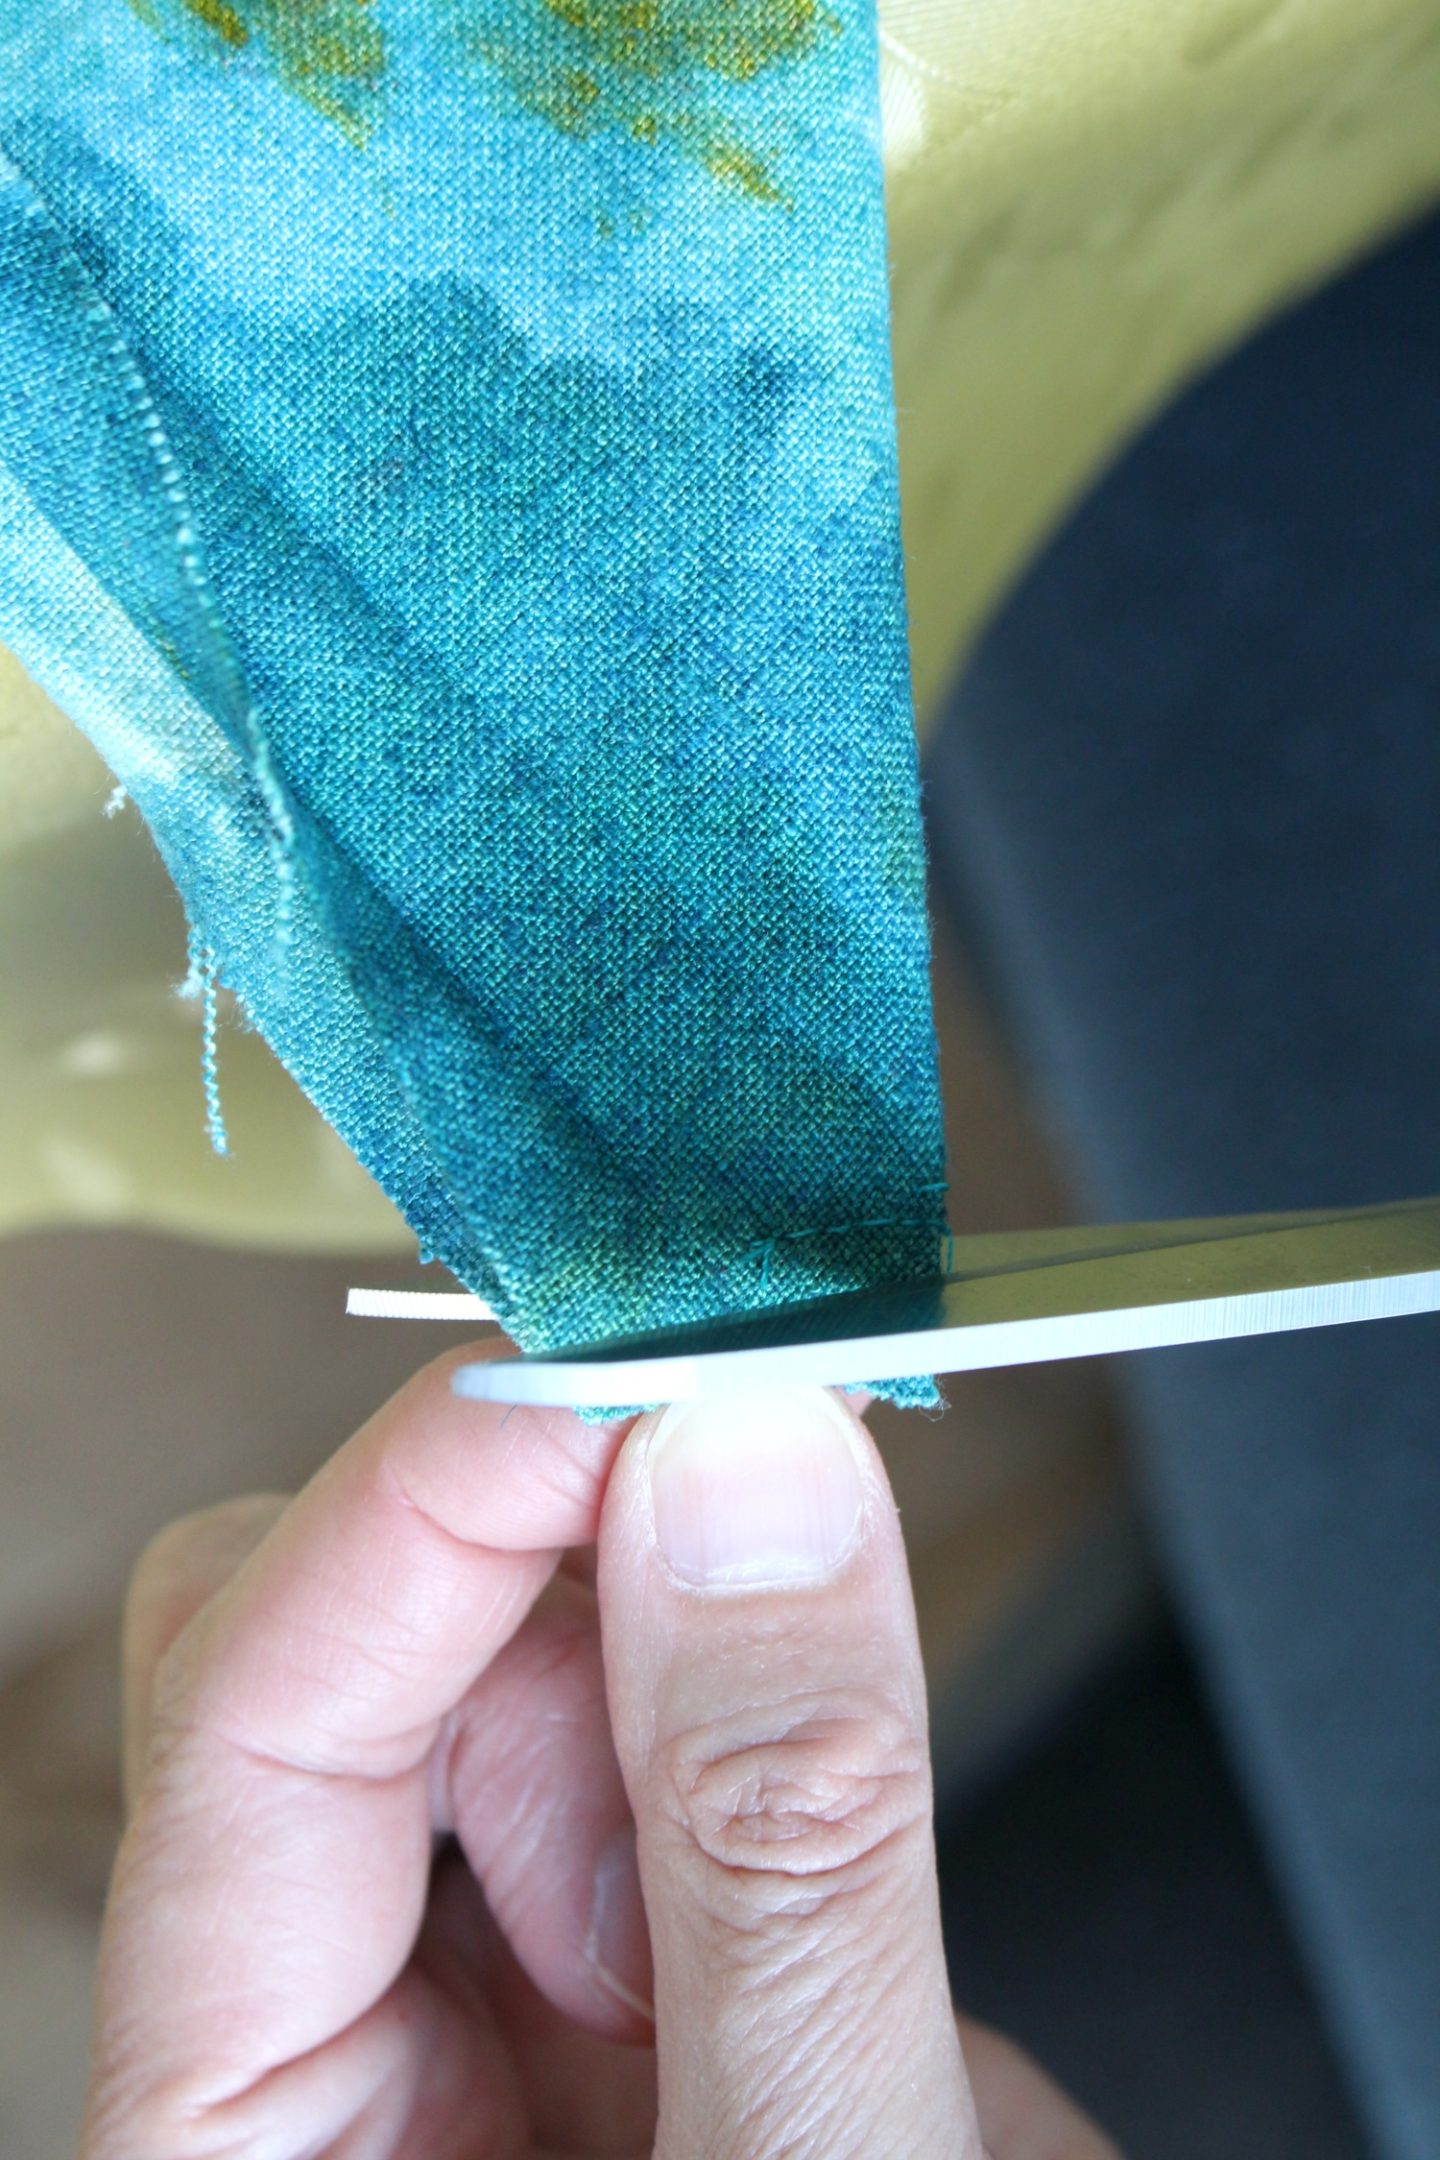
Pin down the fabric (I like to work on an ironing board for this, so I can pin into the cover) and then trim across, exactly where I’ve shown below – use the ironed lines as a guide. You’ll see two ironed lines creating parallel arrows – cut in the middle of those “arrows”:
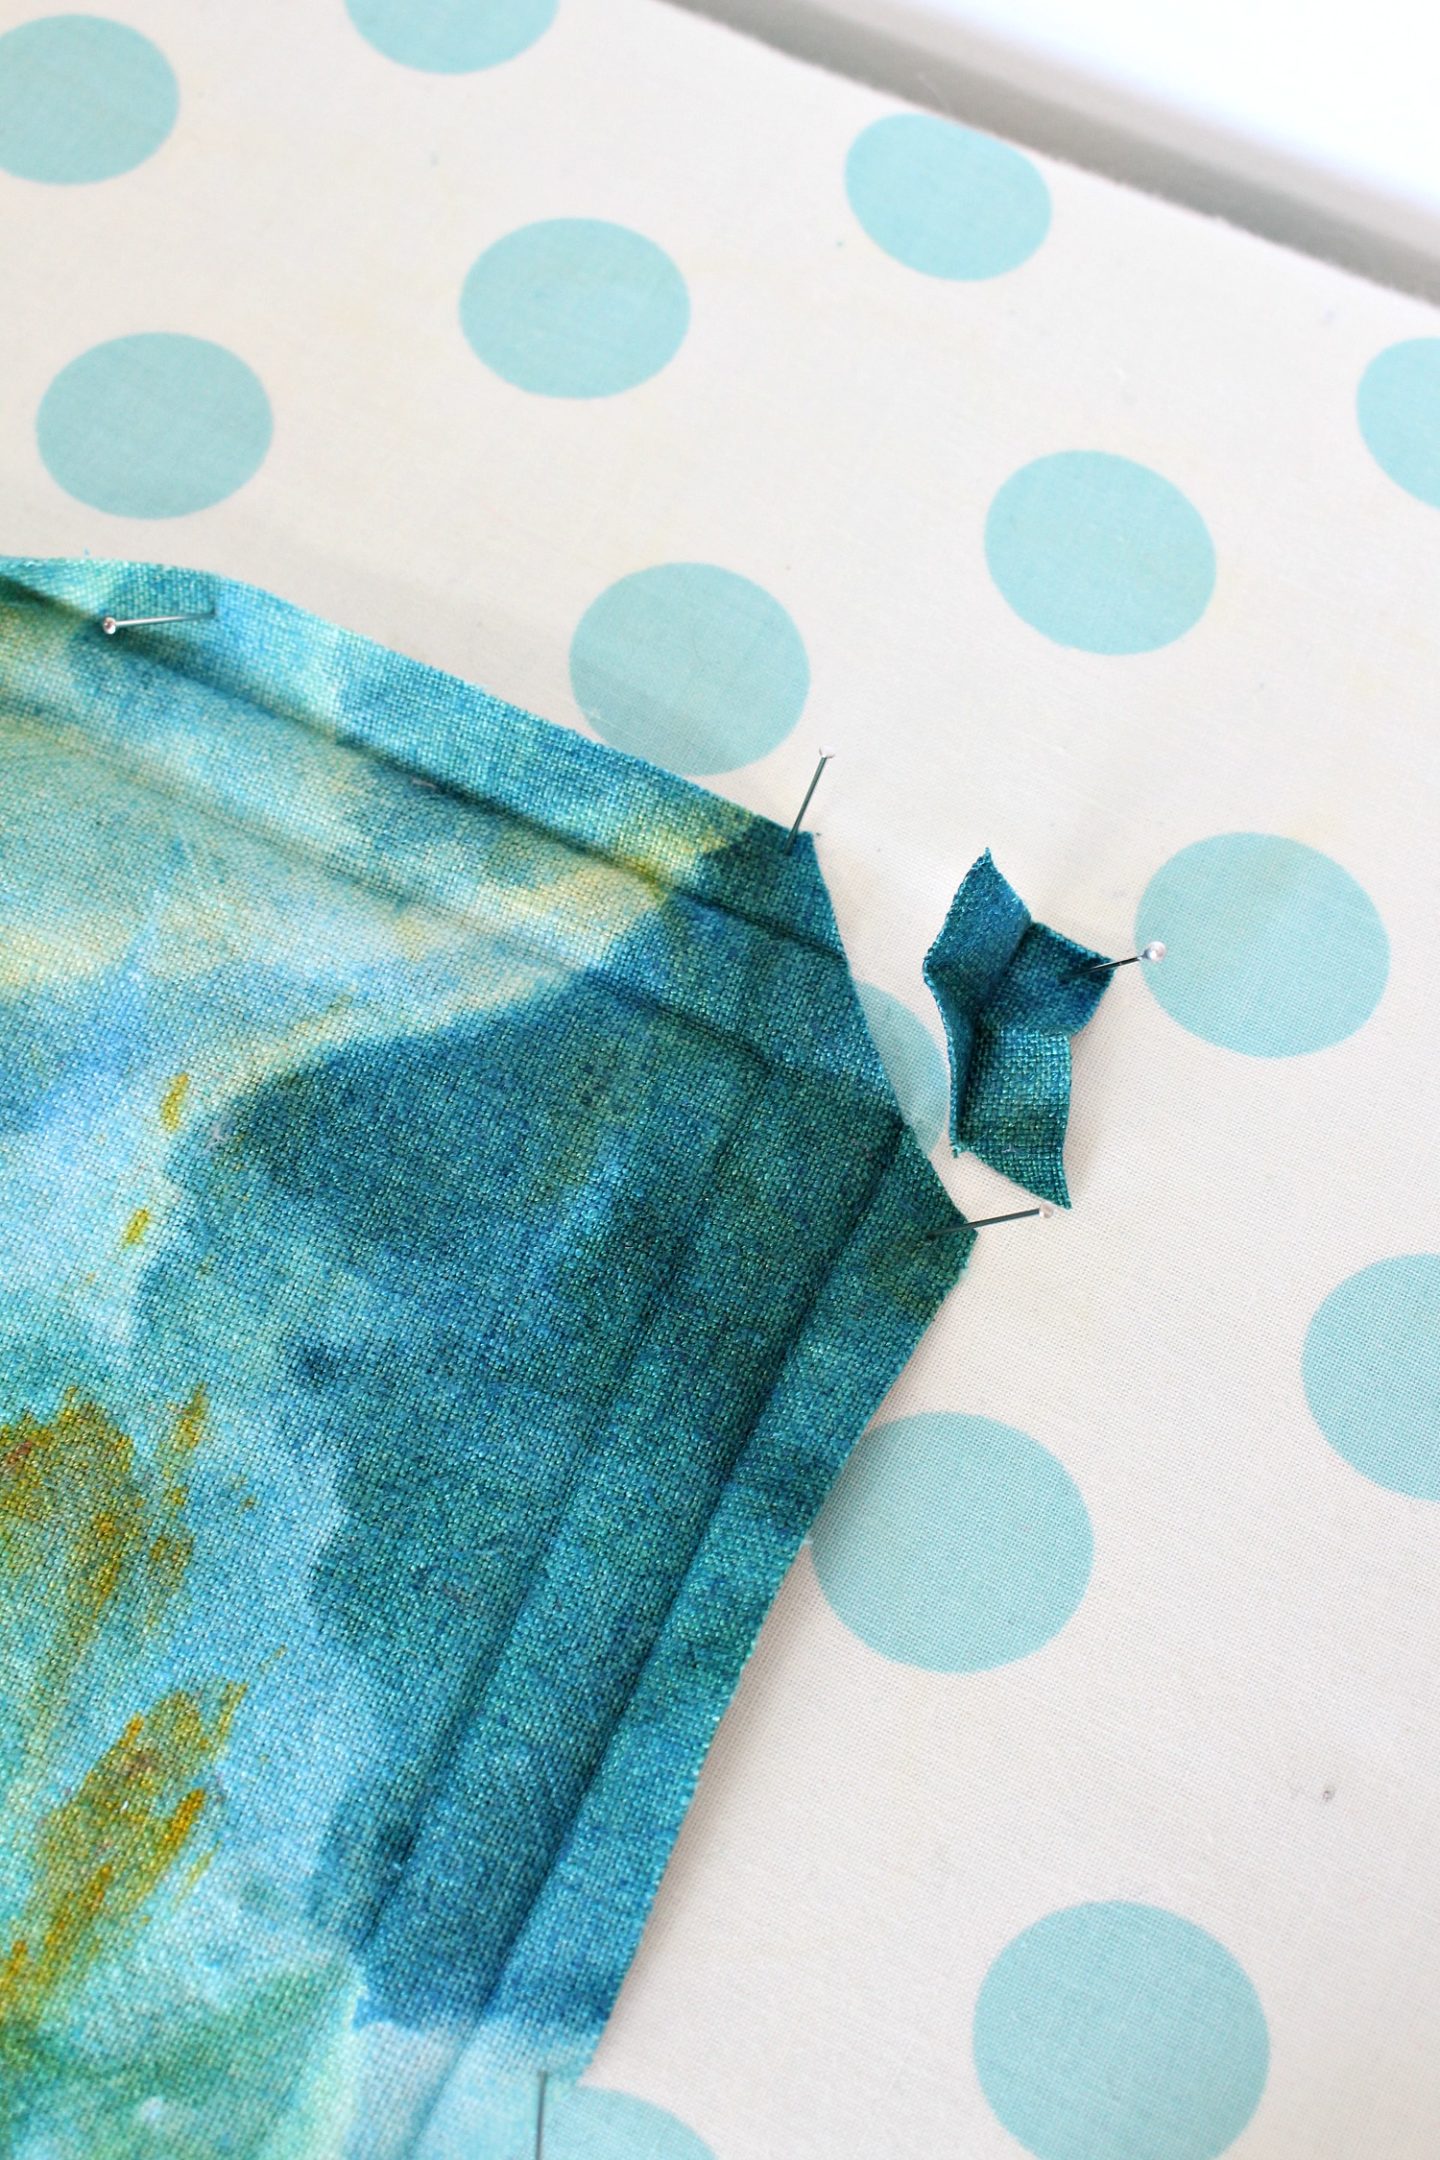
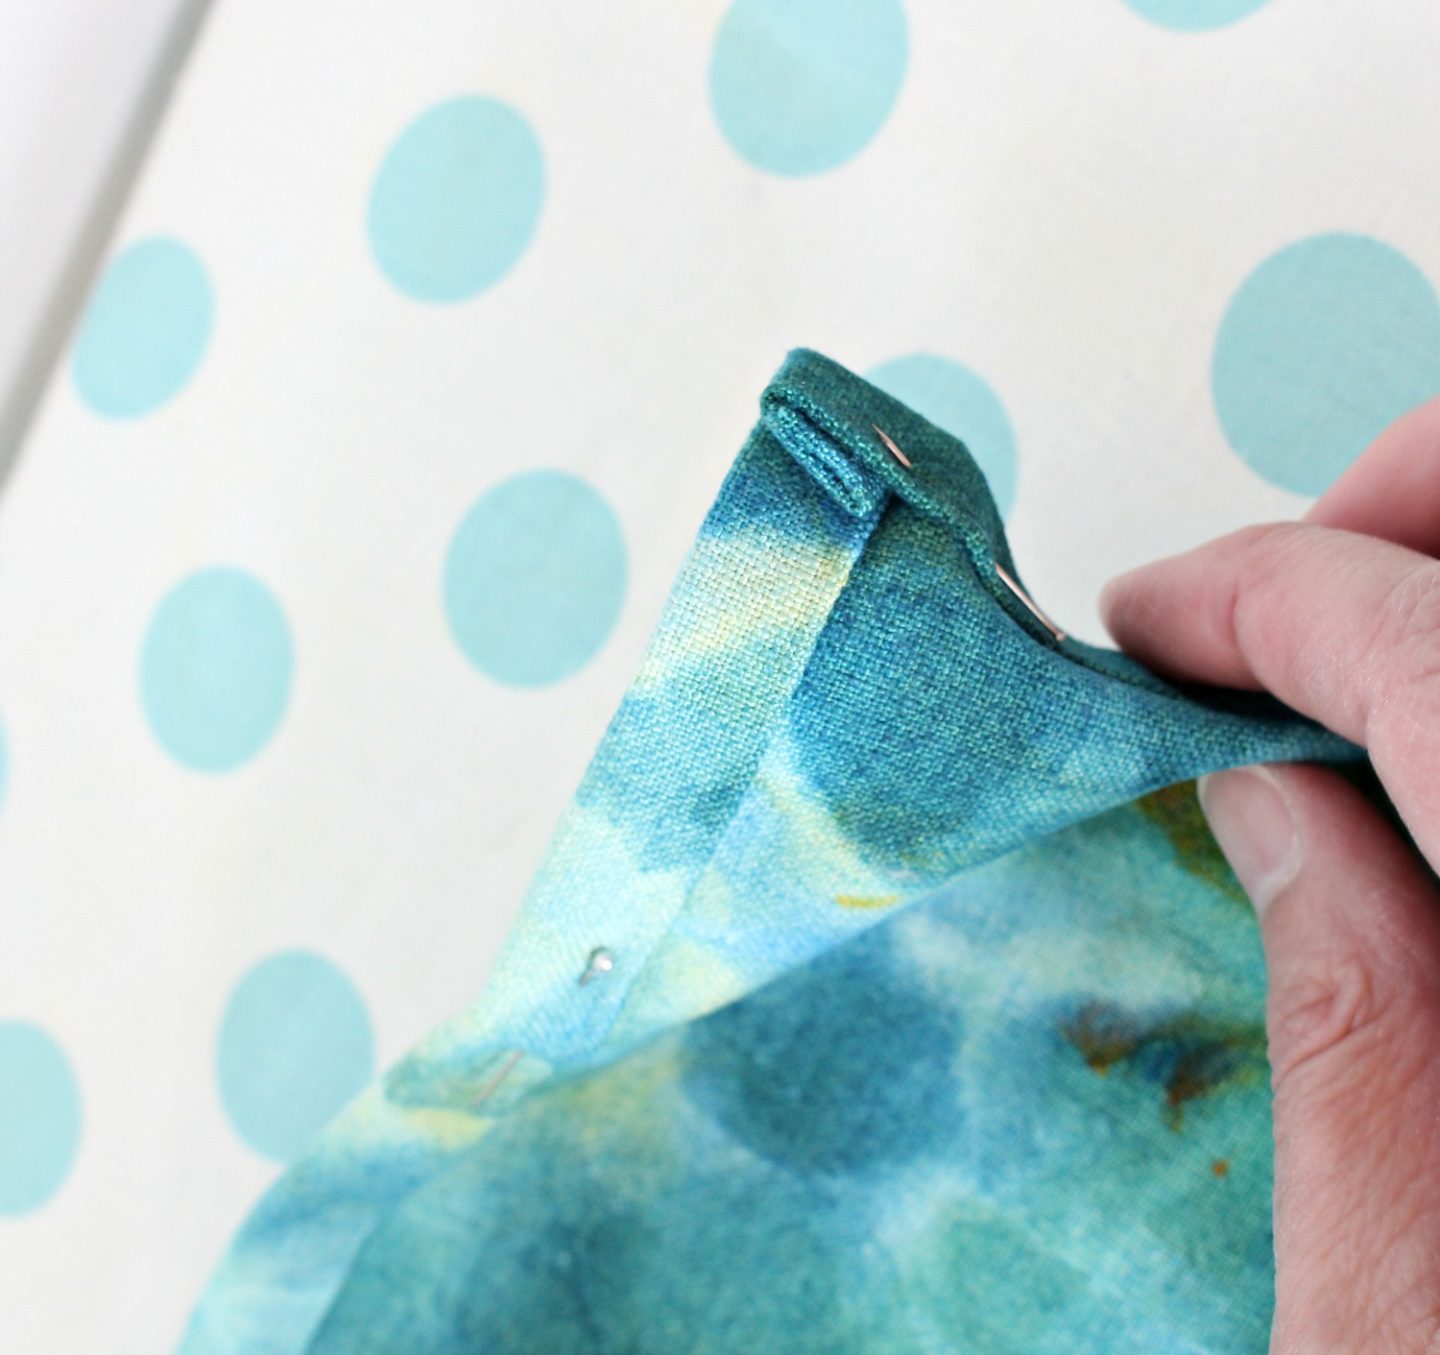
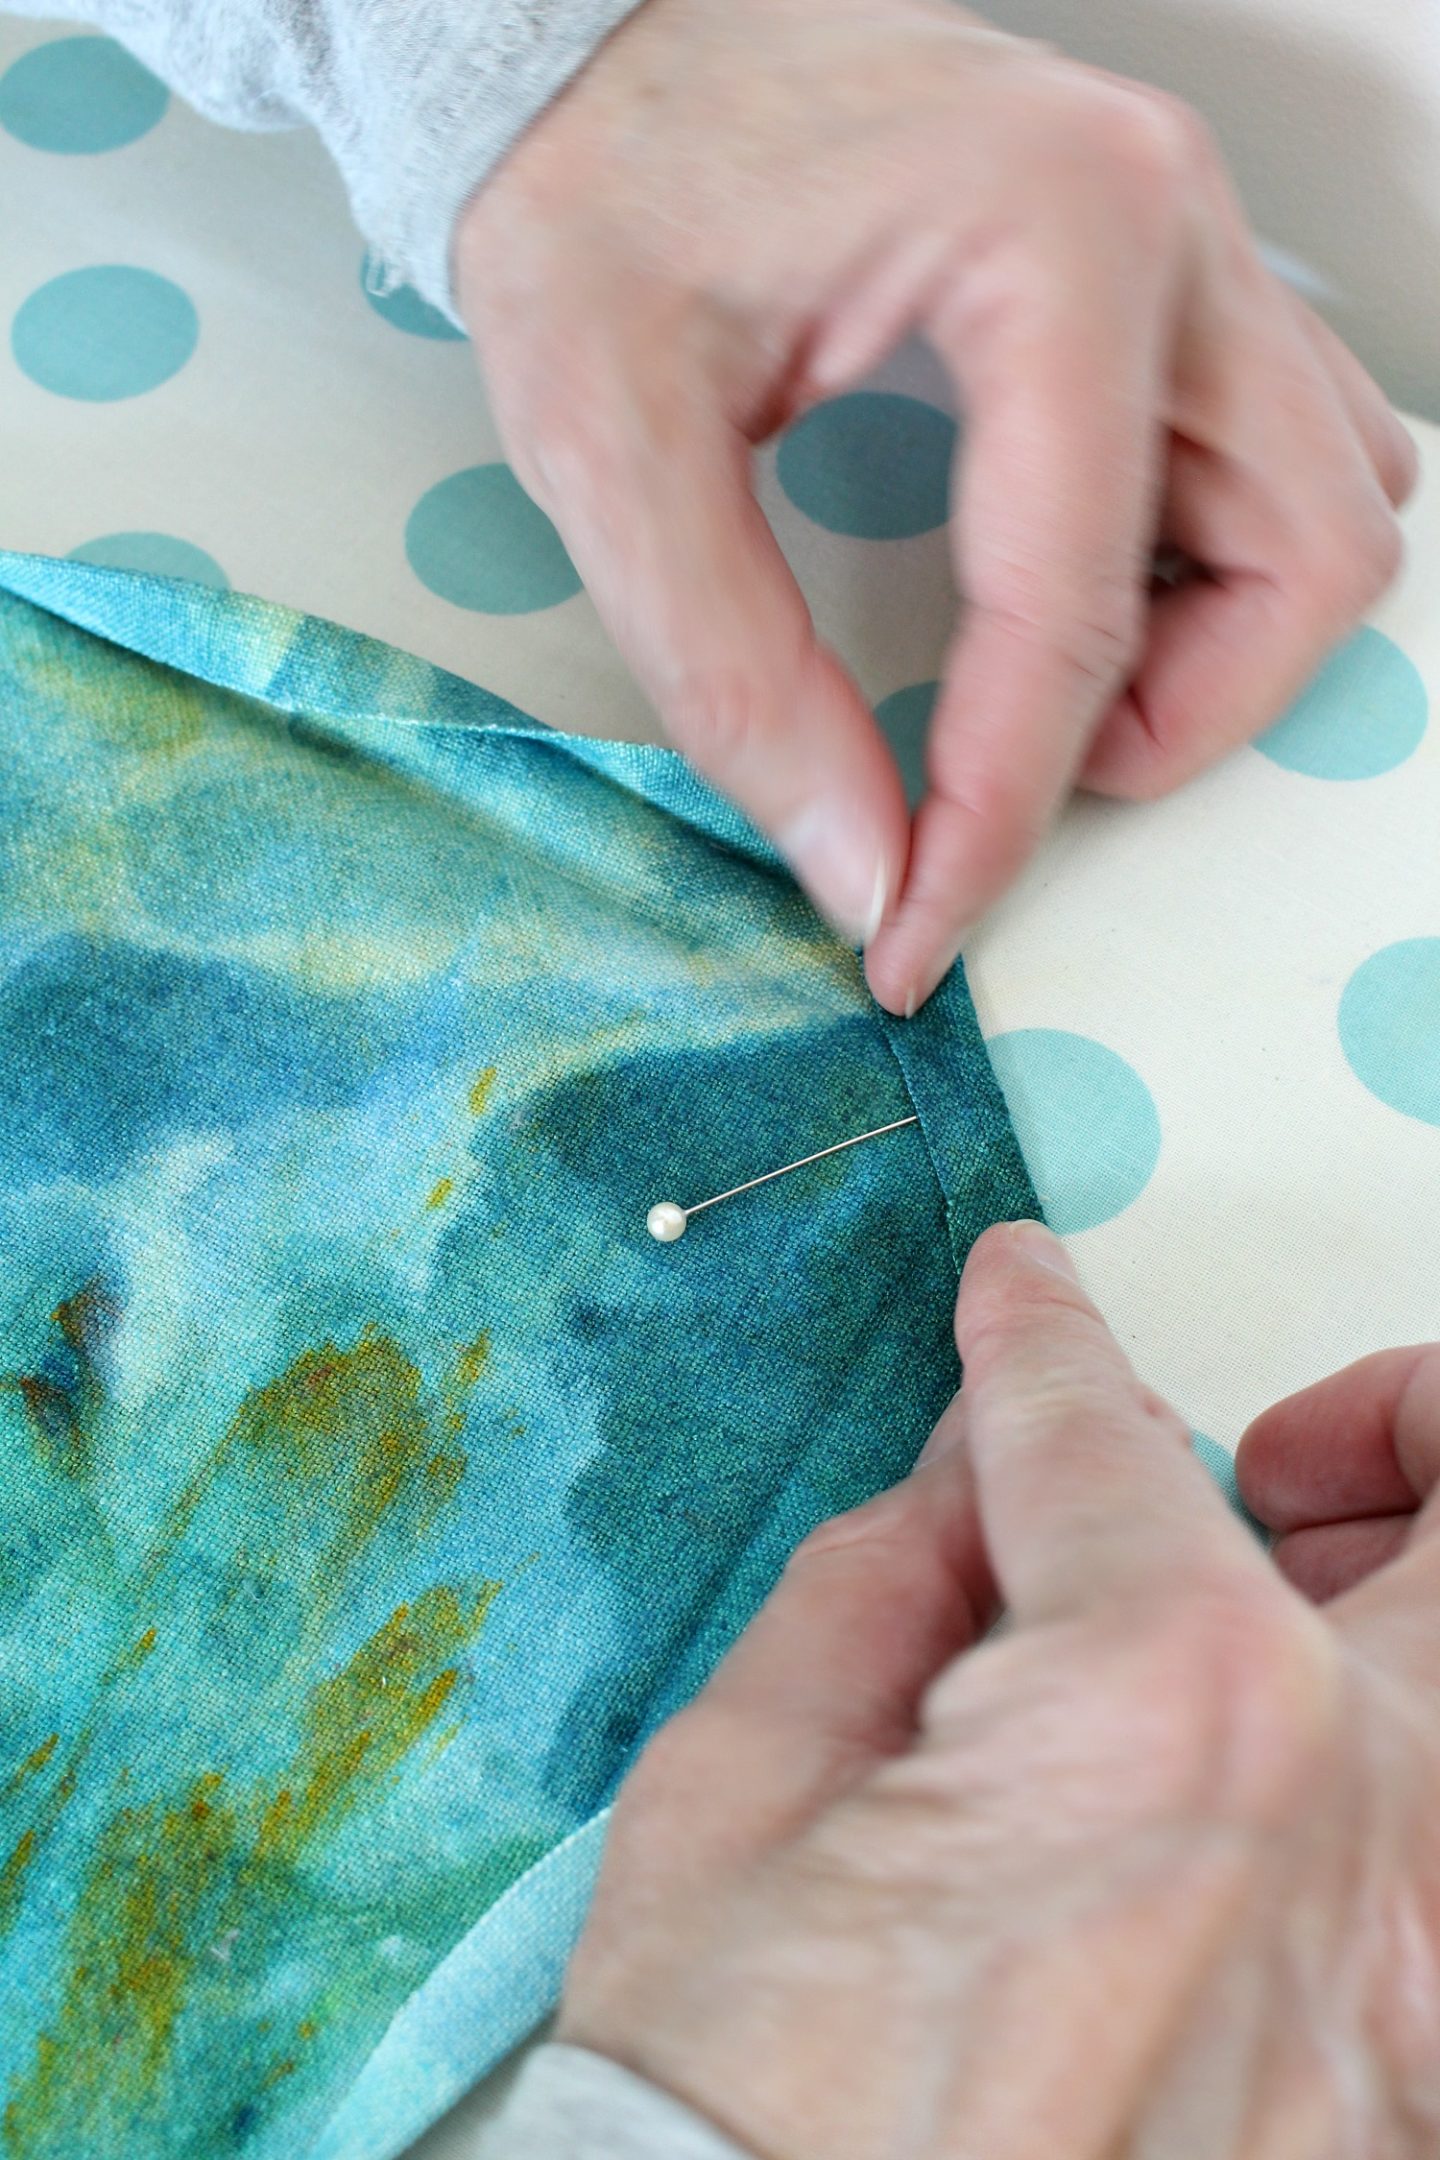
Place a straight pin as shown:
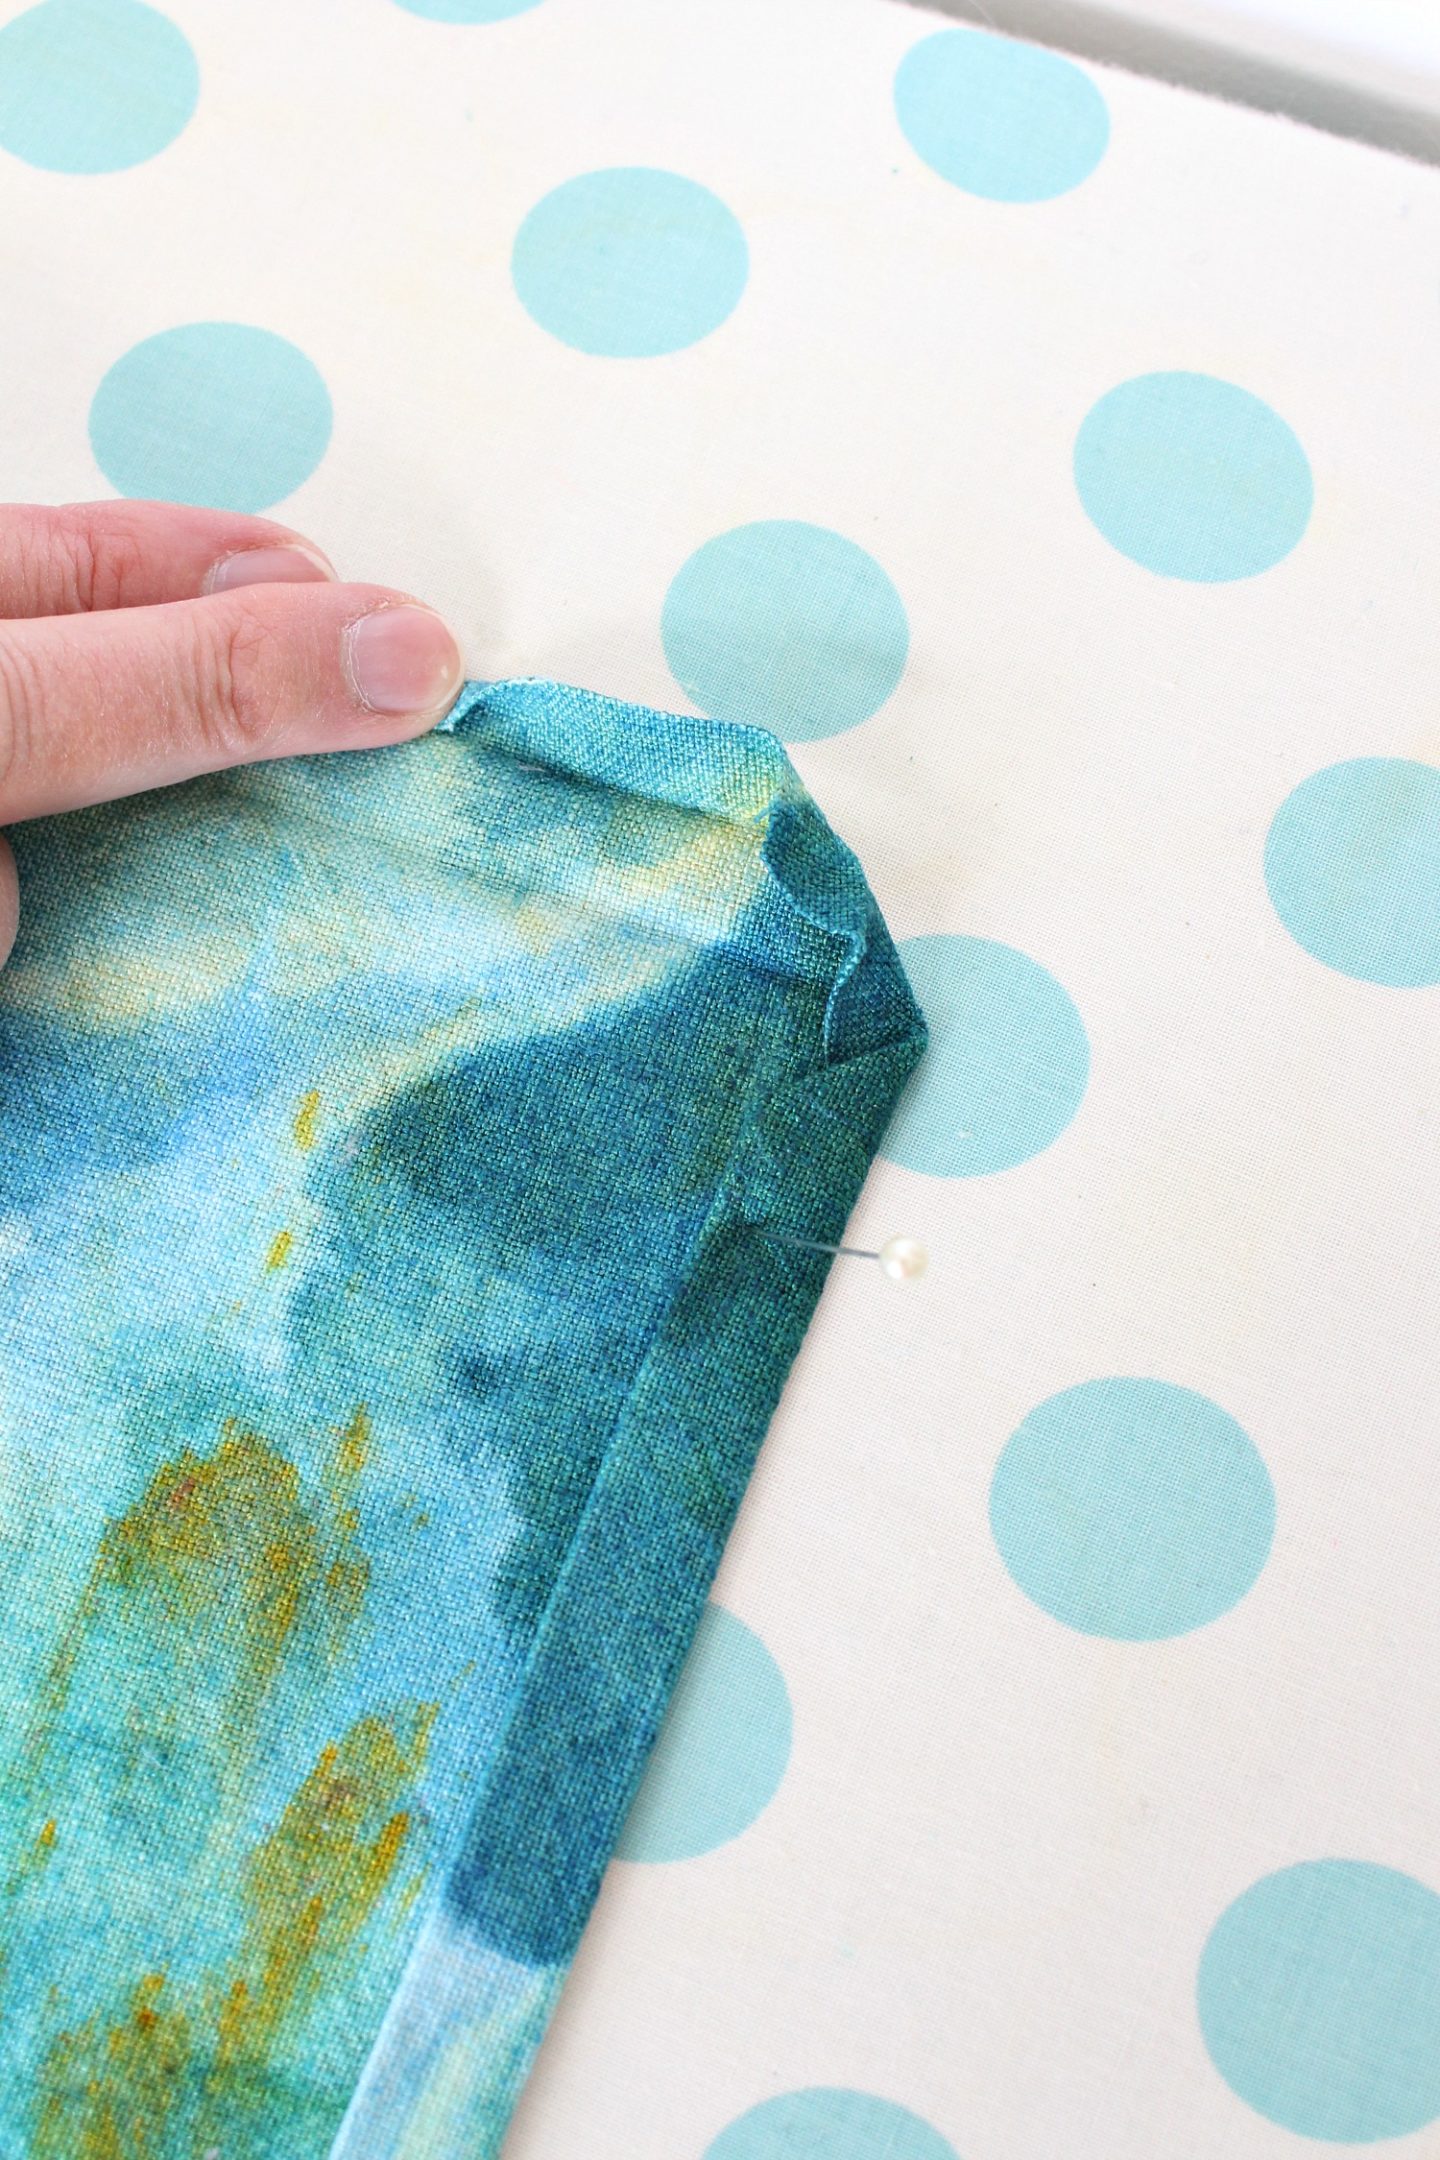
Then fold over the edge to the place marked by the pin:
Then fold the corner into a point:
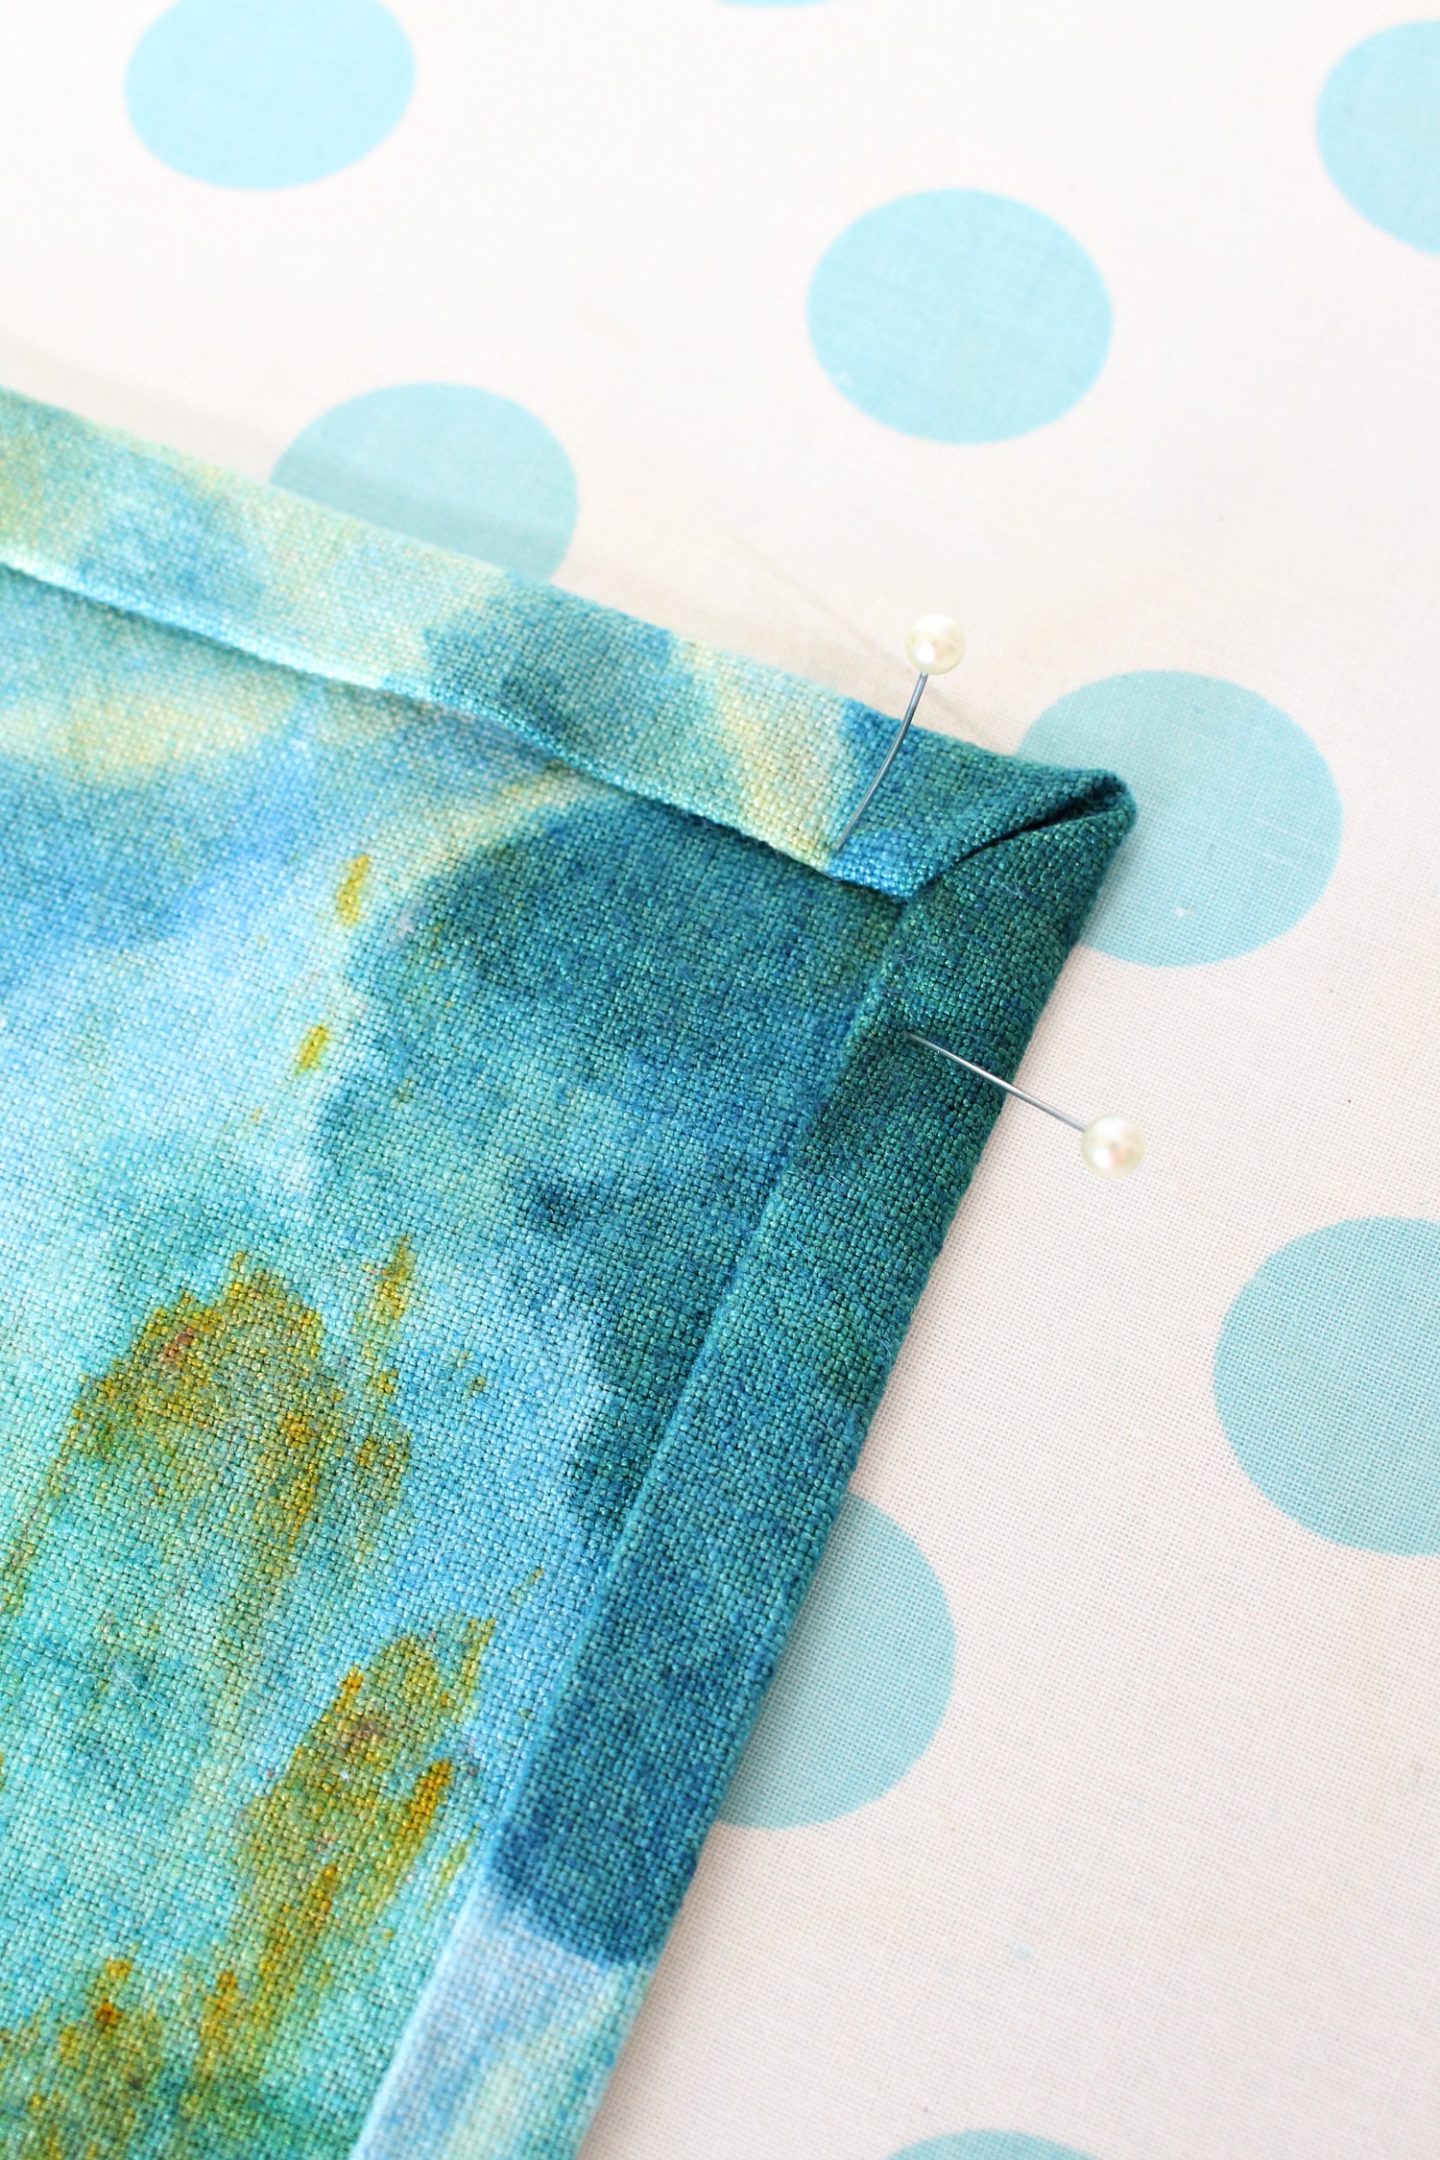
And technically, your mitered corner is done! That’s how to sew a mitered corner. You can sew this down and repeat for all four corners, or do one extra fancy step (see next photos):
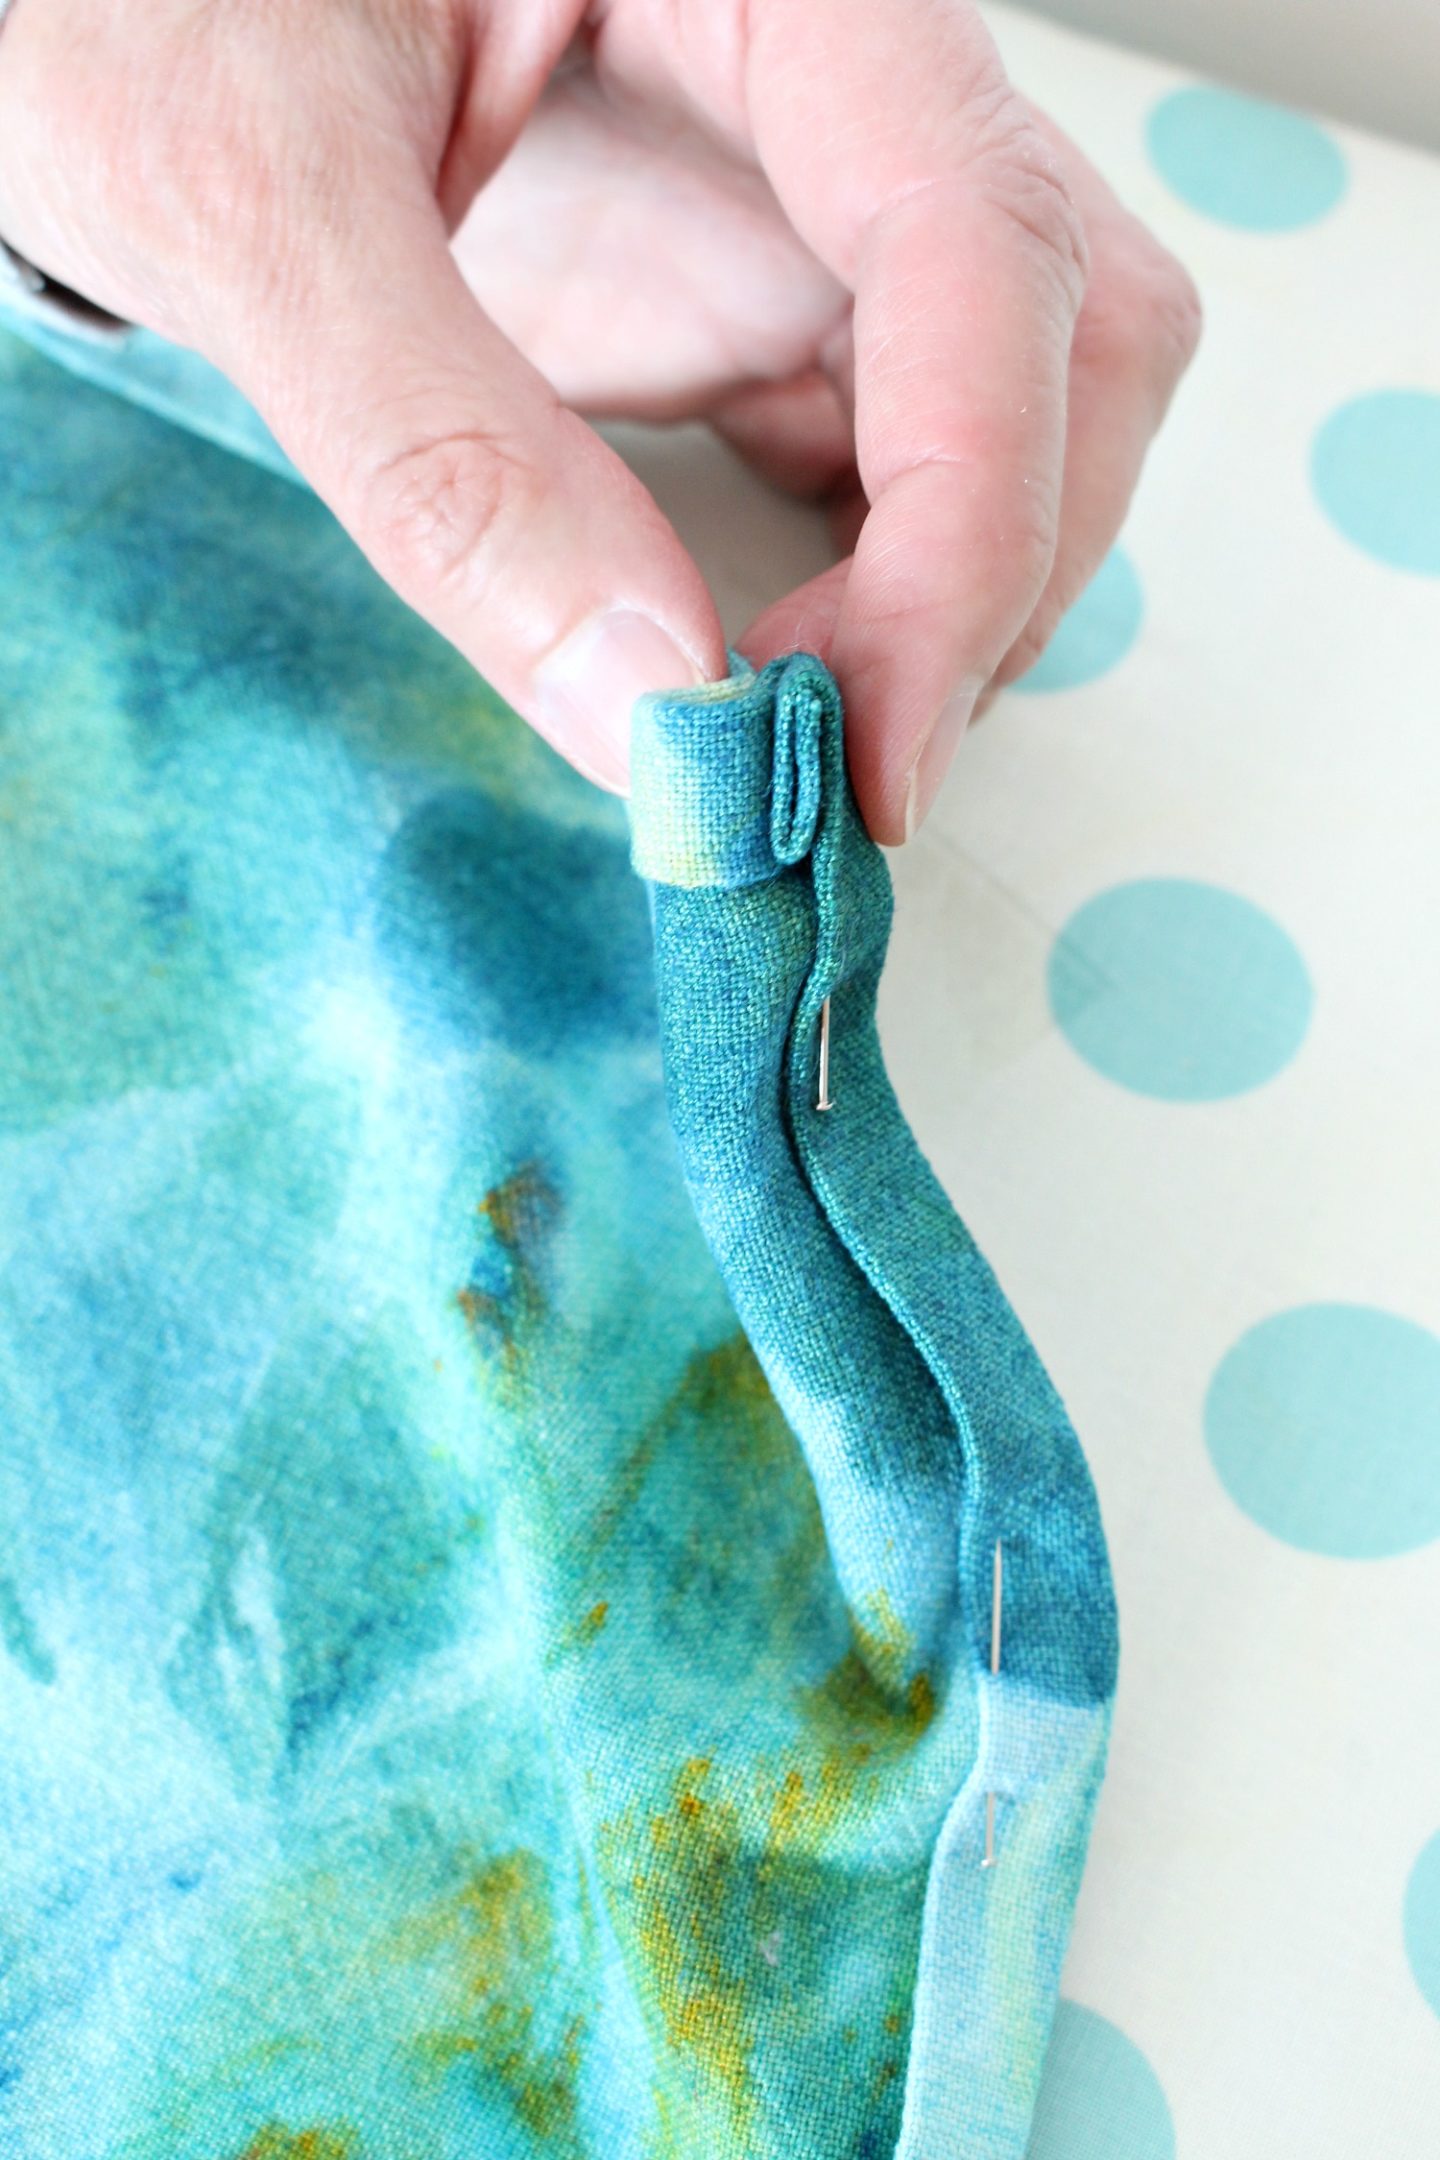
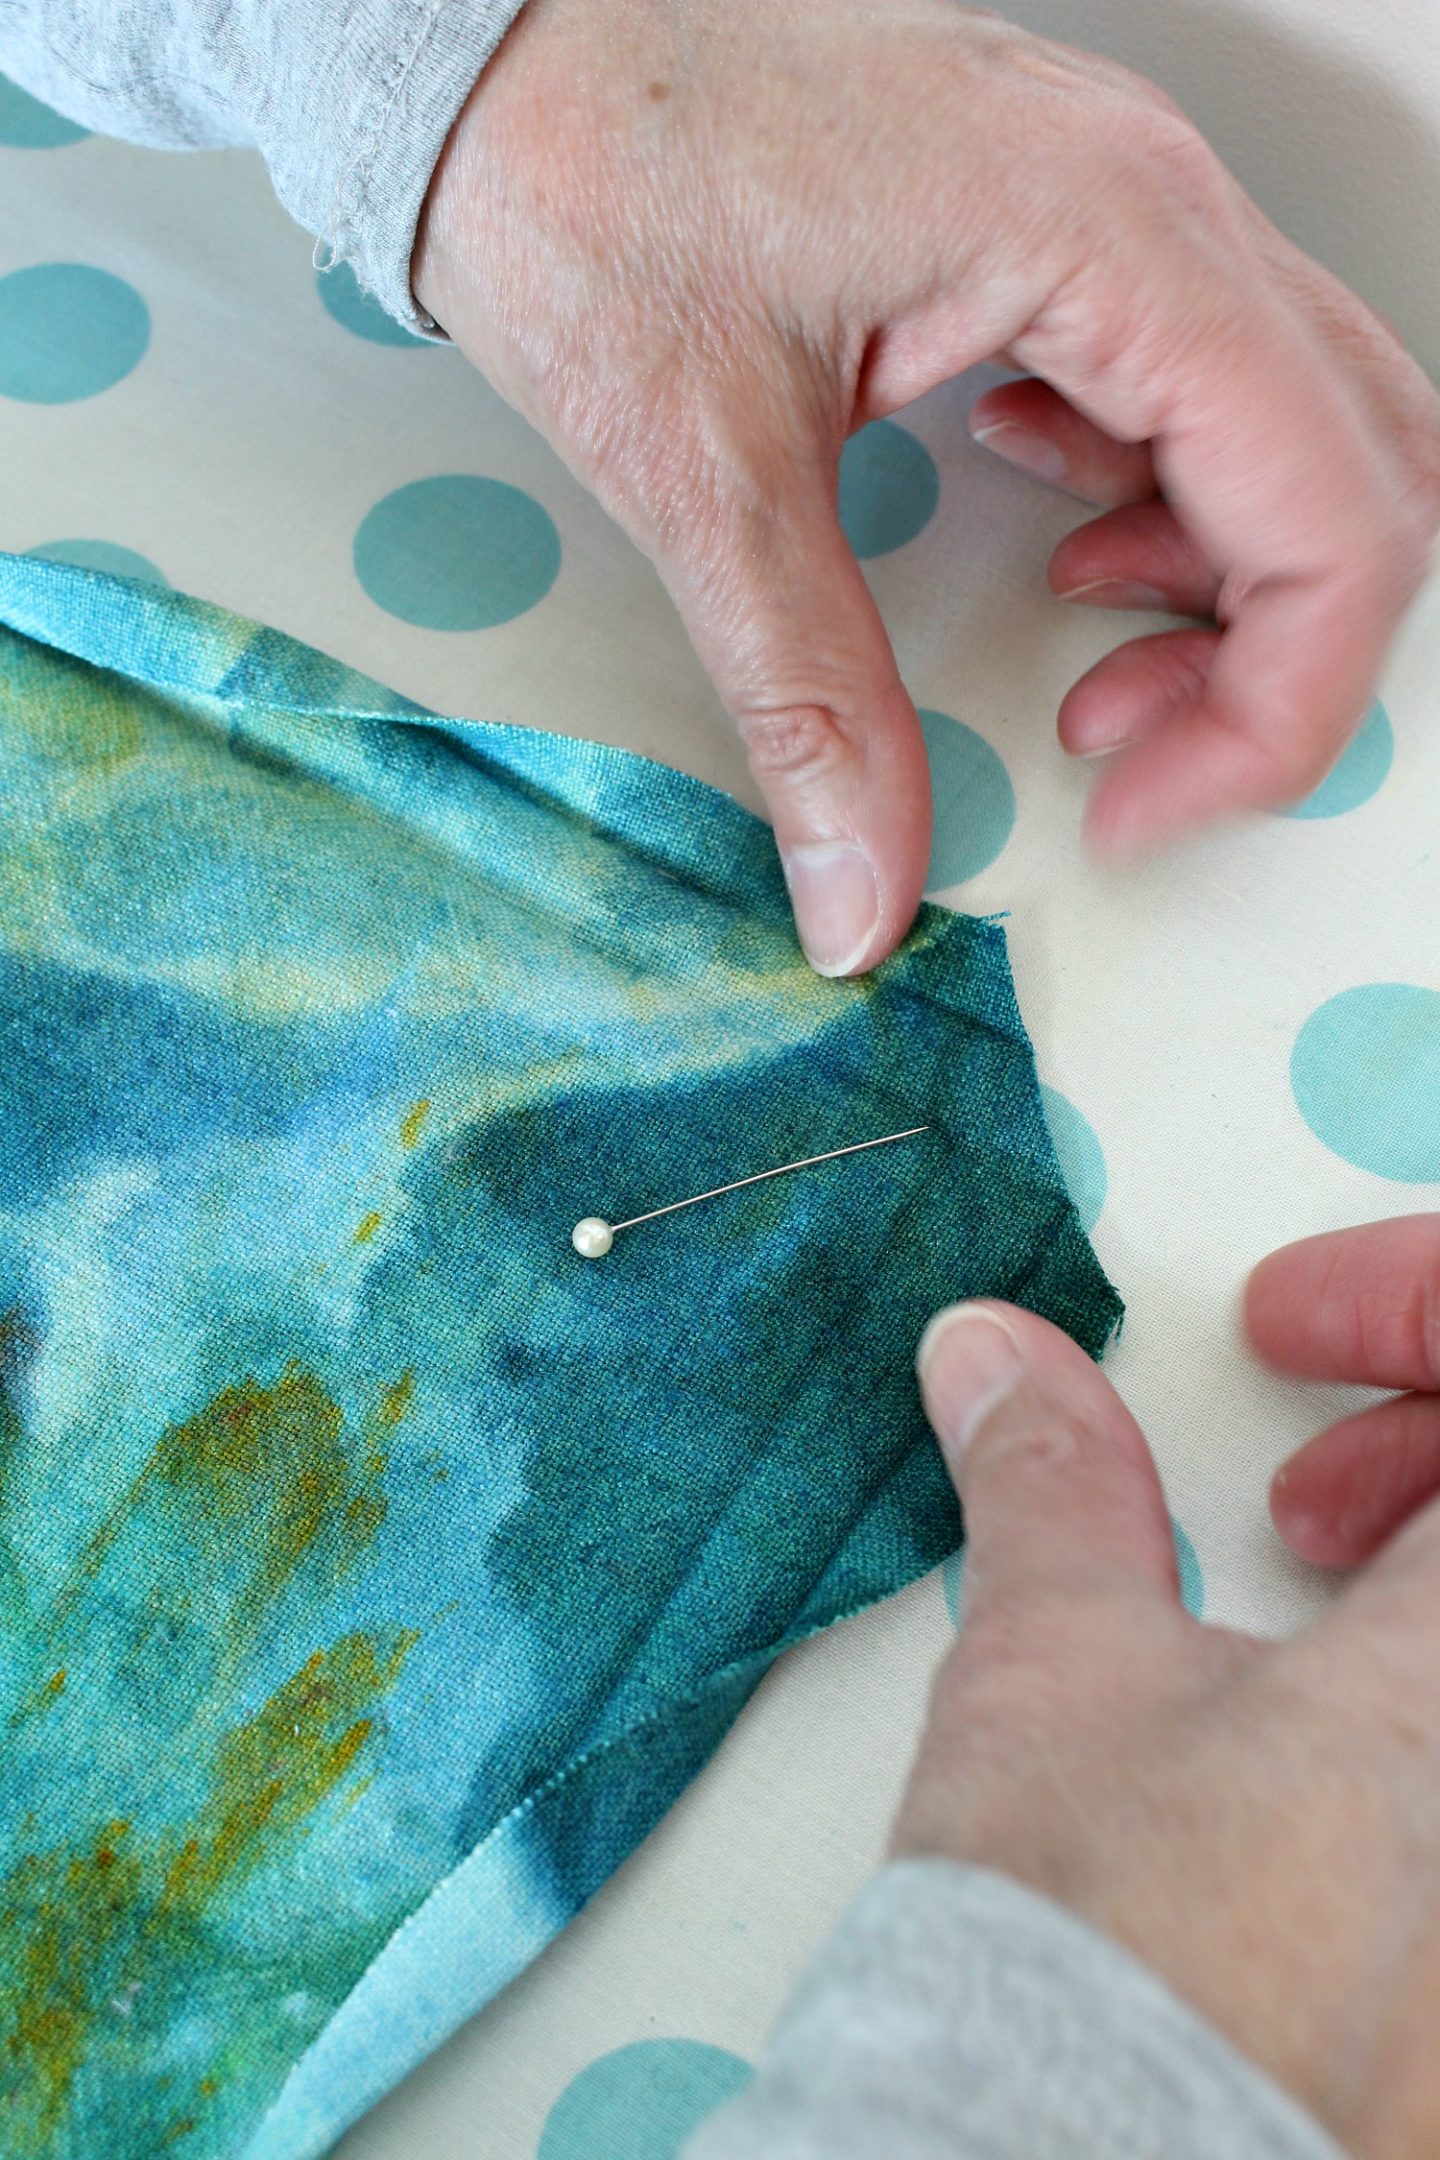
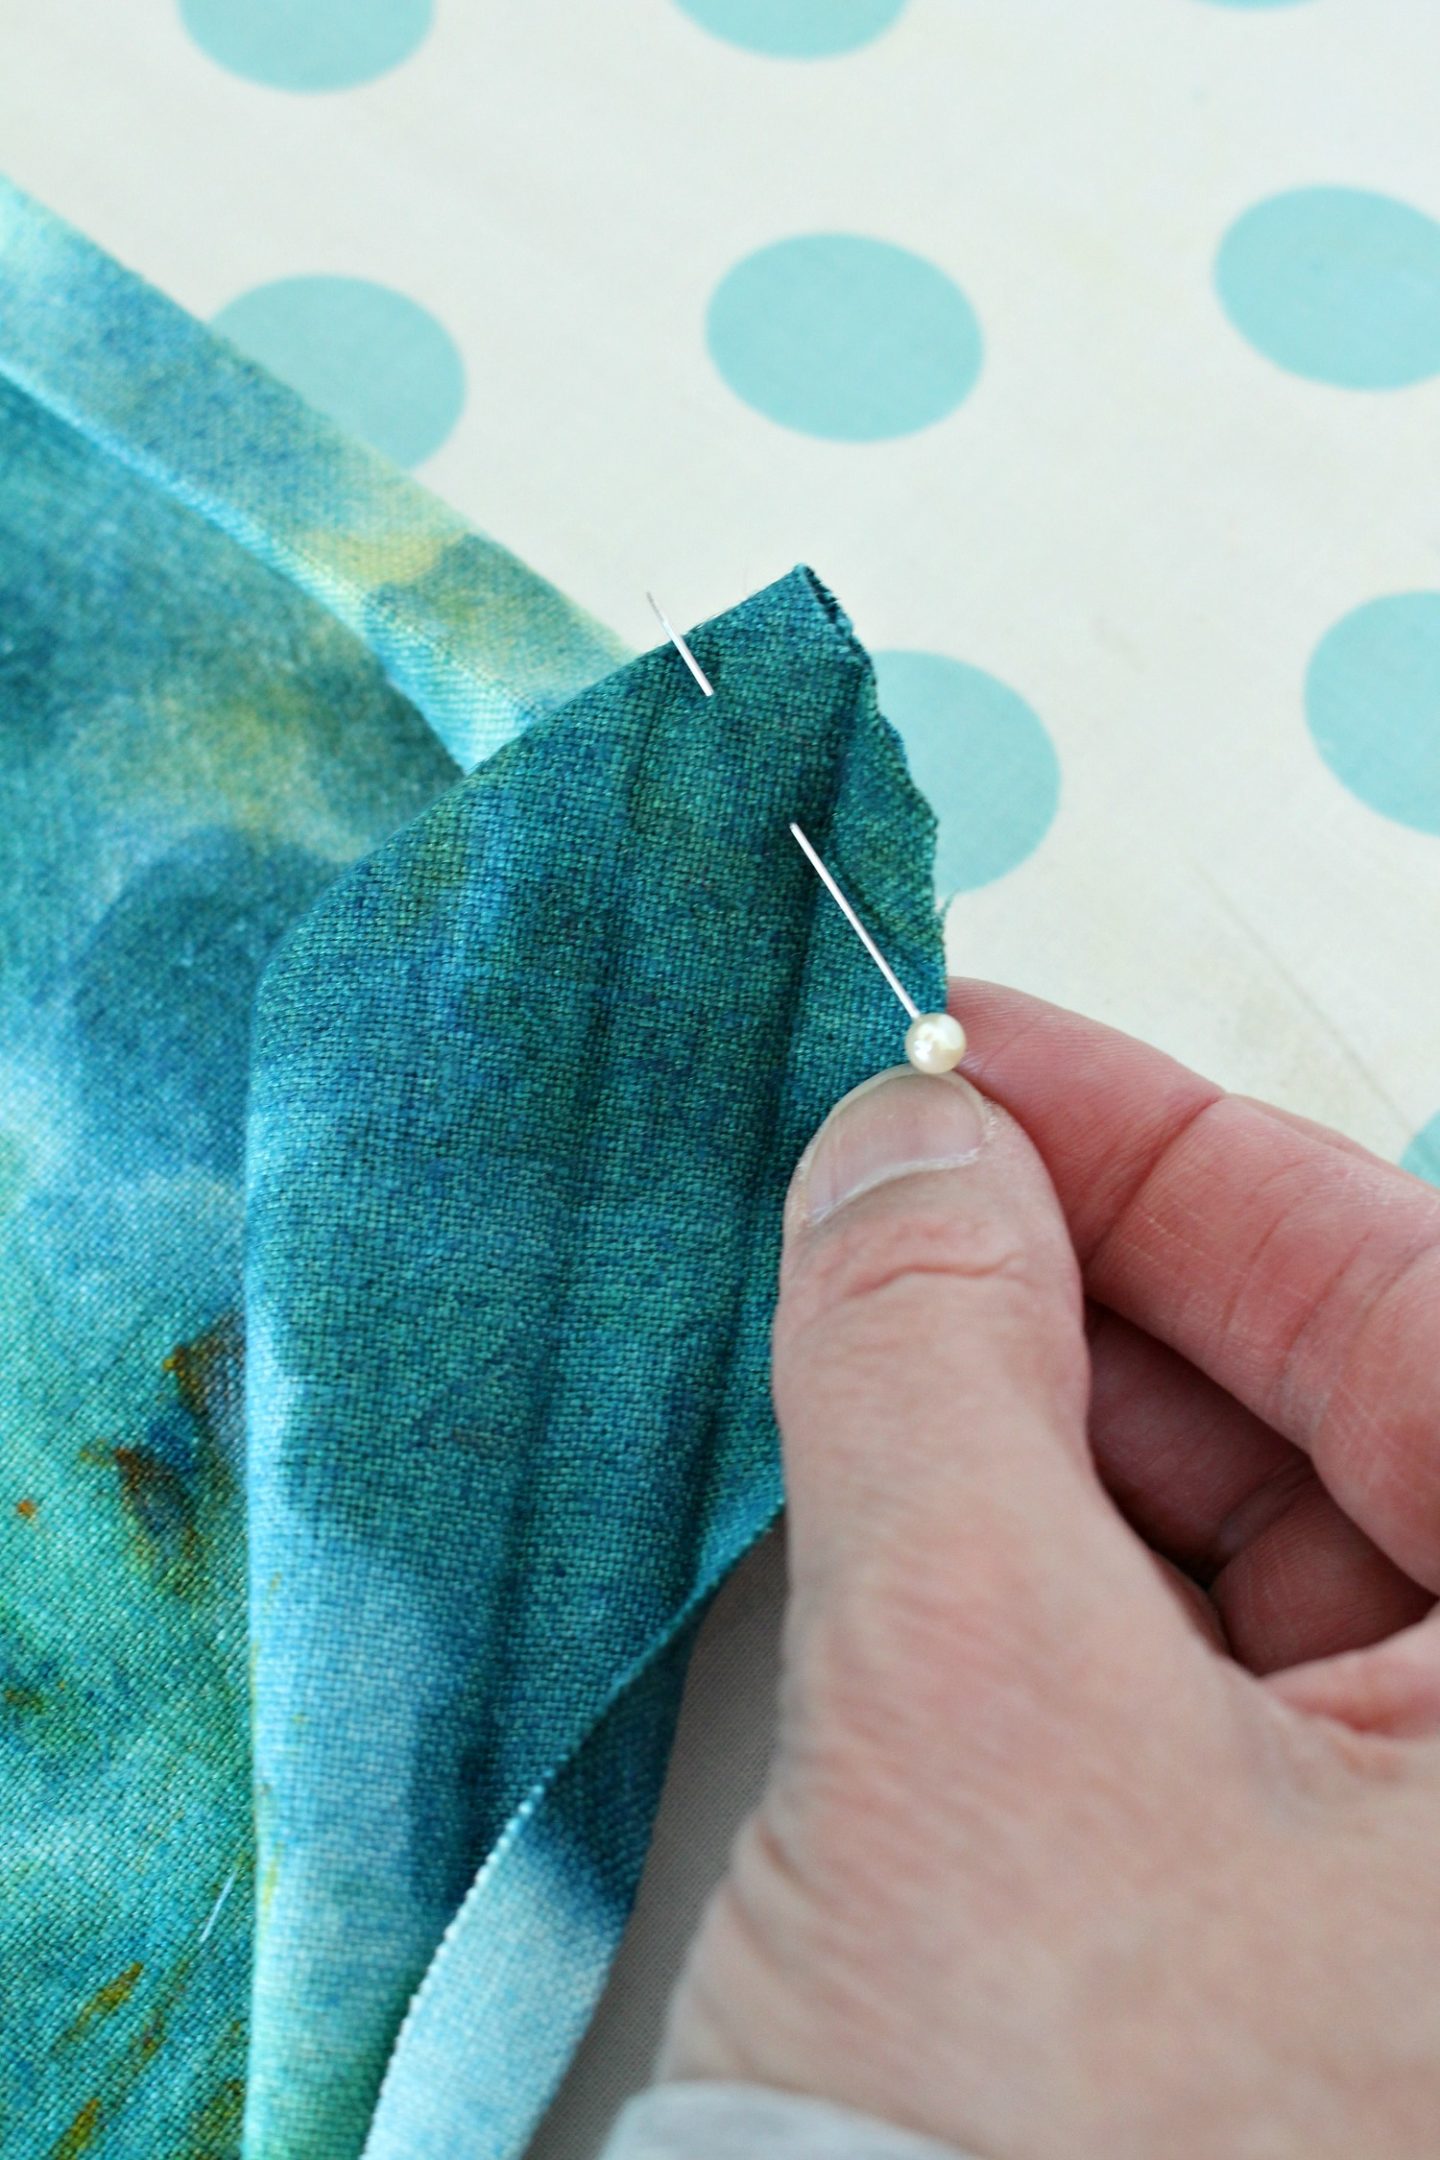
Turn the mitered corner inside out and pin:
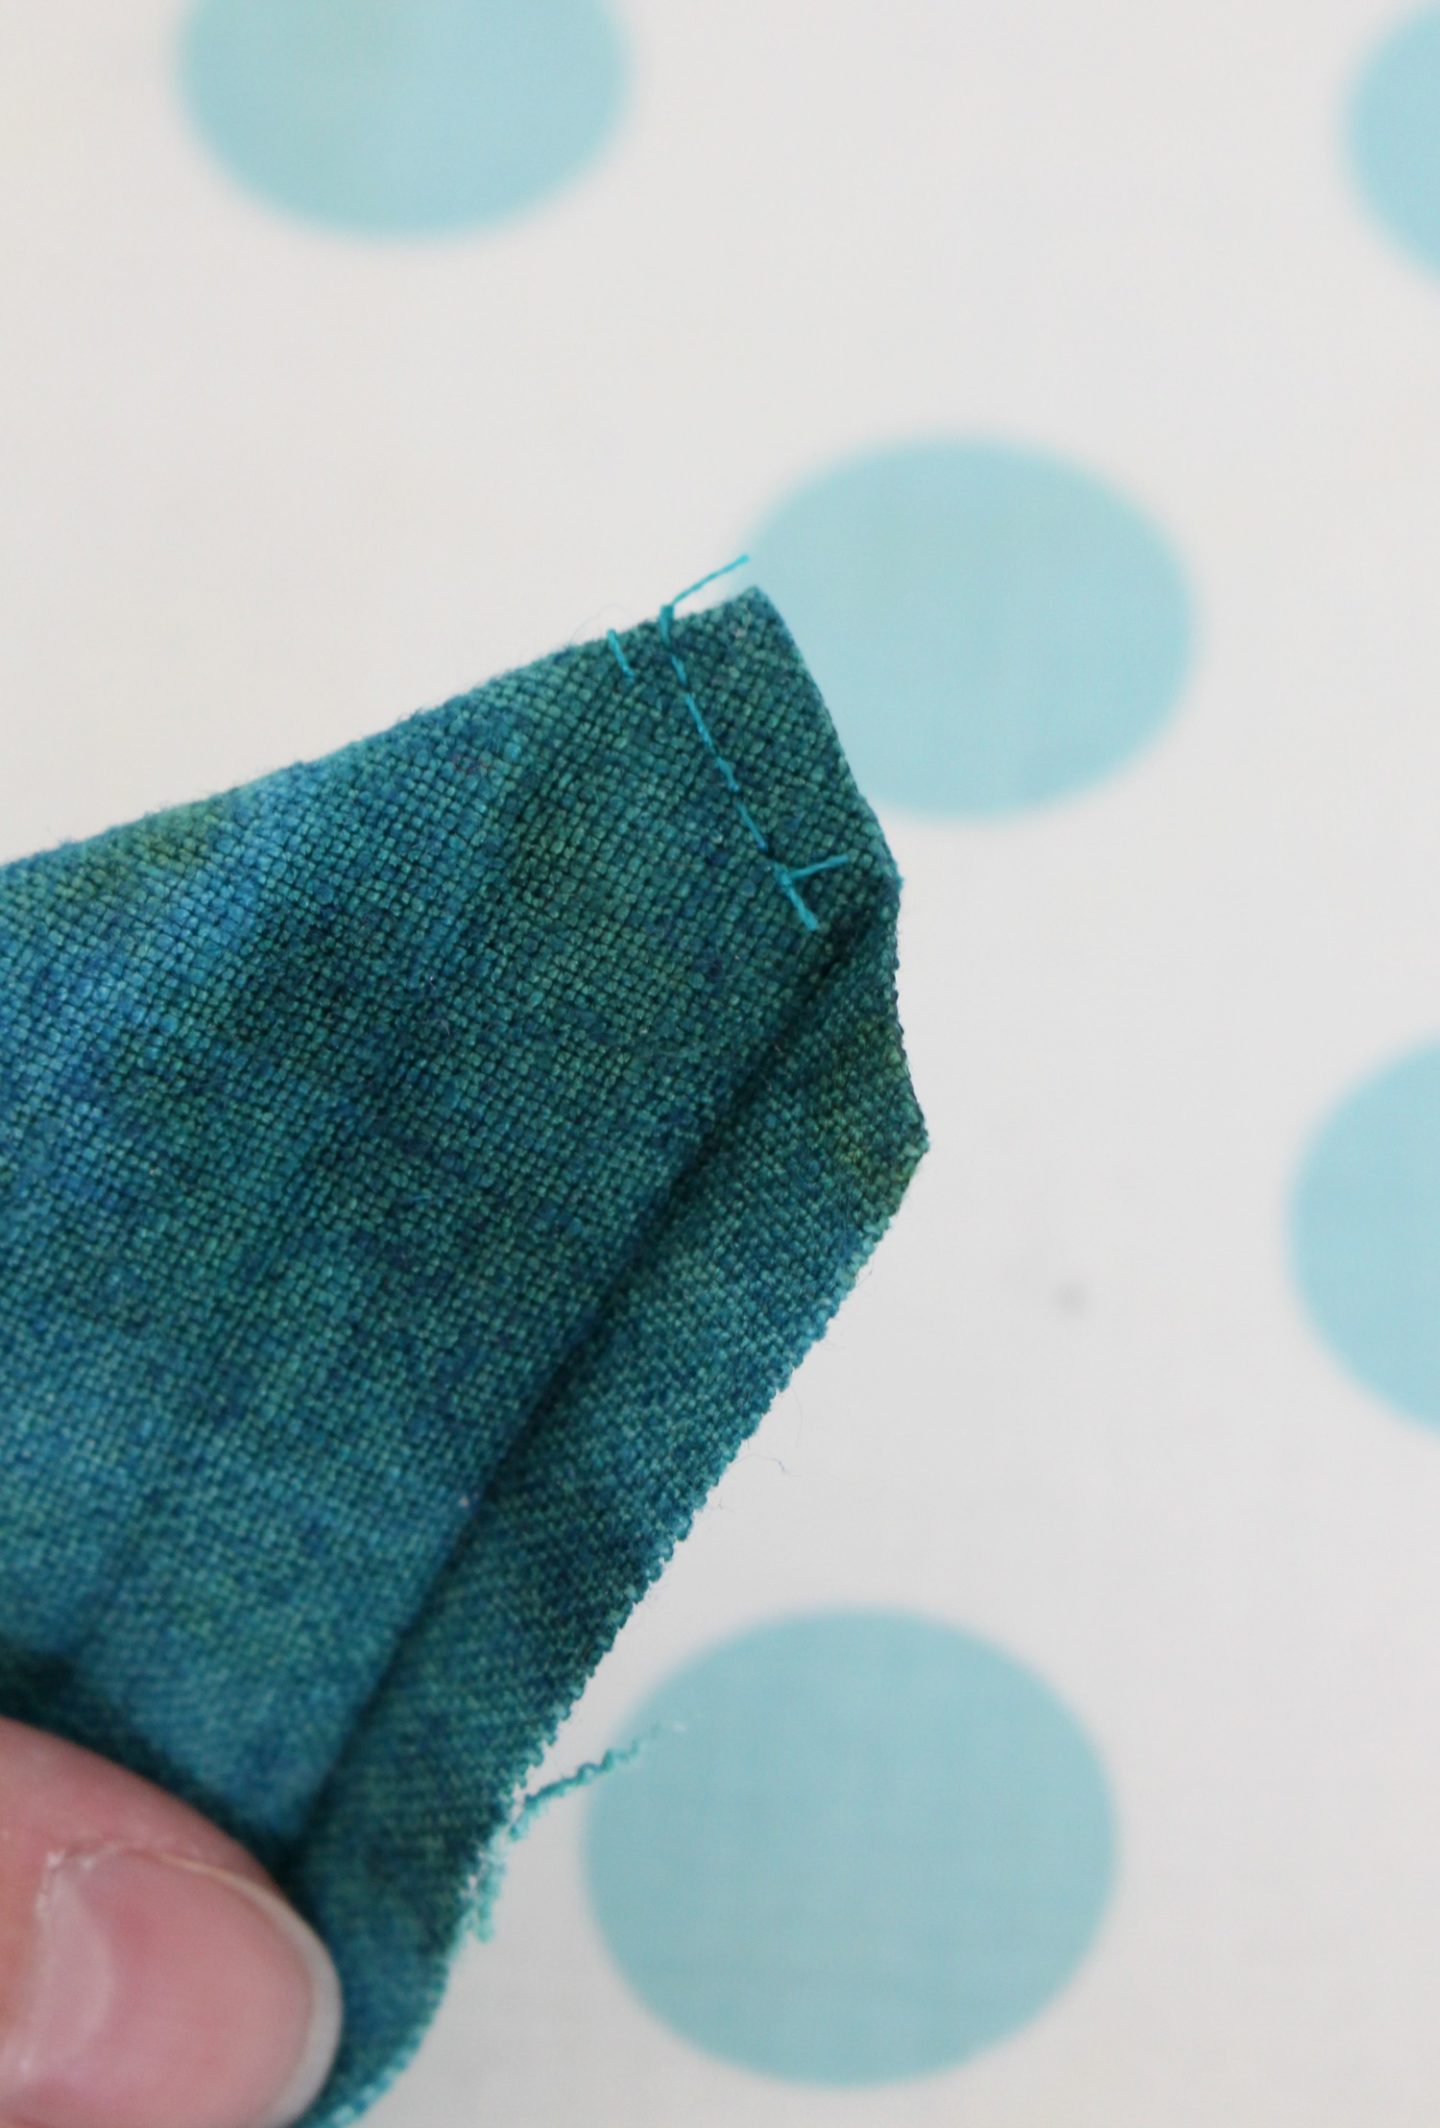
Sew along the cut edge of the mitered corner (stop at the first fold):
Trim:
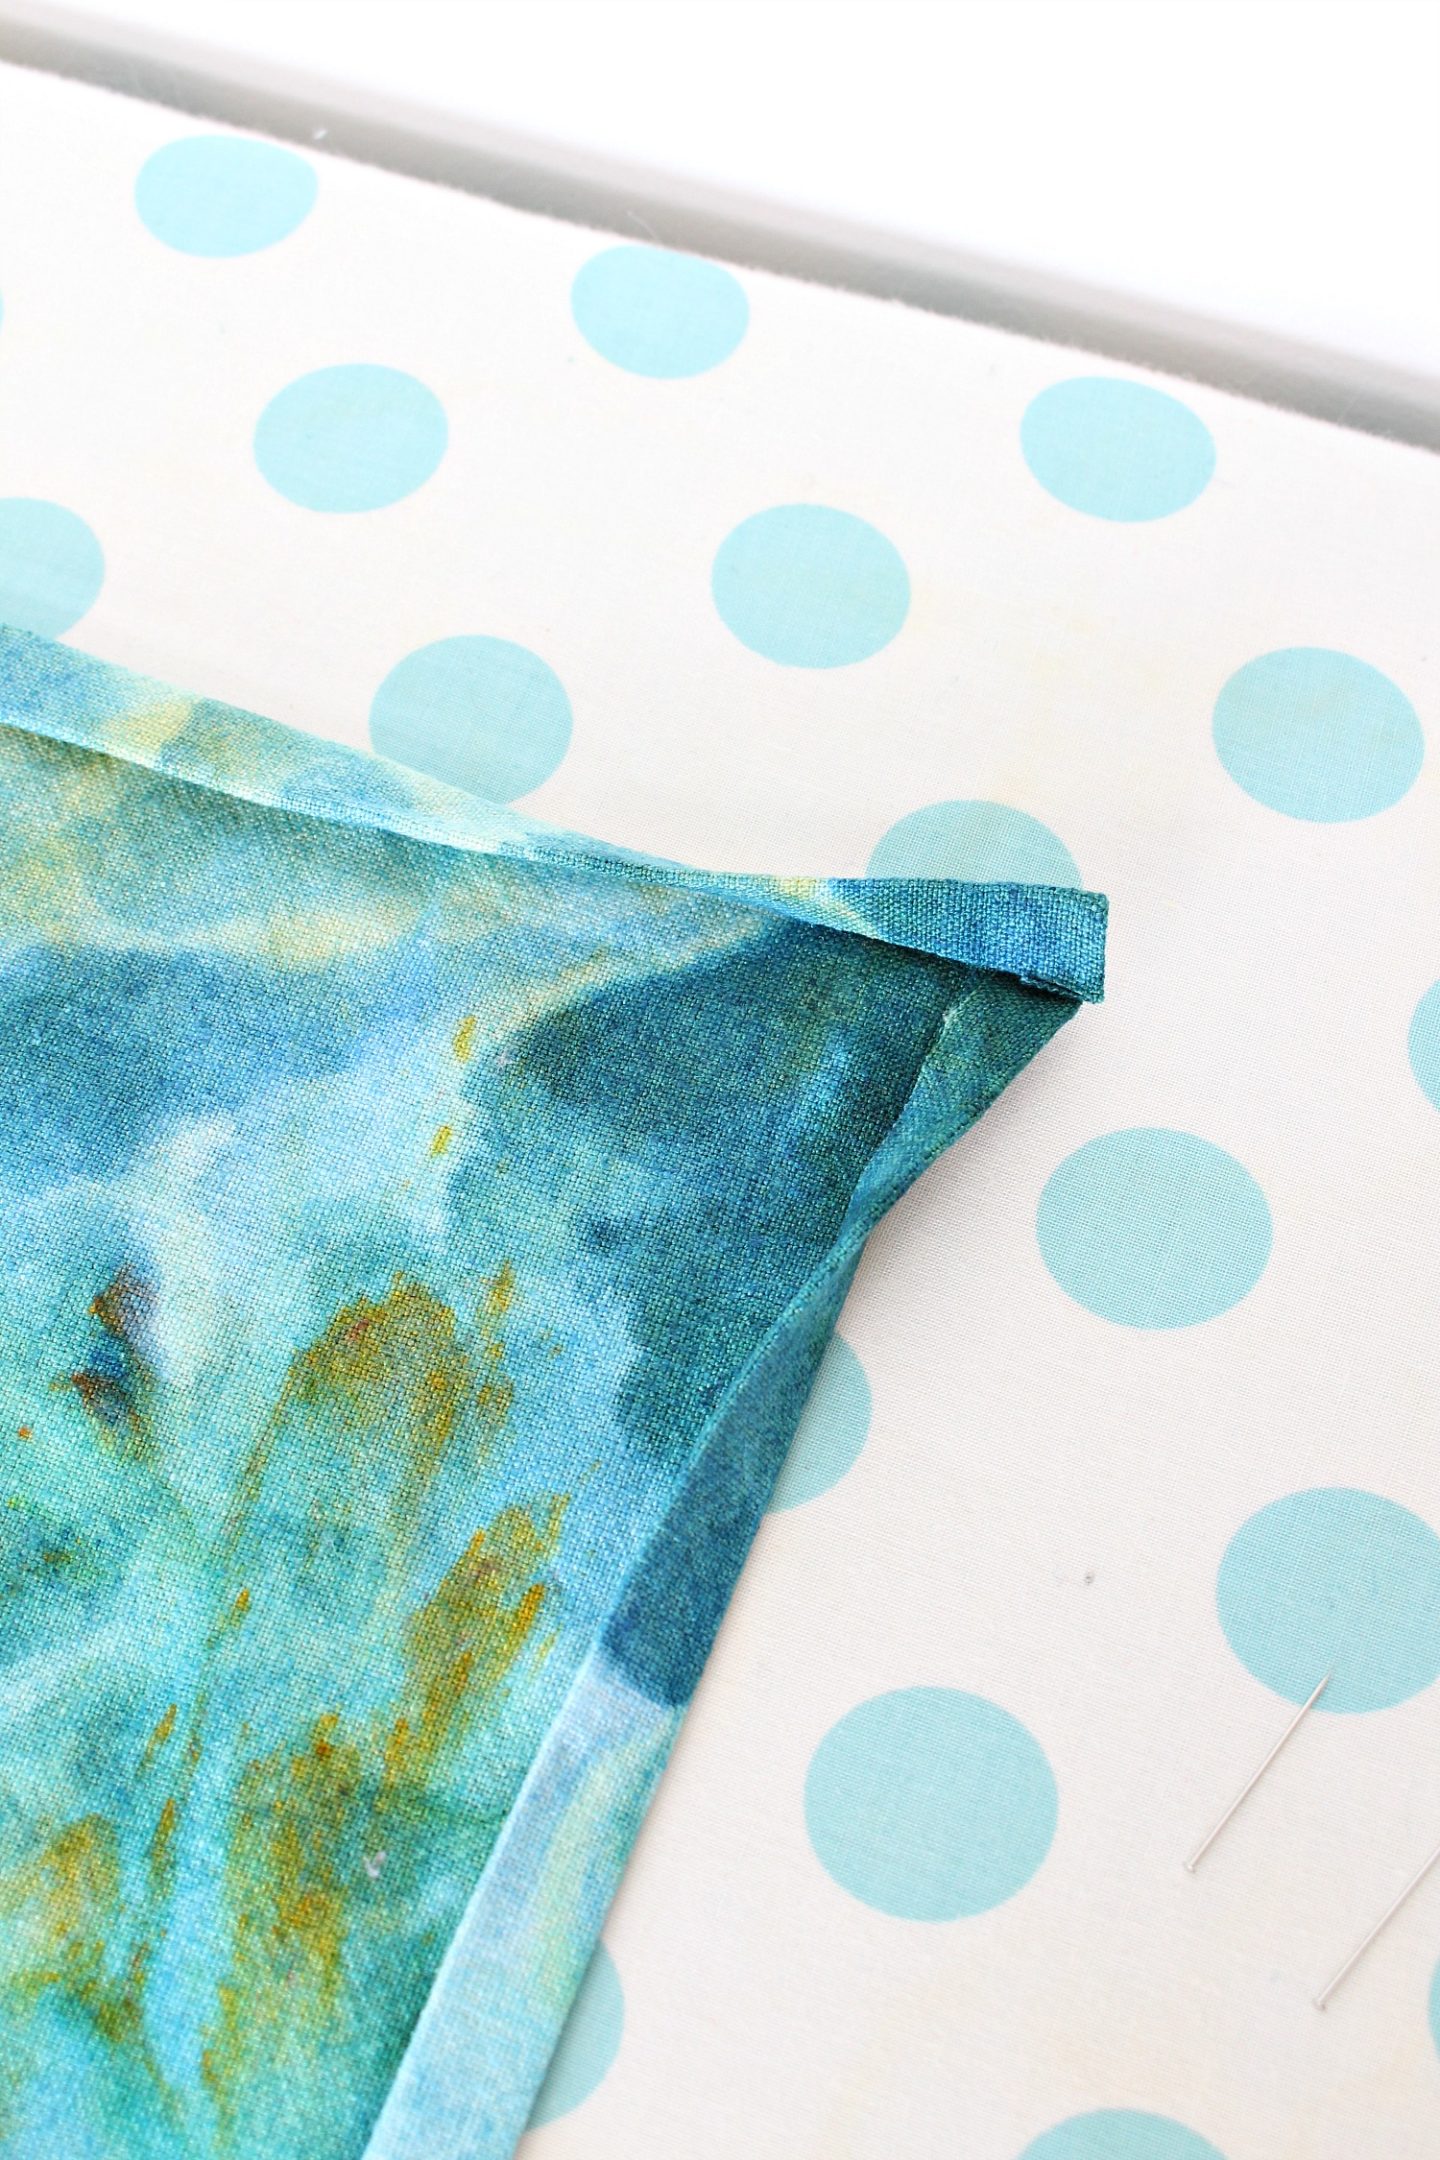
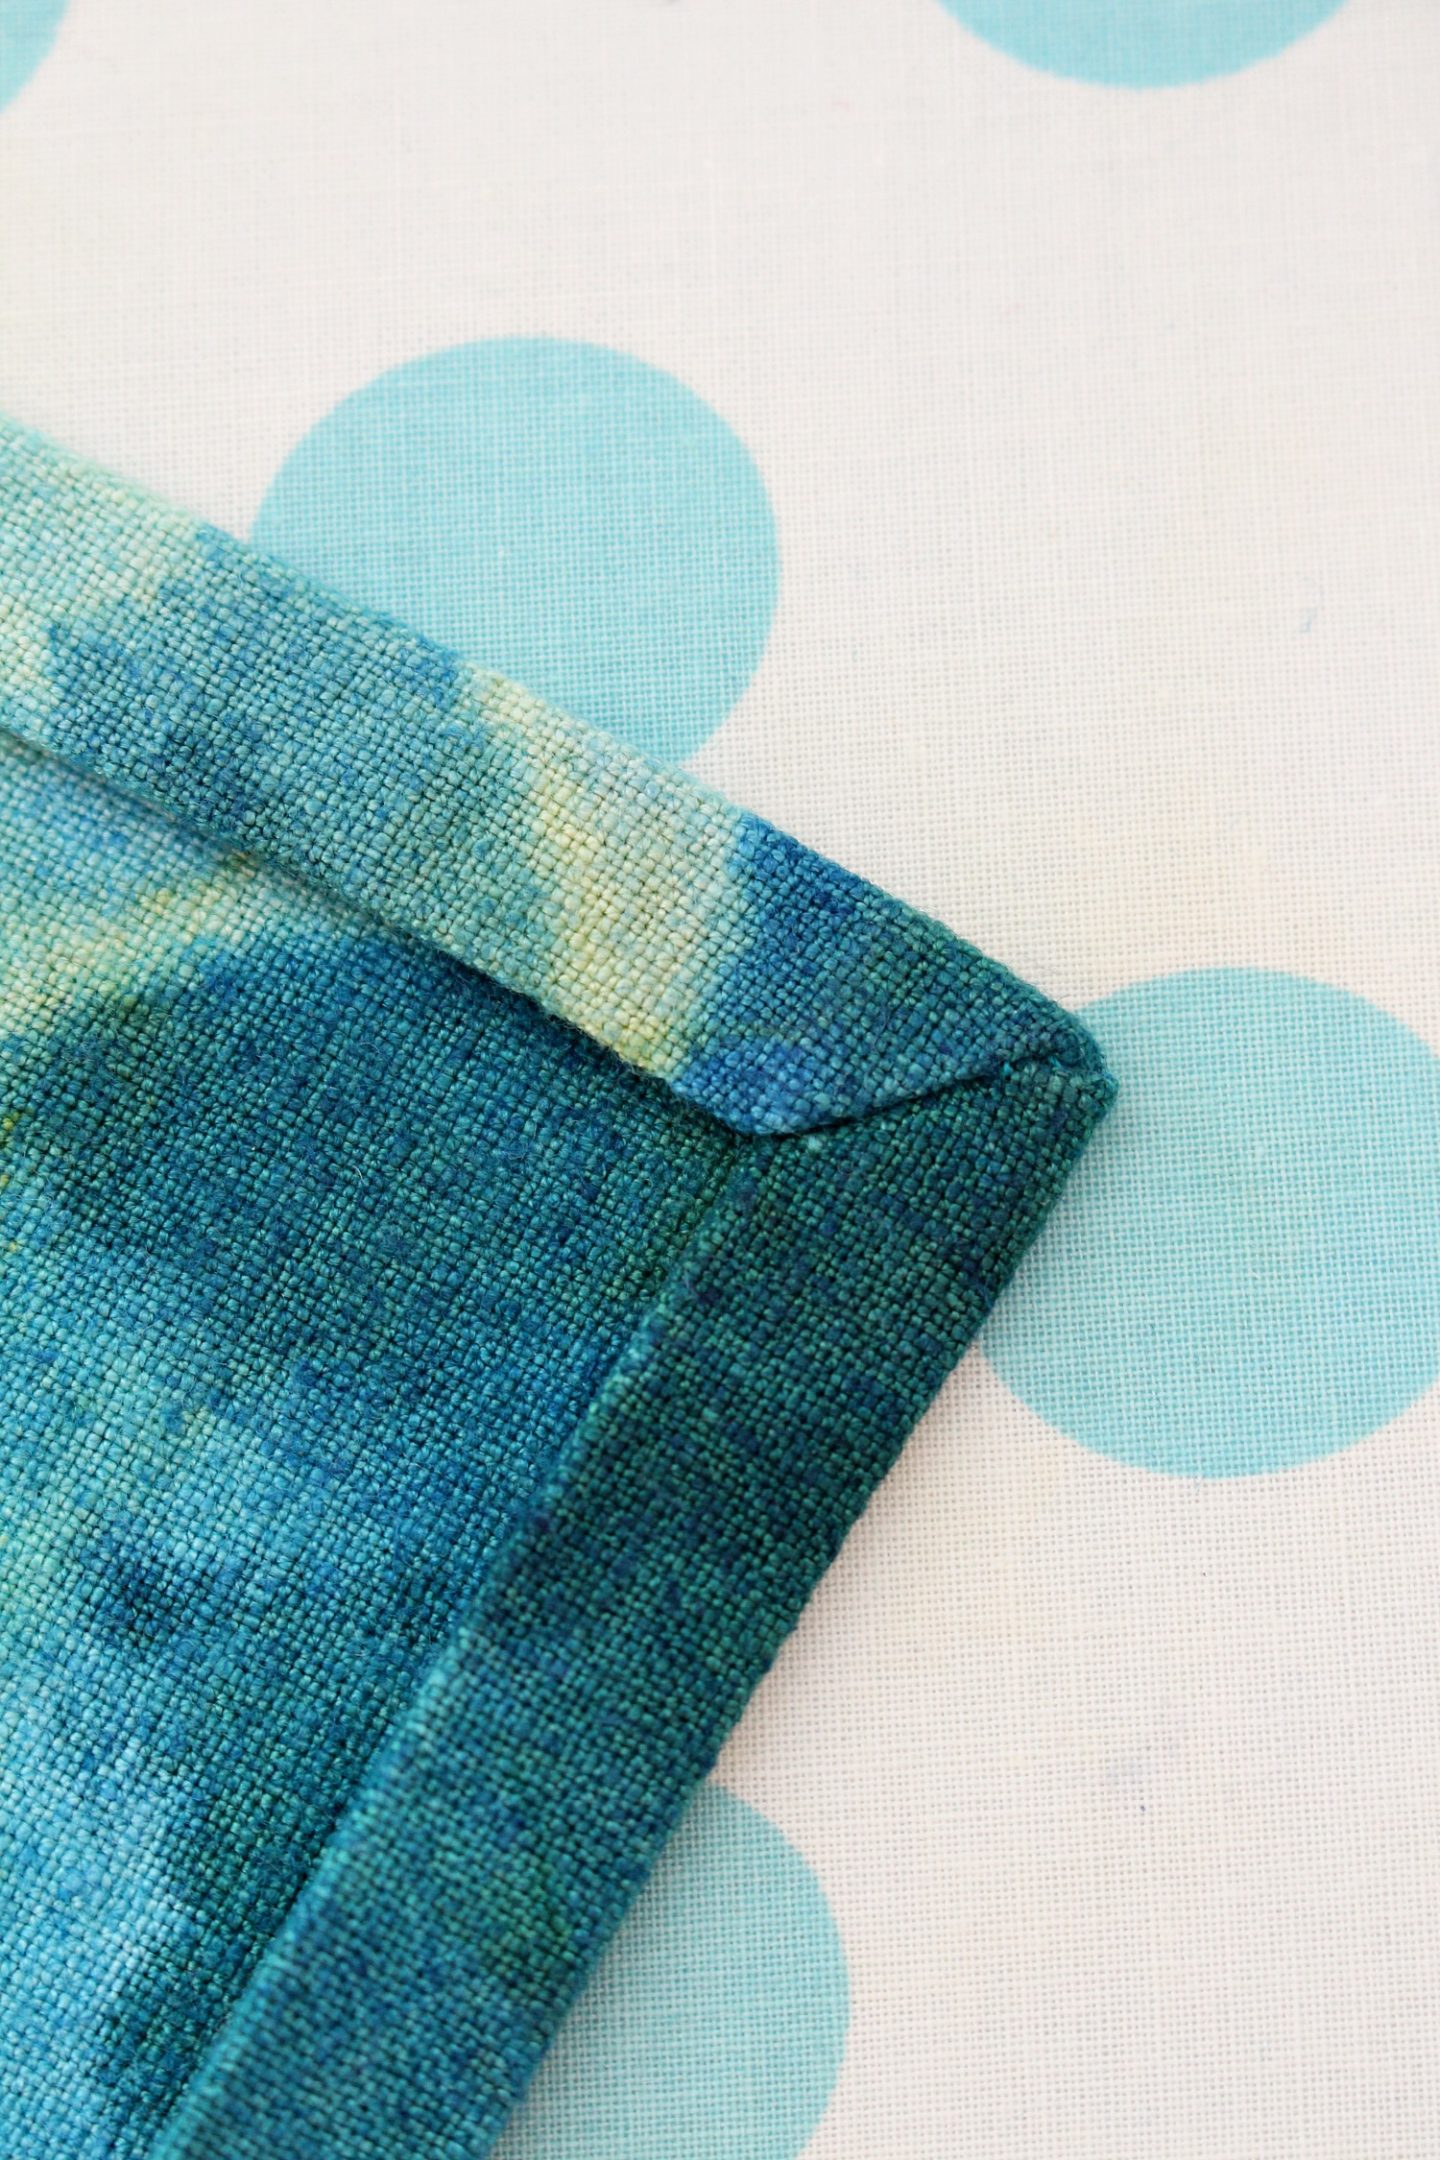
Flip it back, right side out, and now the mitered corner is sewn from the inside and looks really sharp:
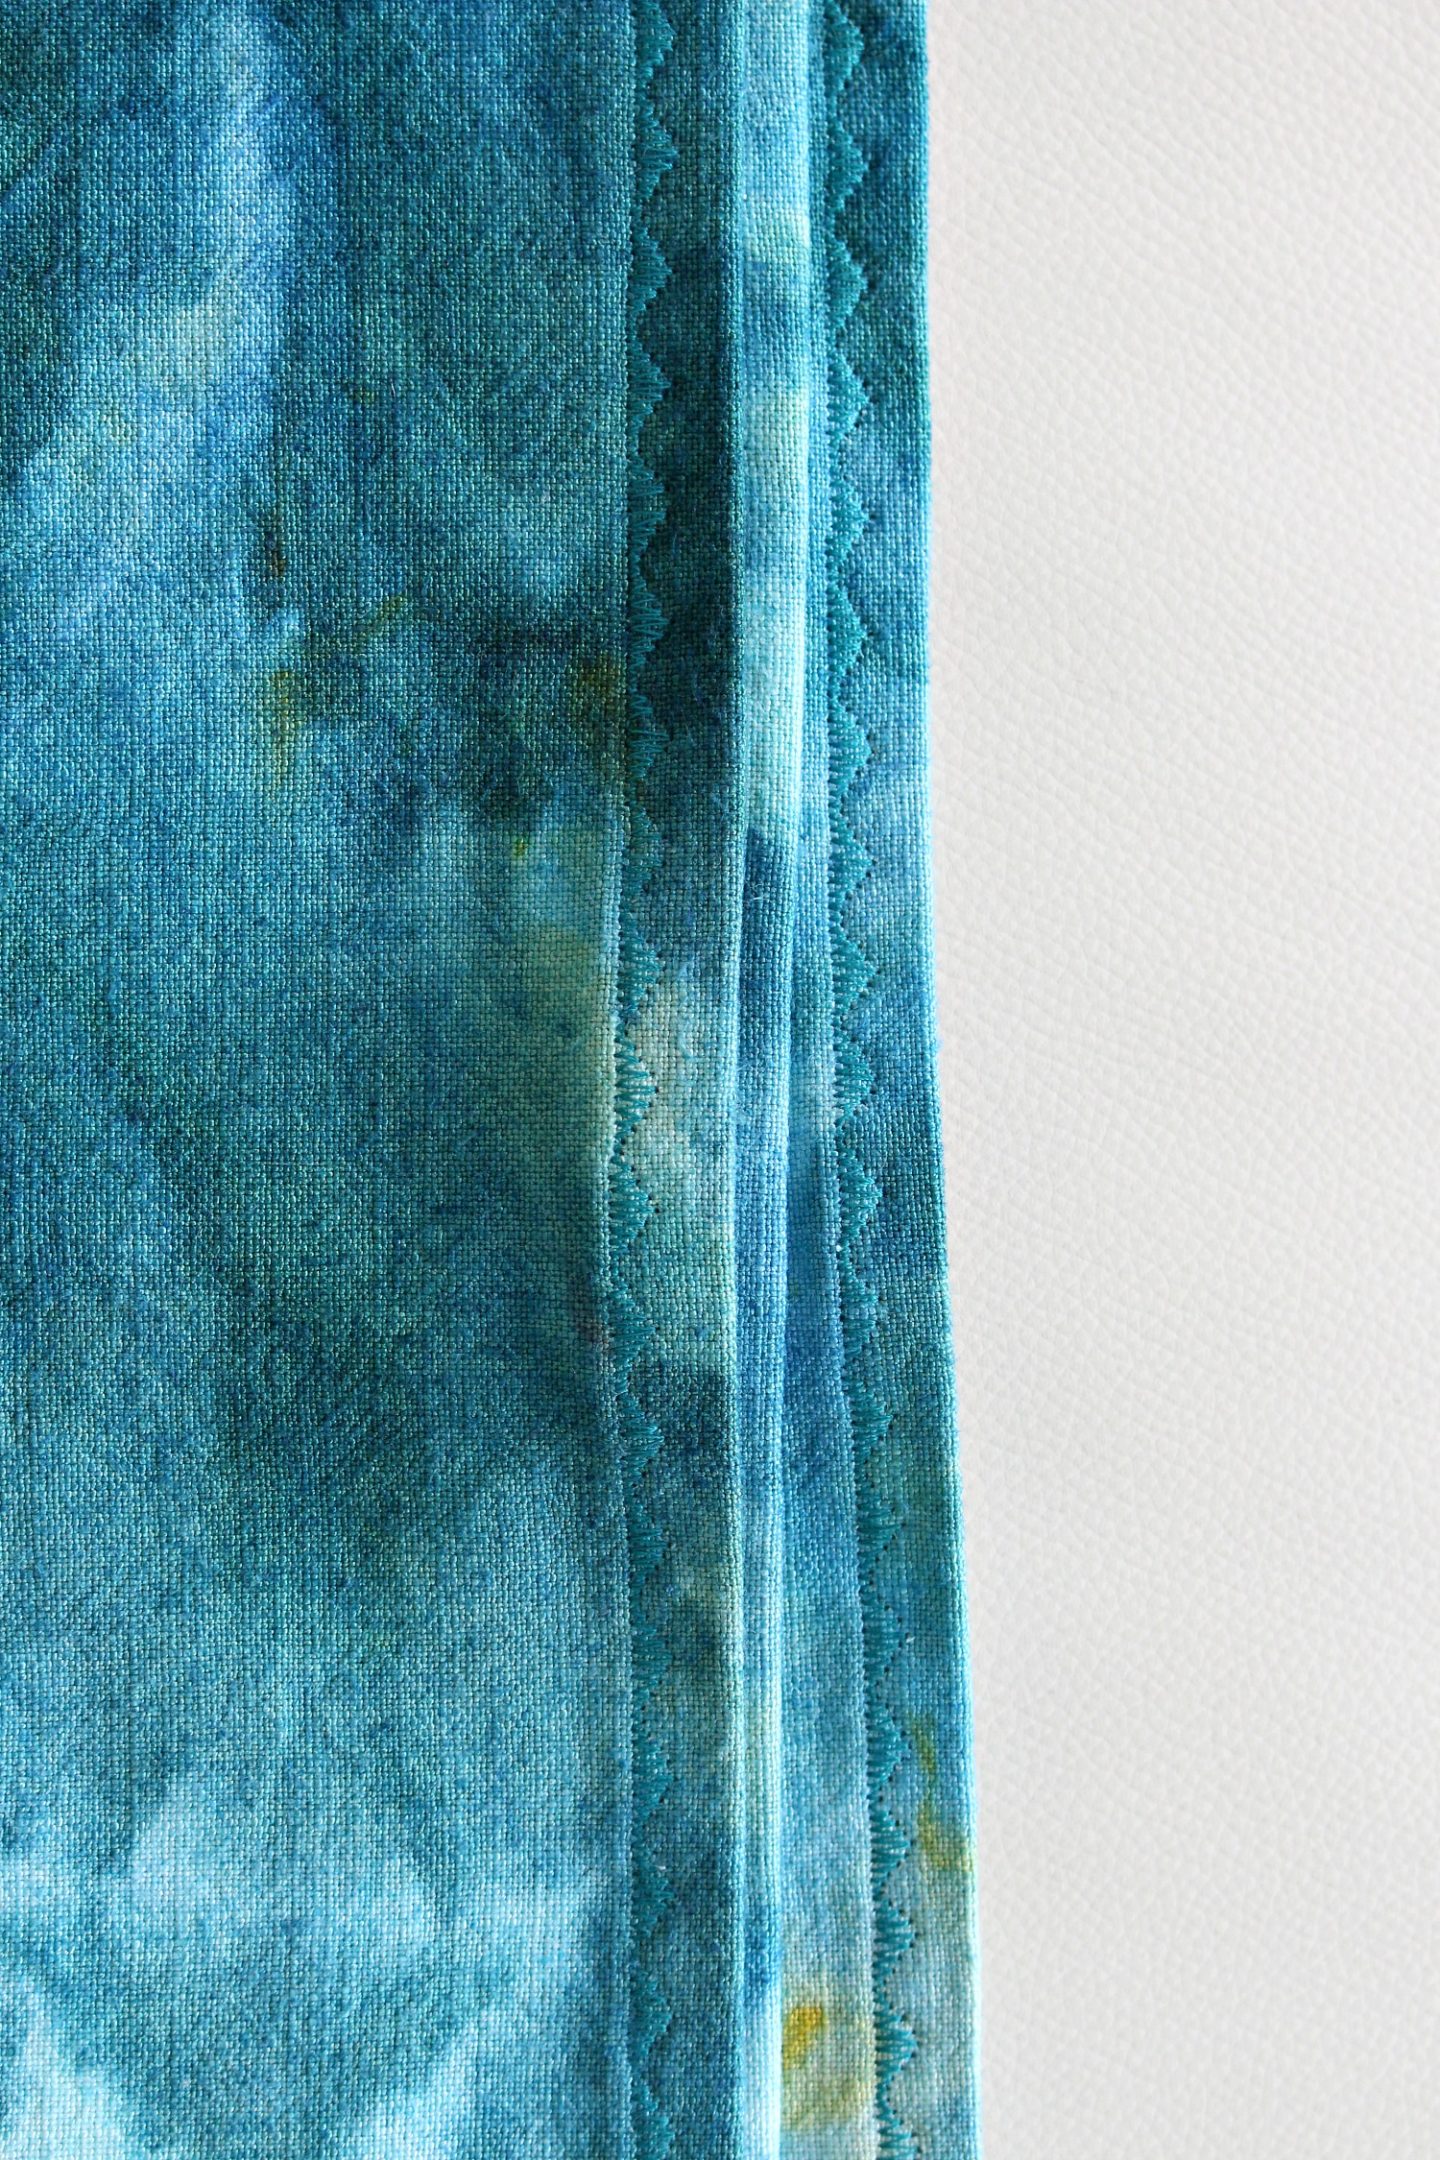
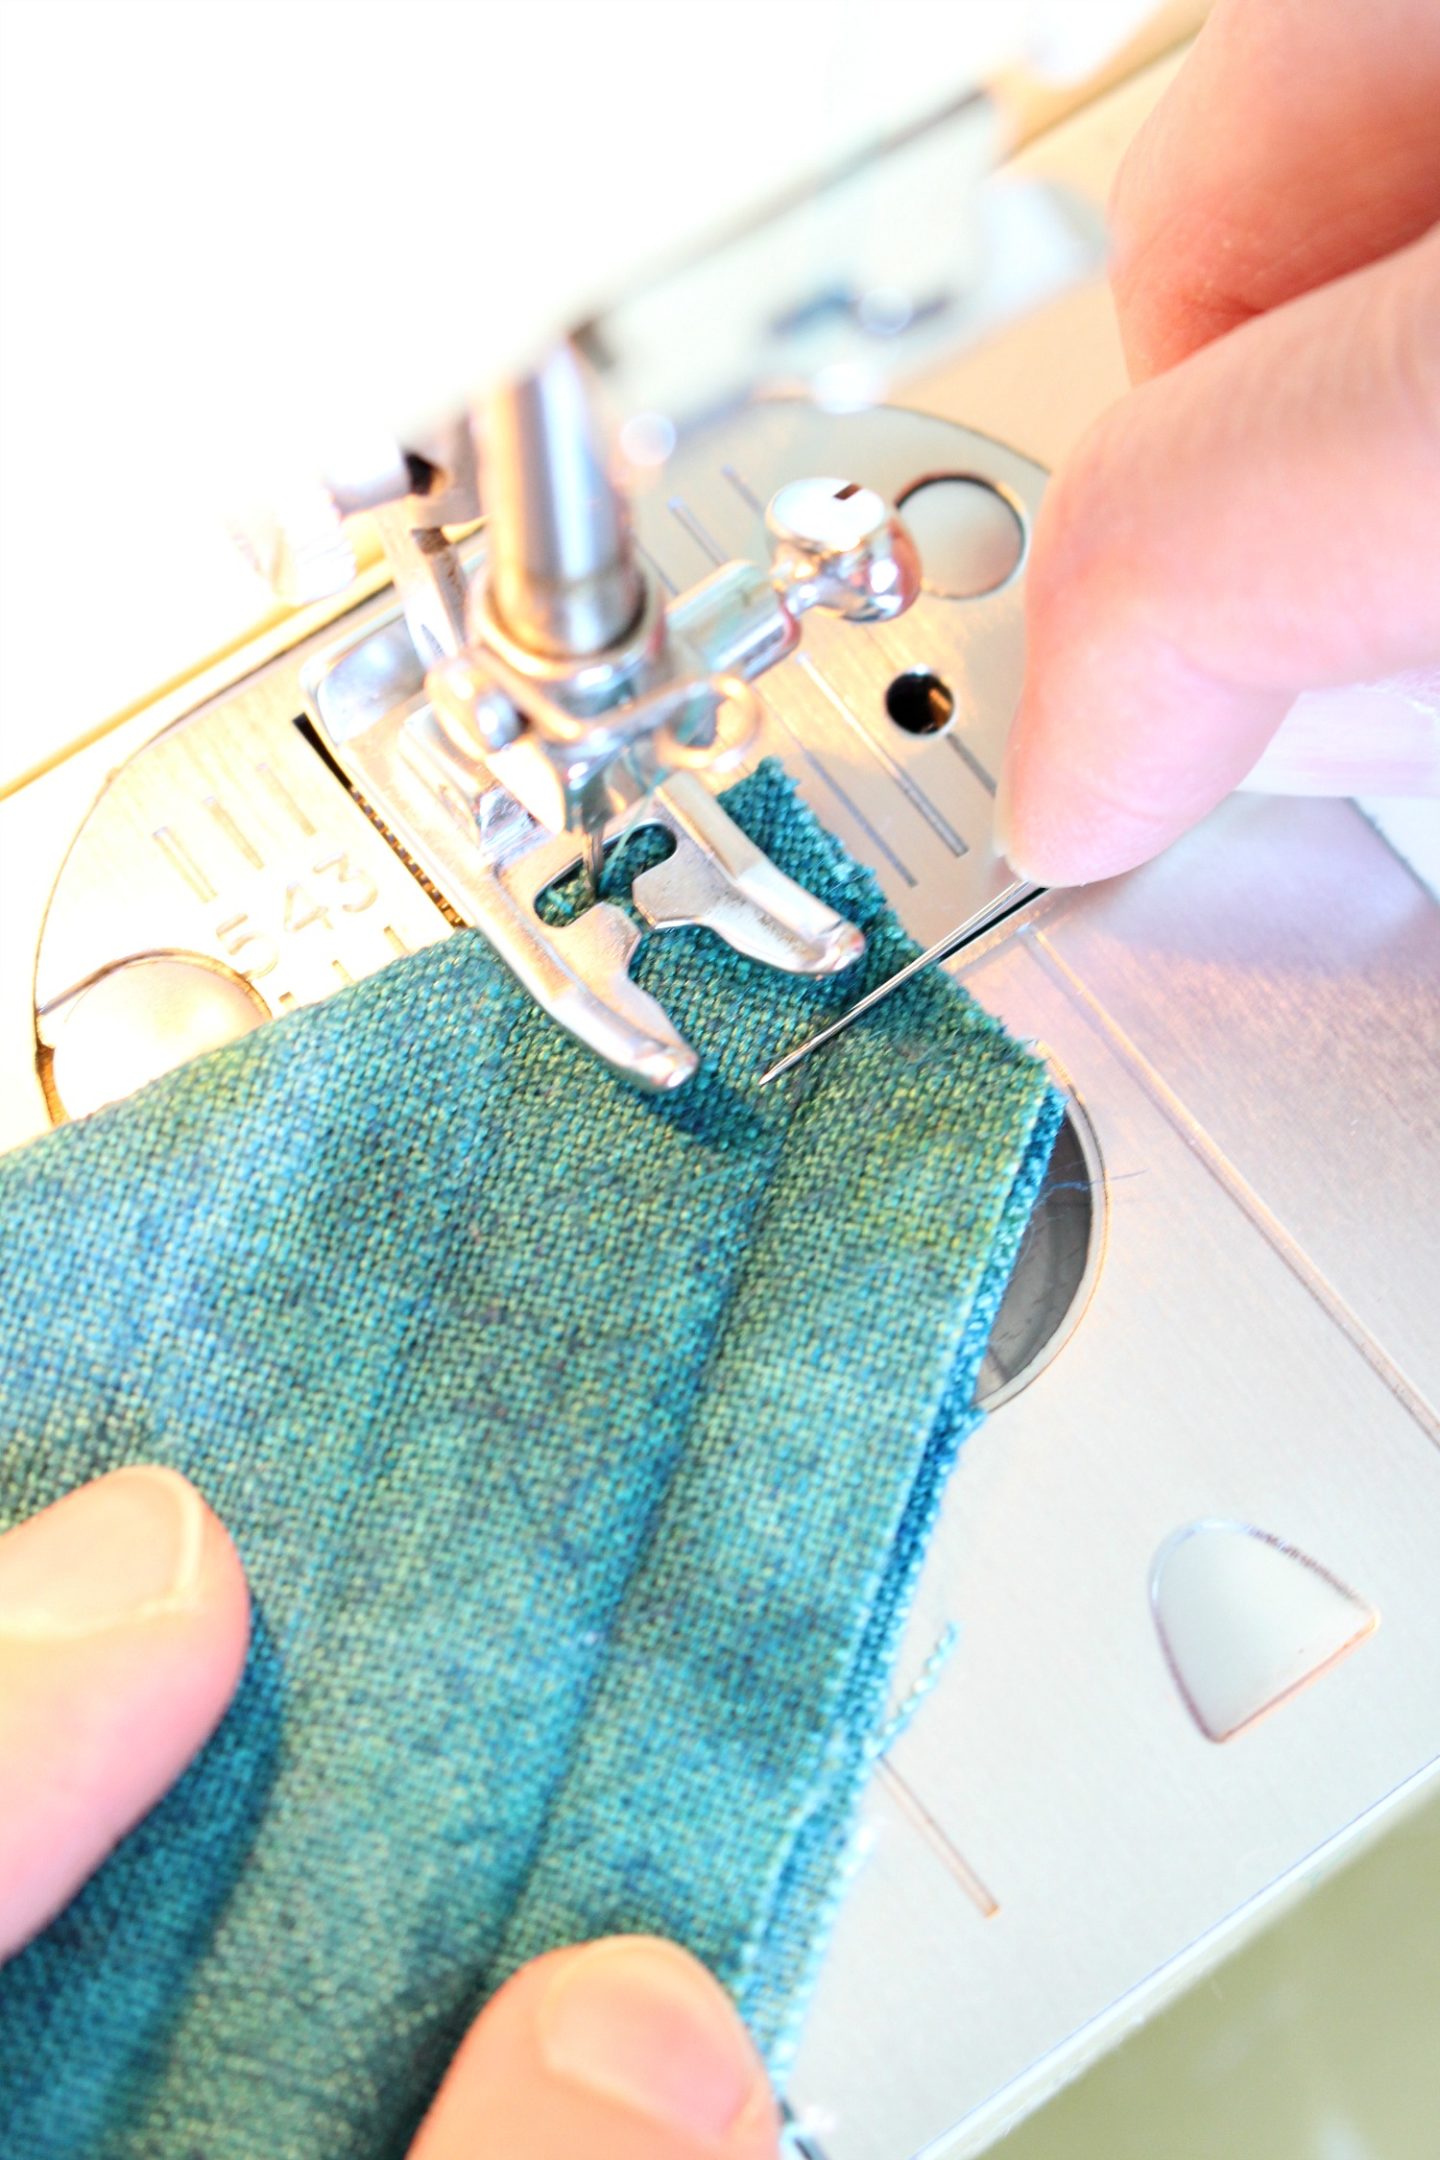
Then just sew the rest of the folded over edges to complete the hem – we used a decorative stitch for a little added interest, but that’s totally optional.
There you go: three levels of difficulty (from super easy to slightly less easy) to sew the perfect DIY tea towel, with tips on how to sew a mitered corner. And with hand dyed fabric, it’s one of a kind, which makes it the perfect hostess gift or gift for your favorite cook. Or make a set to complement your decor perfectly! Now that you know how to sew a tea towel, you’ll be churning them out like crazy. Plus you can use this same tutorial to sew place mats, cloth napkins – even a table cloth or table runner!