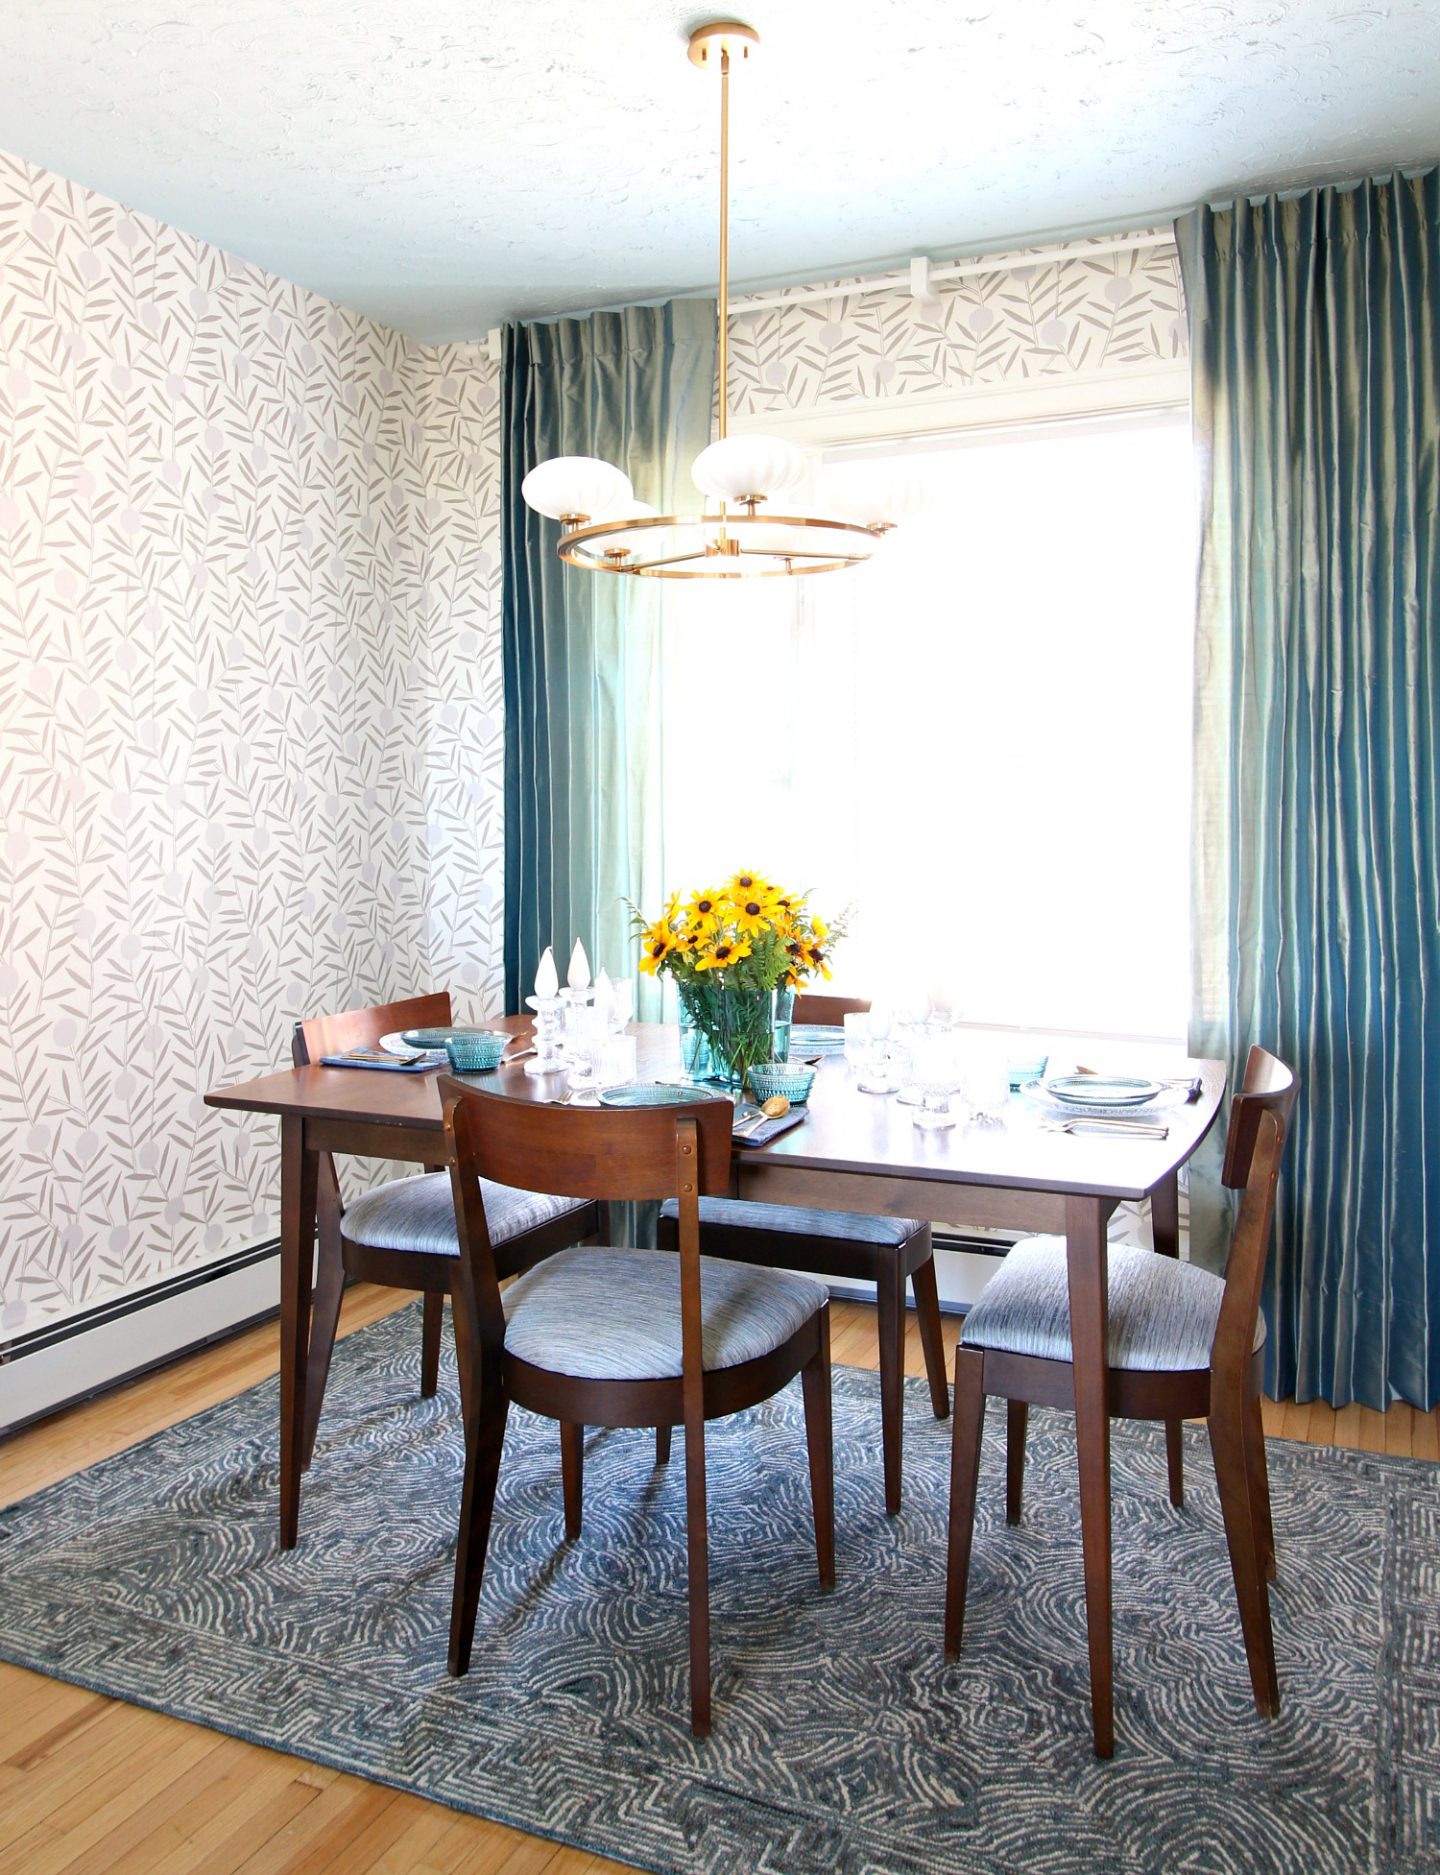
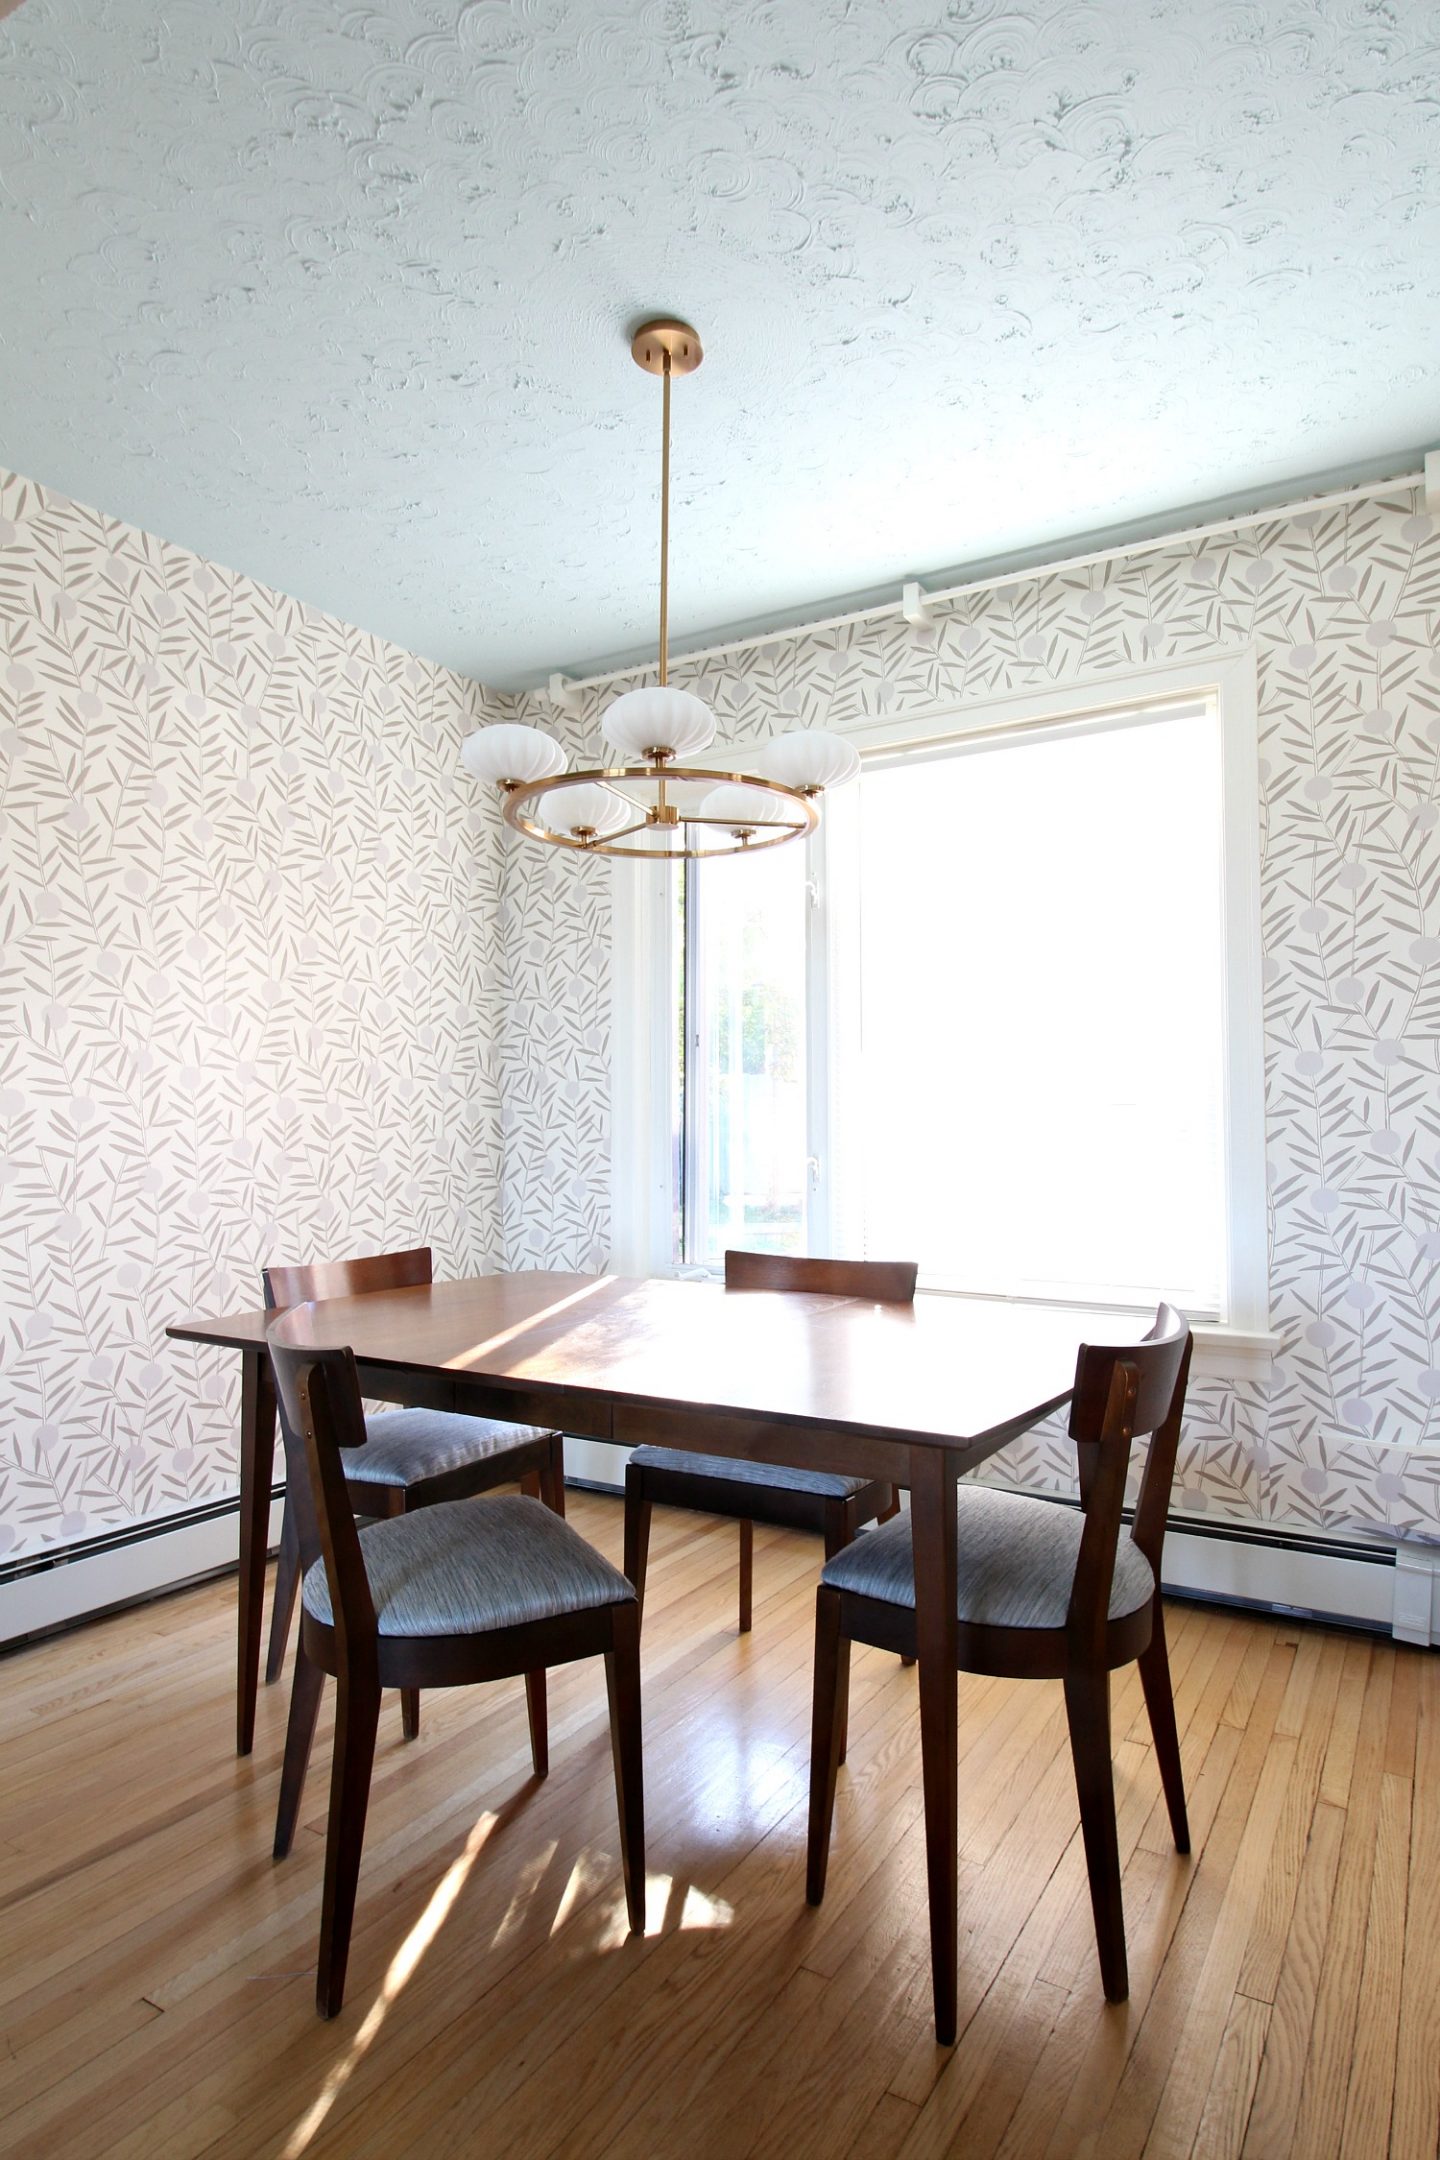
Today I want to talk about how to hang Hygge & West wallpaper – although you can apply these instructions for hanging any non-pasted wallpaper. My Mom and I discovered a few little tips and tricks along the way, so hopefully this will help you install Hygge & West wallpaper – or install any non-pasted wallpaper – with more confidence and ease, especially if you’re new to the magical world of DIY wallpaper installation. (I’ve also got some fresh angles you didn’t see when I shared my Mom’s mid-century modern inspired dining room reveal).
(Disclosure: Hygge & West collaborated with me on the makeover of my Mom’s dining room, but this post isn’t sponsored).
Is Pasted or Unpasted Wallpaper Better?
Having previously installed pre-pasted wallpaper and now switching to non-pasted wallpaper, I will say that pasted wallpaper was definitely easier, because I did not need to worry about purchasing paste or applying the appropriate amount. With pasted wallpaper, we also found that we didn’t need a wallpaper smoothing tool because a sponge did the trick. Perhaps unique to the brands we used, pasted wallpaper was also a bit thinner, and thus more flexible and forgiving, than non-pasted wallpaper. I would say that pasted wallpaper is really good for beginners! But that’s not to say that non-pasted wallpaper can’t be done – even as a beginner! I think wallpaper boils down to finding a pattern you REALLY love – regardless of the installation method – because wallpaper can dramatically change a space, and so you want to make sure you love it.

What is Non Pasted Wallpaper?
Non pasted wallpaper is wallpaper that does not come with adhesive already on the back. Pasted wallpaper already has a glue on the back of the wallpaper, which can be activated with water. Peel and stick wallpaper is like a big wallpaper sticker. Non pasted wallpaper is just paper, and you need to apply a wallpaper paste separately, right before installation.

Is Non Pasted Wallpaper Hard to Hang?
Non pasted wallpaper isn’t necessarily difficult to hang – although you do need to do the extra step of choosing, purchasing, and then applying a wallpaper paste. The wallpaper paste can be a bit messy and you need to know how much to apply for best adhesion. But otherwise the steps are largely the same as pre-pasted wallpaper. I will say that between pre-pasted wallpaper and non-pasted wallpaper, you need a bit more floor space to work with the non-pasted wallpaper.
Supplies for Installing Non Pasted Wallpaper:
- Olfa self-healing mat
- Olfa rotary cutter
- Olfa utility knife (straight blade)
- Plastic wallpaper smoothing tool
- Level
- Measuring tape
- Straight edge (used a paint larger edger or a metal yard stick)
- Roman Pro-880 wallpaper paste
- Plastic drop cloths
- Pencil
- Paint tray and liner (clean)
- Paint rollers (clean – this is actually a good kit)
- Sponges
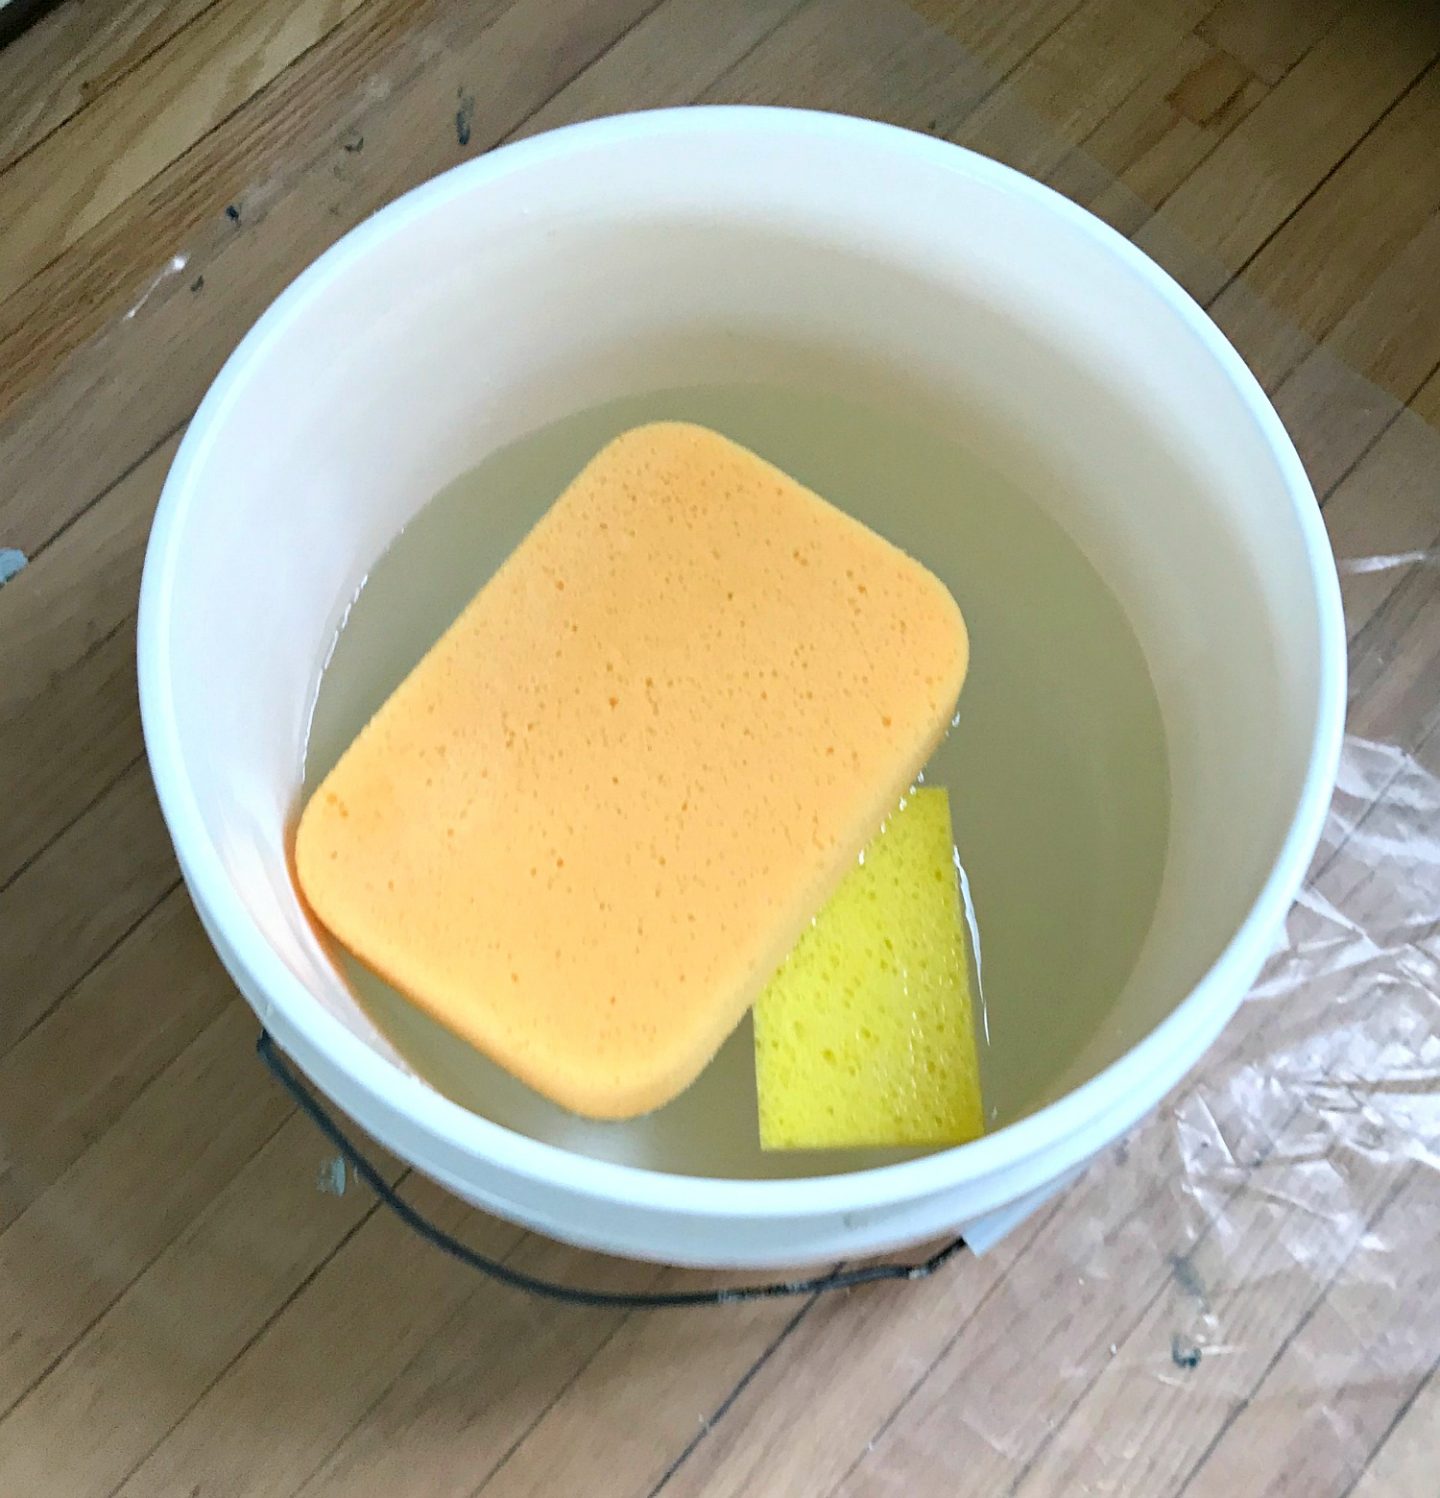
- Clean bucket of water
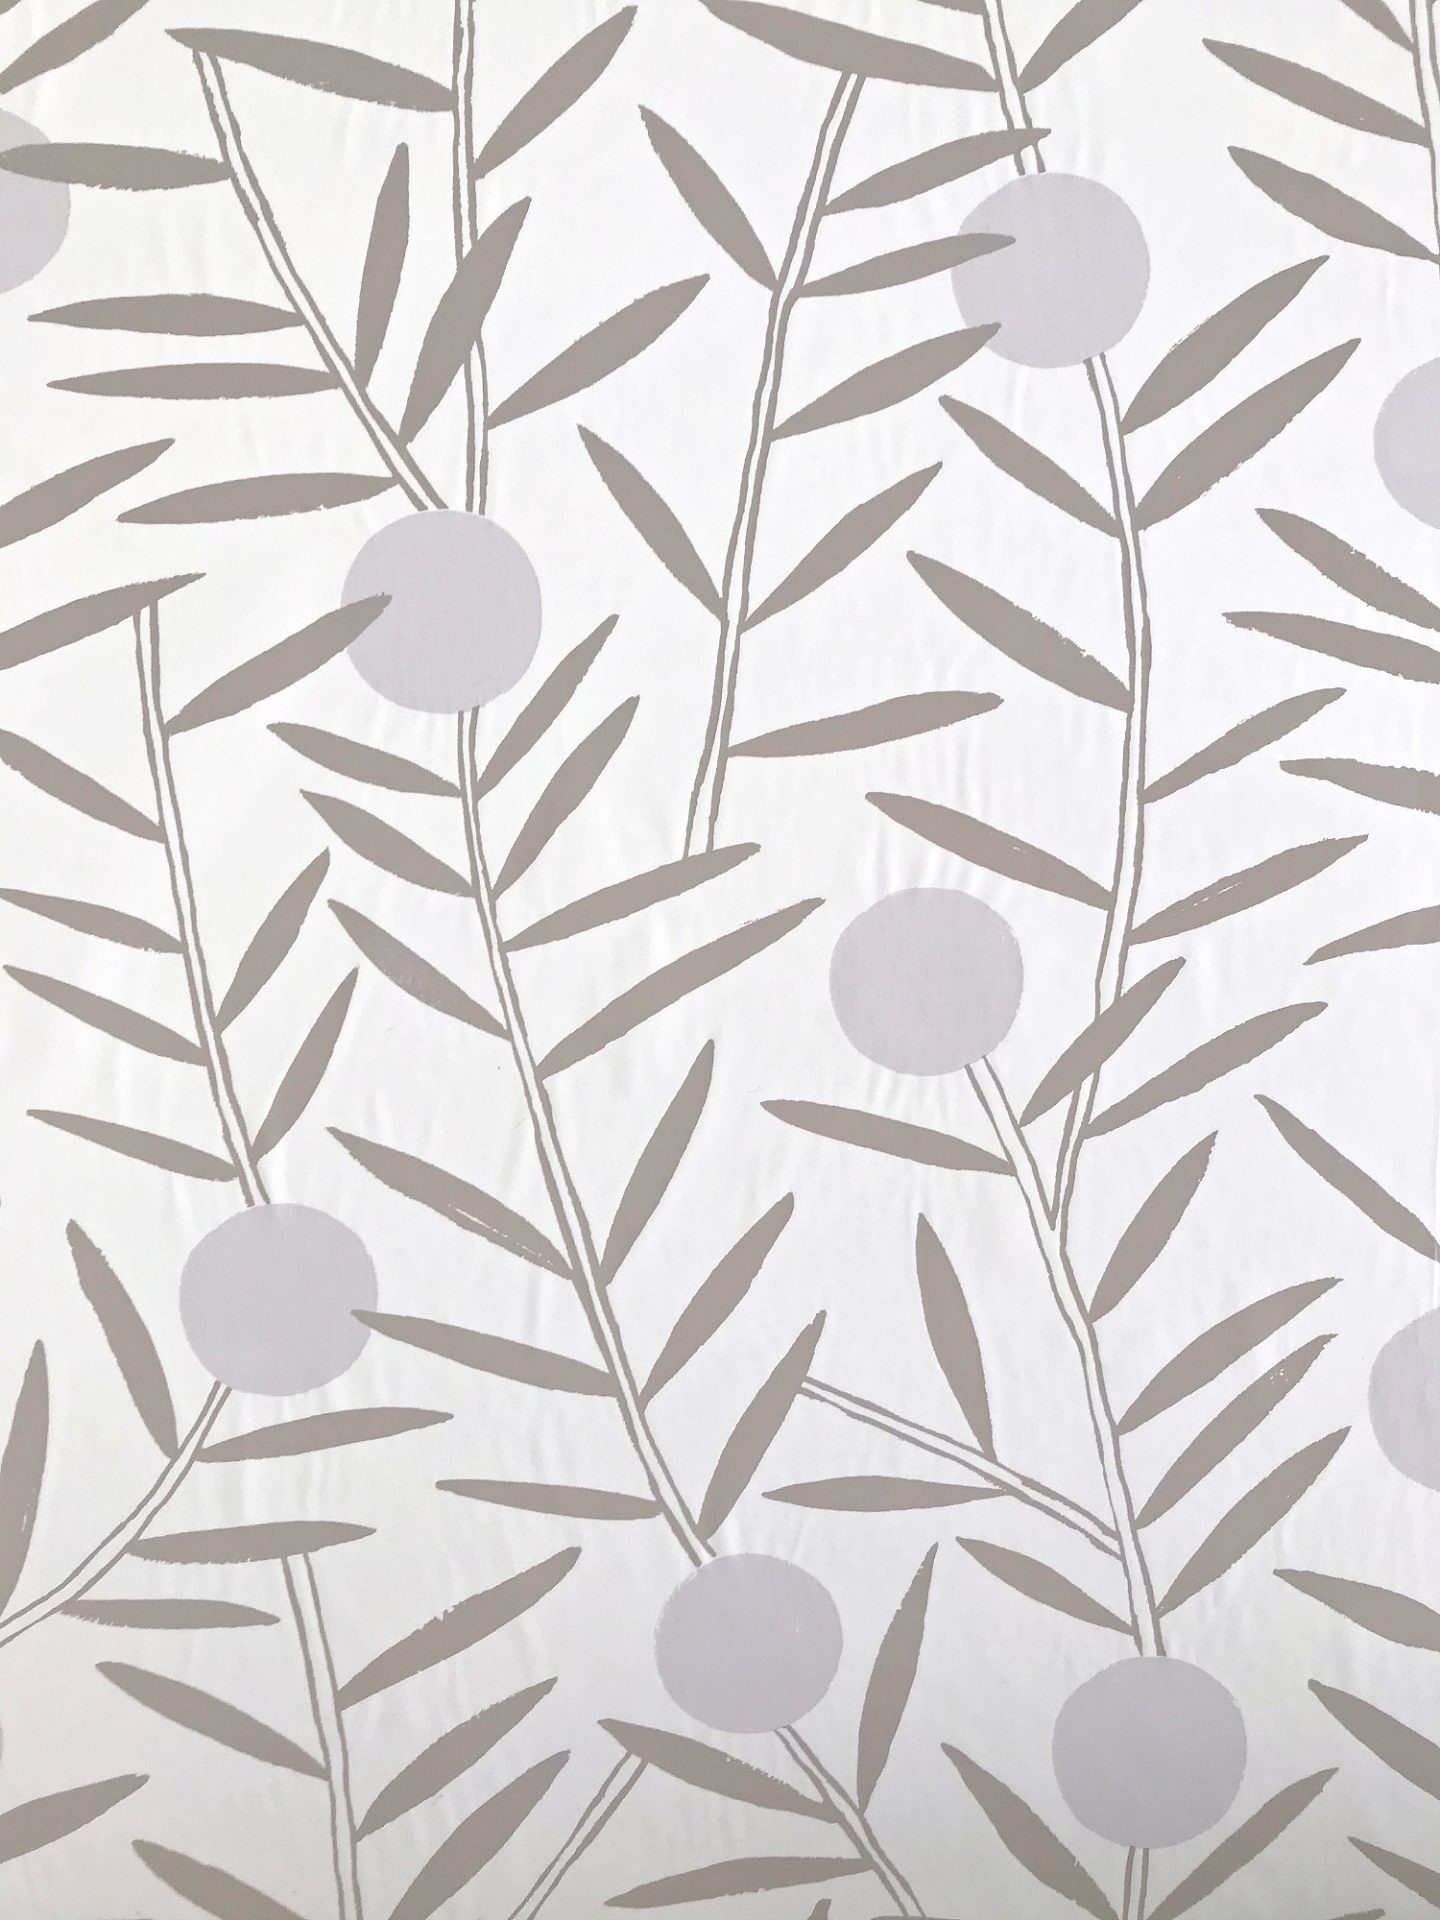
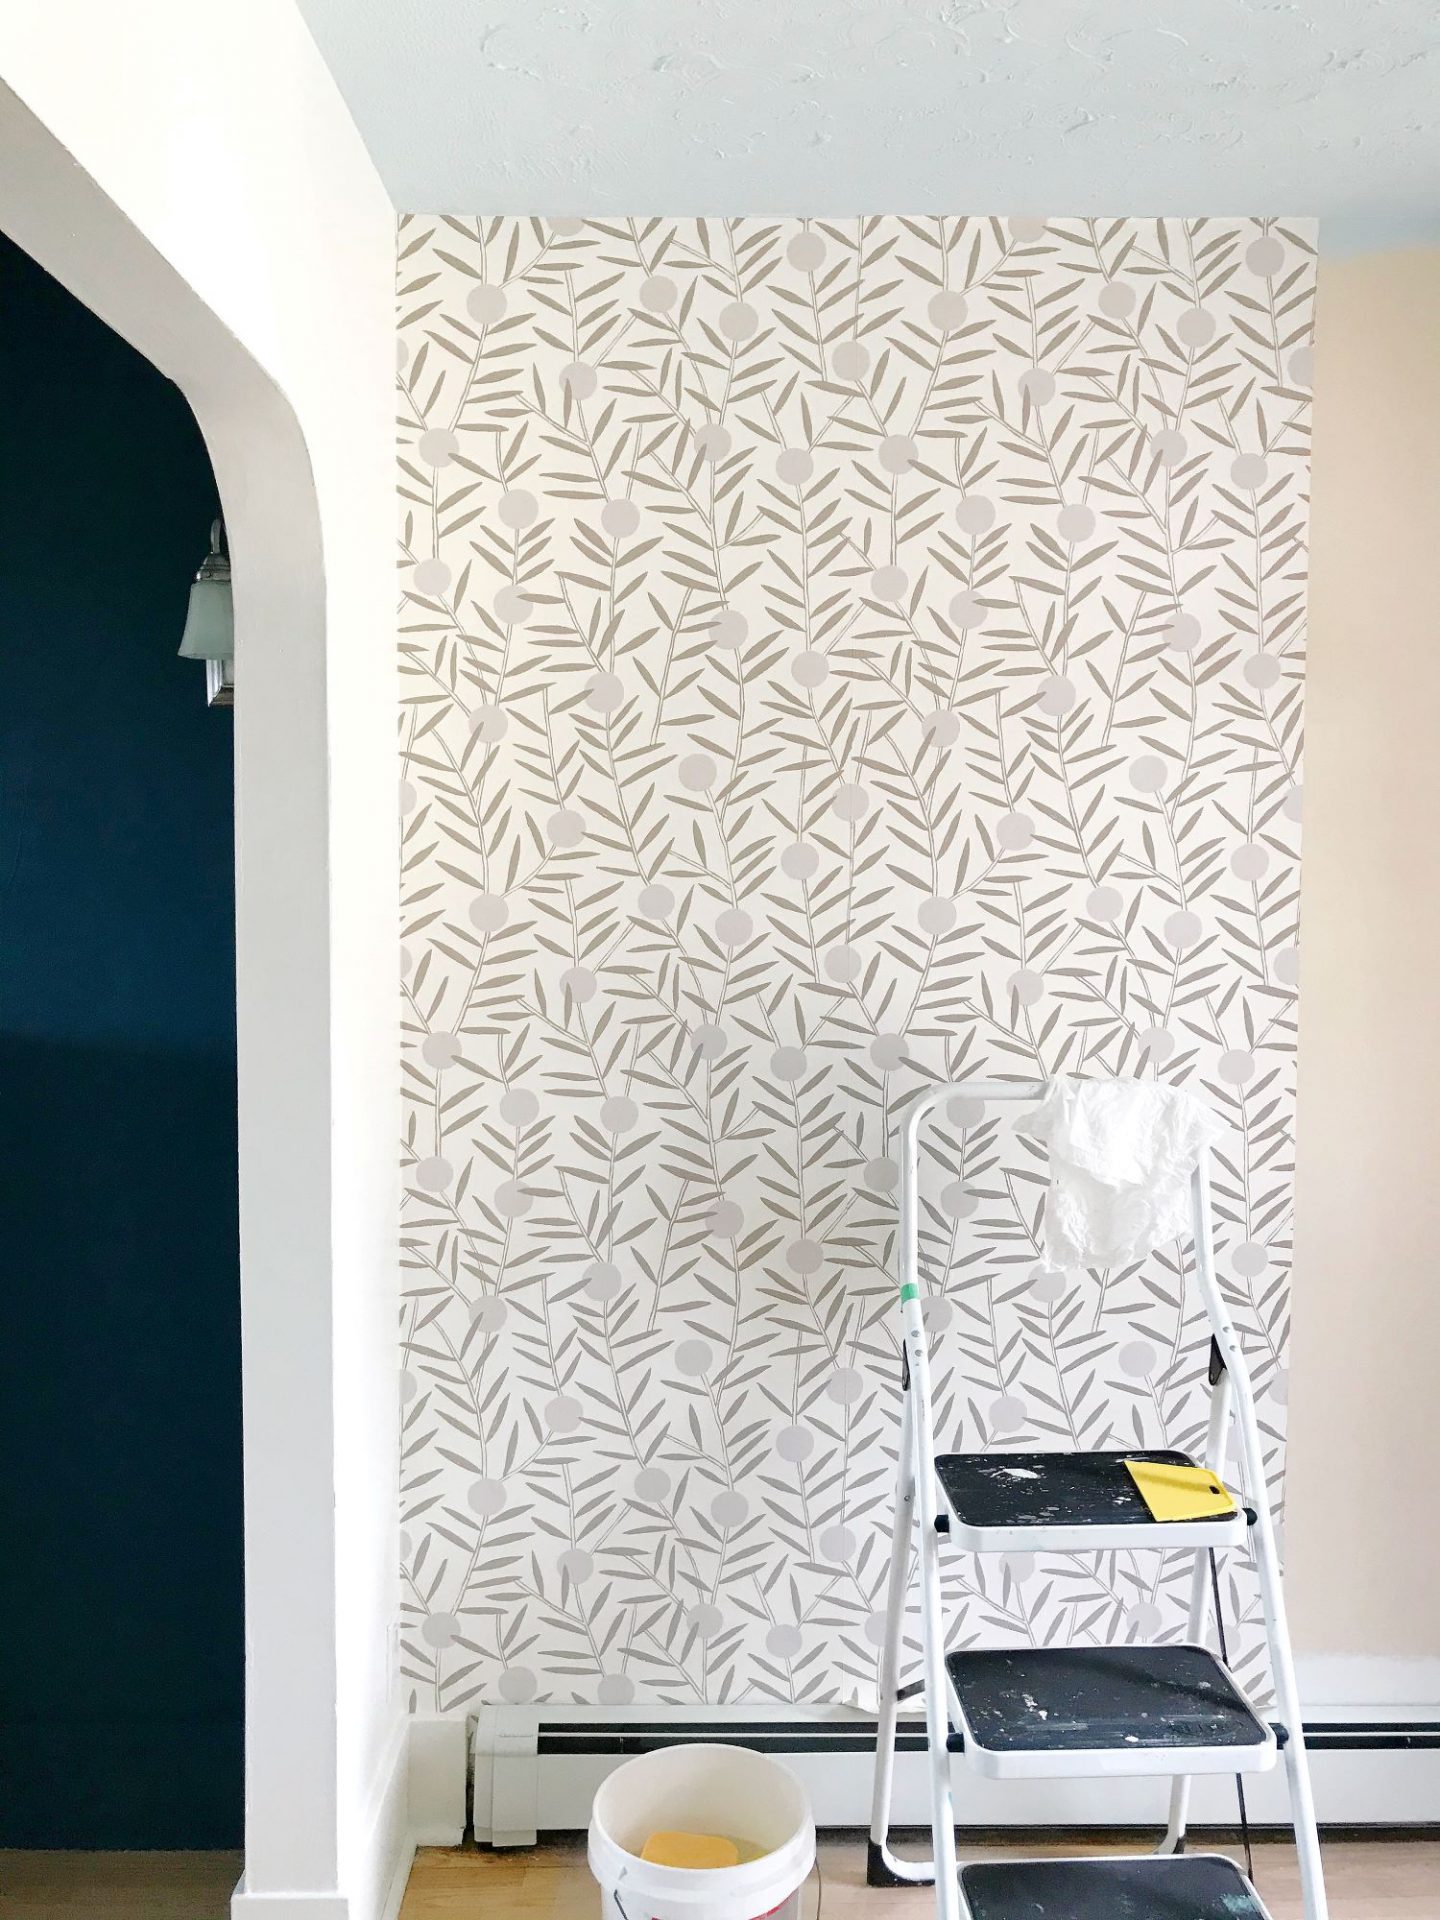
- Your wallpaper rolls (I used Hygge & West Bloom in Taupe)
- Sturdy stepladder
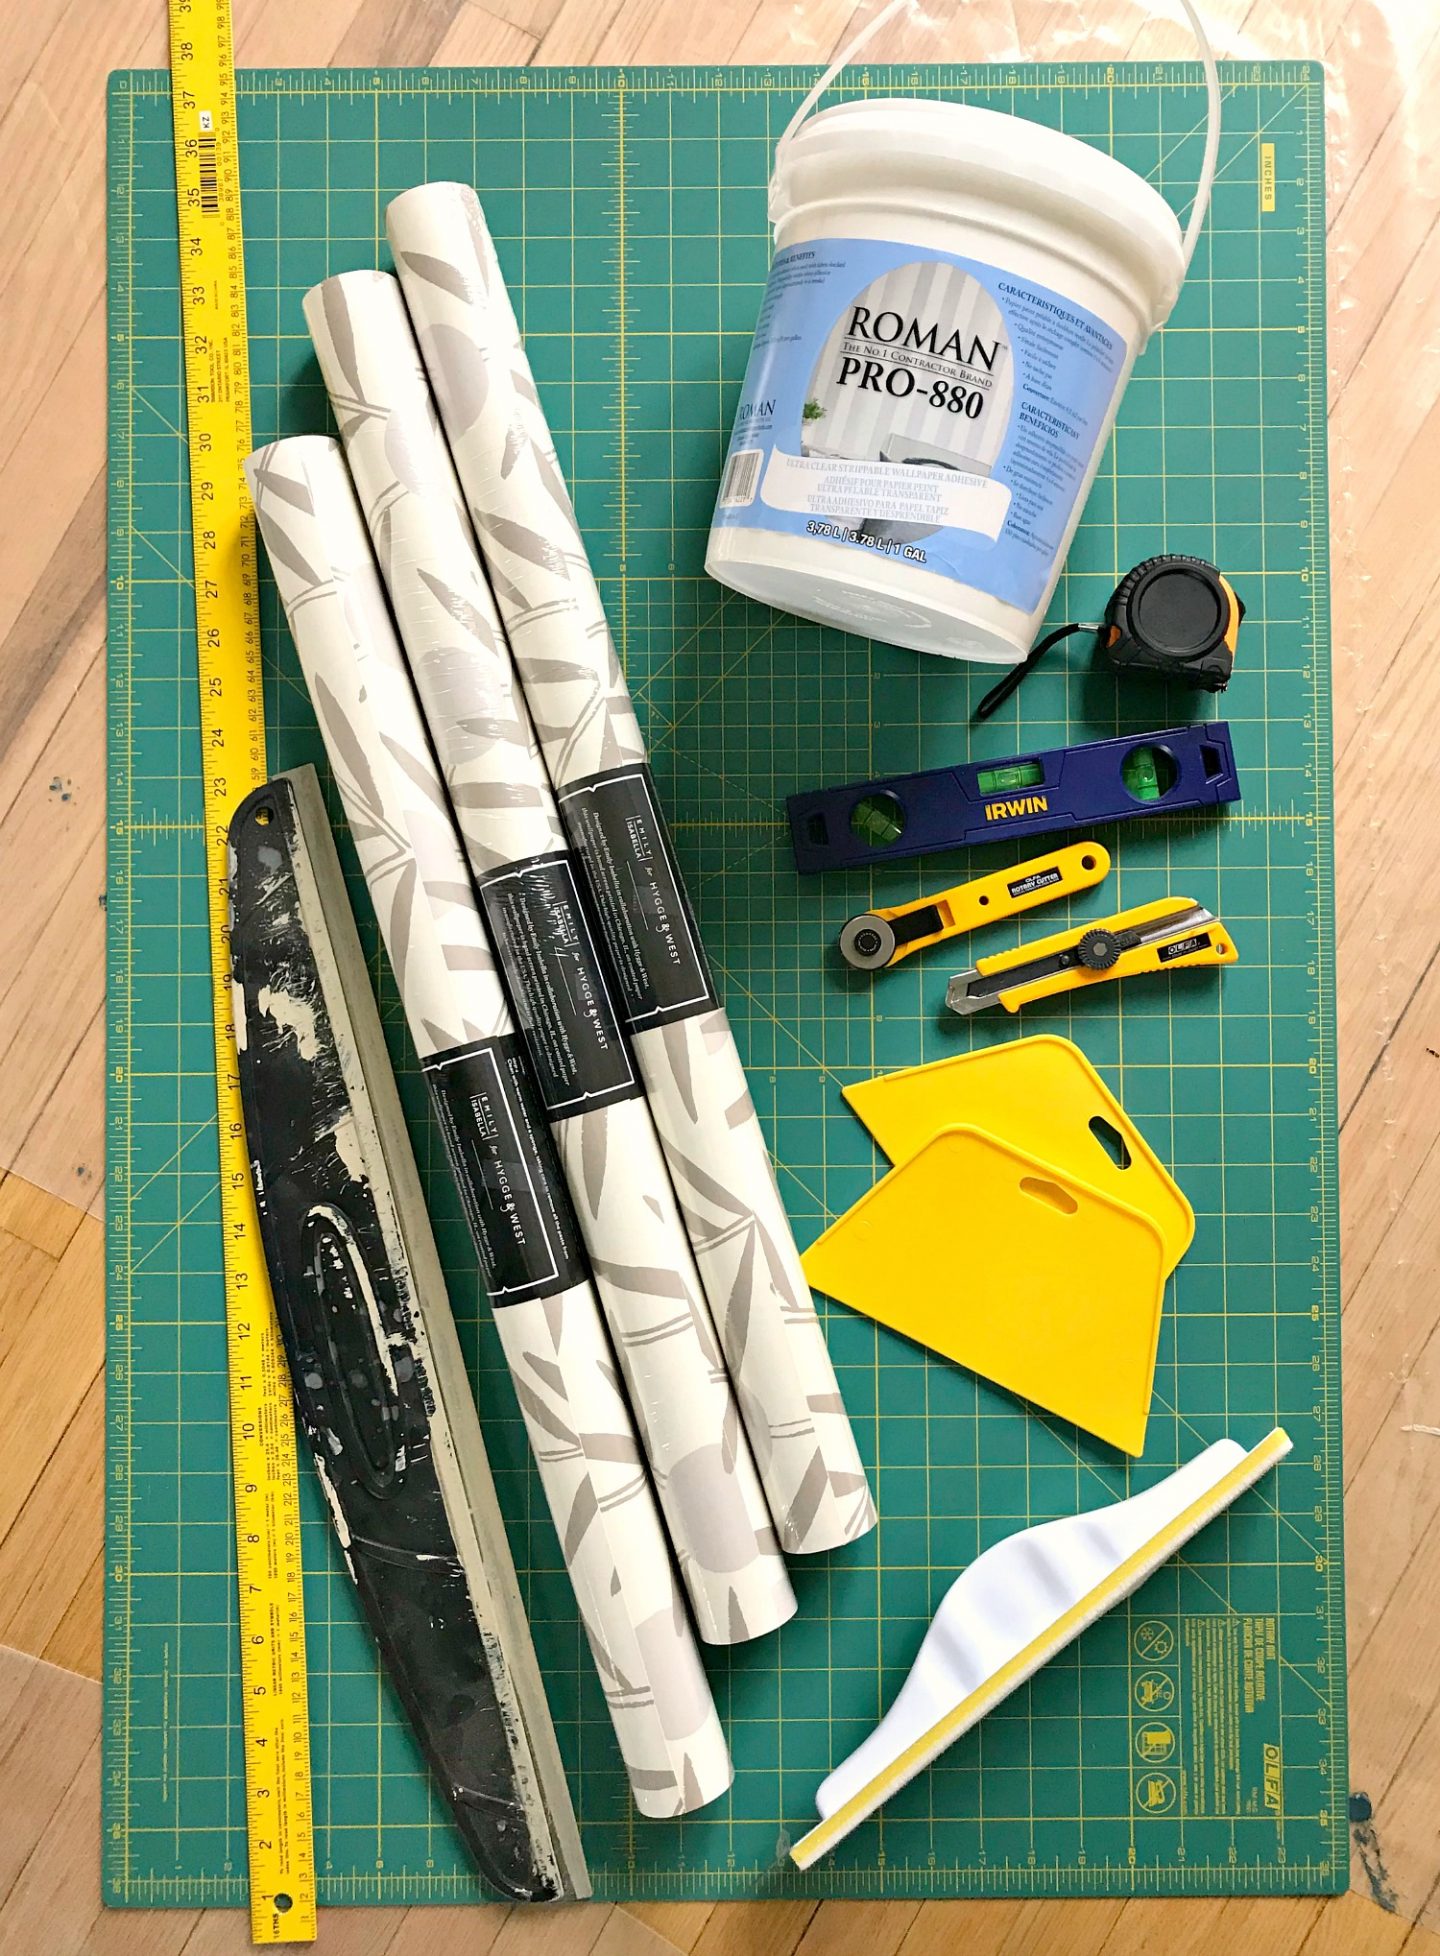
An olfa mat and rotary cutter are an excellent investment for anyone doing crafting or DIY decor – it’s how I cut super straight lines for sewing projects too!
How Do You Hang Wallpaper That is Not Pre-Pasted?
- Prep the walls (removing old wallpaper, filling holes, etc).
- Set up a work area and cover with a drop cloth or tarp.
- Gather supplies – including wallpaper paste (my suggestion is linked in the supply list above).
- Measure and mark a starting point for wallpaper.
- Using a level, draw a plumb line on the outer edge of where the first strip of wallpaper will be installed.
- Cut the wallpaper to length (see my tips below) and lay it print facing downward.
- Using a paint roller, apply the wallpaper paste as per the manufacturer’s instructions to the back of the wallpaper.
- Book the wallpaper: fold it back onto itself for 5-7 minutes
- Carry the wallpaper over the wall, un-book the top and start to position the edge along the plumb line.
- Using a wallpaper smoothing tool, gently work the wallpaper to smooth out any wrinkles.
- Using a sharp utility knife and a straight edge, trim the excess wallpaper.
- Repeat for subsequent sheets, lining up the pattern at the edges.
- After applying a few rows of wallpaper, clean the wallpaper paste residue with a large damp sponge.
How to Hang Hygge & West Non Pasted Wallpaper:
Prep the Walls:
Before even ordering the wallpaper, prep the walls. Remove old wallpaper or wallpaper borders. Fill/repair holes and cracks – you want the surface to be as smooth and blemish free as possible. Hygge & West suggests a wallpaper liner or wallpaper primer, but we skipped both of those. These walls were in pretty good shape and we wanted to keep costs down because this is a rental apartment and even though Hygge & West generously provided the wallpaper, we didn’t have funds for additional supplies above and beyond the wallpaper paste and tools. On the day of wallpaper installation, make sure walls are clean and dry, and remove outlet and switch plate covers. Hot tip: don’t apply on bare drywall because it won’t want to come off later.
Get Set Up to Hang Wallpaper:
Next, prepare a work area and gather the wallpaper hanging supplies listed above. We worked on the floor which was easiest because we needed a big surface to cut the wallpaper and apply the paste. We moved furniture to create a large work area on the living floor beside my Mom’s dining room. Make sure the floor is clean and dry. We laid down a thin plastic drop cloth to protect the floors from the wallpaper paste (which is messy when applied) and then worked in a separate, clean and dry area to measure/cut the wallpaper. You’ll need to fill a clean bucket with water when you’re closer to hanging the wallpaper.
Measure & Mark Starting Point:
Start working in a corner that isn’t the most prominent, and measure and mark a spot 26″ from that corner with a pencil. Hygge & West wallpapers are 27″ wide and it’s recommended that you trim at the top and bottom when installing – and also the starting side edge. This is because walls in a home are never square, so if you line up your wallpaper with the corners or ceiling, eventually your pattern will end up wonky. You want the wallpaper pattern to be level, independent on the quirks of the drywall. So measure 26″ out from the corner and, using a level, draw plumb line on that outer edge so you have a straight edge to line up your wallpaper.
Figure Out Wallpaper Placement:
Figure out how you want the wallpaper to line up on the wall – for example, if your design has a lion you might not want the head lobbed off at the top. This wallpaper is not pre-cut to length, it’s sold in continuous rolls, so it’s up to you to decide how the pattern will be placed on the wall. Once you have that figured out, measure the height of the wall and cut the wallpaper to length – leaving 2 inches at the top and 2 inches at the bottom, which will both be trimmed after installation.
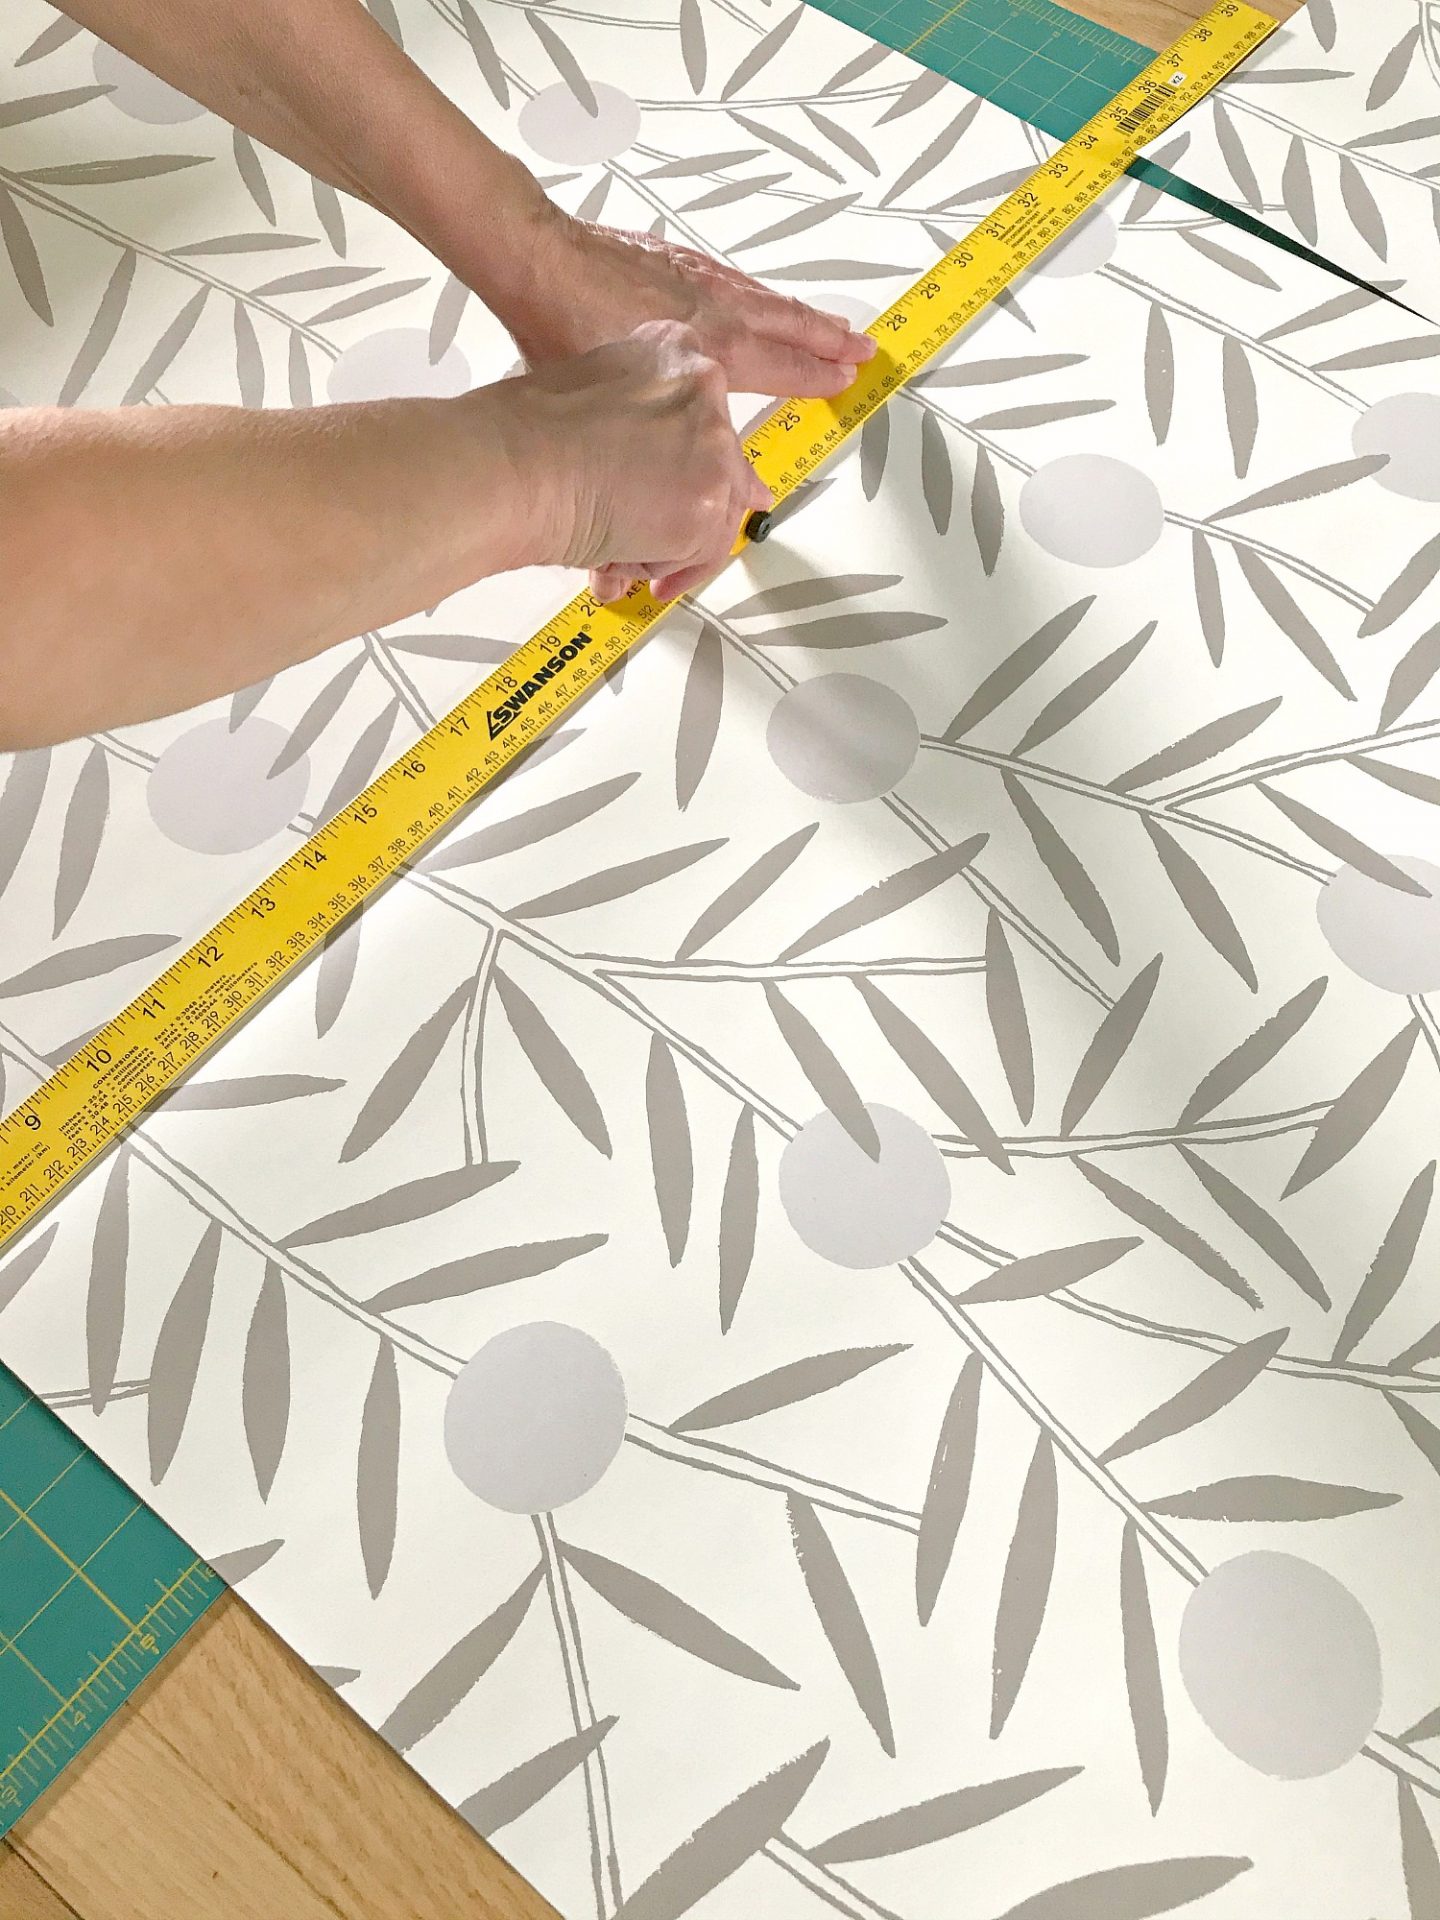
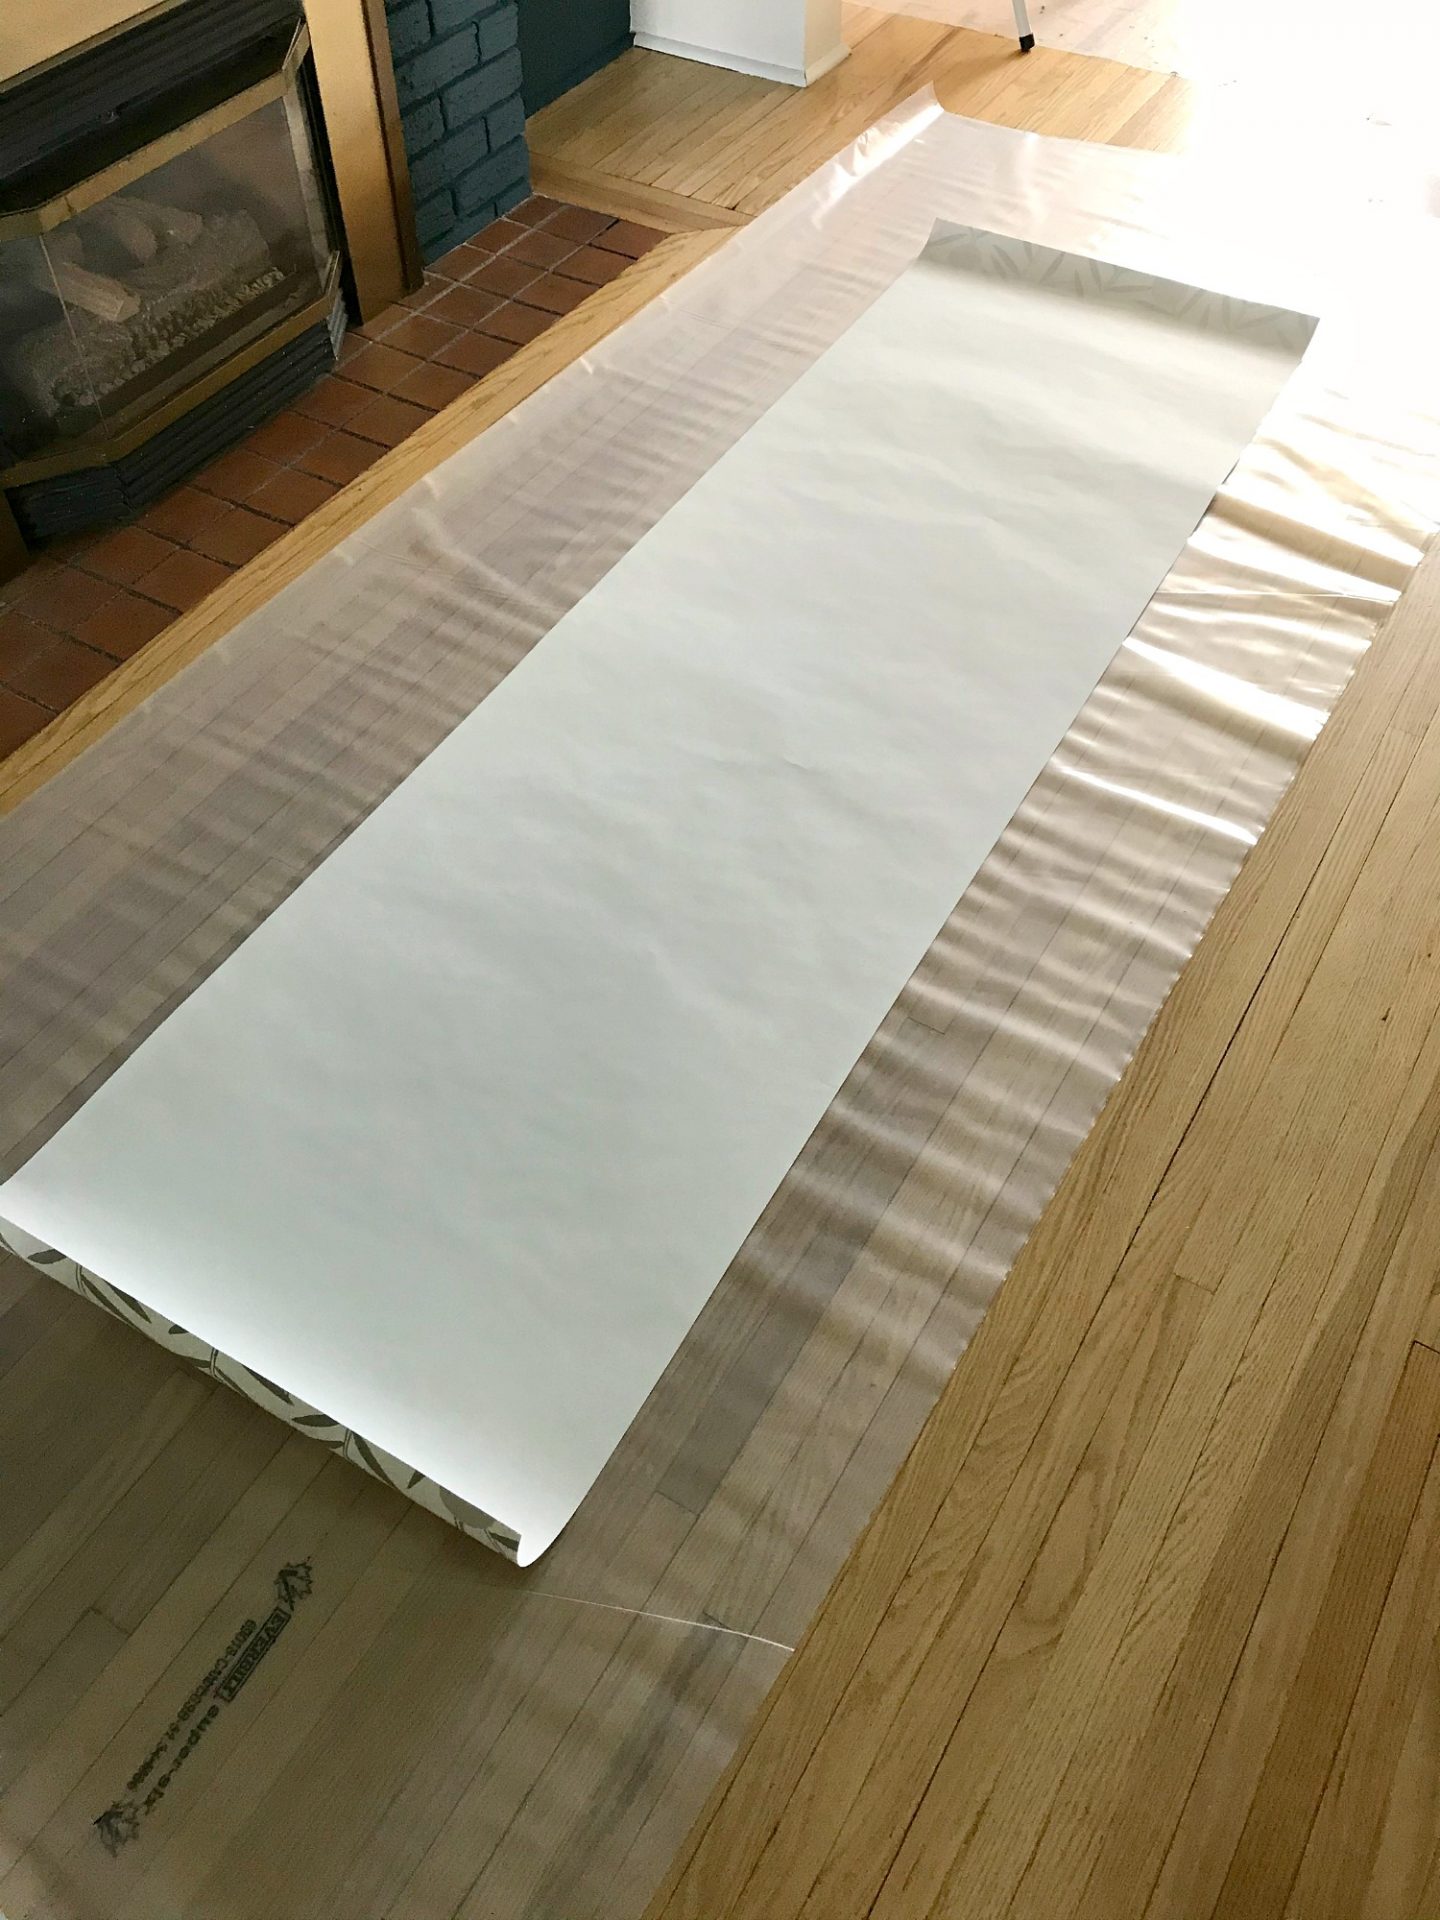
Cut the Wallpaper to Length:
The easiest way to cut the wallpaper is to lay it out on the floor, with the edge you want to cut positioned on the self-healing Olfa mat.
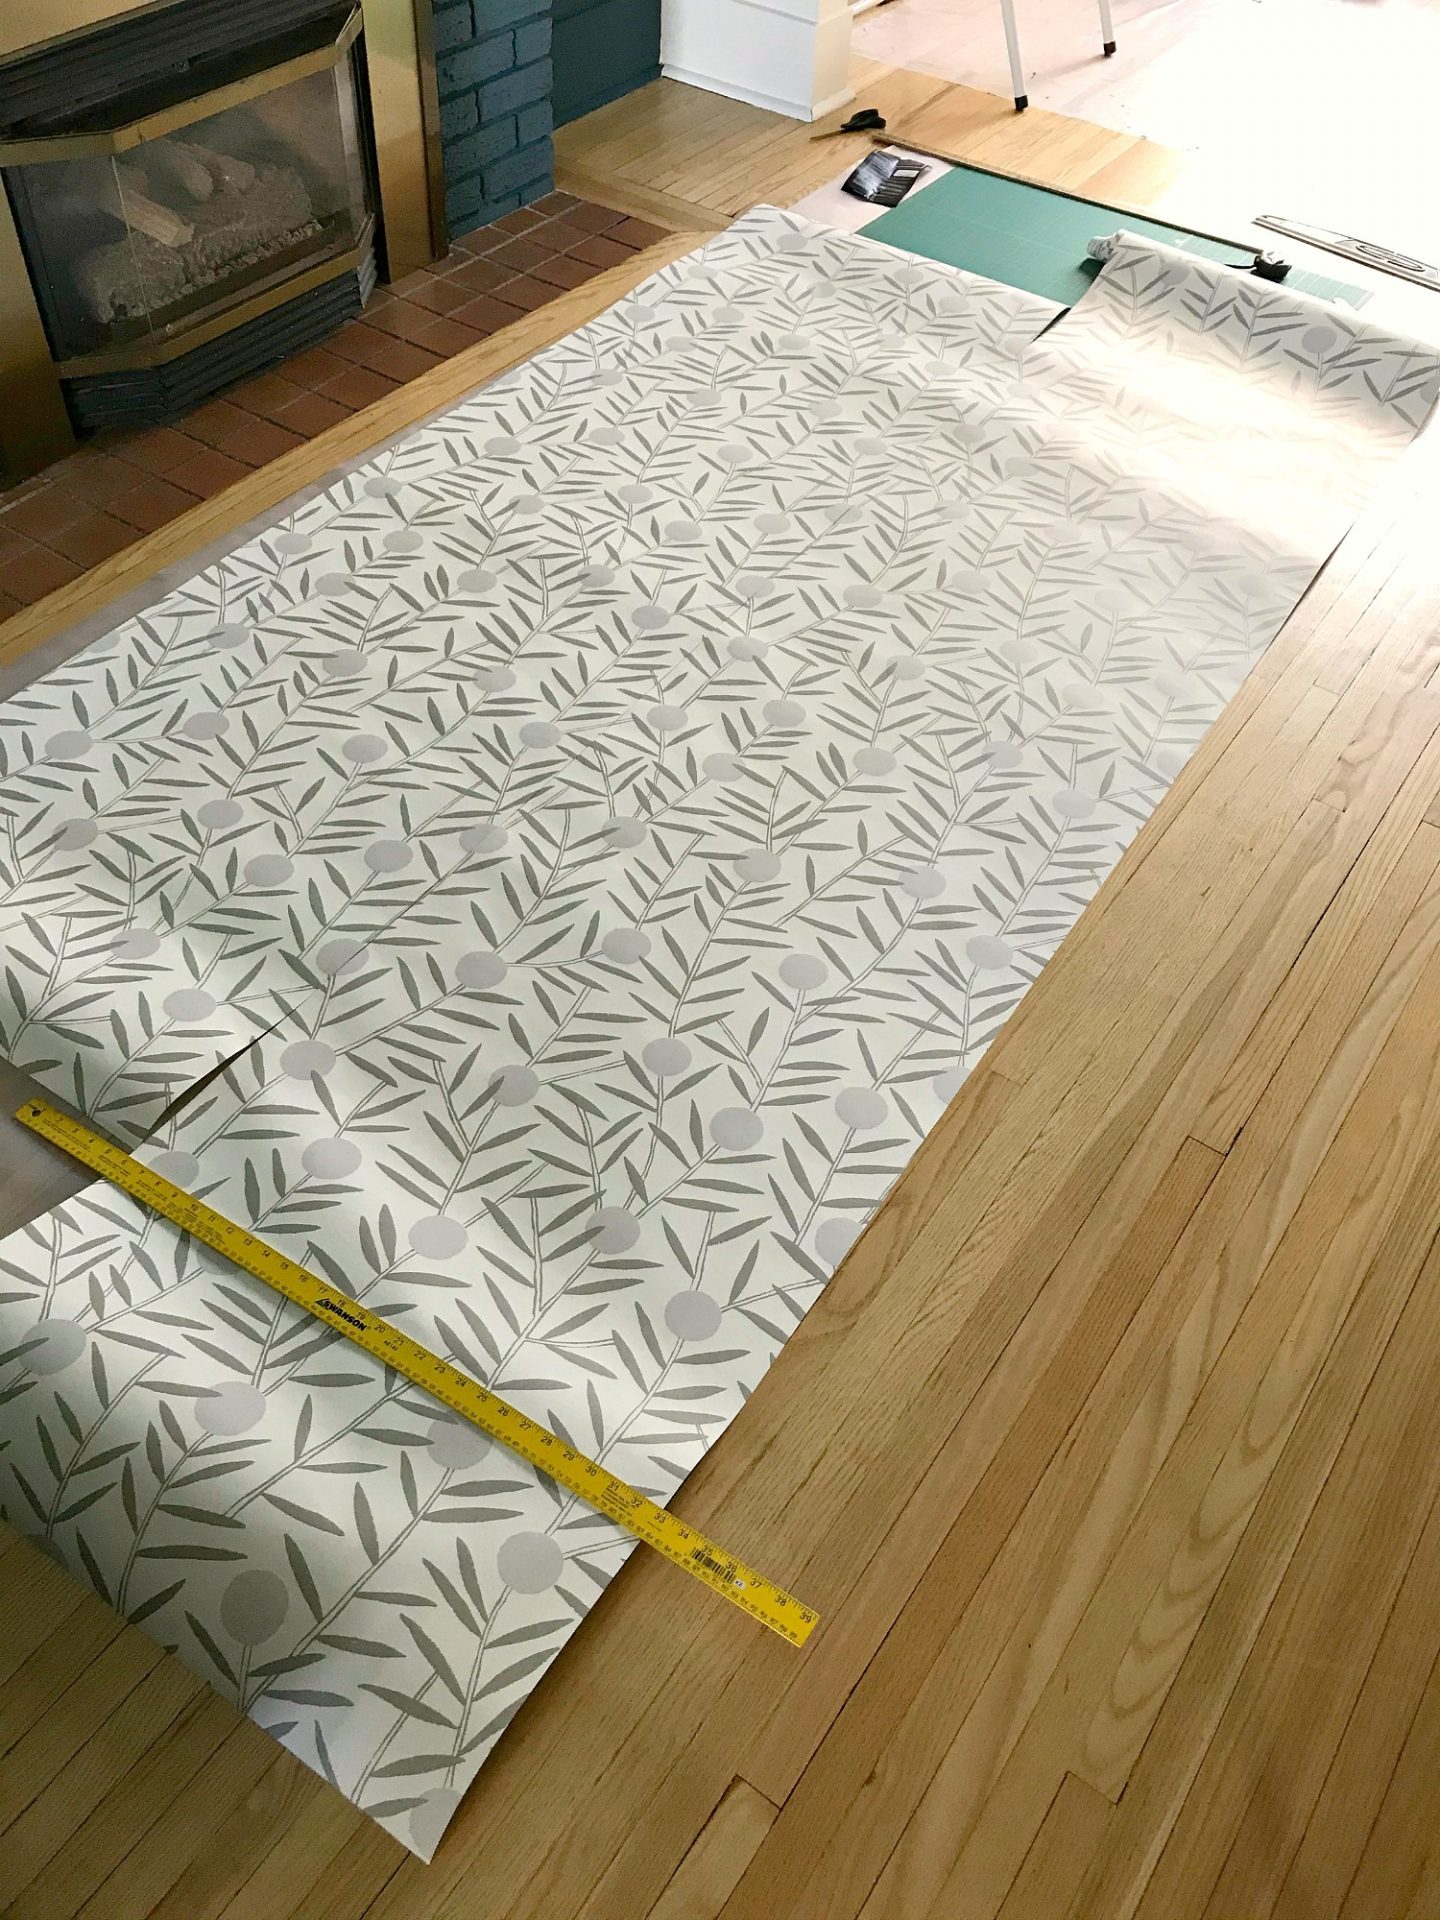
Then line up the design using the grid on the mat, and cut using the Olfa rotary cutter and a straight edge. The Olfa mat and rotary cutter are what I use for cutting fabric too and are indispensable tools for easily cutting a straight line, while also protecting your work surface. We found it easiest to work a few strips ahead, so we’d cut a few and keep one behind to help line up the design. We’d apply those strips and then go back and cut some more. We always had one measured/cut piece to line up to the design so we could double check we were cutting the right section (this pattern became kind of dizzying after we stared at it for two days, haha).

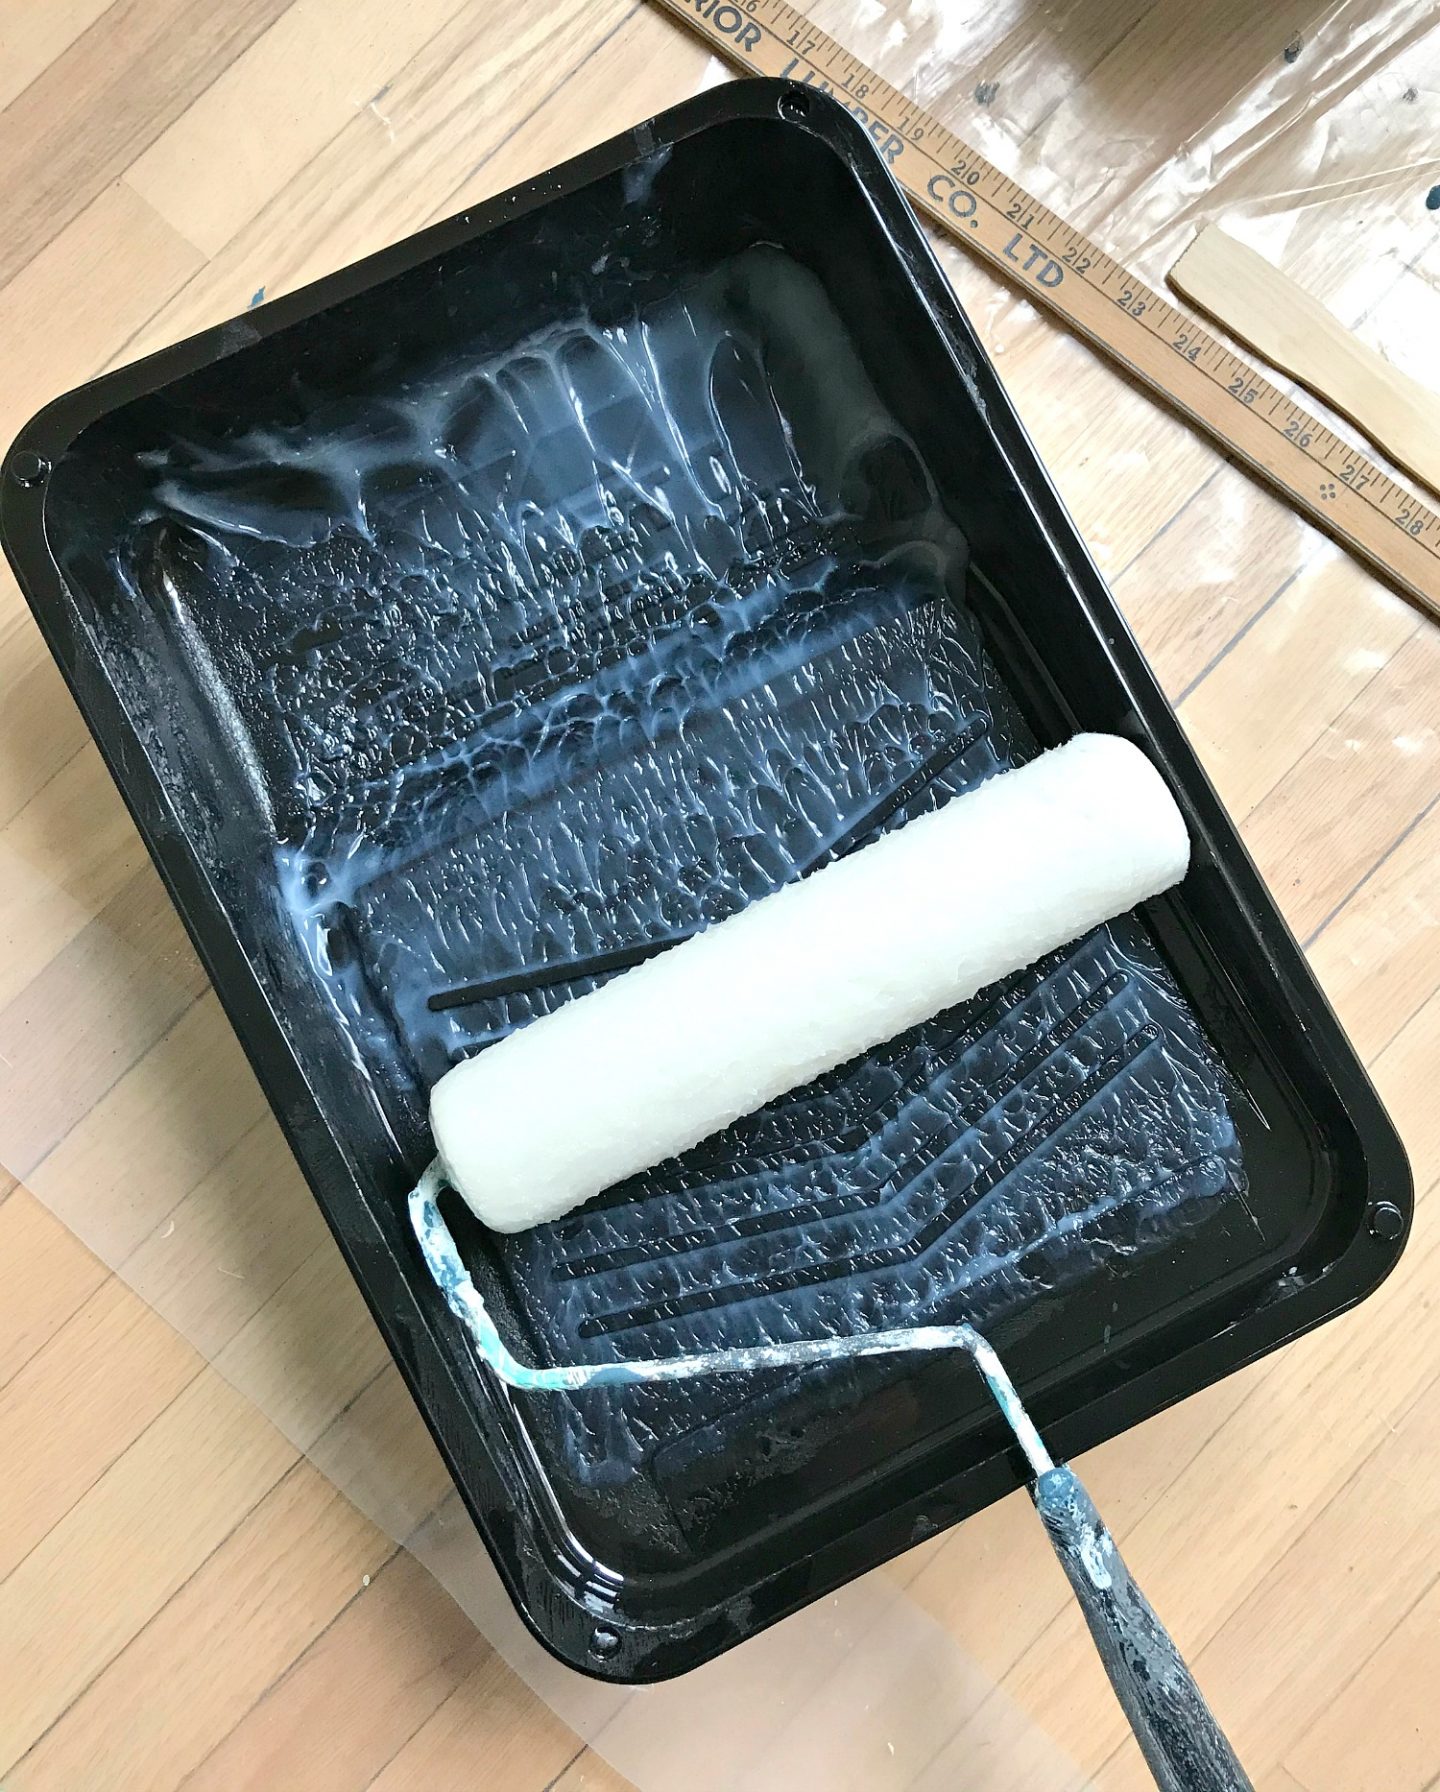
Apply the Wallpaper Paste:
Pour some of the wallpaper paste into a clean paint liner try and lay out the wallpaper, design down, on the plastic drop cloth. Using a paint roller, apply the wallpaper paste as per the manufacturer’s instructions. Basically you want a nice thin coat, evenly applied – make sure it reaches the very edges. It helped for one of us to hold the wallpaper and the other to roll it on, otherwise the wallpaper wiggled around too much. Hence, no photos (two person job, here).
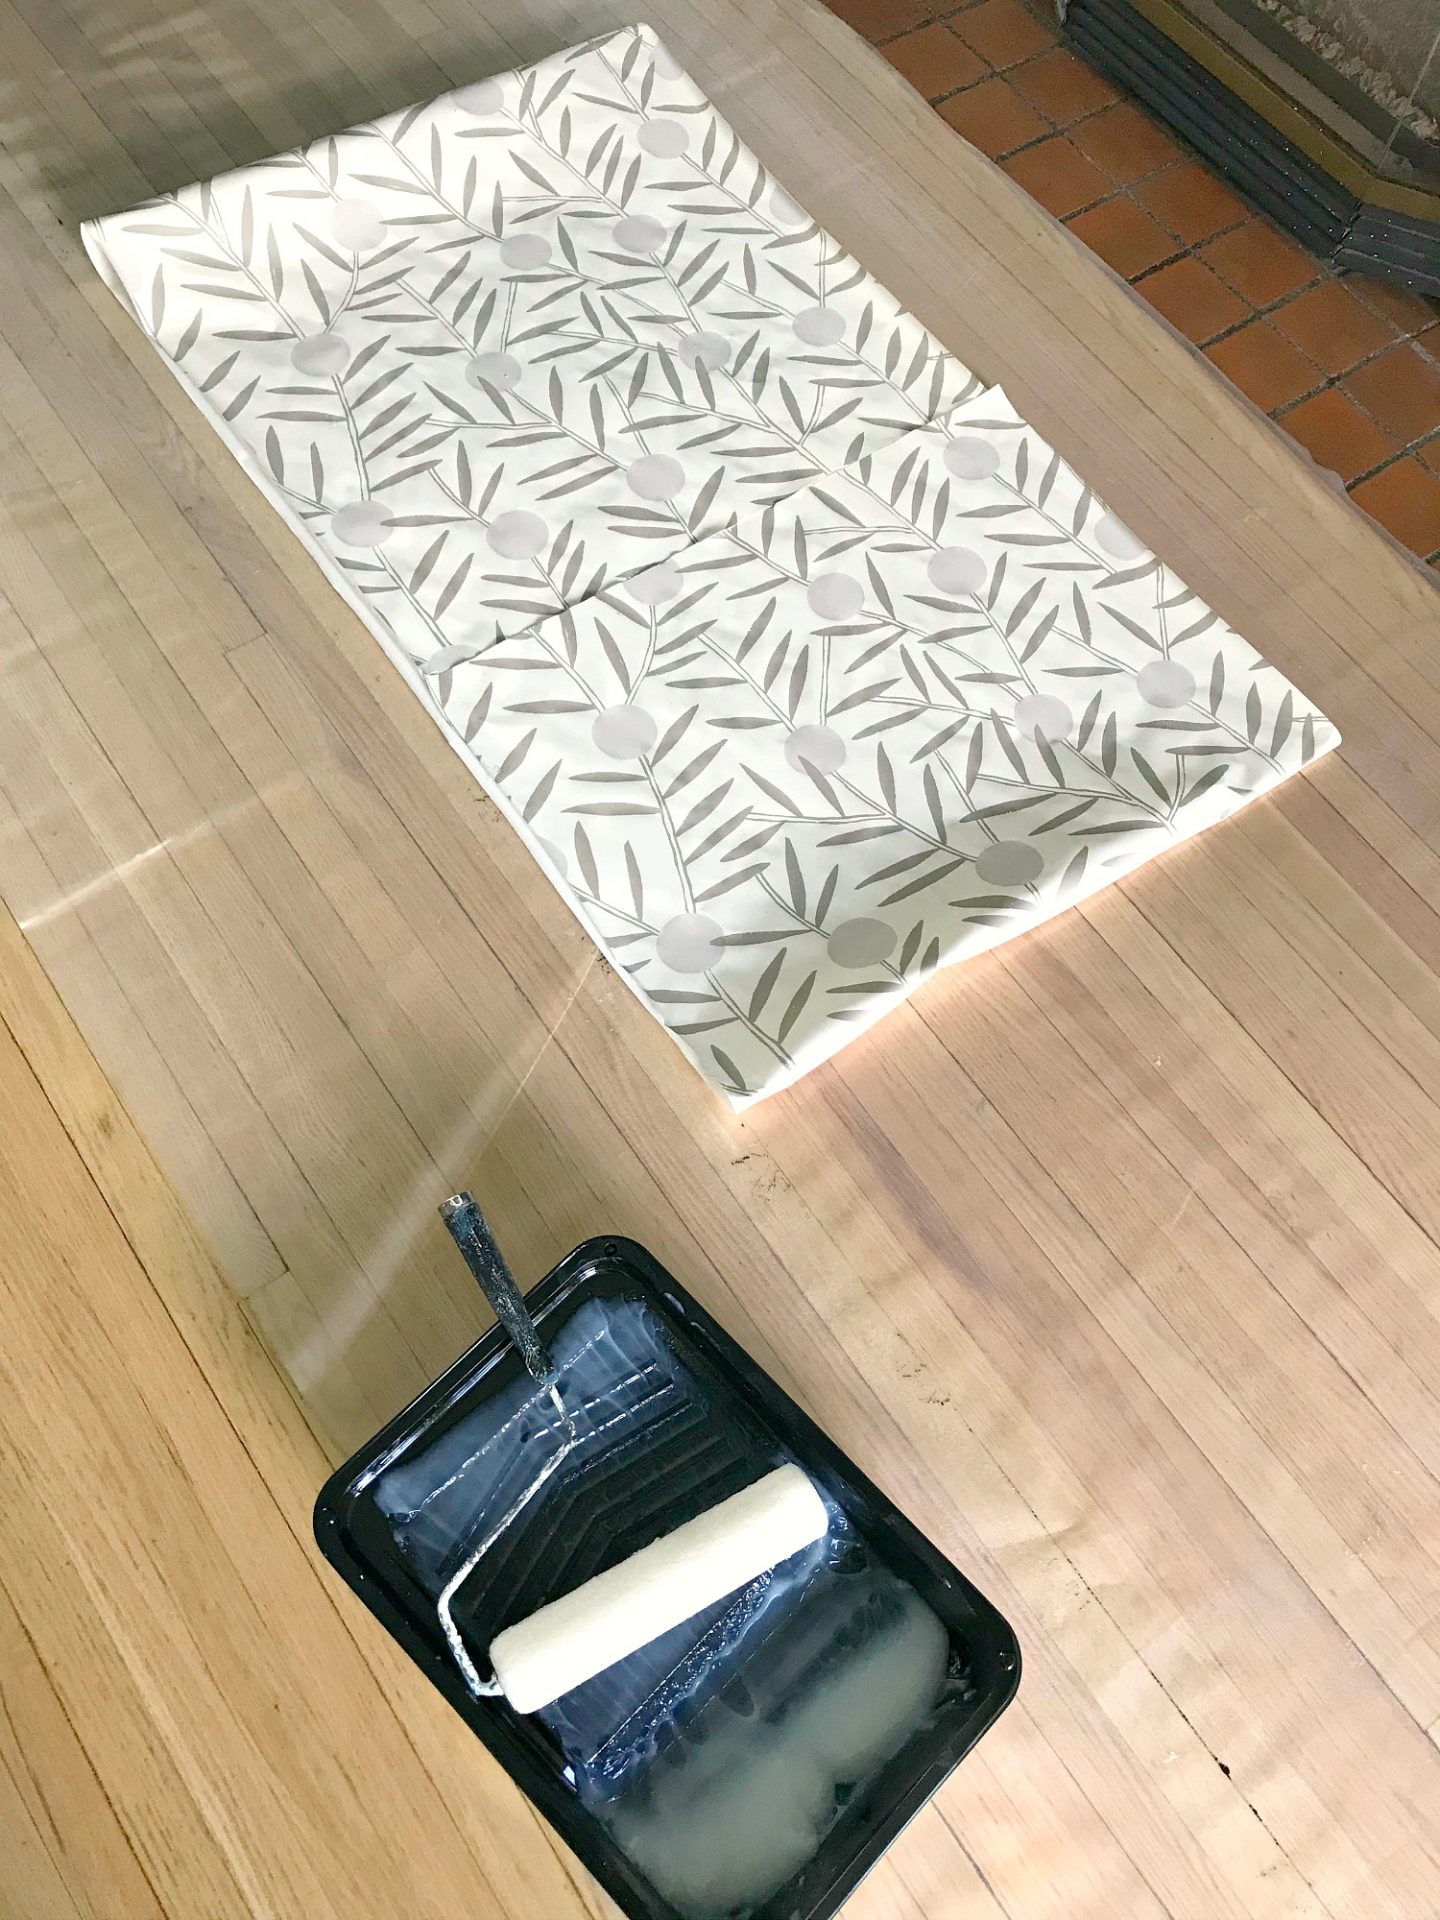
Book the Wallpaper:
Next, “book” it: fold it back onto itself, which helps the paste work its magic. Leave it booked for 5-7 minutes (we used this time for bathrooms breaks, snacks, sweating – because it was SO hot – and cutting additional sheets of wallpaper).
Hang the Wallpaper:
Carry the wallpaper over the wall and un-book the top and start to position the edge along the plumb line. It helped to have a stepladder for this part. Then have someone un-book the bottom half and position it also. It’s so much easier with a second set of hands, otherwise it’s a bit much to manhandle these heavy and wet sheets. Be very careful that the edge lines up with the plumb line – don’t forget to leave excess on the top and bottom and, for the first piece, on the side closest to the corner.
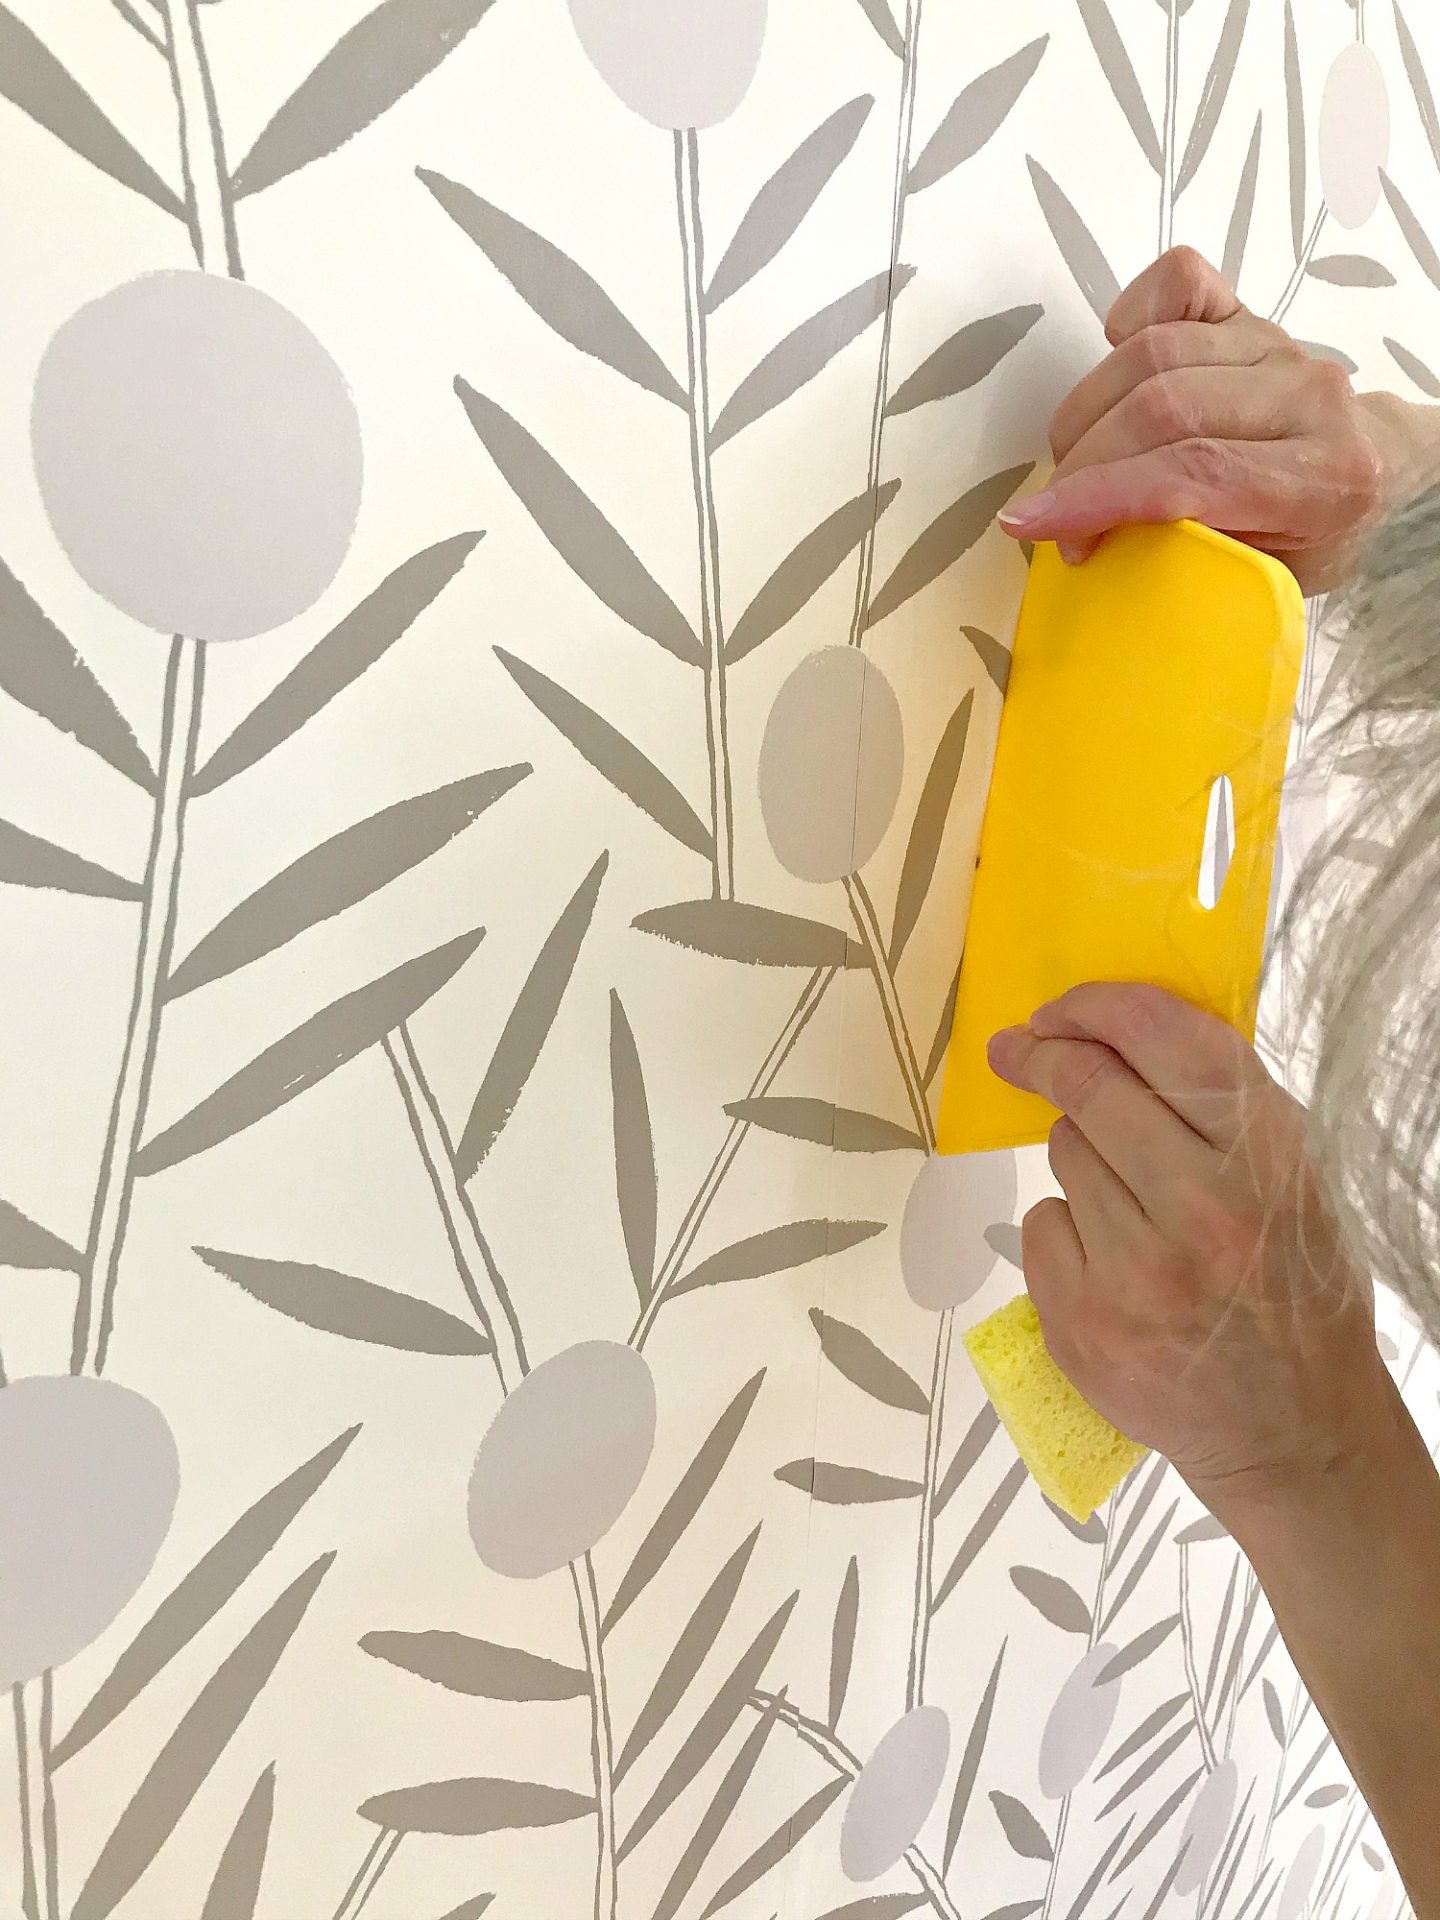
Smooth the Wrinkles:
This wallpaper wrinkled a LOT and at first it made us panic:
We had to spend quite a lot of time on each sheet, smoothing the wallpaper with the smoothing tool. But that tool was worth every penny! We didn’t need it for the pre-pasted wallpaper, so I had to run out and get one last minute. Actually, first I experimented with a splastic spatula was like, yup, we need this tool. I wasn’t convinced to spend the $4 until I was sure-sure, lol.
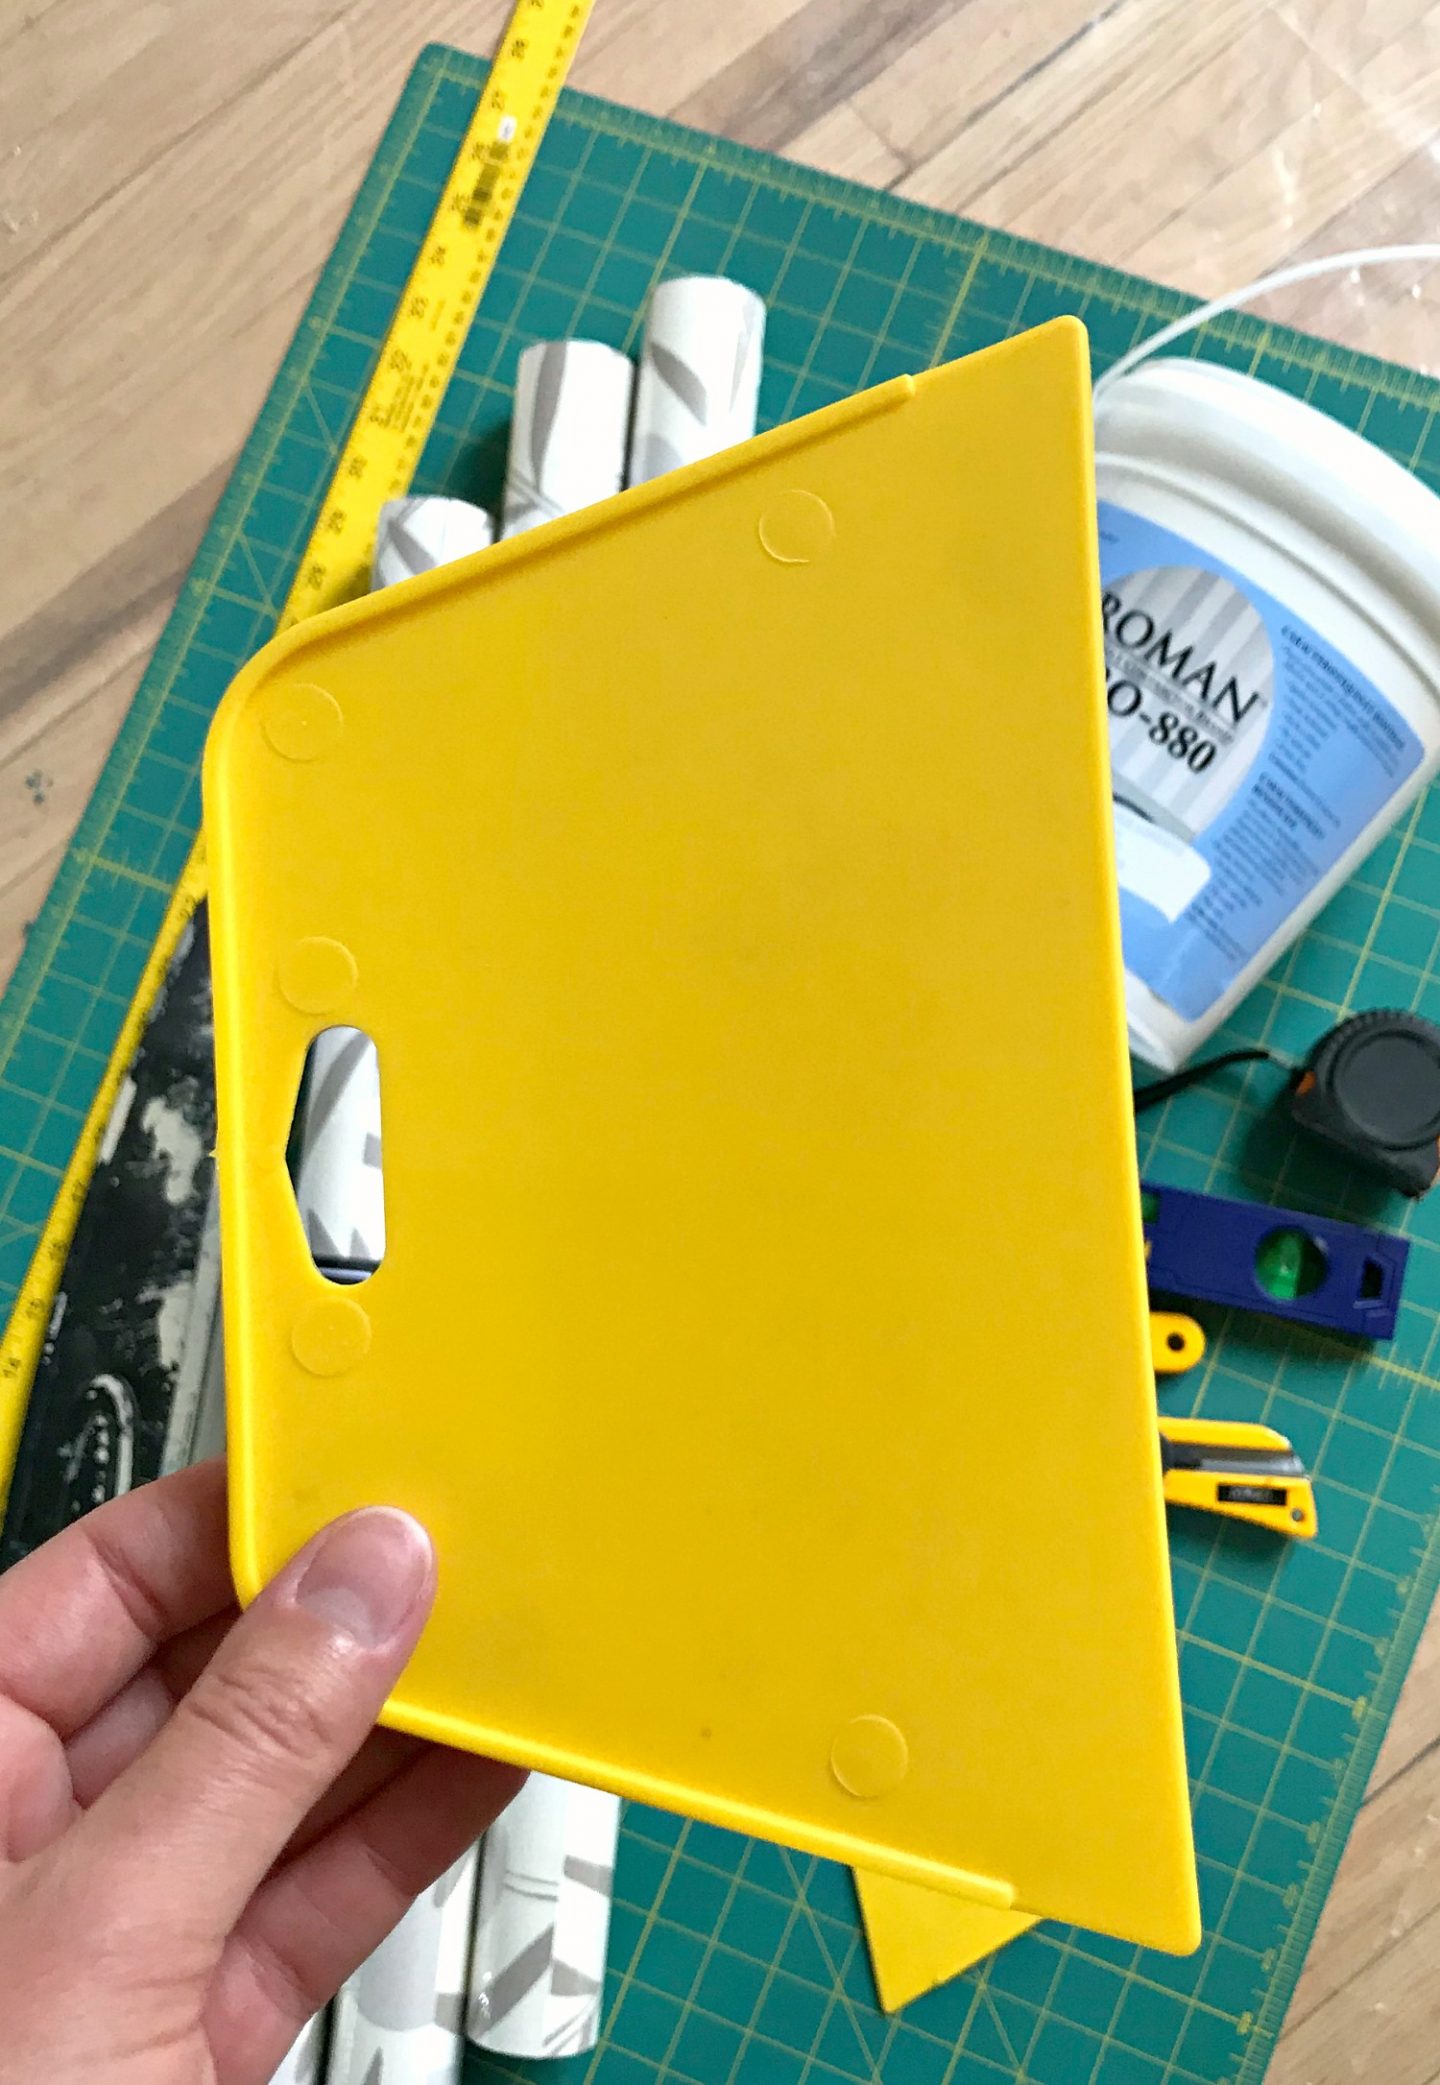
I got two and that was perfect – I also tried the foam one in the supply photo, and it was utter crap so just stick with the basic plastic one. Gently work the wallpaper, from the middle out, working top down, and being careful NOT to move the edge from the plumb line. Make sure the paste reaches the very edge and press the wallpaper smoothing tool along the edges to make sure they really stick and don’t curl. Bubbles smaller than a quarter will work themselves out so you don’t need to panic about bubbles, as this wallpaper sort of relaxed on the wall as the glue dried, small imperfection we couldn’t smooth out disappeared.
So there’s a little magic and faith involved in hanging wallpaper yourself…
Trim the Excess:
Using a sharp utility knife (not the rotary cutter this time) and a straight edge, trim the top and bottom, and the excess in the corner. We found that doing it immediately was too difficult – it was wet and wanted to tear. But if we waited too long, it glued to the ceiling. So we’d hang a sheet go apply the paste to the next one, and then before we would hang the next sheet we’d cut the excess. You might need to experiment as the temperature/humidity can impact this process a little – just go SLOW at first so you don’t tear the wallpaper. If you do (whoops), use the wallpaper smoothing tool to smooth it down and rejoin the torn area with the rest of the pattern. Don’t stress because it will either be at the ceiling or floor and not visible at all – the wallpaper paste will hold the design together and you won’t even notice the flaw.
Repeat and Keep Hanging:
Repeat these steps with subsequent strips (although you only need to trim to the top/bottom moving forward) and make sure to line up the edge – DO NOT overlap. This wallpaper, unlike the pre-pasted kind I used last time, is not designed to overlap.
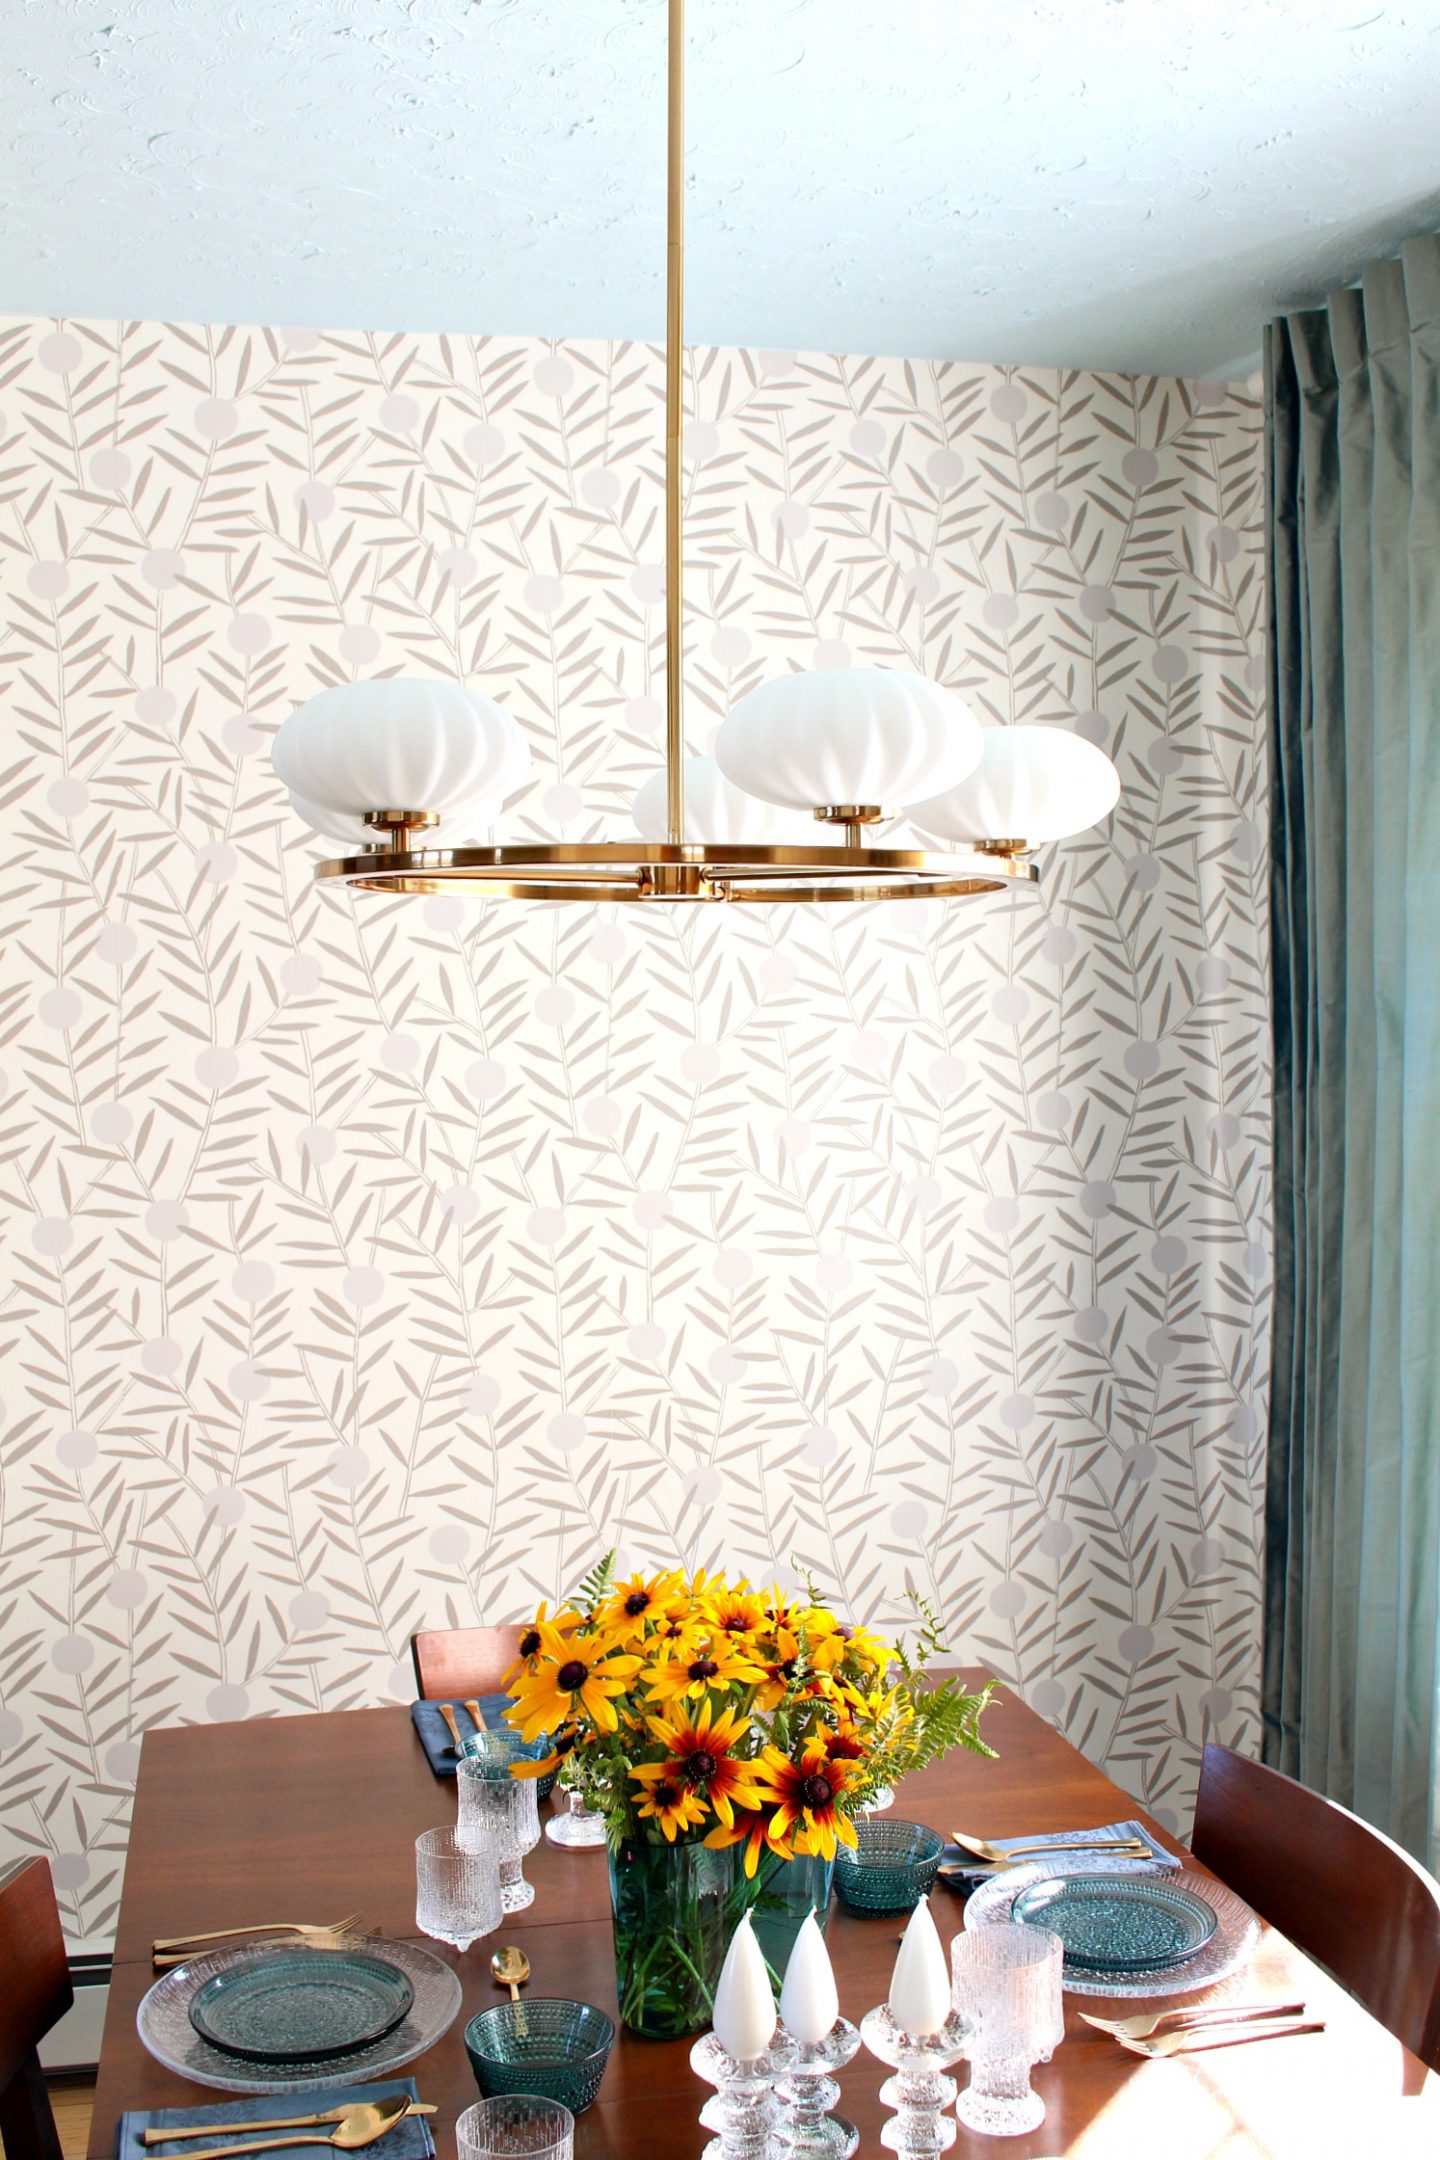
When you’re focusing on matching up the pattern, look at the areas that are eye level because that’s where it’s designed to line up the most.

Clean and Remove Paste:
After a few sheets, we’d clean the wallpaper paste residue with a large damp sponge. You can technically wait until you’re done, but the incredible heat meant the paste was drying so fast and we didn’t want to ruin the design. Keep the bucket water clean. I used a really large sponge (like the kind you’ll find in the tiling section) and also a smaller sponge – make sure neither of them will dye surfaces (I had a blue sponge do that once when cleaning grout haze).
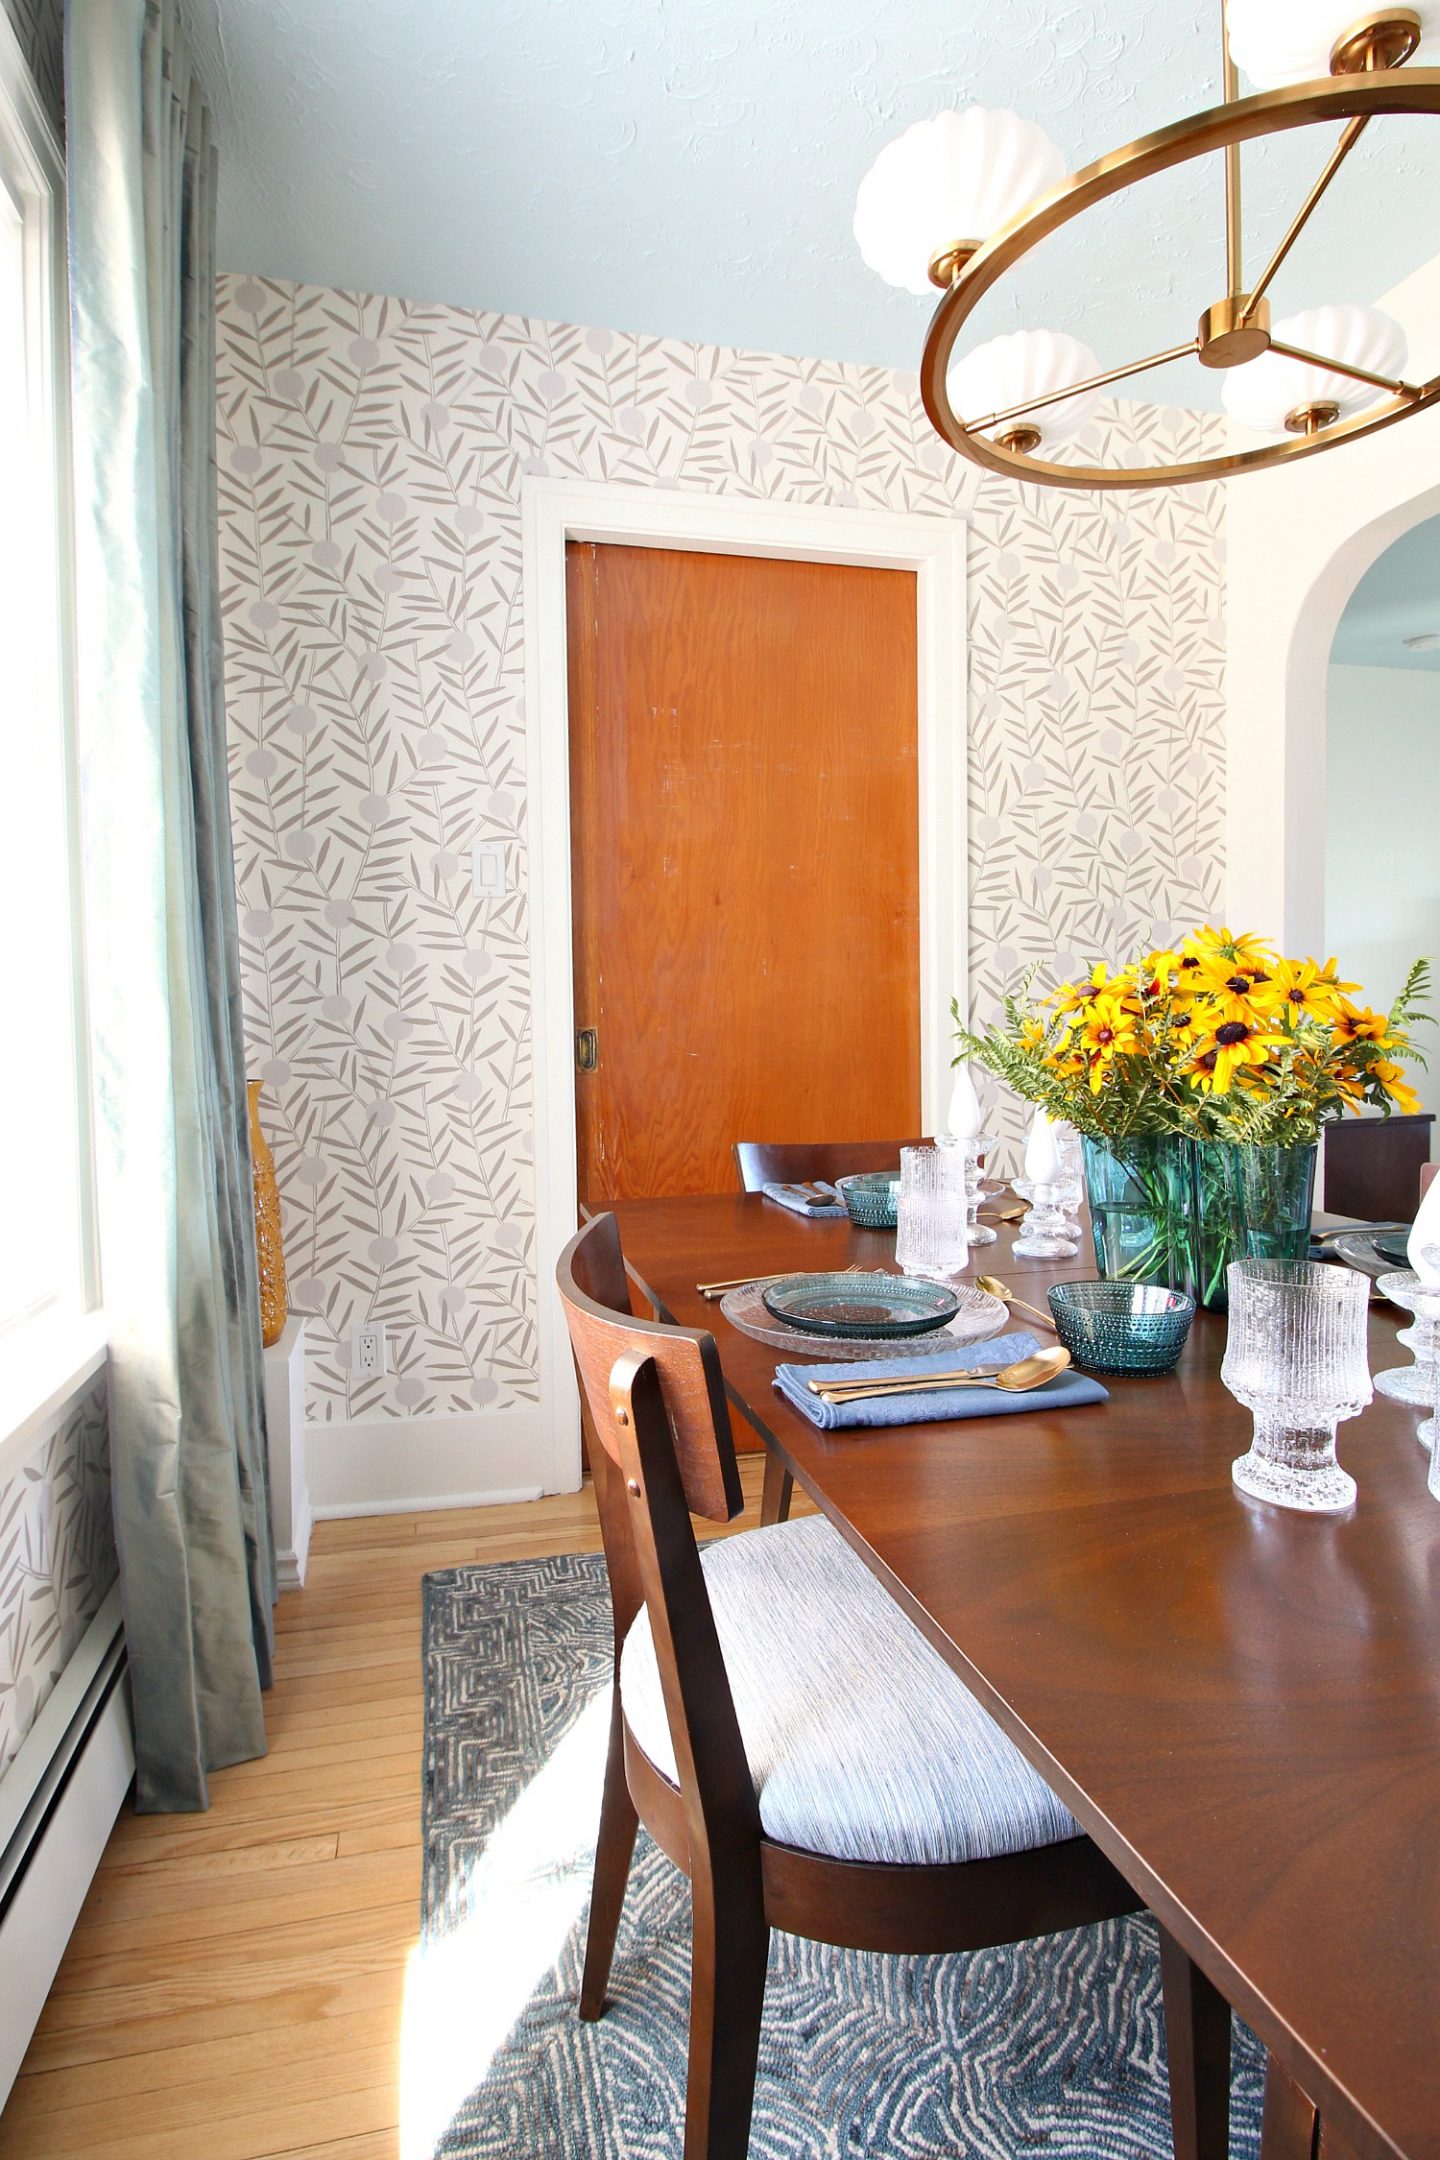
Wallpaper around Trim:
For wallpapering around trim, hang the wallpaper as usual, as far up to the trim as you can, and then you might need to cut relief corners – basically already cutting into some of the excess to help the wallpaper tuck into areas around trim and moldings. Then smooth toward the trim, cut more relief if you need to get that wallpaper against the trim tightly. And then trim off excess.
Wallpaper into Corners:
So, Hygge & West recommends doing corners in two pieces but we did it in one and if we needed to, we trimmed a bit off in between. We have been lucky, both in this dining room and my powder room, that the corners were forgiving and allowed us to just wrap it around – although it probably took way more time and fussing. So check out the Hygge & West videos to see how they recommend you tackle corners – I think it’s probably way better than our method.
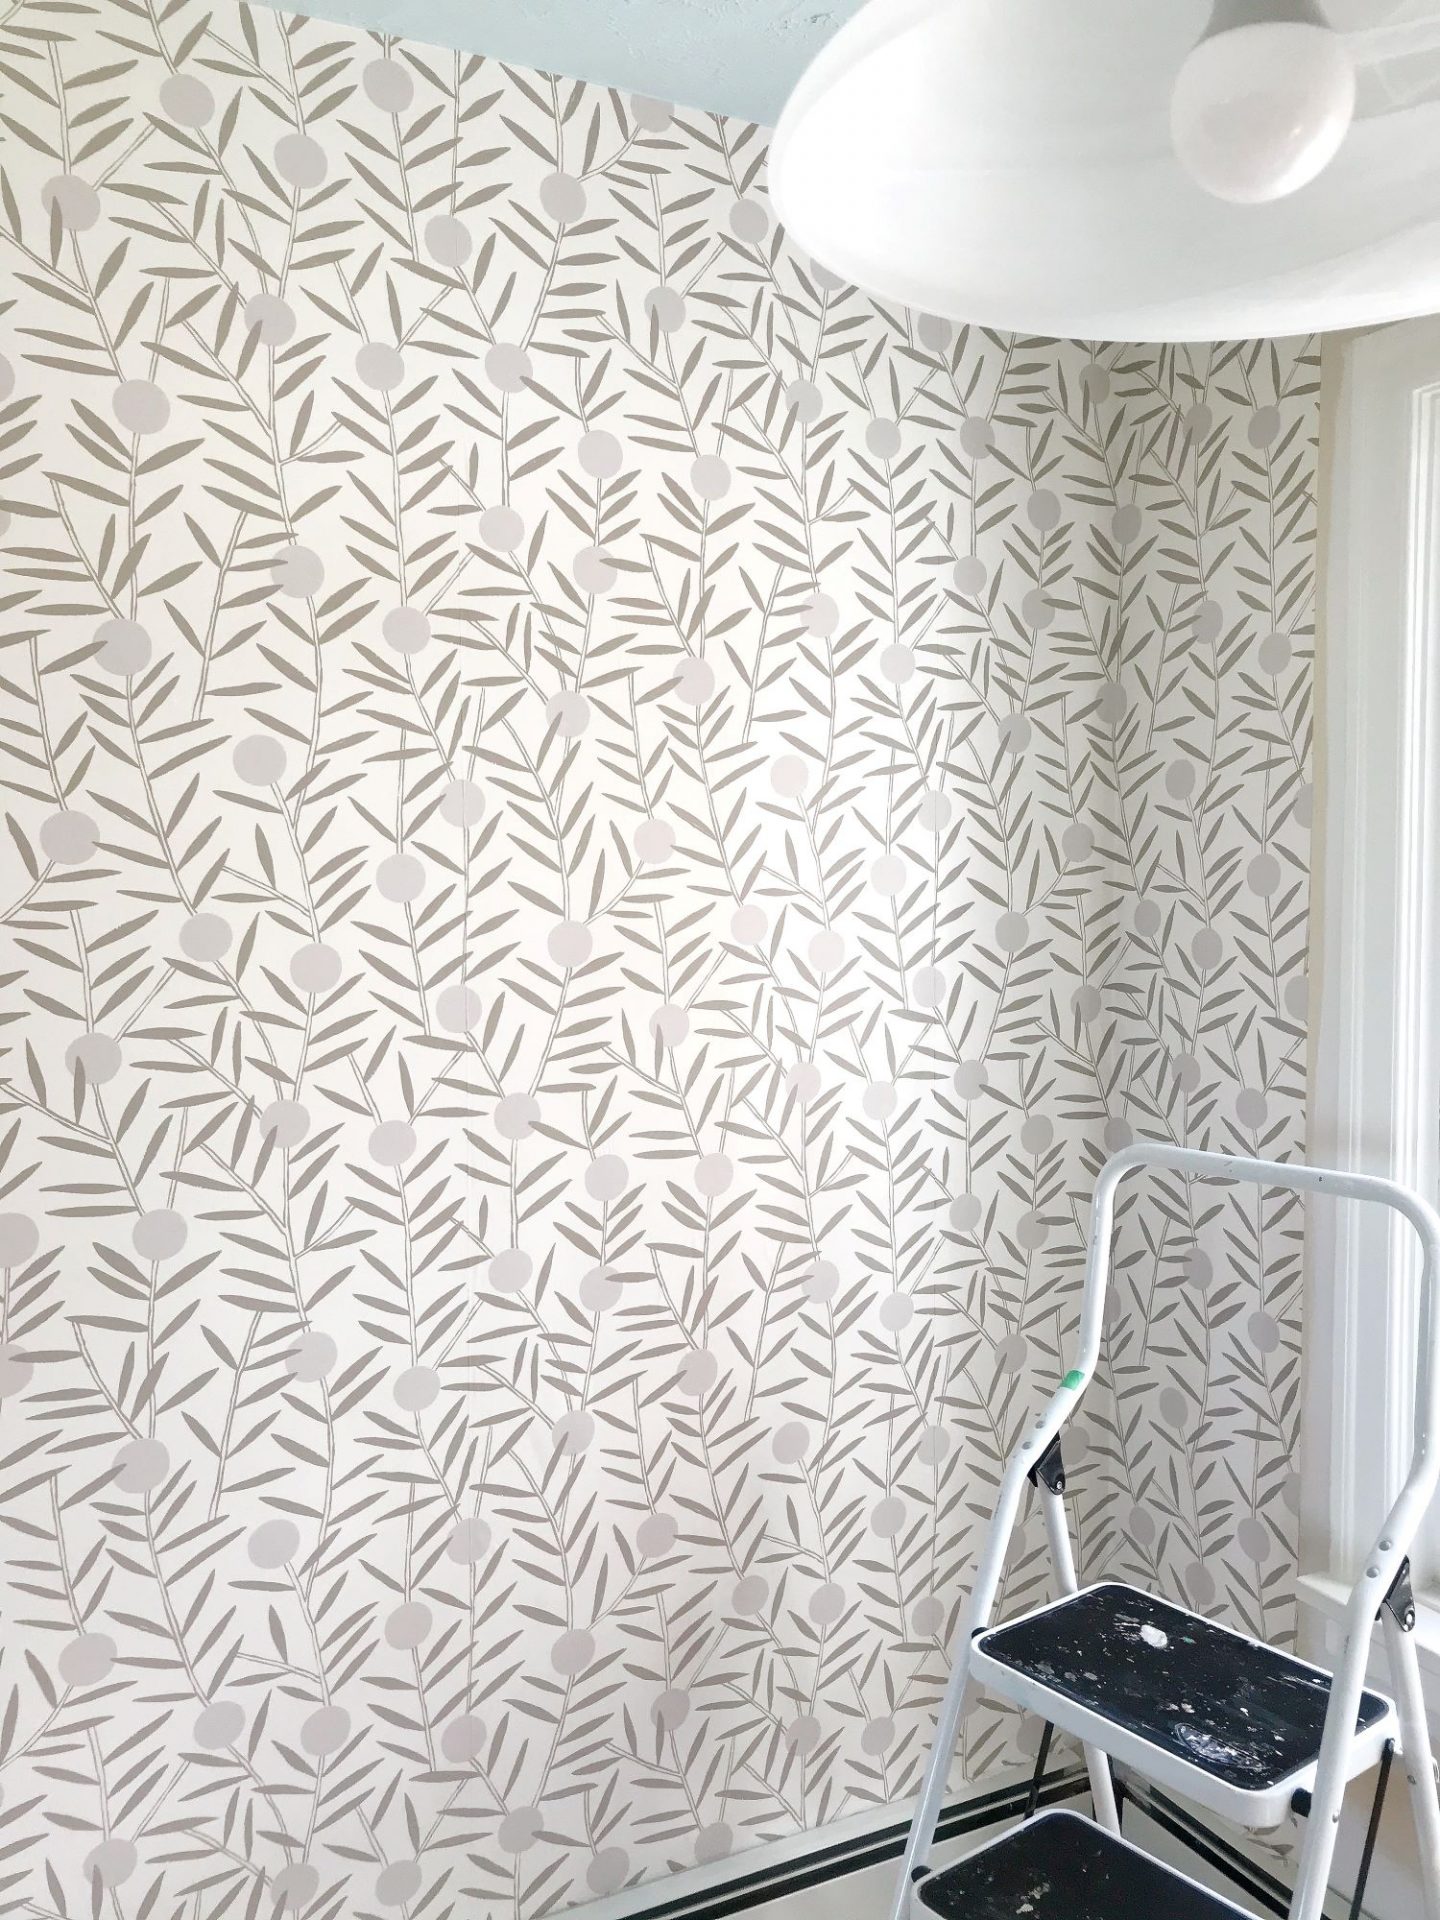
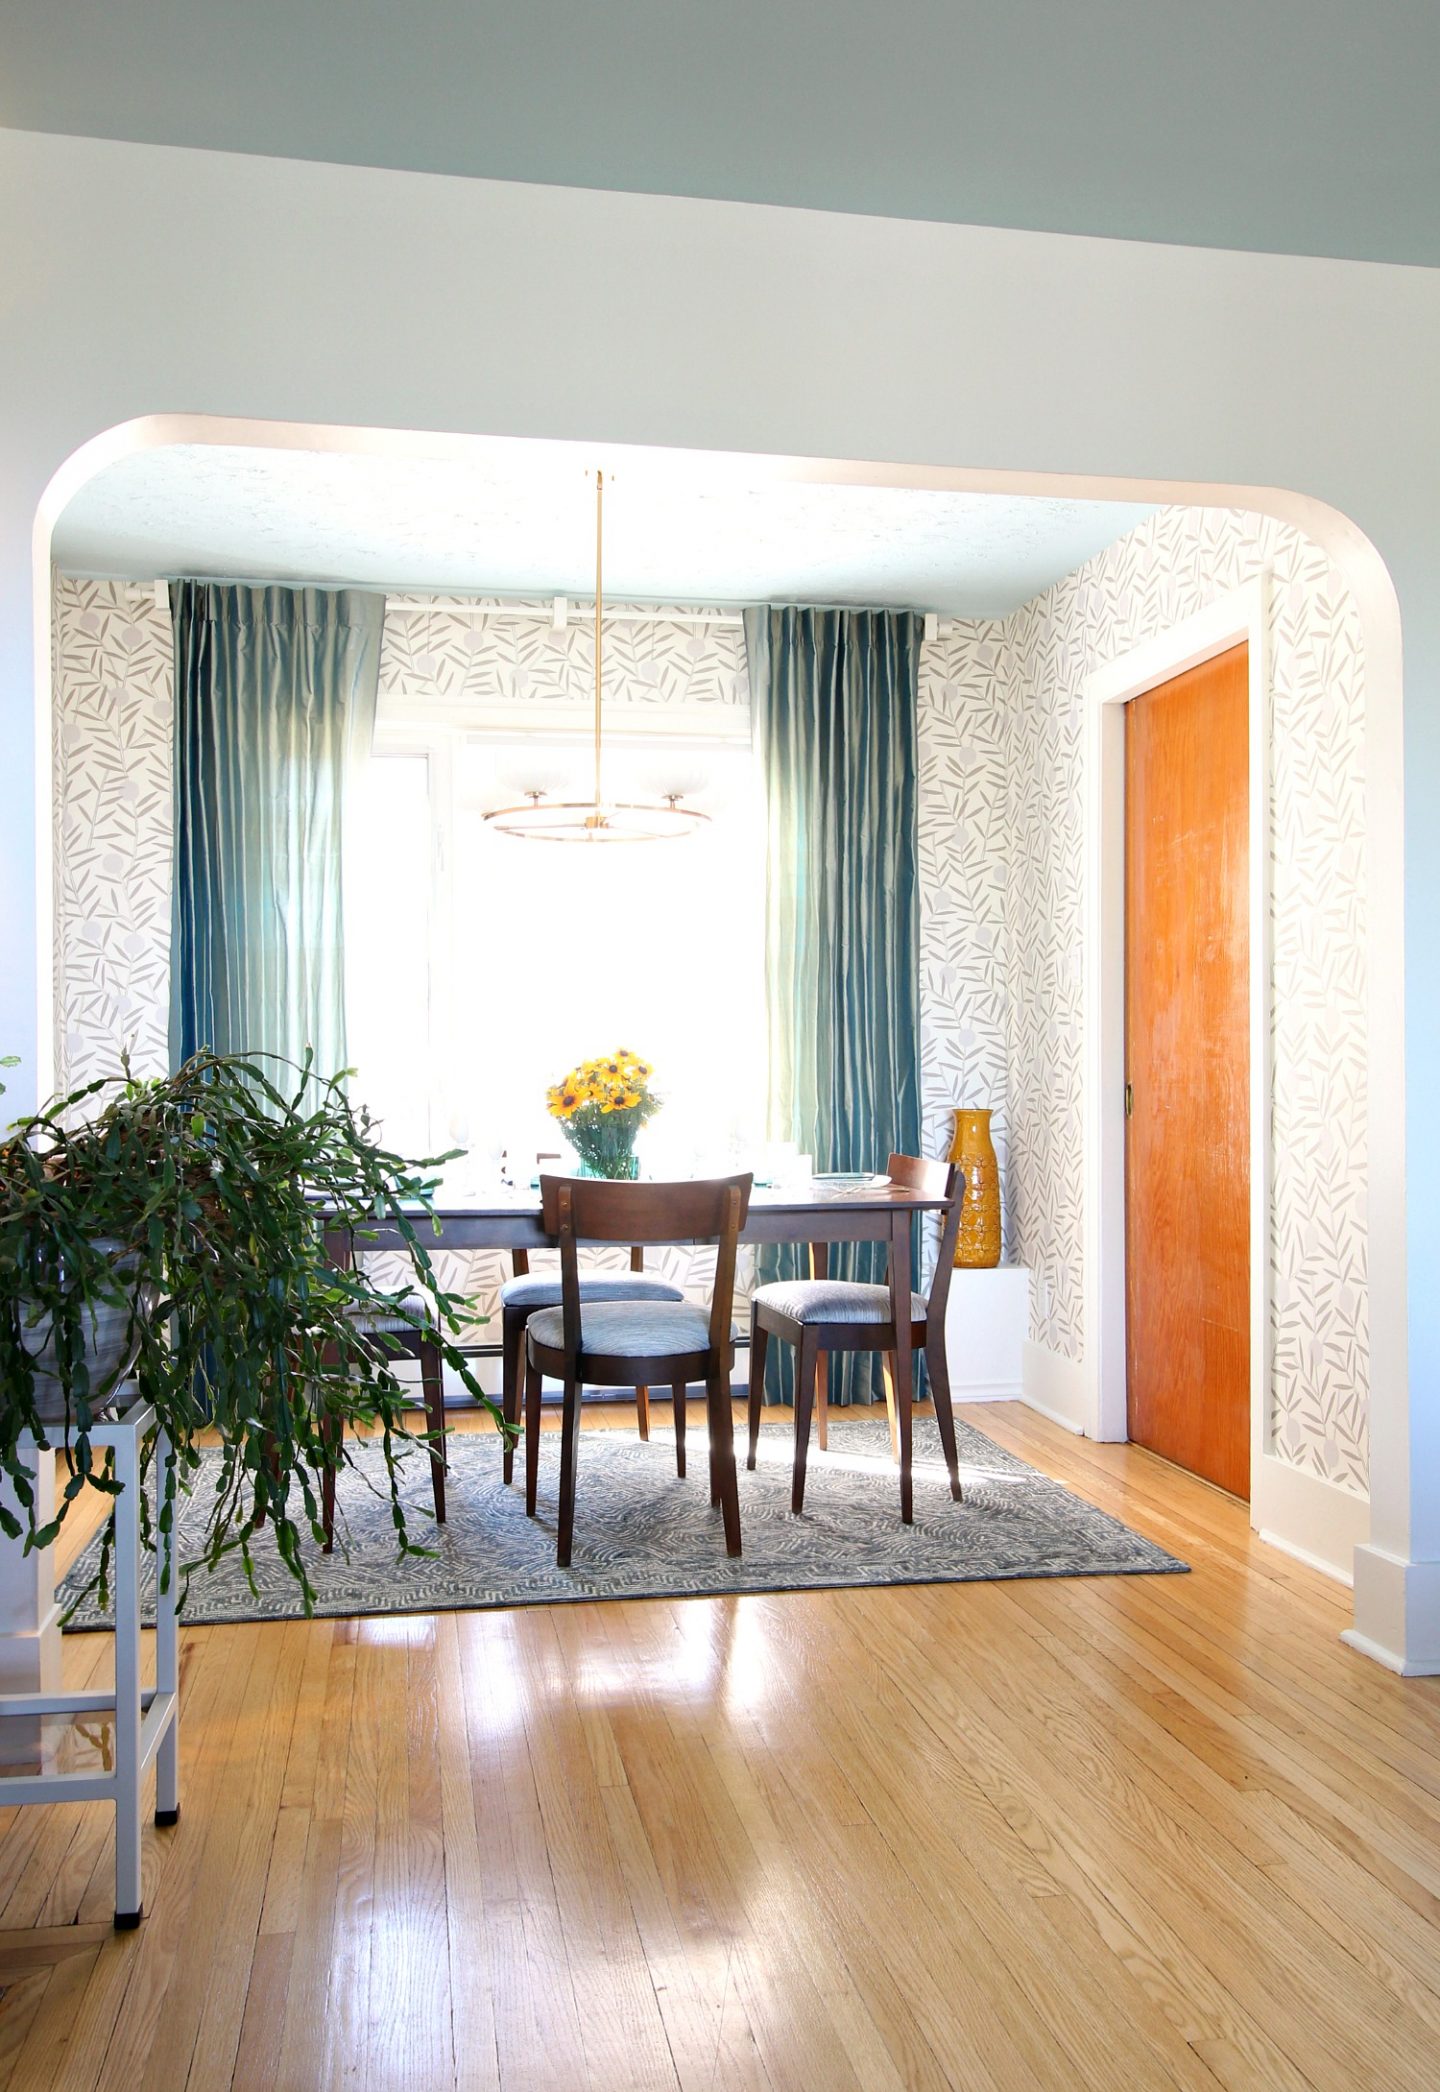
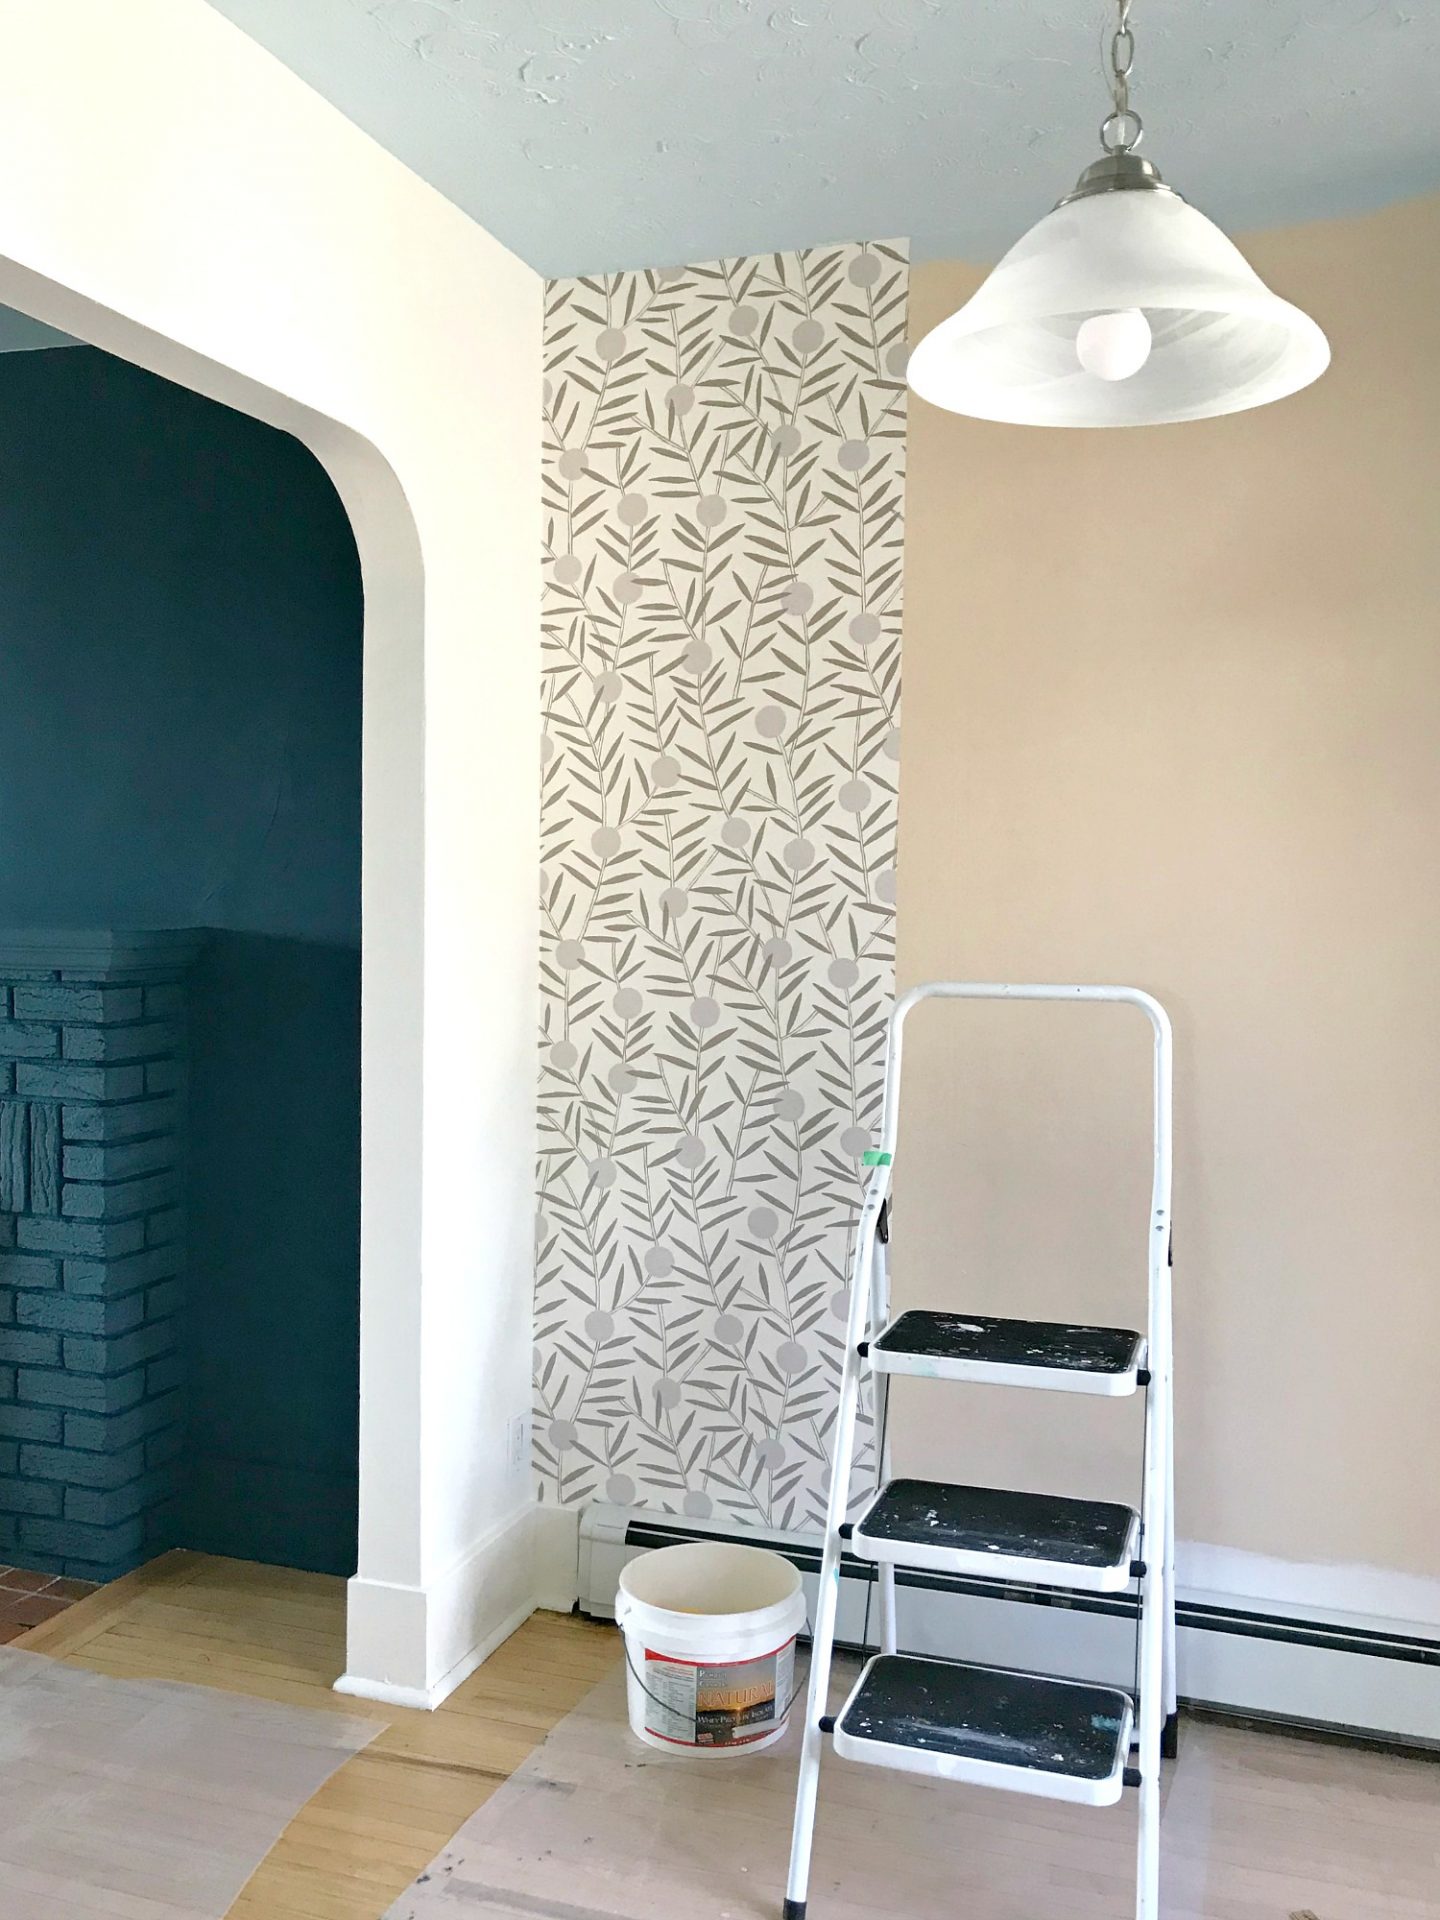
Wallpaper Around the “Bump Out”
Remember that weird bump out?


We ended up wallpaper the not-square part so visually there was only a square left. Can you even spot the weirdness in the photo below? The “wedge” shaped part blended in with the design.
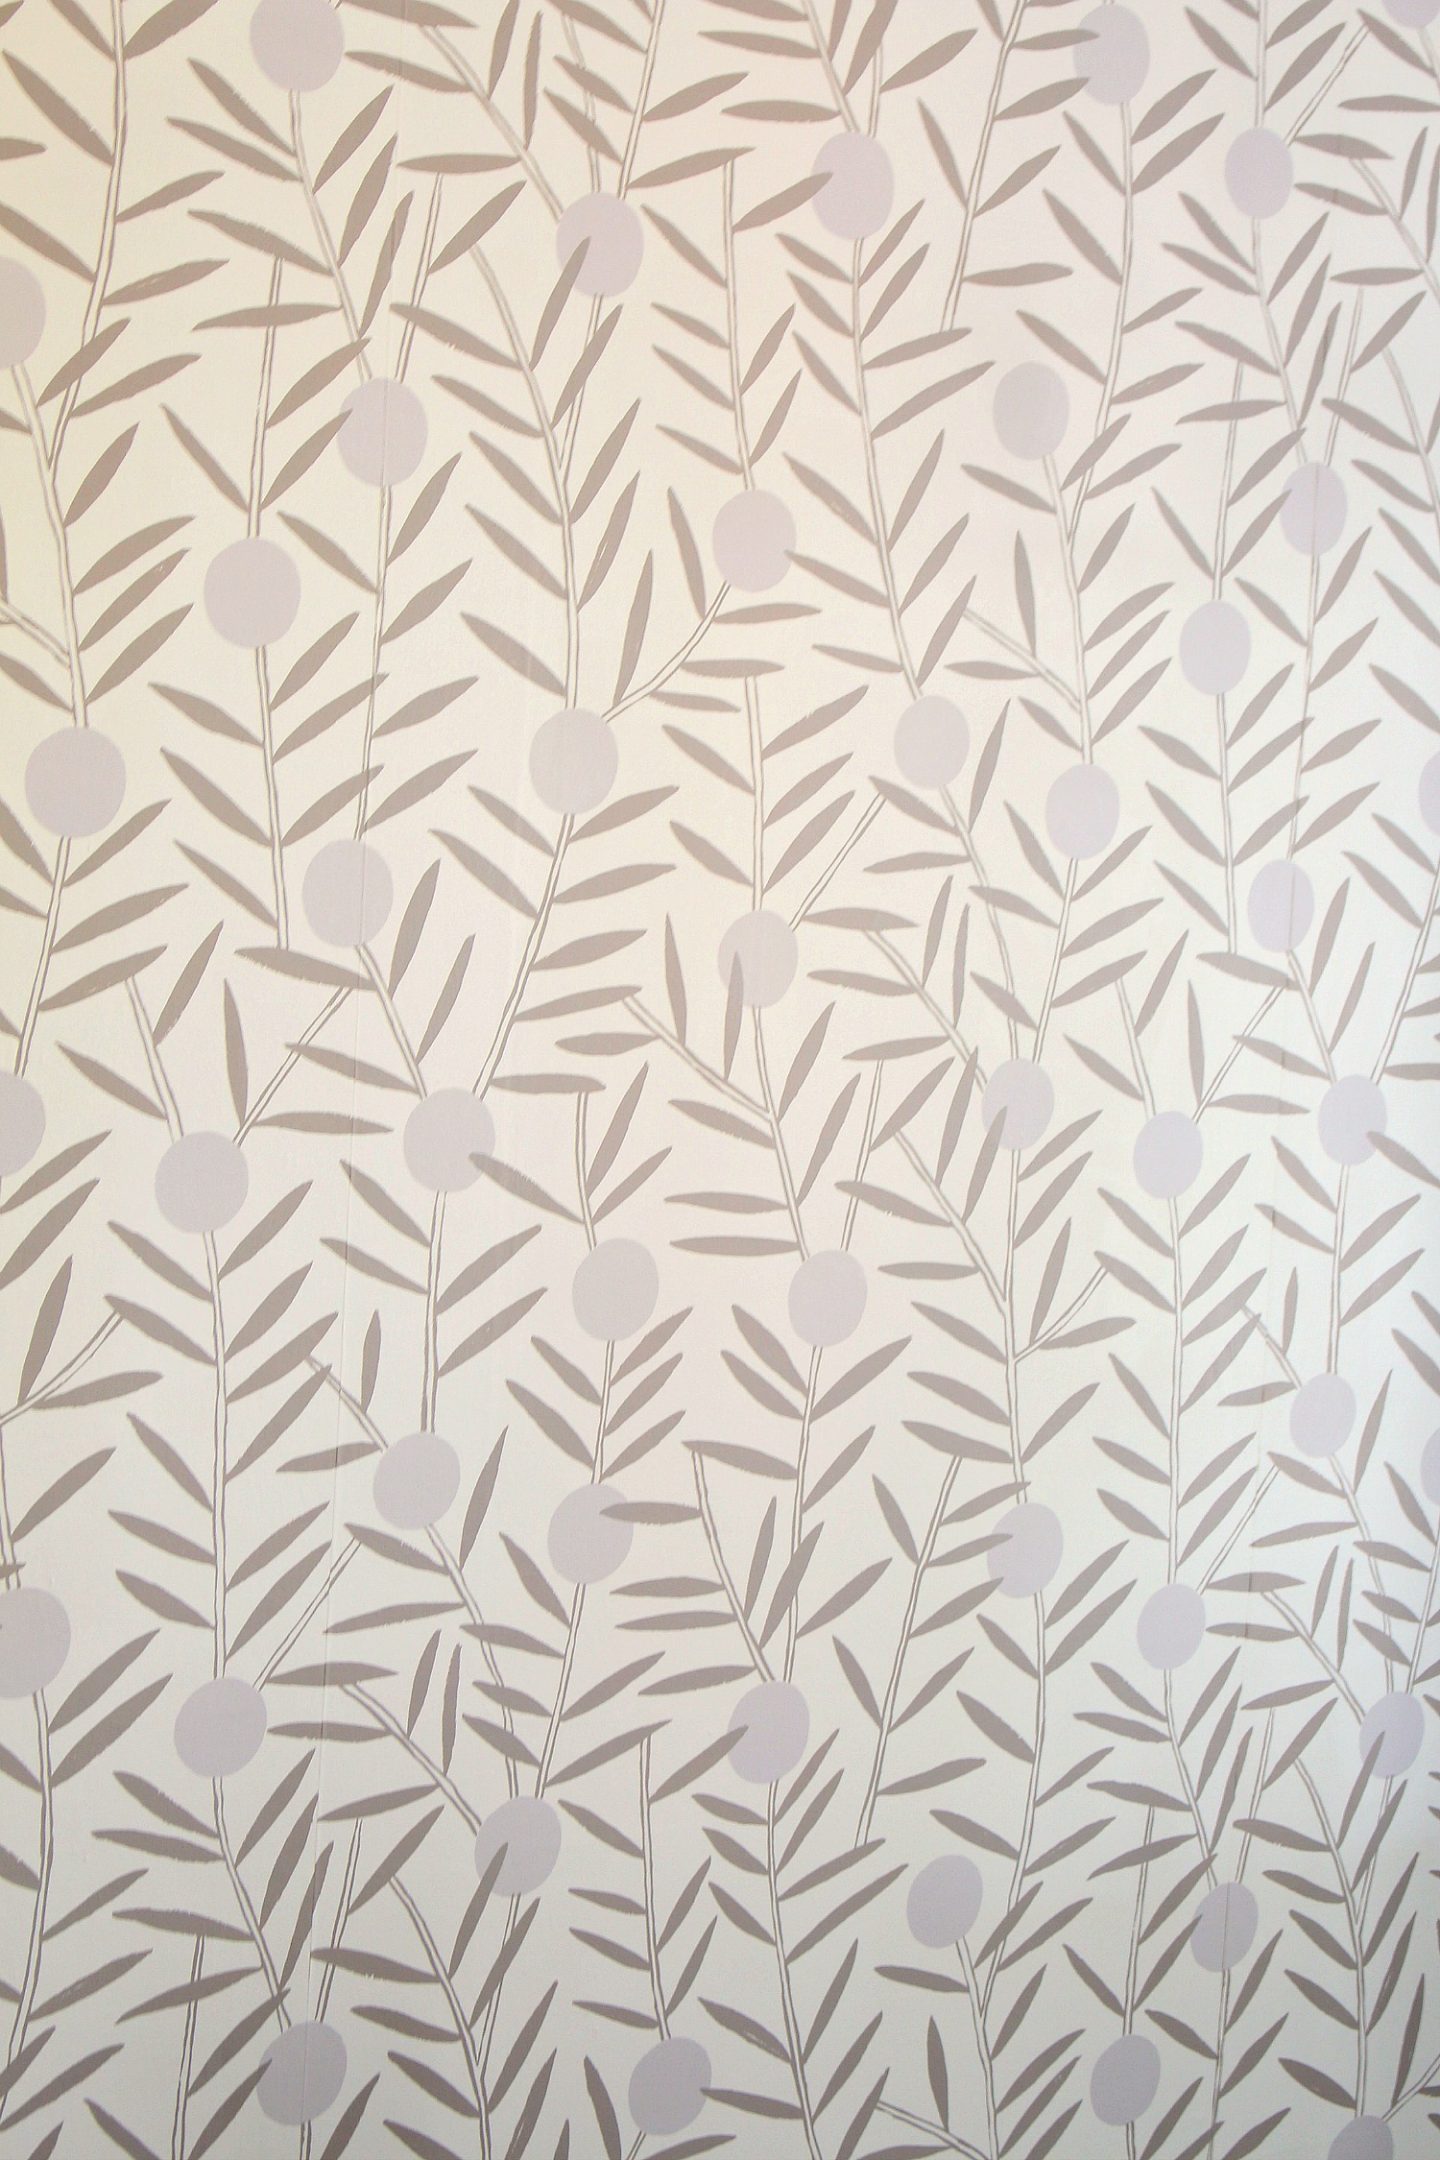
Here’s a closer look:
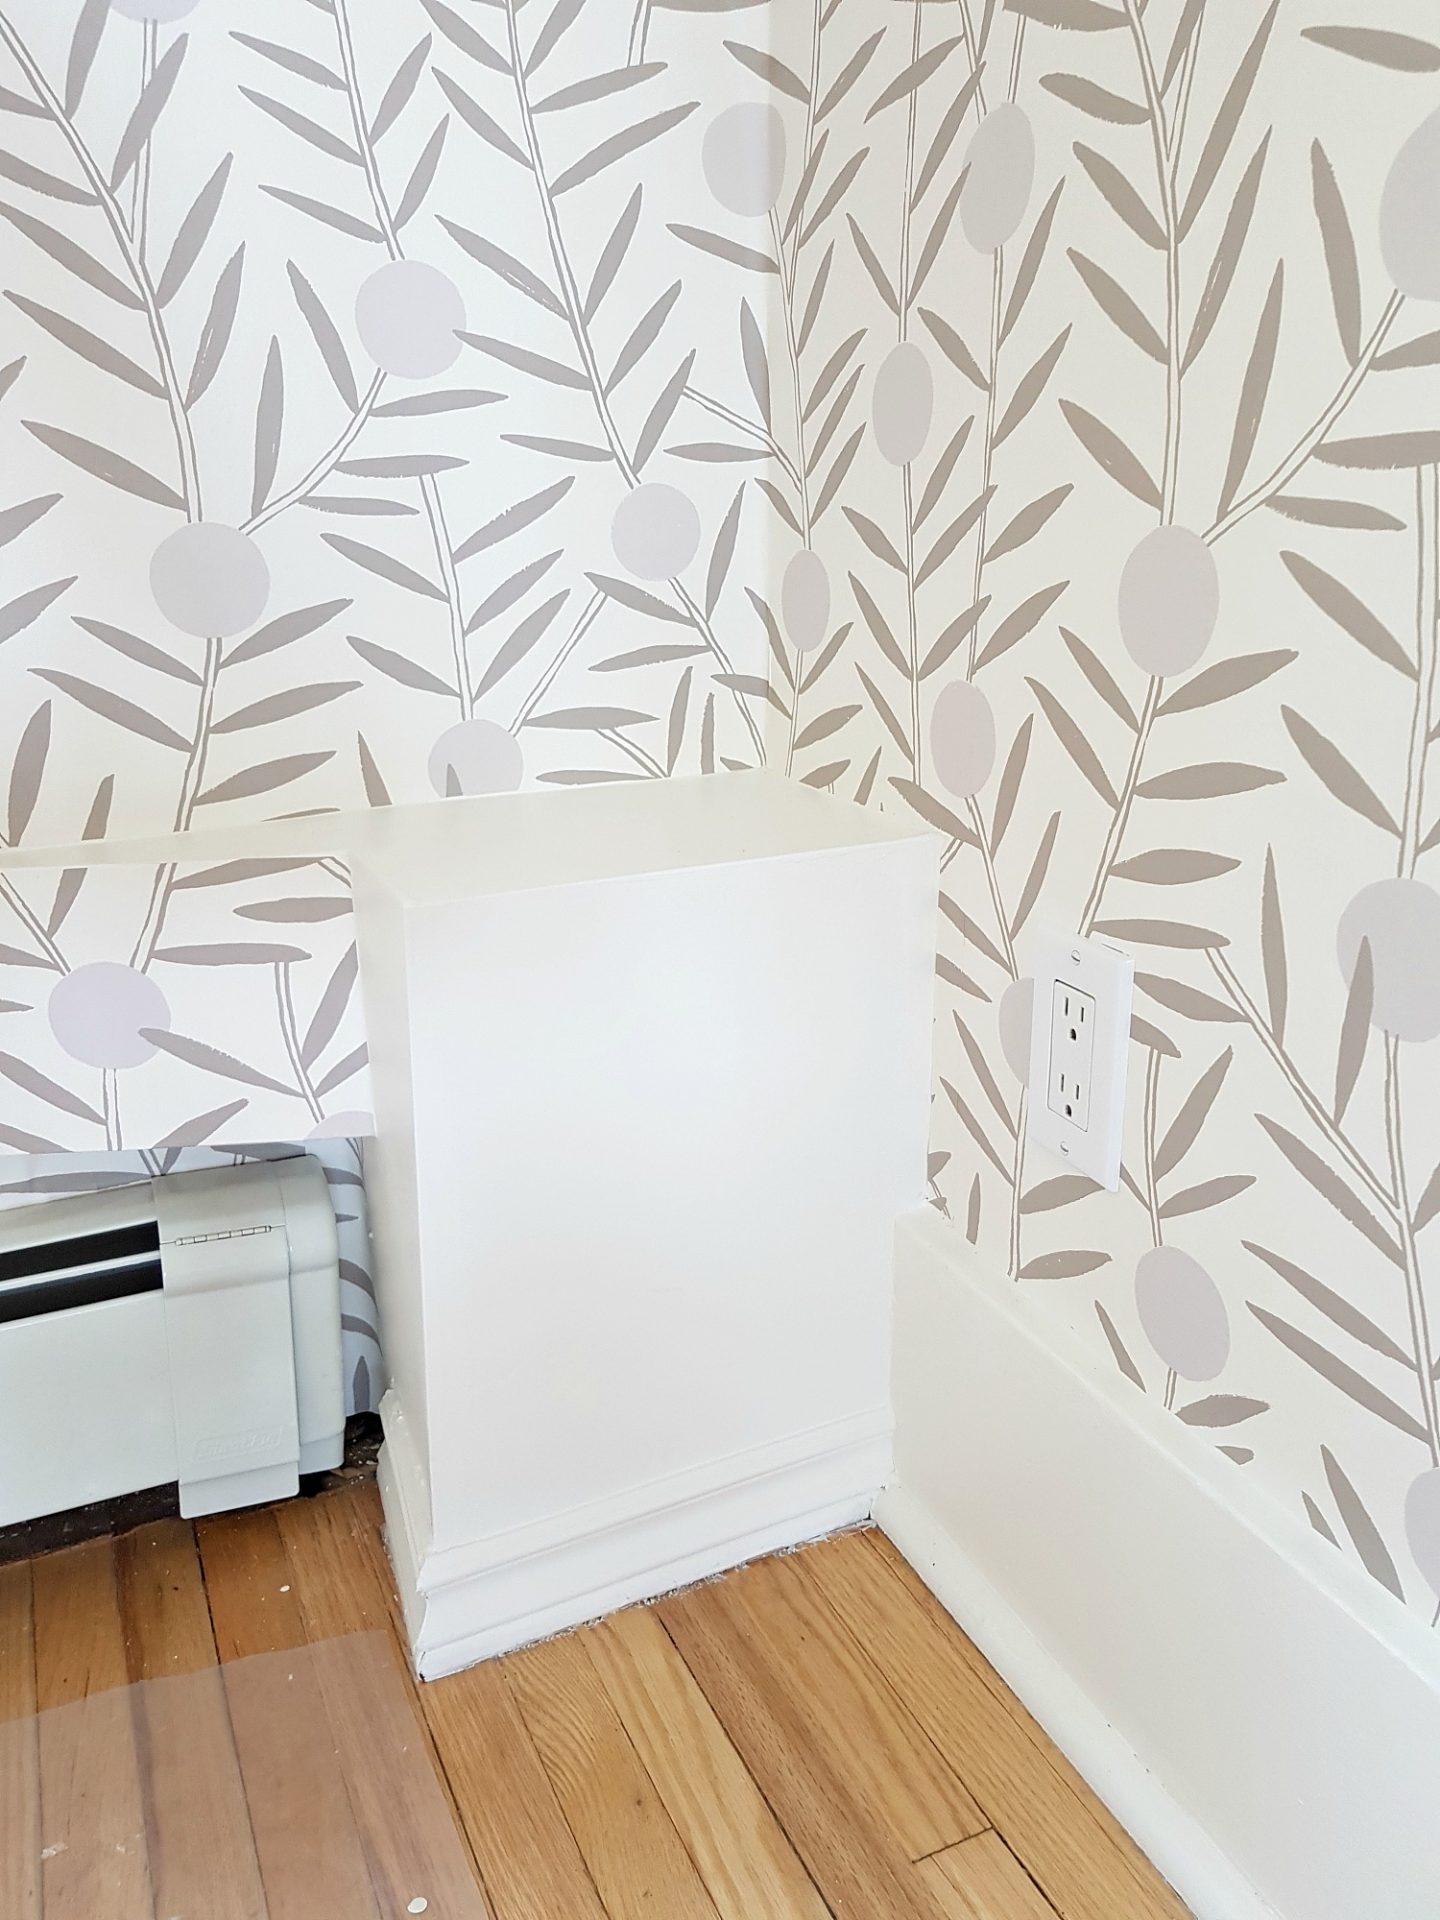
We left the real bump out part white because of the trim – it was much lower/smaller there and wallpapering it really made that show so we kept it cream and – ta da – it’s a spot for a beautiful vase.

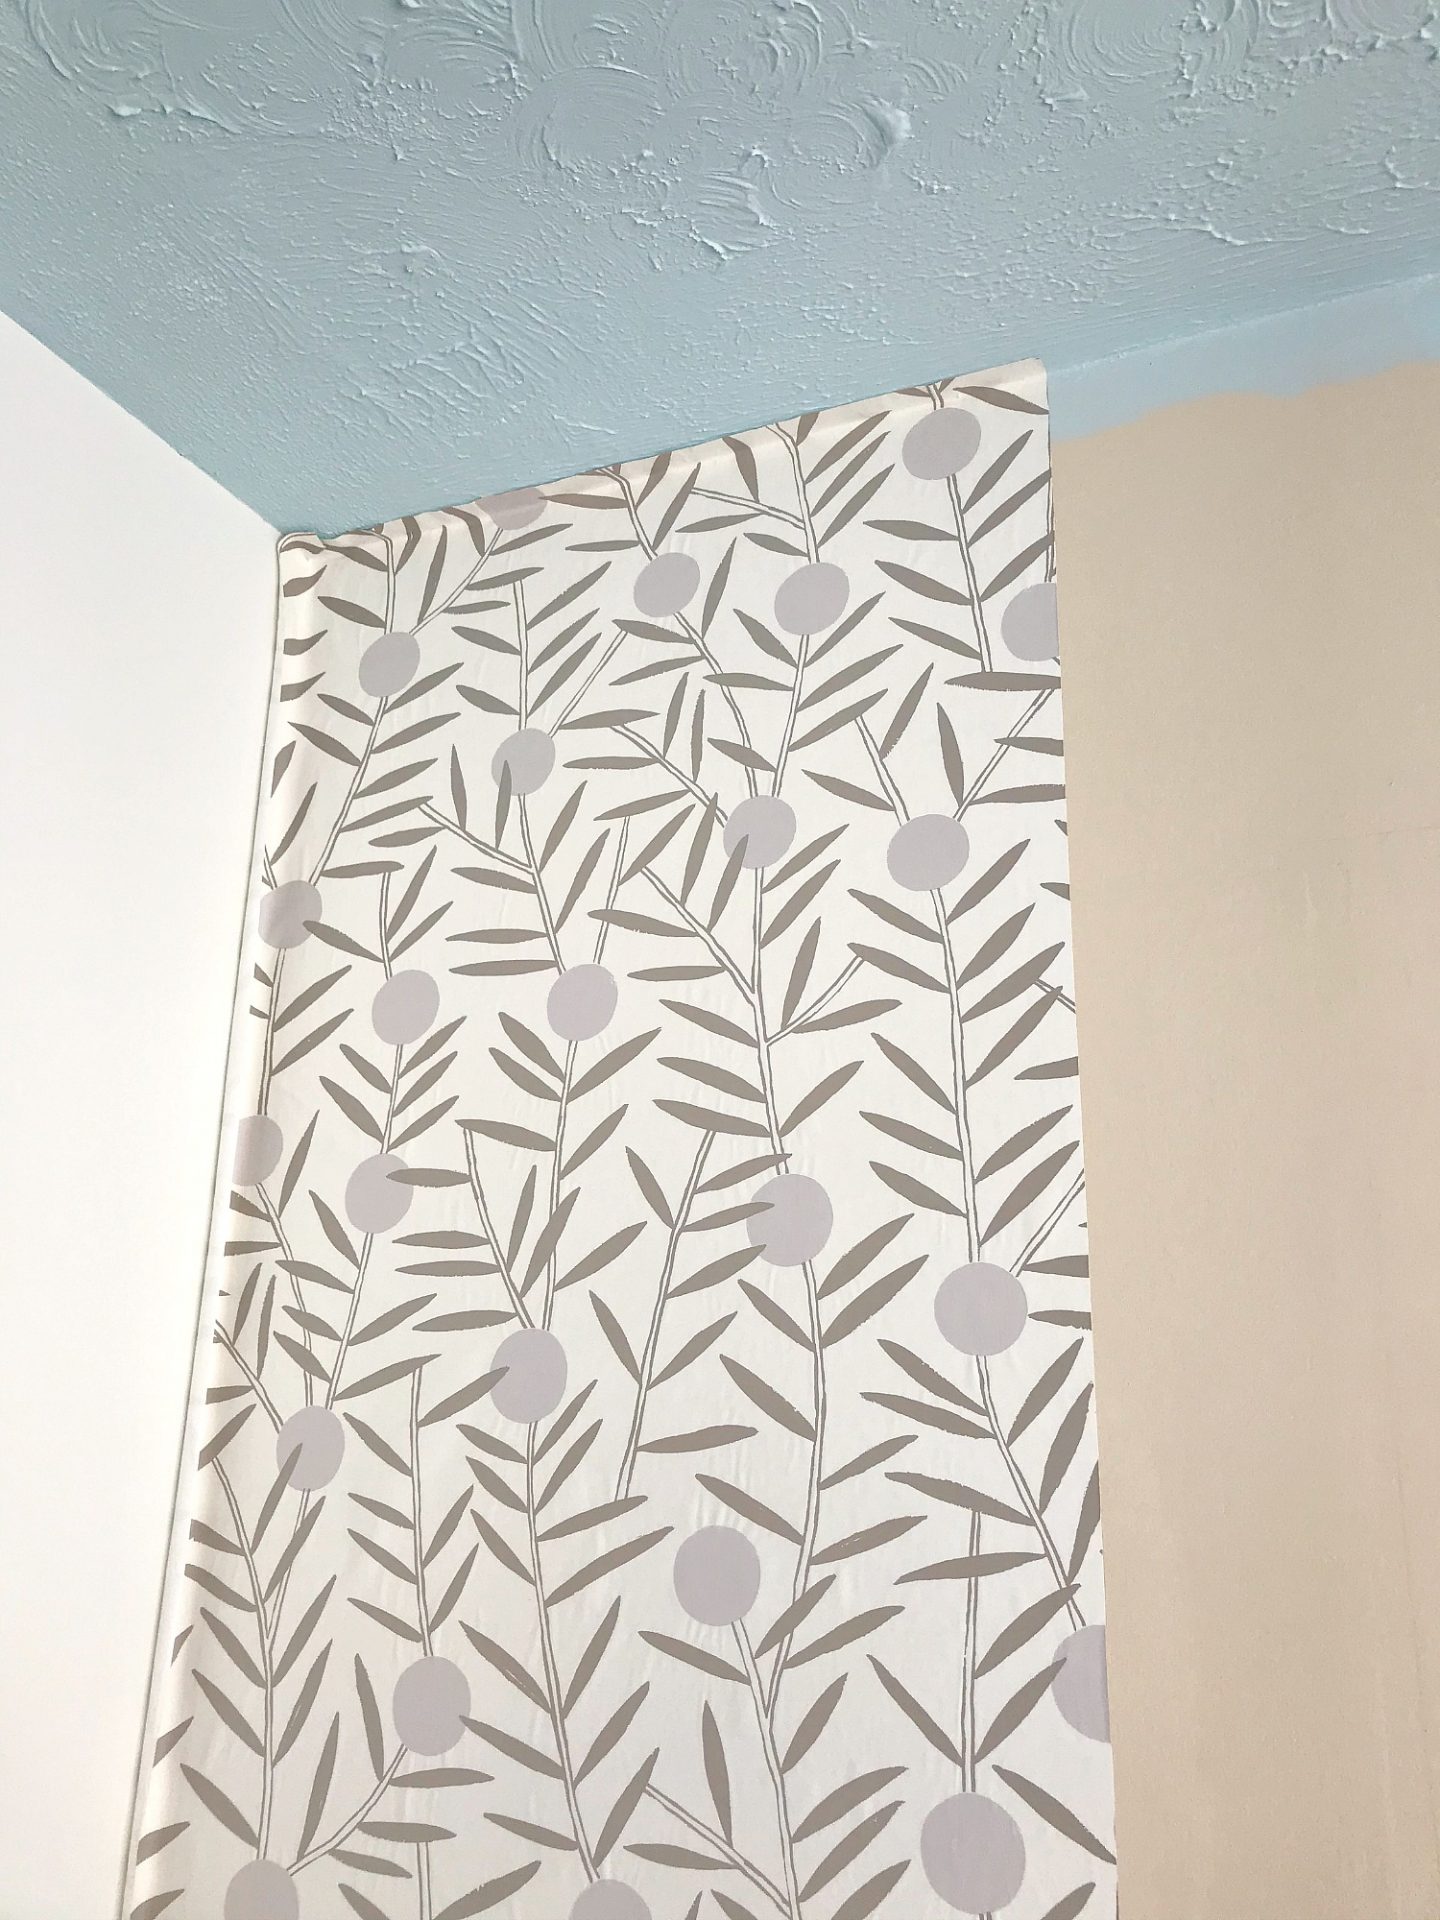
Hygge & West Wallpaper Review:
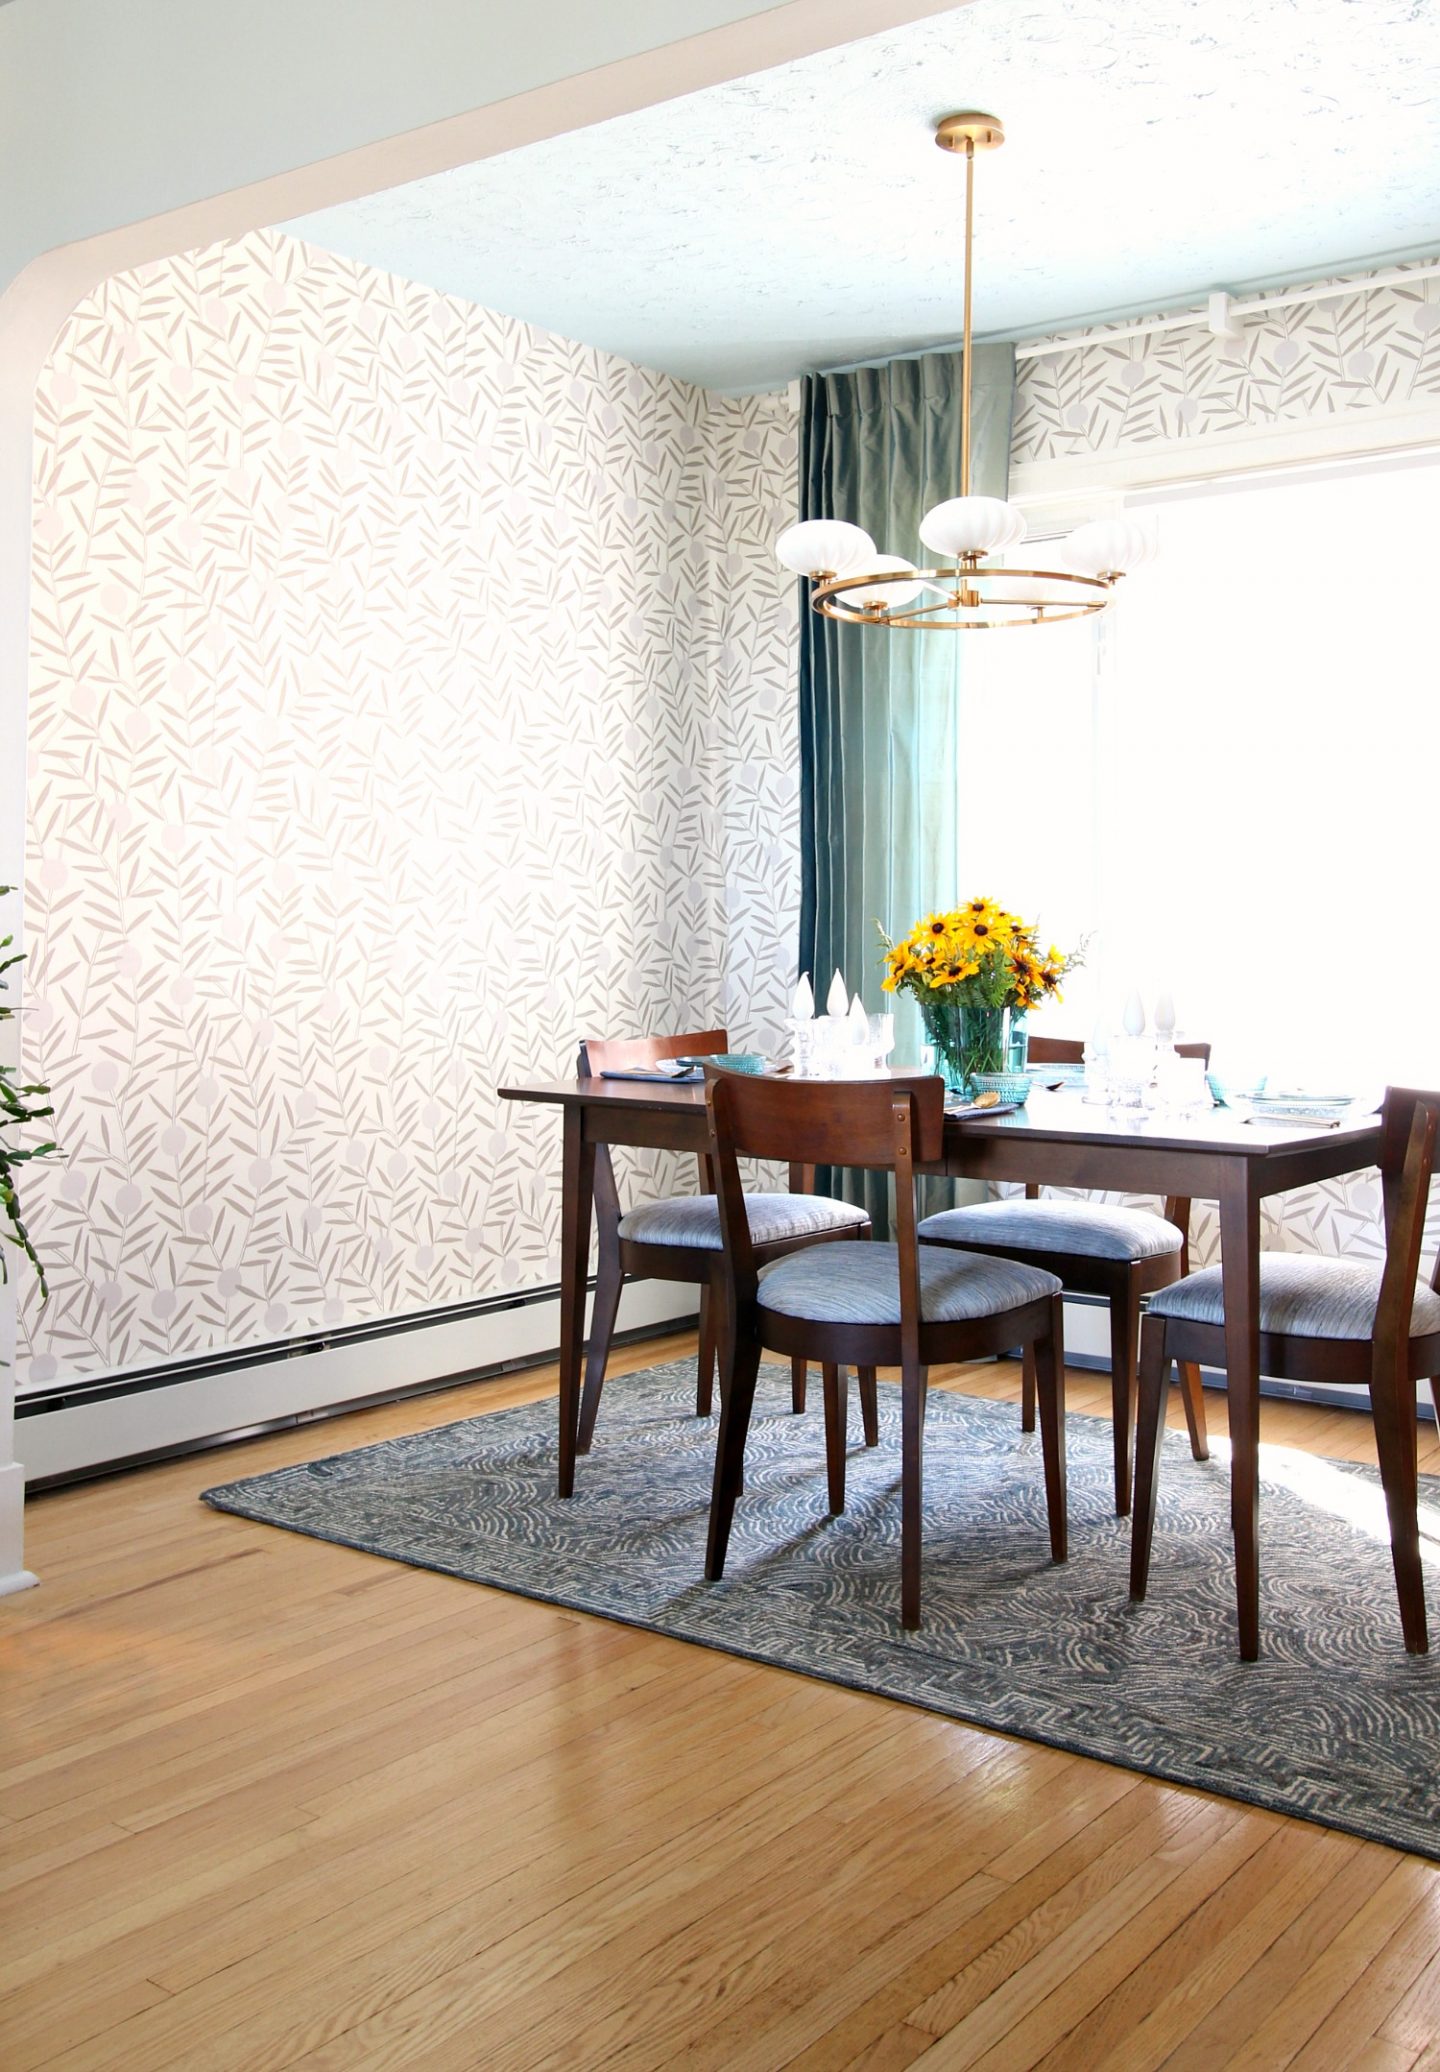
I have been so curious about Hygge & West wallpaper and had shortlisted a pattern for my powder room too, but ultimately wanted a shade of turquoise (and coastal vibe) they don’t make. So I was thrilled for a room to wallpaper in my Mom’s place so I could finally see it for myself (after following the brand on Instagram, and pining over their patterns, for so long). The Hygge & West wallpaper is amazing quality: very thick, and beautifully hand printed. The Bloom pattern is exceptionally beautiful and I love the shade of taupe. It feels and looks expensive. I think many would say that’s because it IS expensive. But we have to remember that it’s also screen printed by hand and made in the USA. There’s a video on the website and you can see the care and craftsmanship – and time! – that goes into creating each role. It’s much more labor intensive that I could have imagined. I feel very passionate about supporting companies that keep manufacturing in North America and that means spending a bit more because wages are higher, the materials are often better quality, etc. If you love the look but not the price, to save money consider wallpapering a single accent wall, a small space (like a powder room), or above some wainscoting to get the visual impact but reduce the amount of wallpaper required.
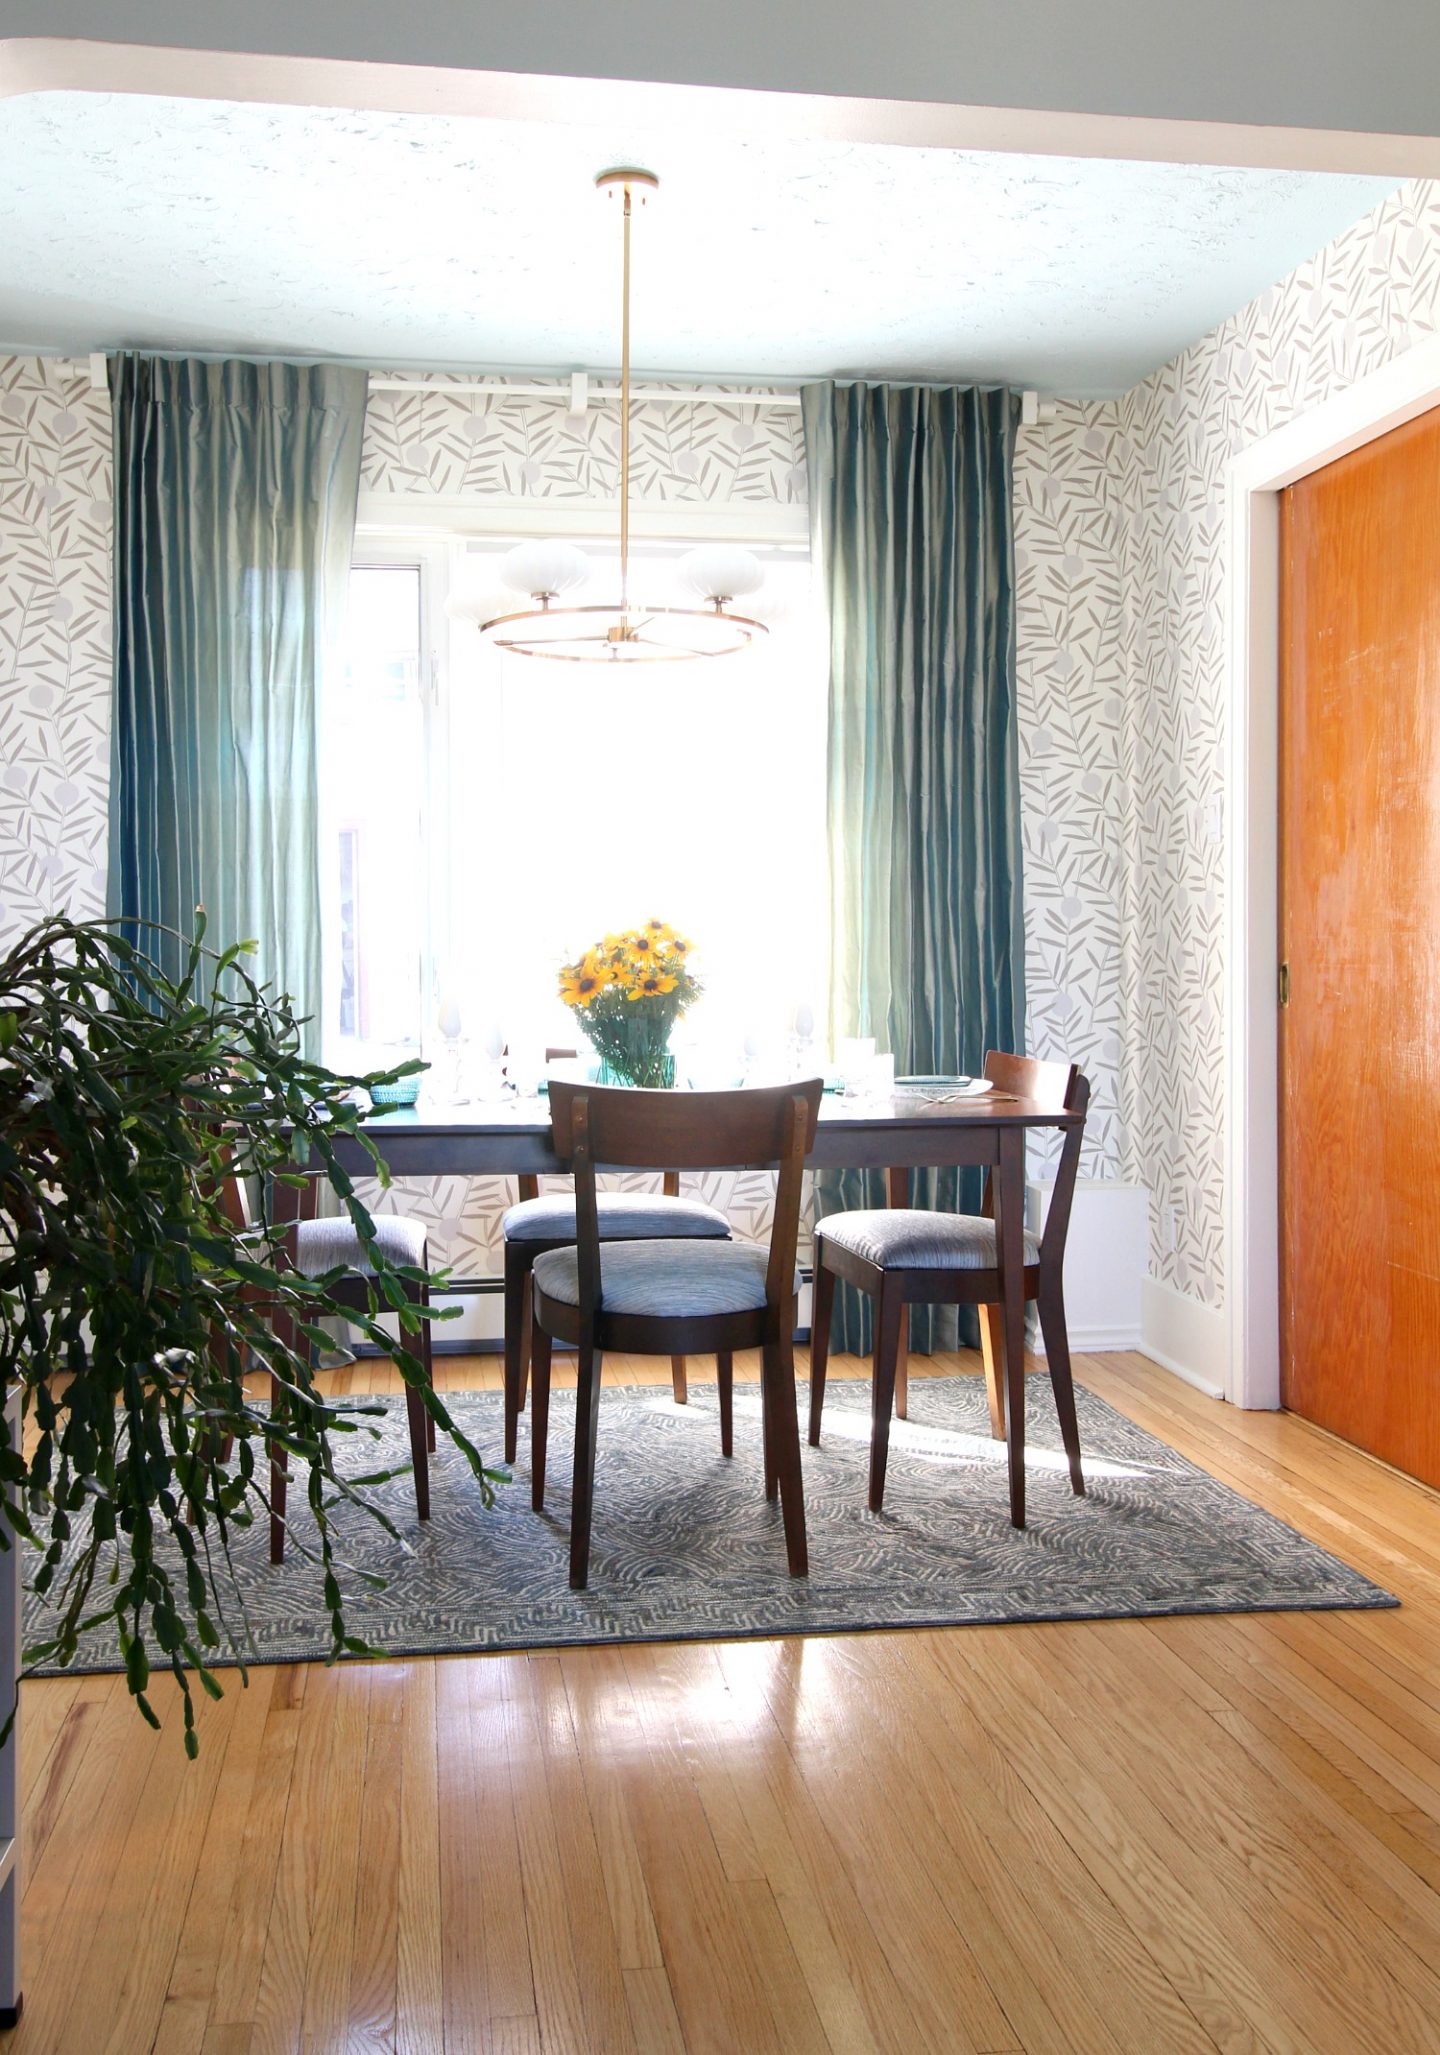

Overall, I’m super happy with how this wallpapered dining room turned out. Hanging wallpaper is not as scary as you think! I would definitely try Hygge & West wallpaper in another space BUT I will say that between the two, the Spoonflower wallpaper I used was a bit easier to install. I like them both though!

My Top DIY Wallpaper Tips:
- Don’t skimp on the “proper” supplies (no spatulas)
- Take the time to prep: the walls, the supplies, the work area
- Have a second set of hands and a game plan
- Measure twice – and cut once
- Take the time to smooth, don’t rush
- Don’t panic – it’s totally doable!
- Buy a little extra, you can always say that first sheet was practice 😉
- Avoid wallpaper in extreme weather – especially super dry, hot days – if you can avoid it


P.S. If you’d to see more of the dining room makeover, or are curious about any sources, check out the reveal for my Mom’s mid-century inspired dining room makeover here.
