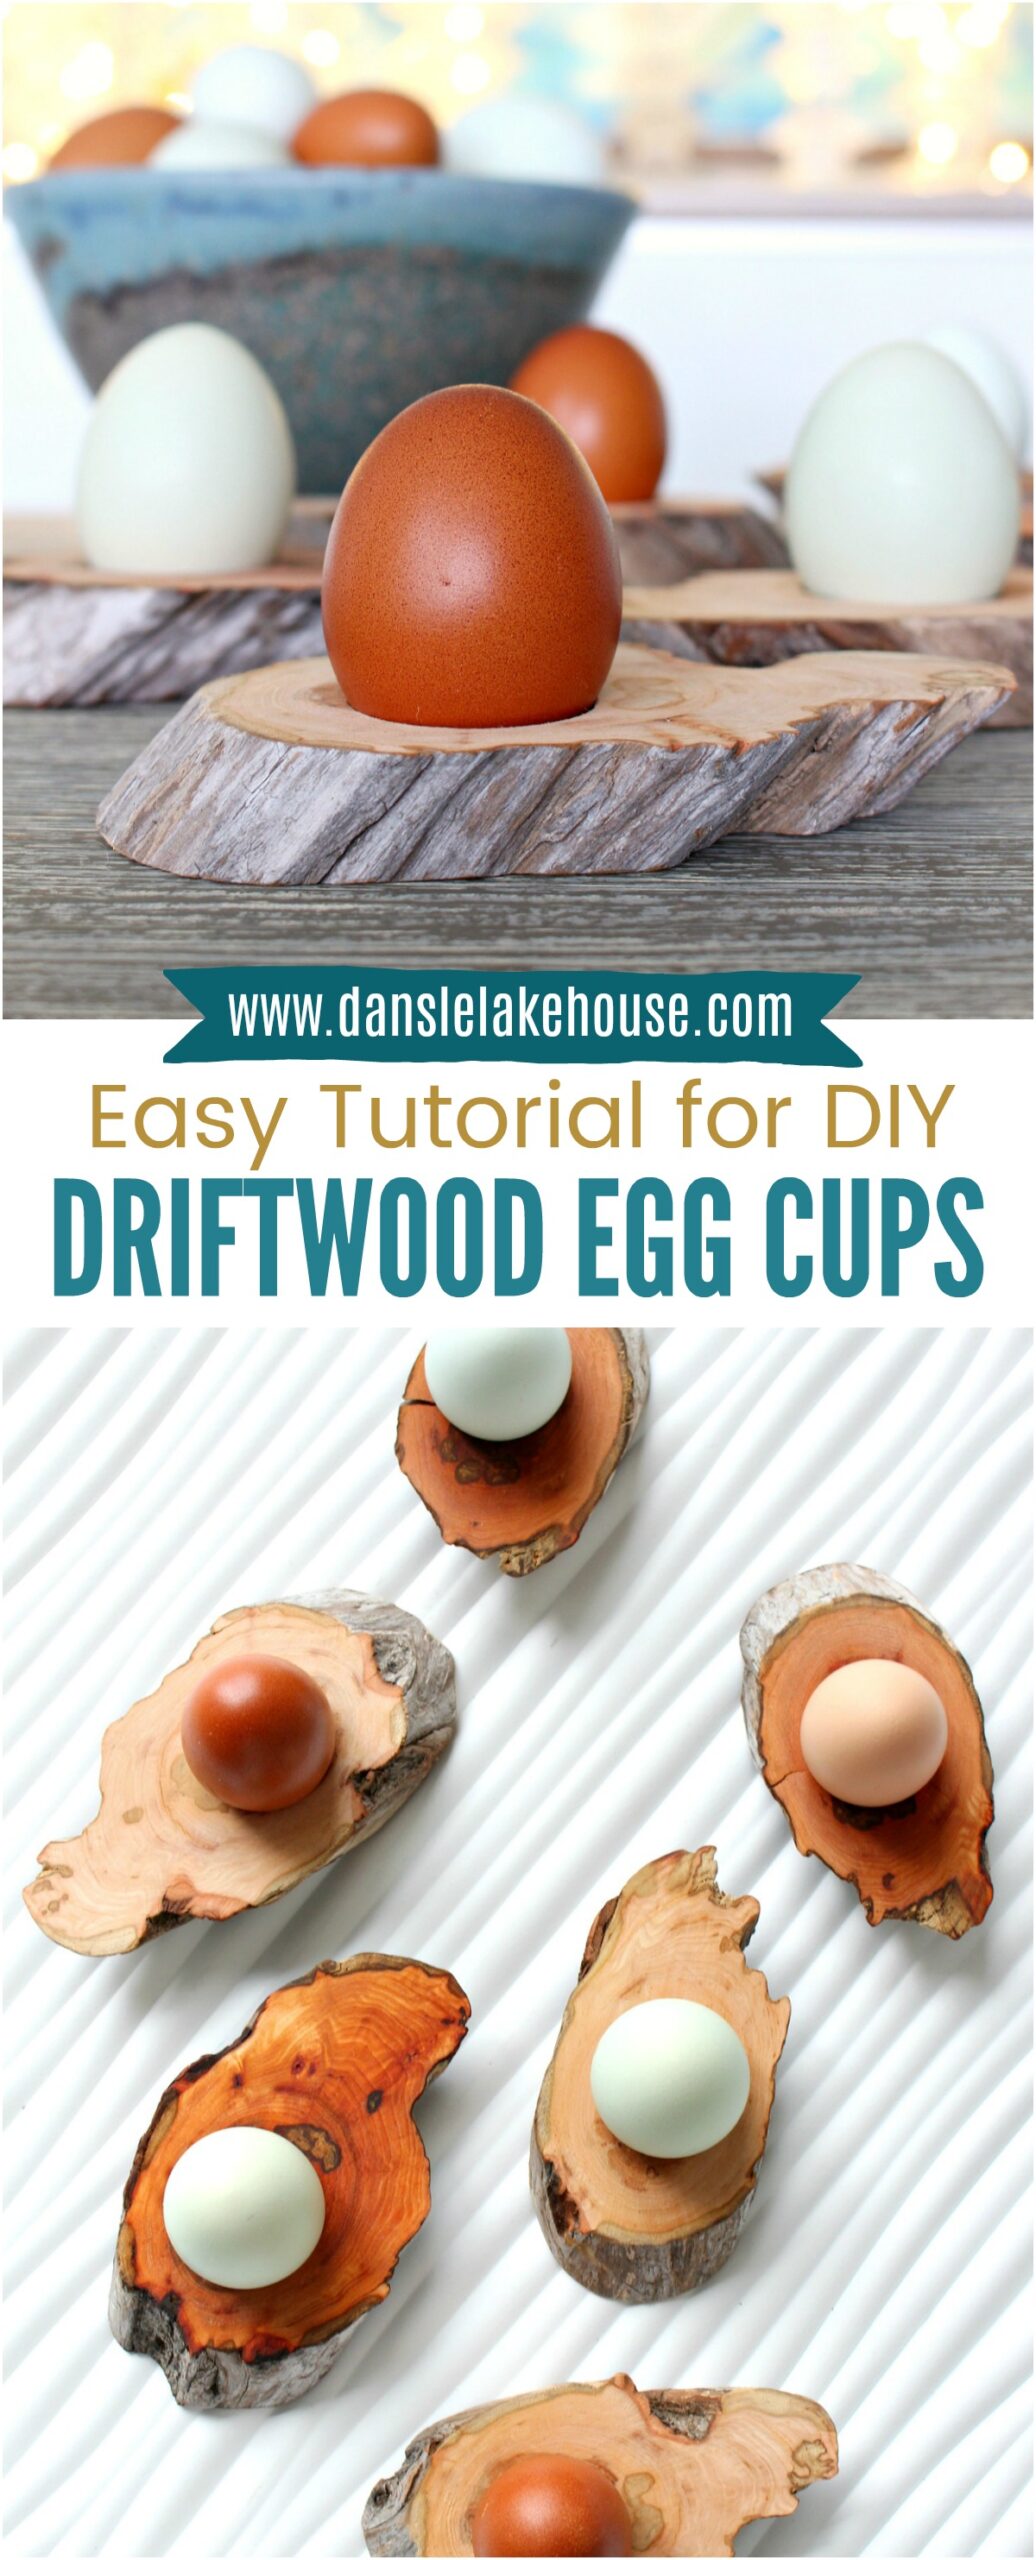
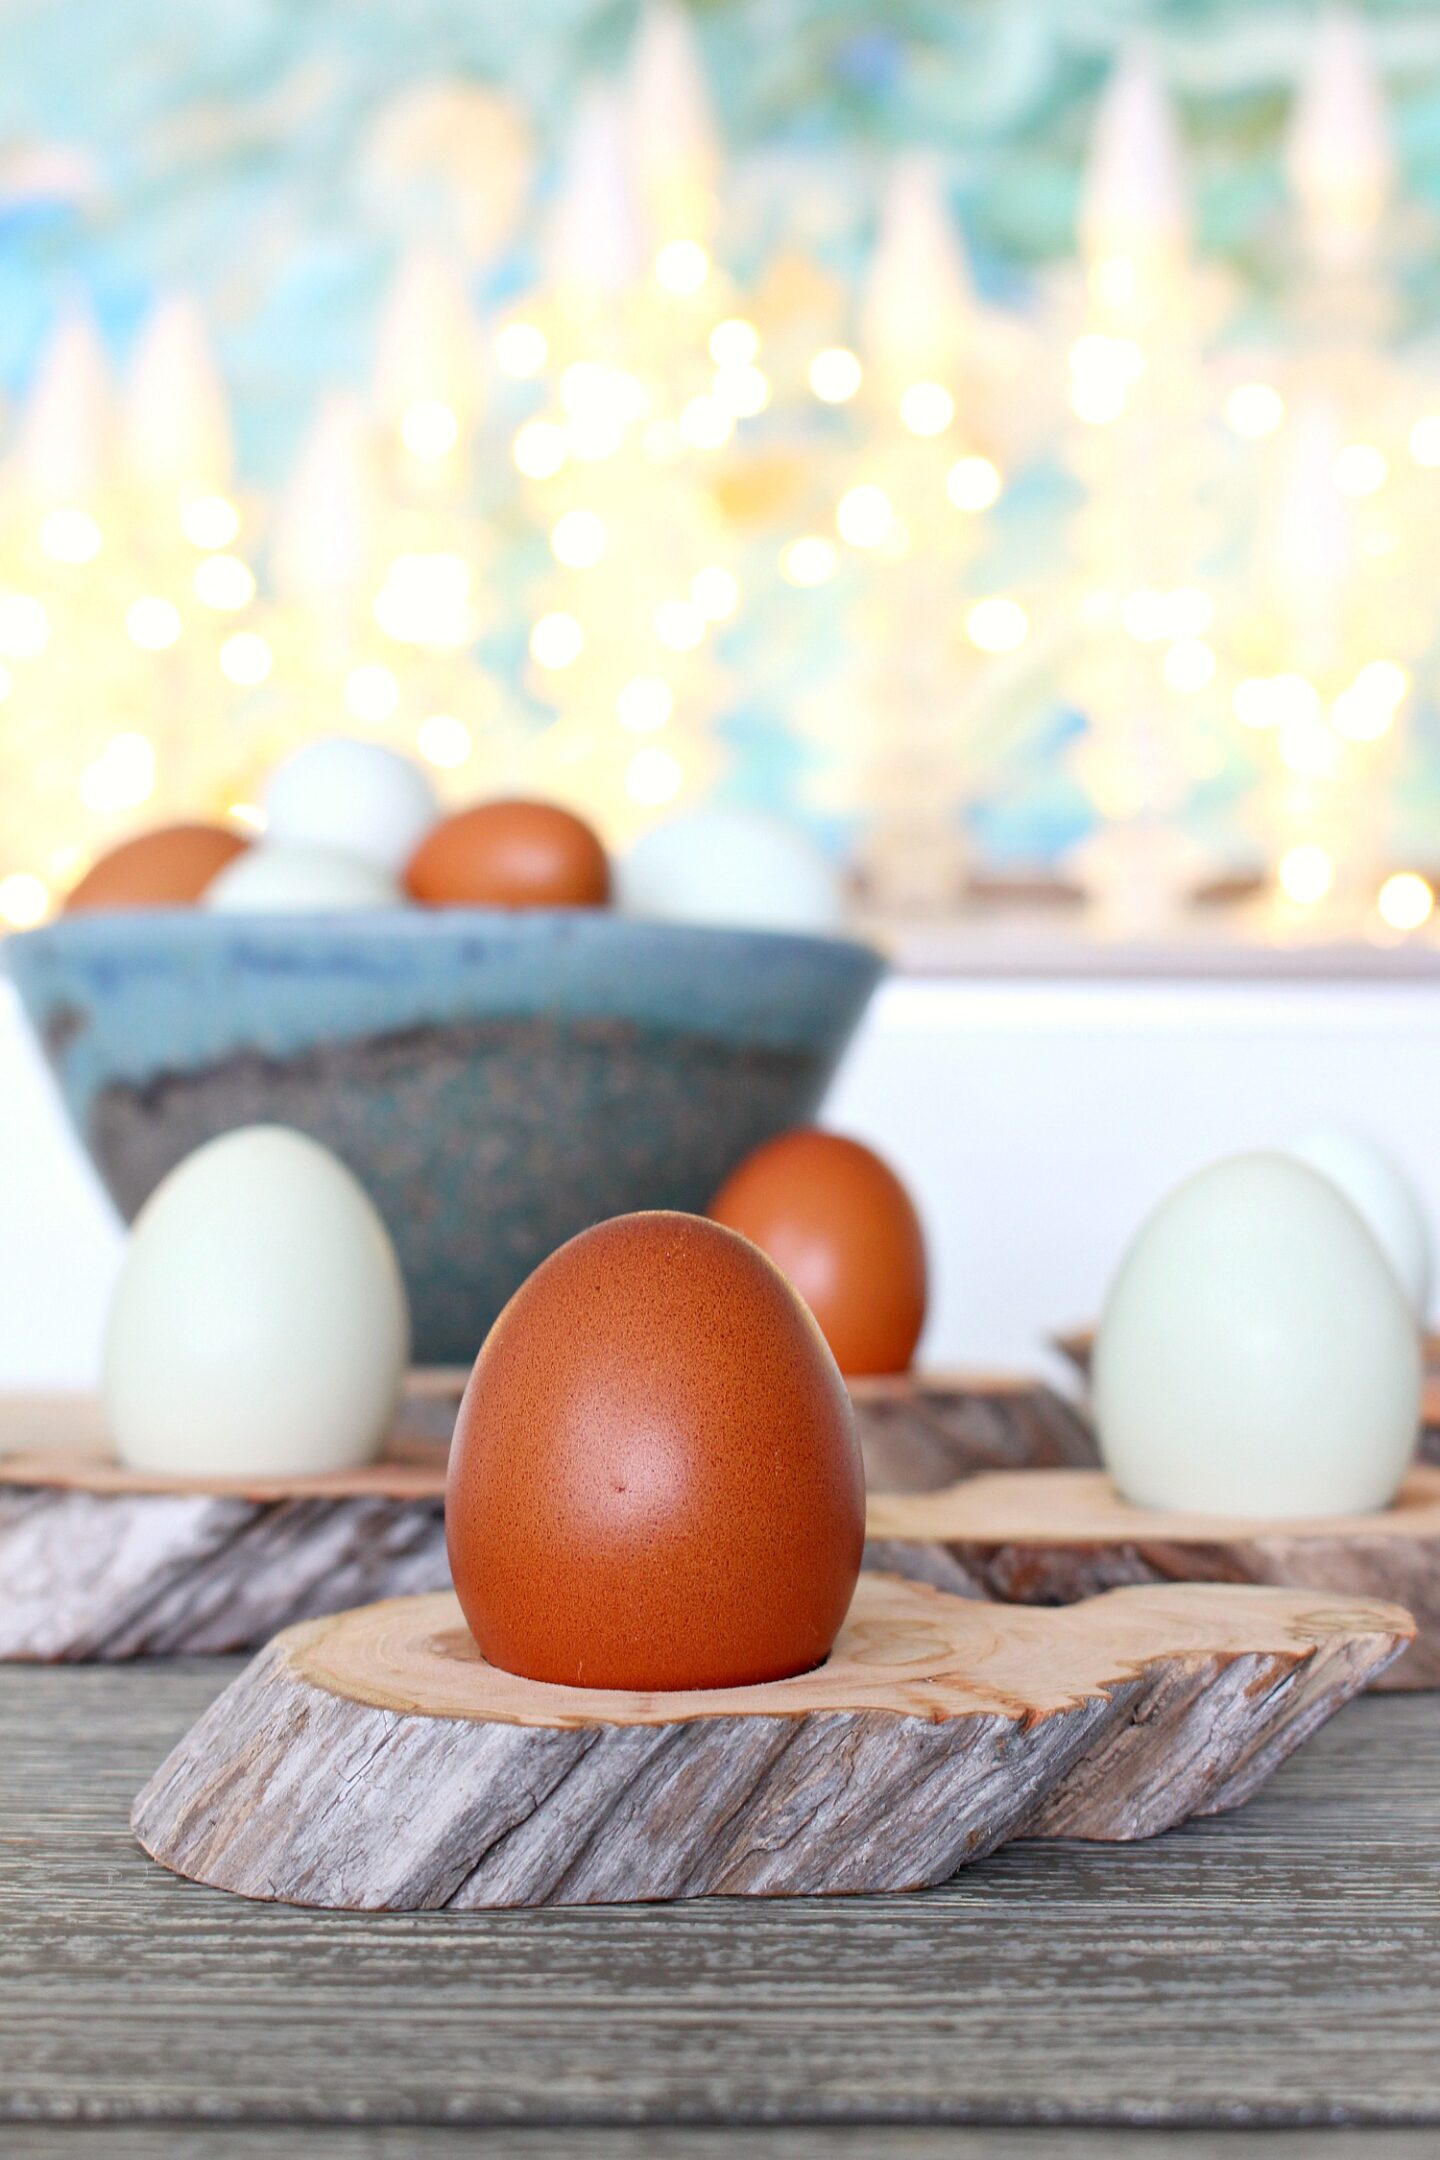
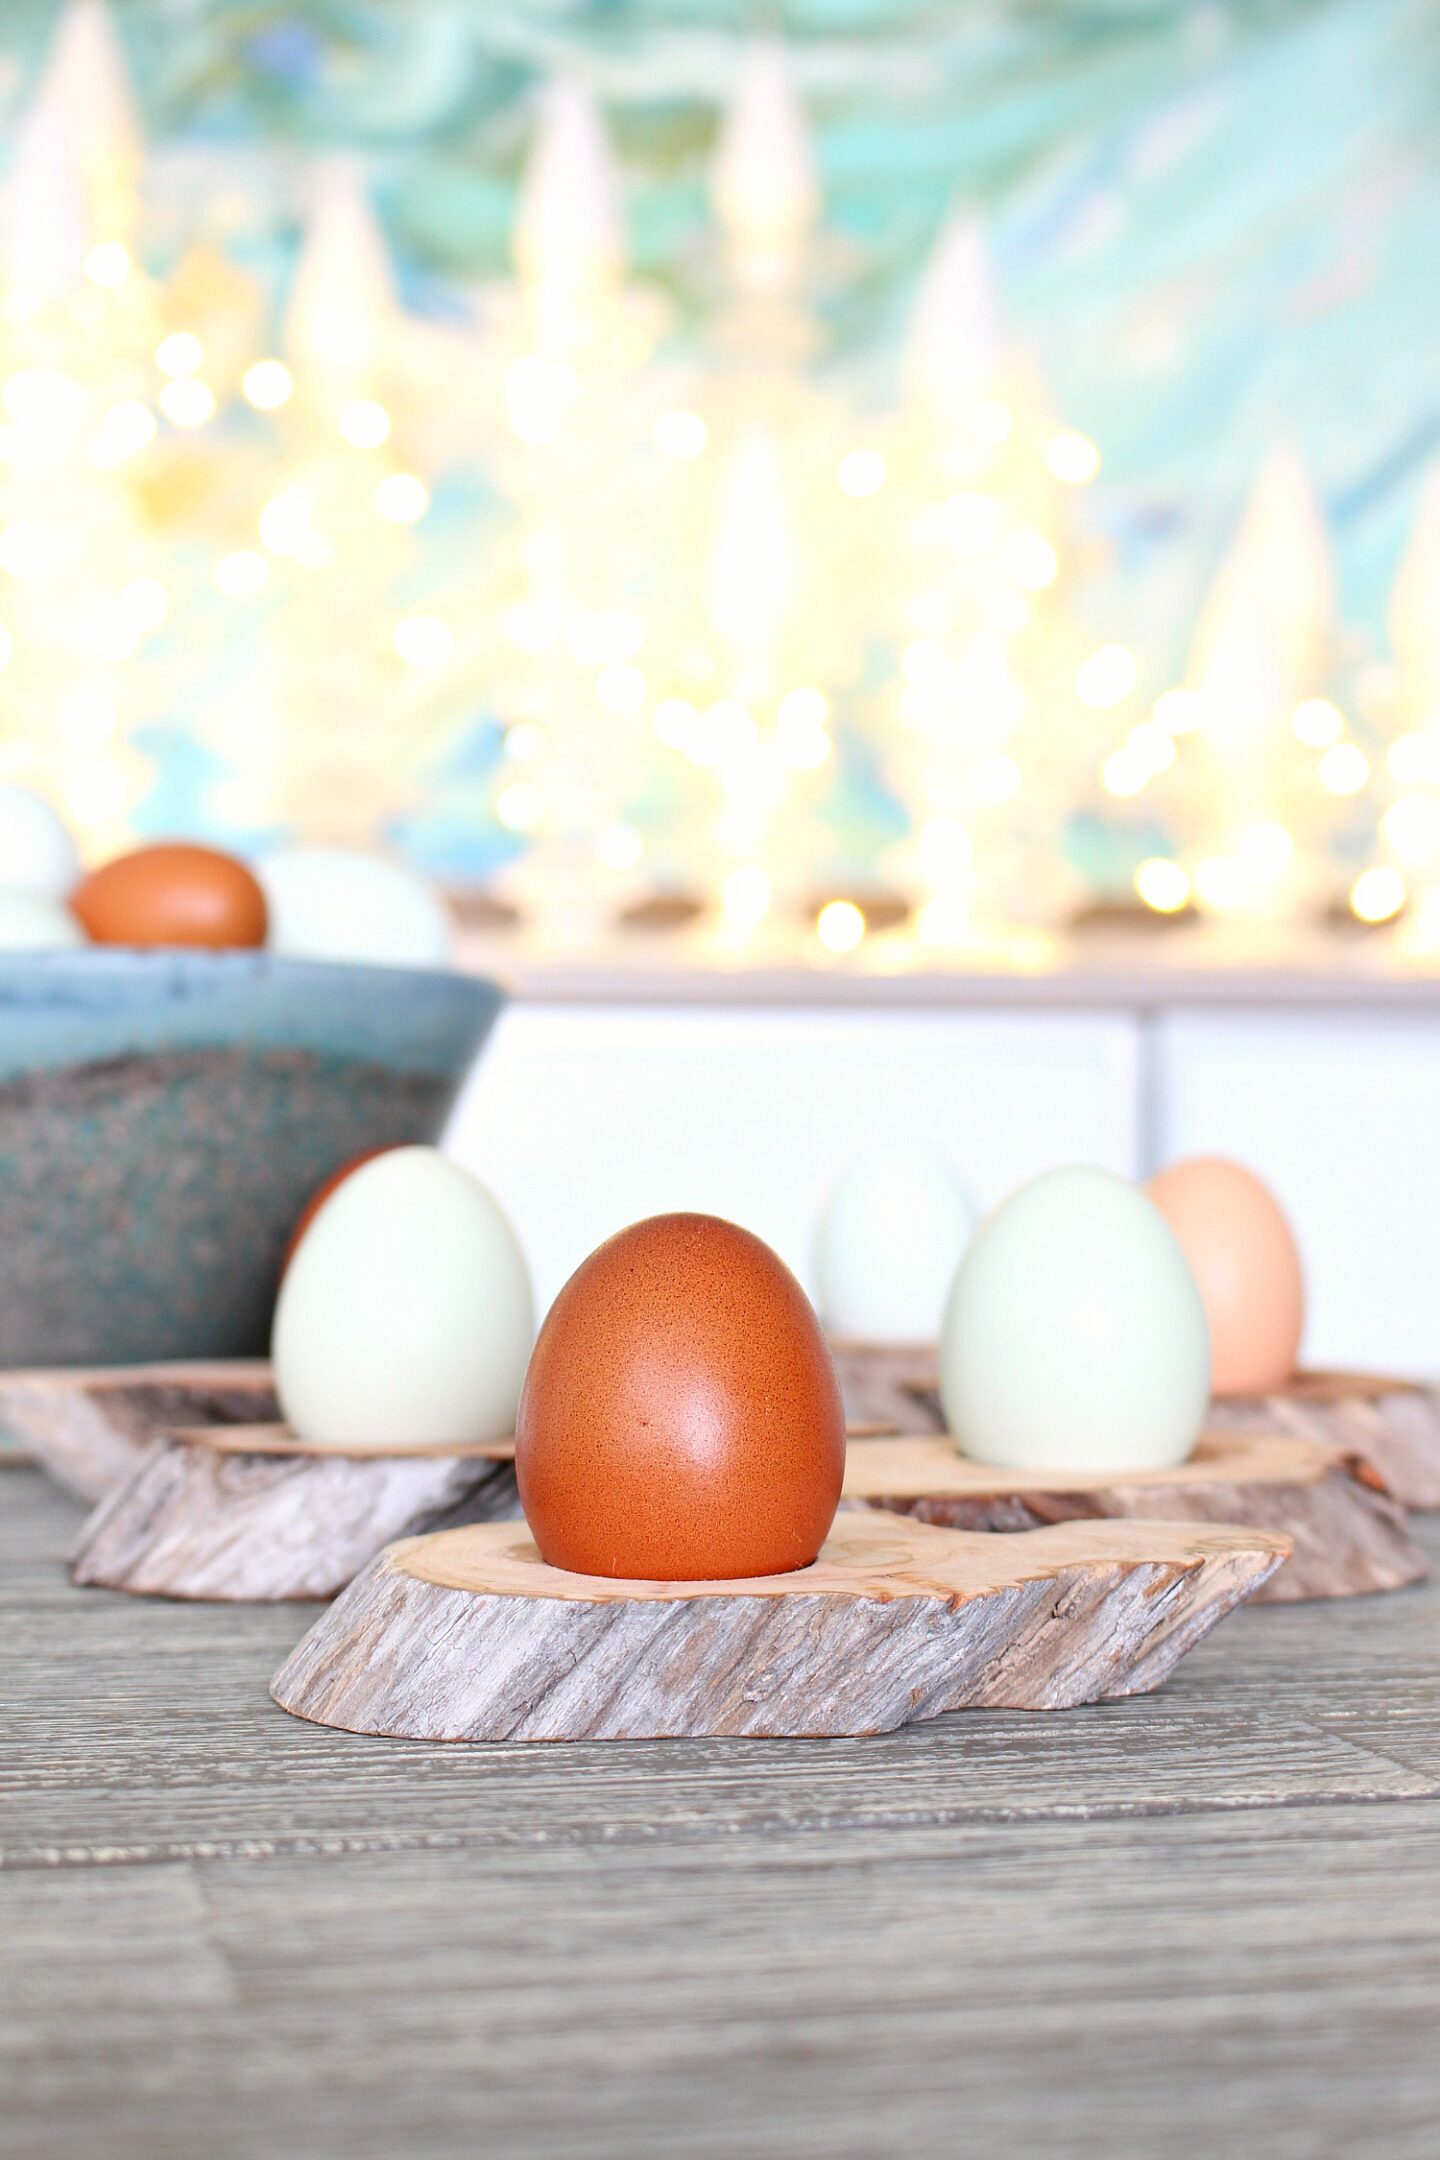
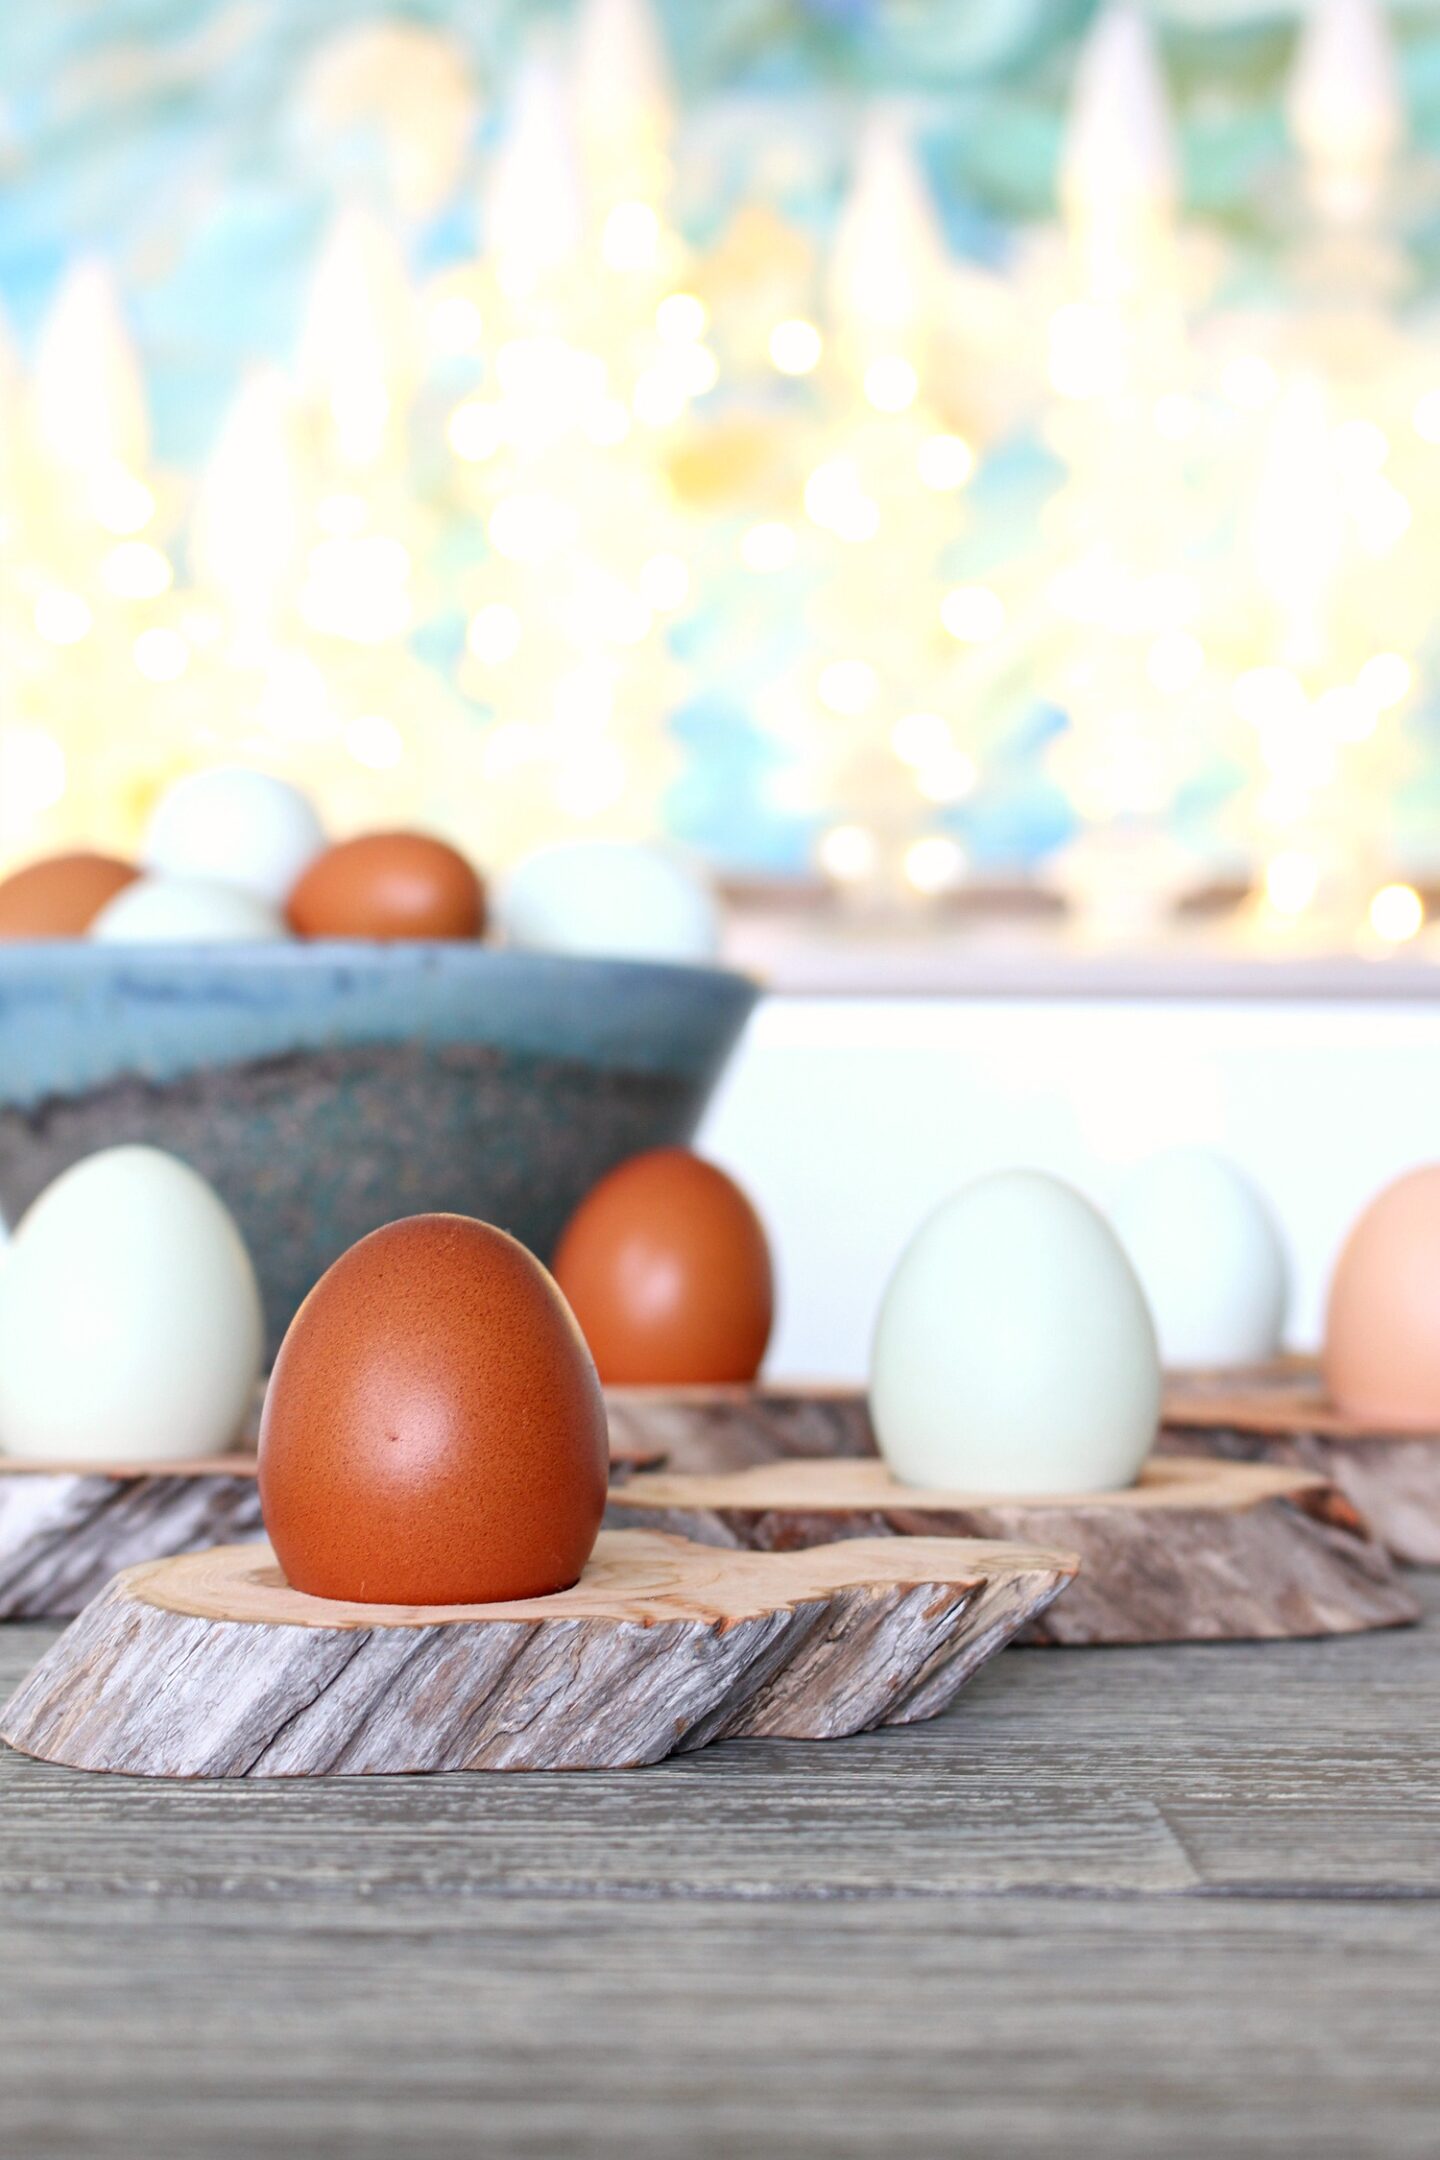
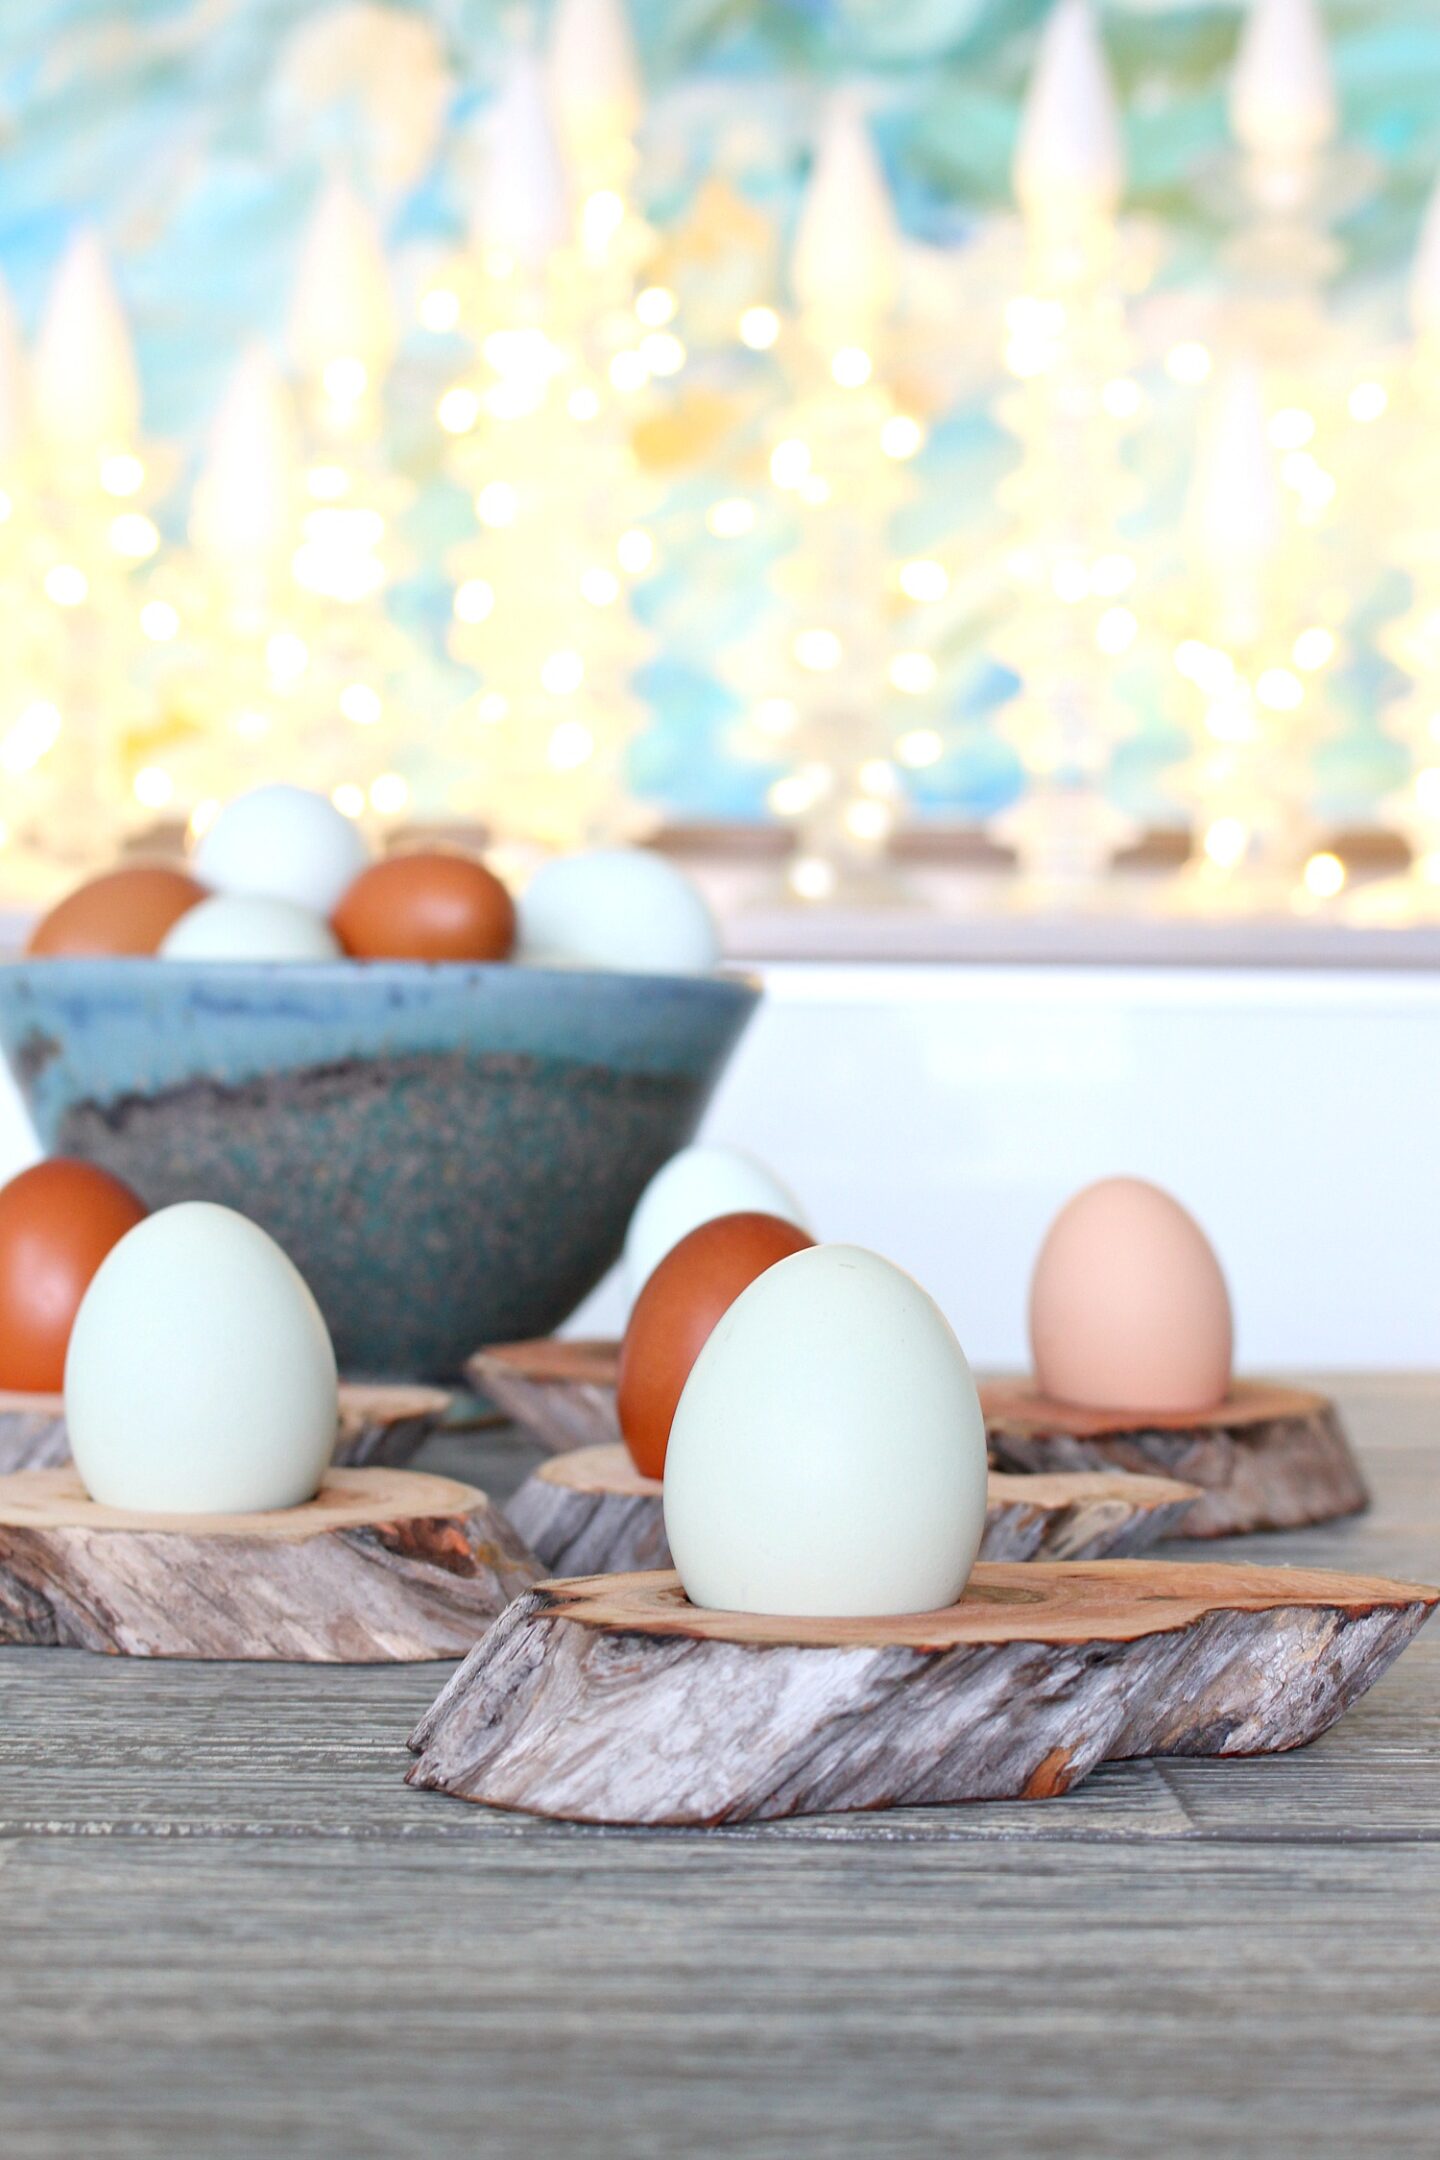
This DIY egg cup idea turned out 100% cuter than I envisioned, plus these DIY driftwood egg cups were also 100% free to make (only because I already had the tools and food safe oil on hand). They’ll be a sweet gift in addition to our chickens’ fresh eggs (that is, when they start to lay again – between their fall molt and shorter days, my dozen or so birds lay about an egg a day). When I can spare them, I like to give a carton of eggs as a thank you/hostess/birthday gift. But although I know that those still-warm-from-a-hen, butt fresh nuggets are still ringing in at about $45/carton (nevermind the many hours of my time), to the recipient it probably seems like a gift worth $3.00. Some people I give them to LOVE them and some have seemed…underwhelmed, lol. Now I can wrap a ribbon around a carton of eggs and add a set of these pretty DIY driftwood egg cups to give the gift more “oomph”.

Want to make these DIY driftwood egg cups? Here’s how!
Supplies for DIY Driftwood Egg Cups:
- Thick and gnarly driftwood or other log/branch
- Saw (I used my compound miter saw but even a miter box saw could work)
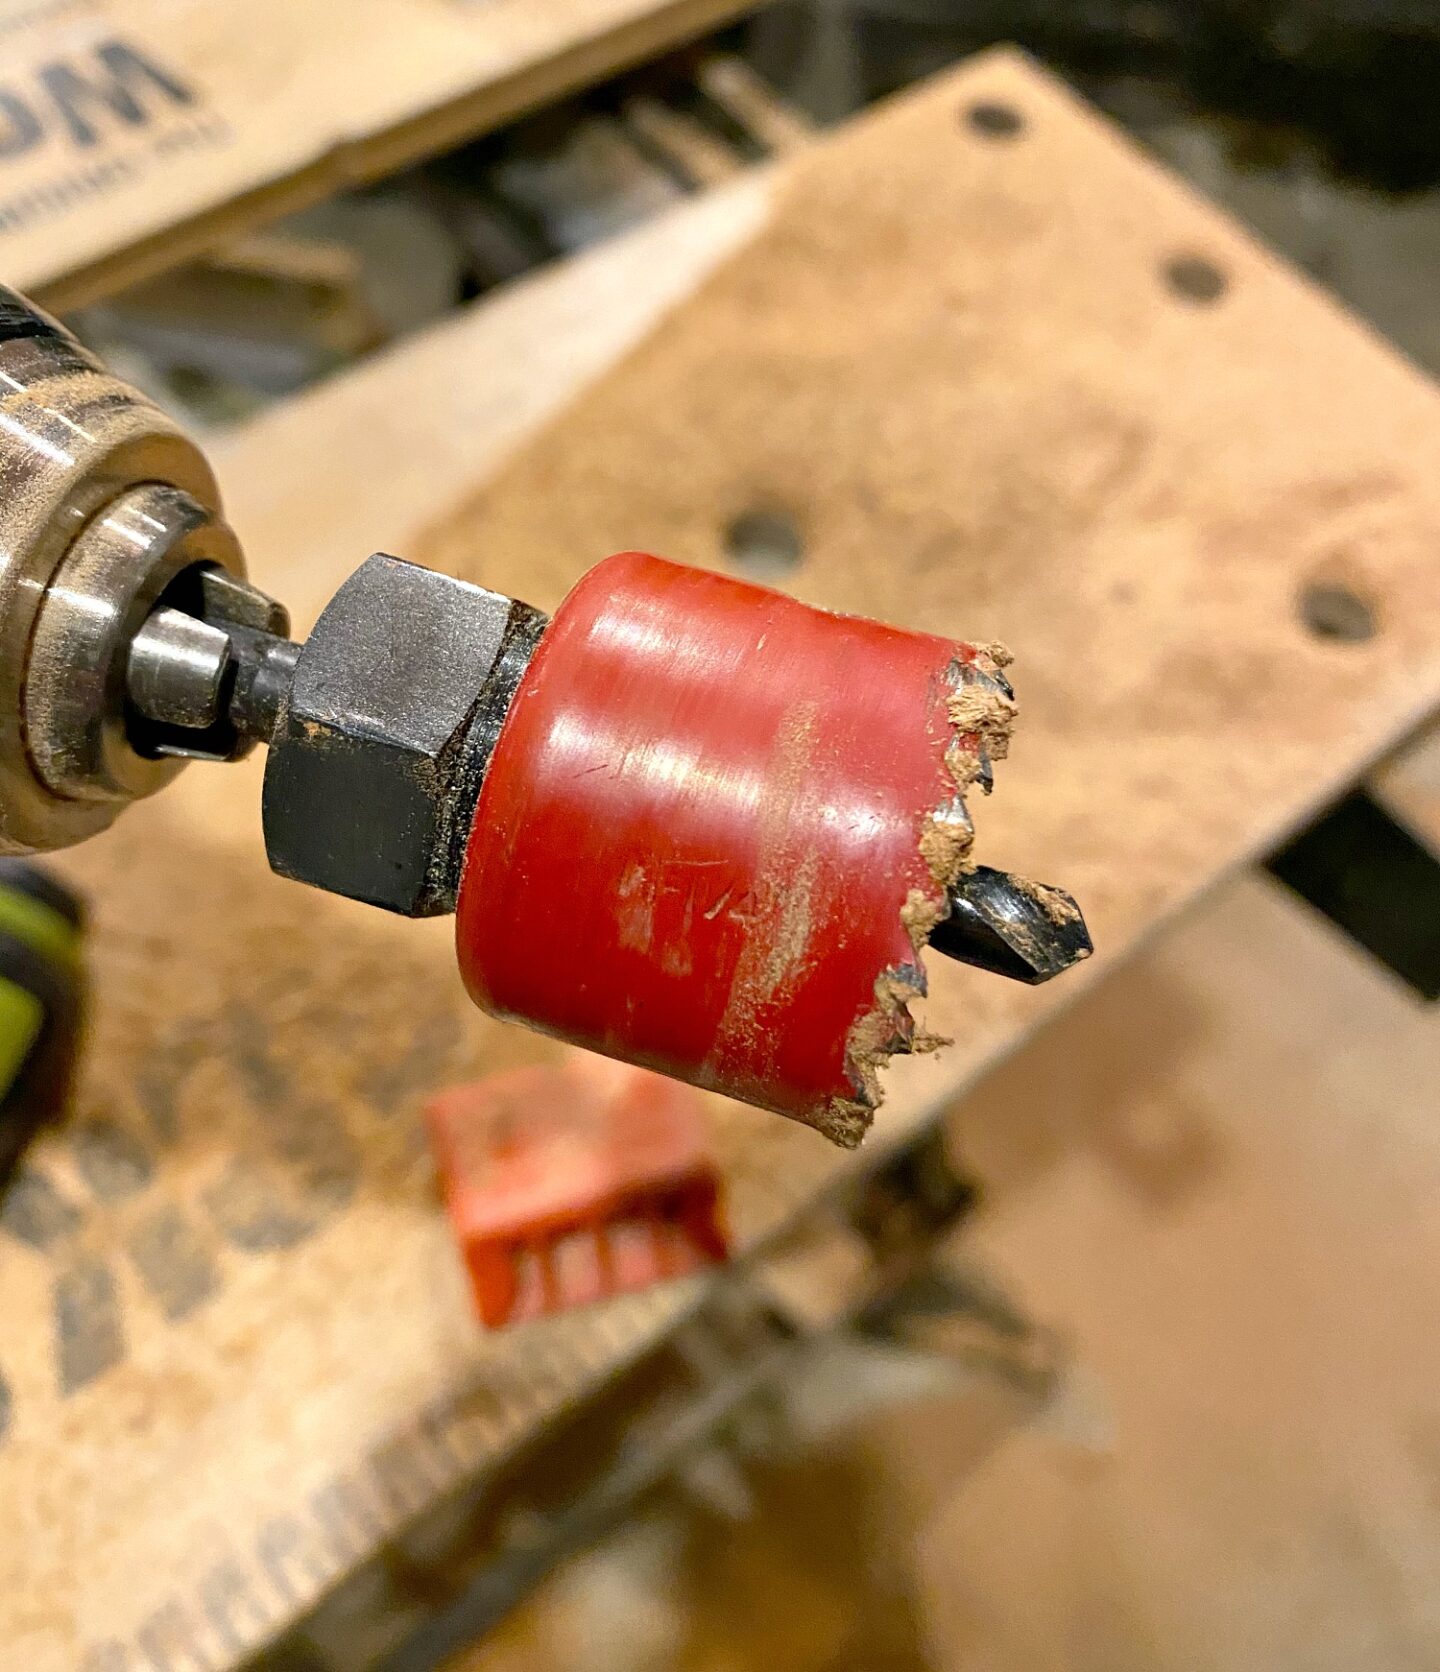
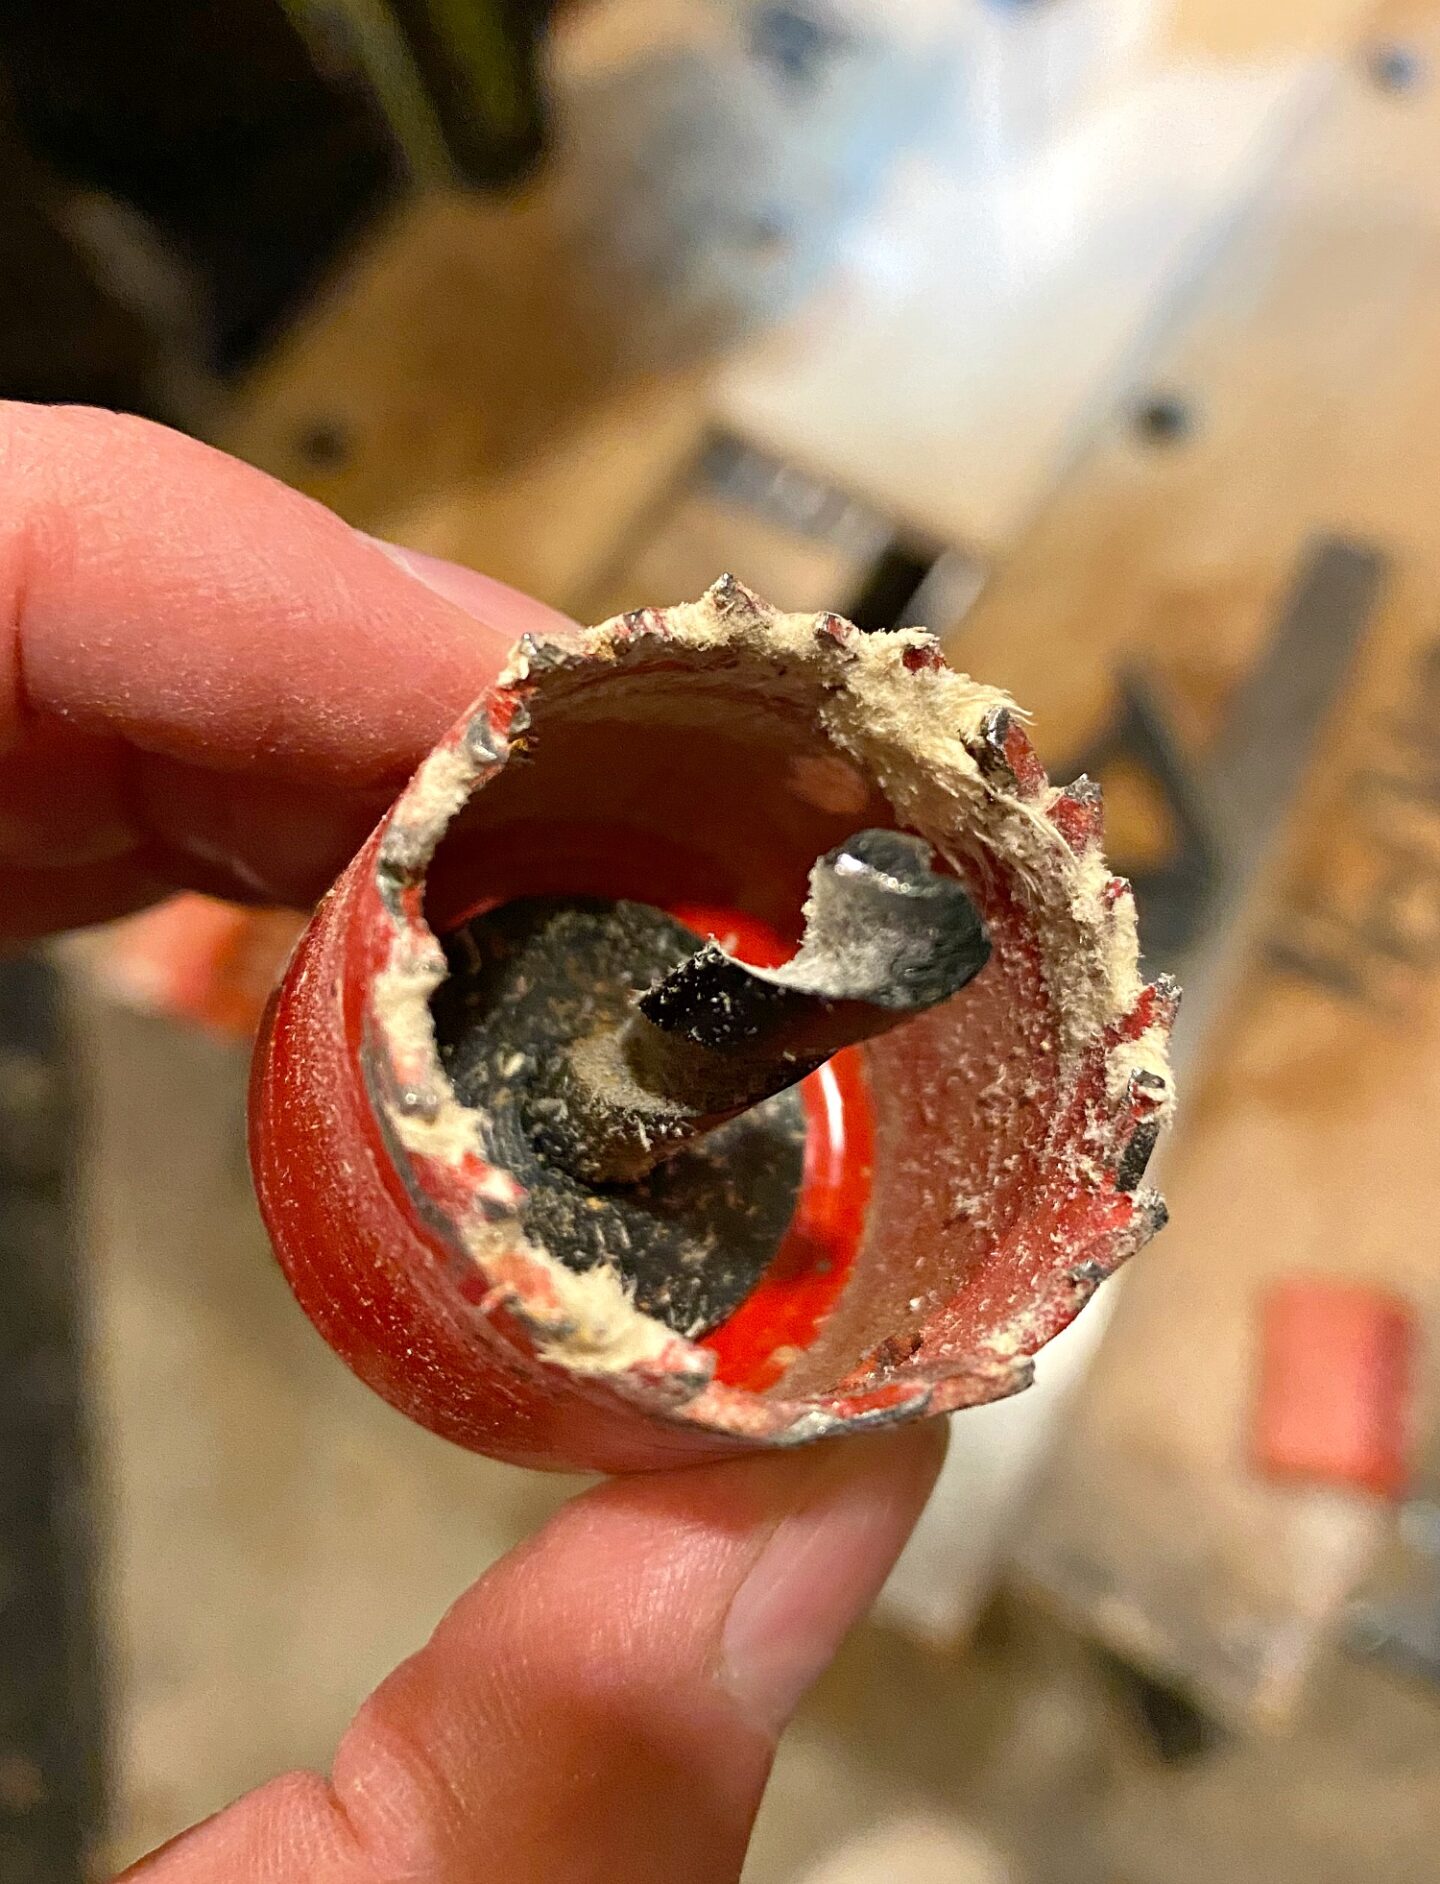
- Hole saw (I used 1 1/4″ to fit my slightly smaller-than-store-bought eggs)
- Work bench to clamp driftwood slices while drilling
- Sand paper
- Bleach, water, small container
- Food safe wood oil
How to Make a DIY Driftwood Egg Cups:
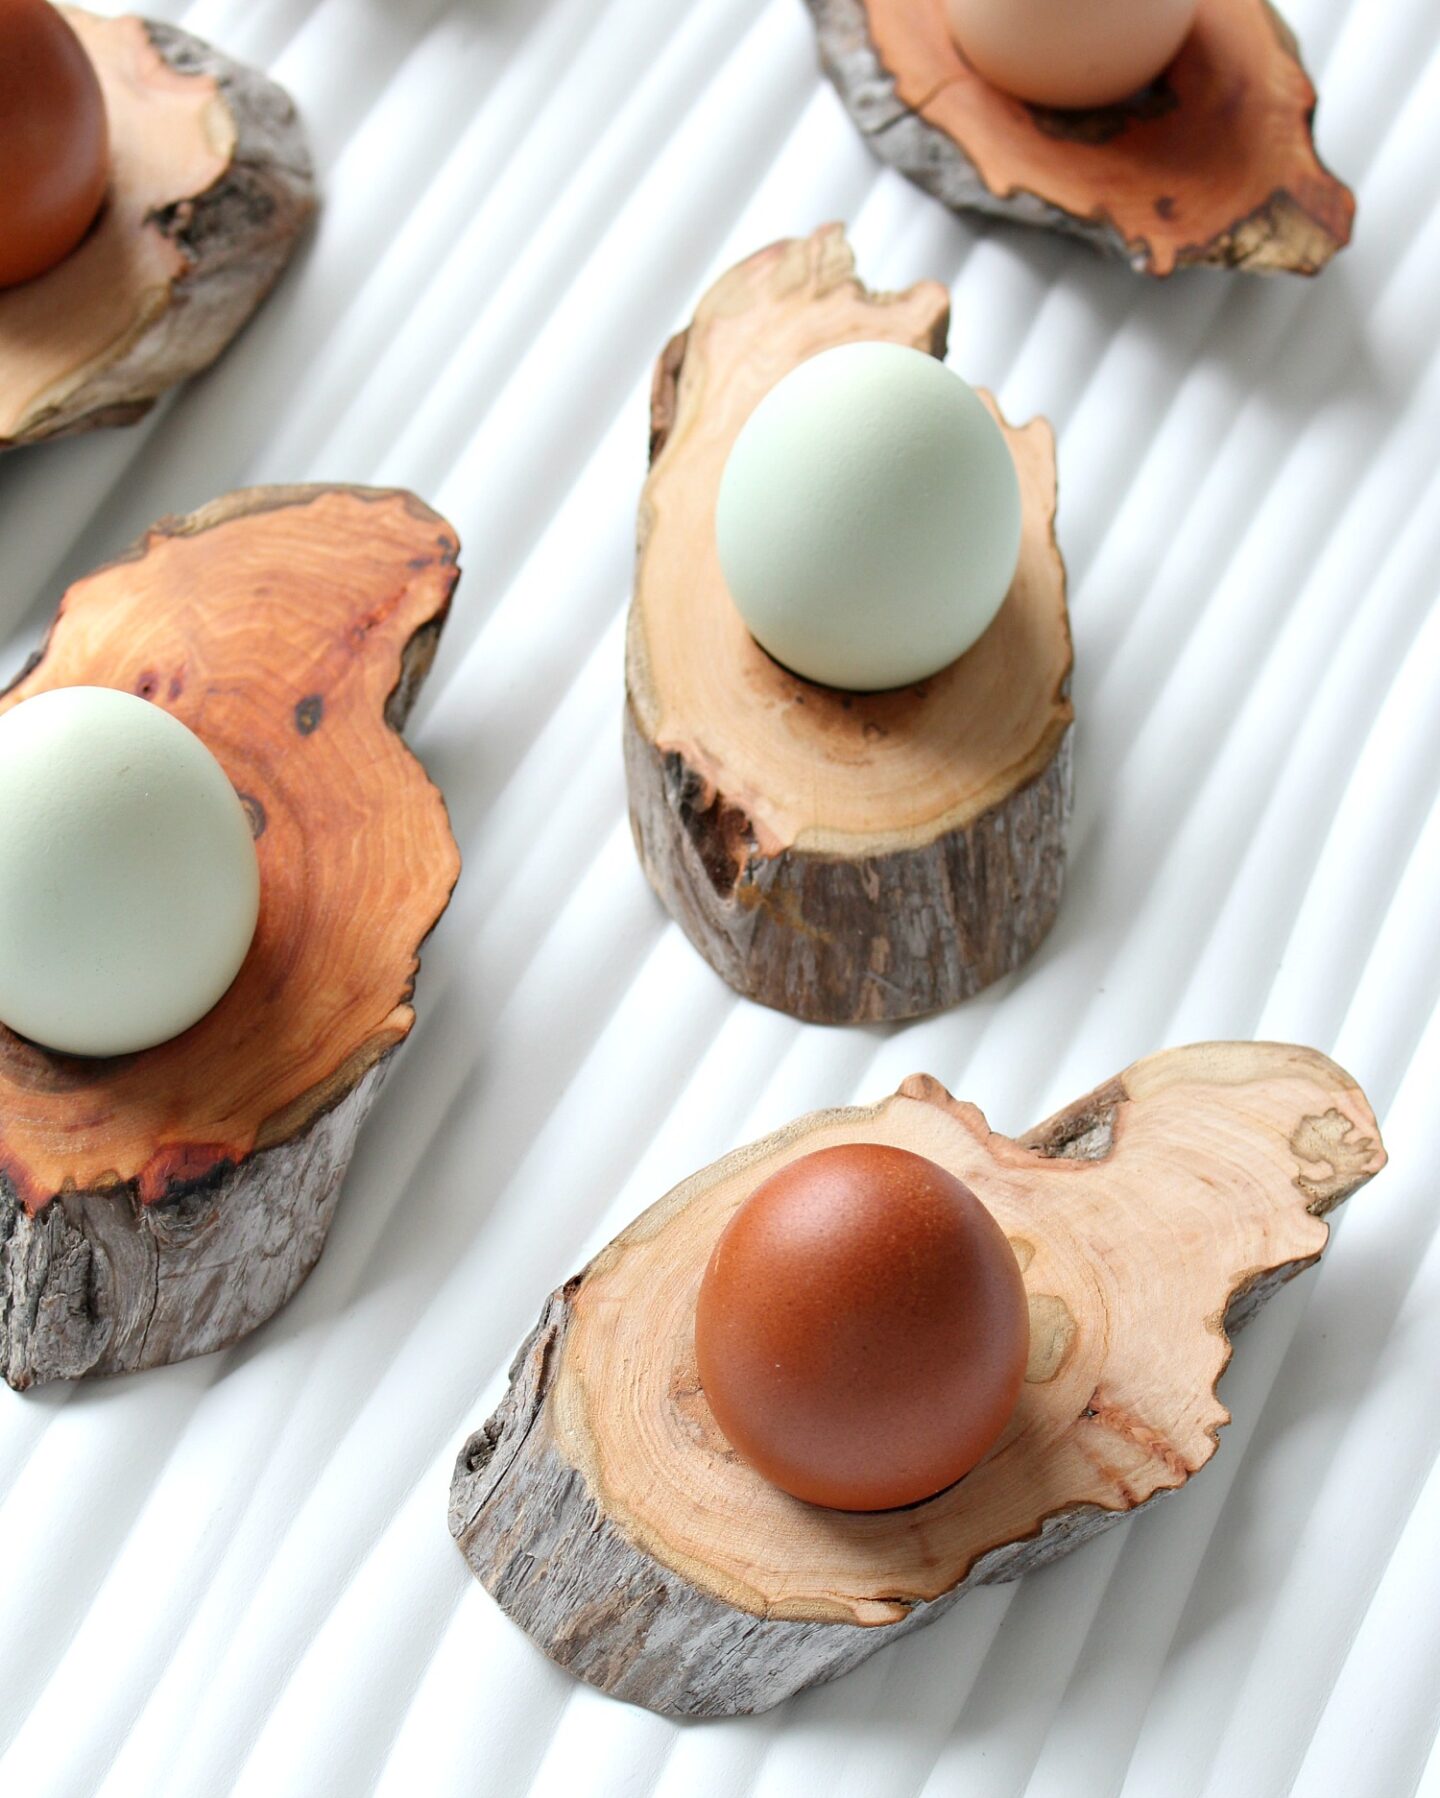
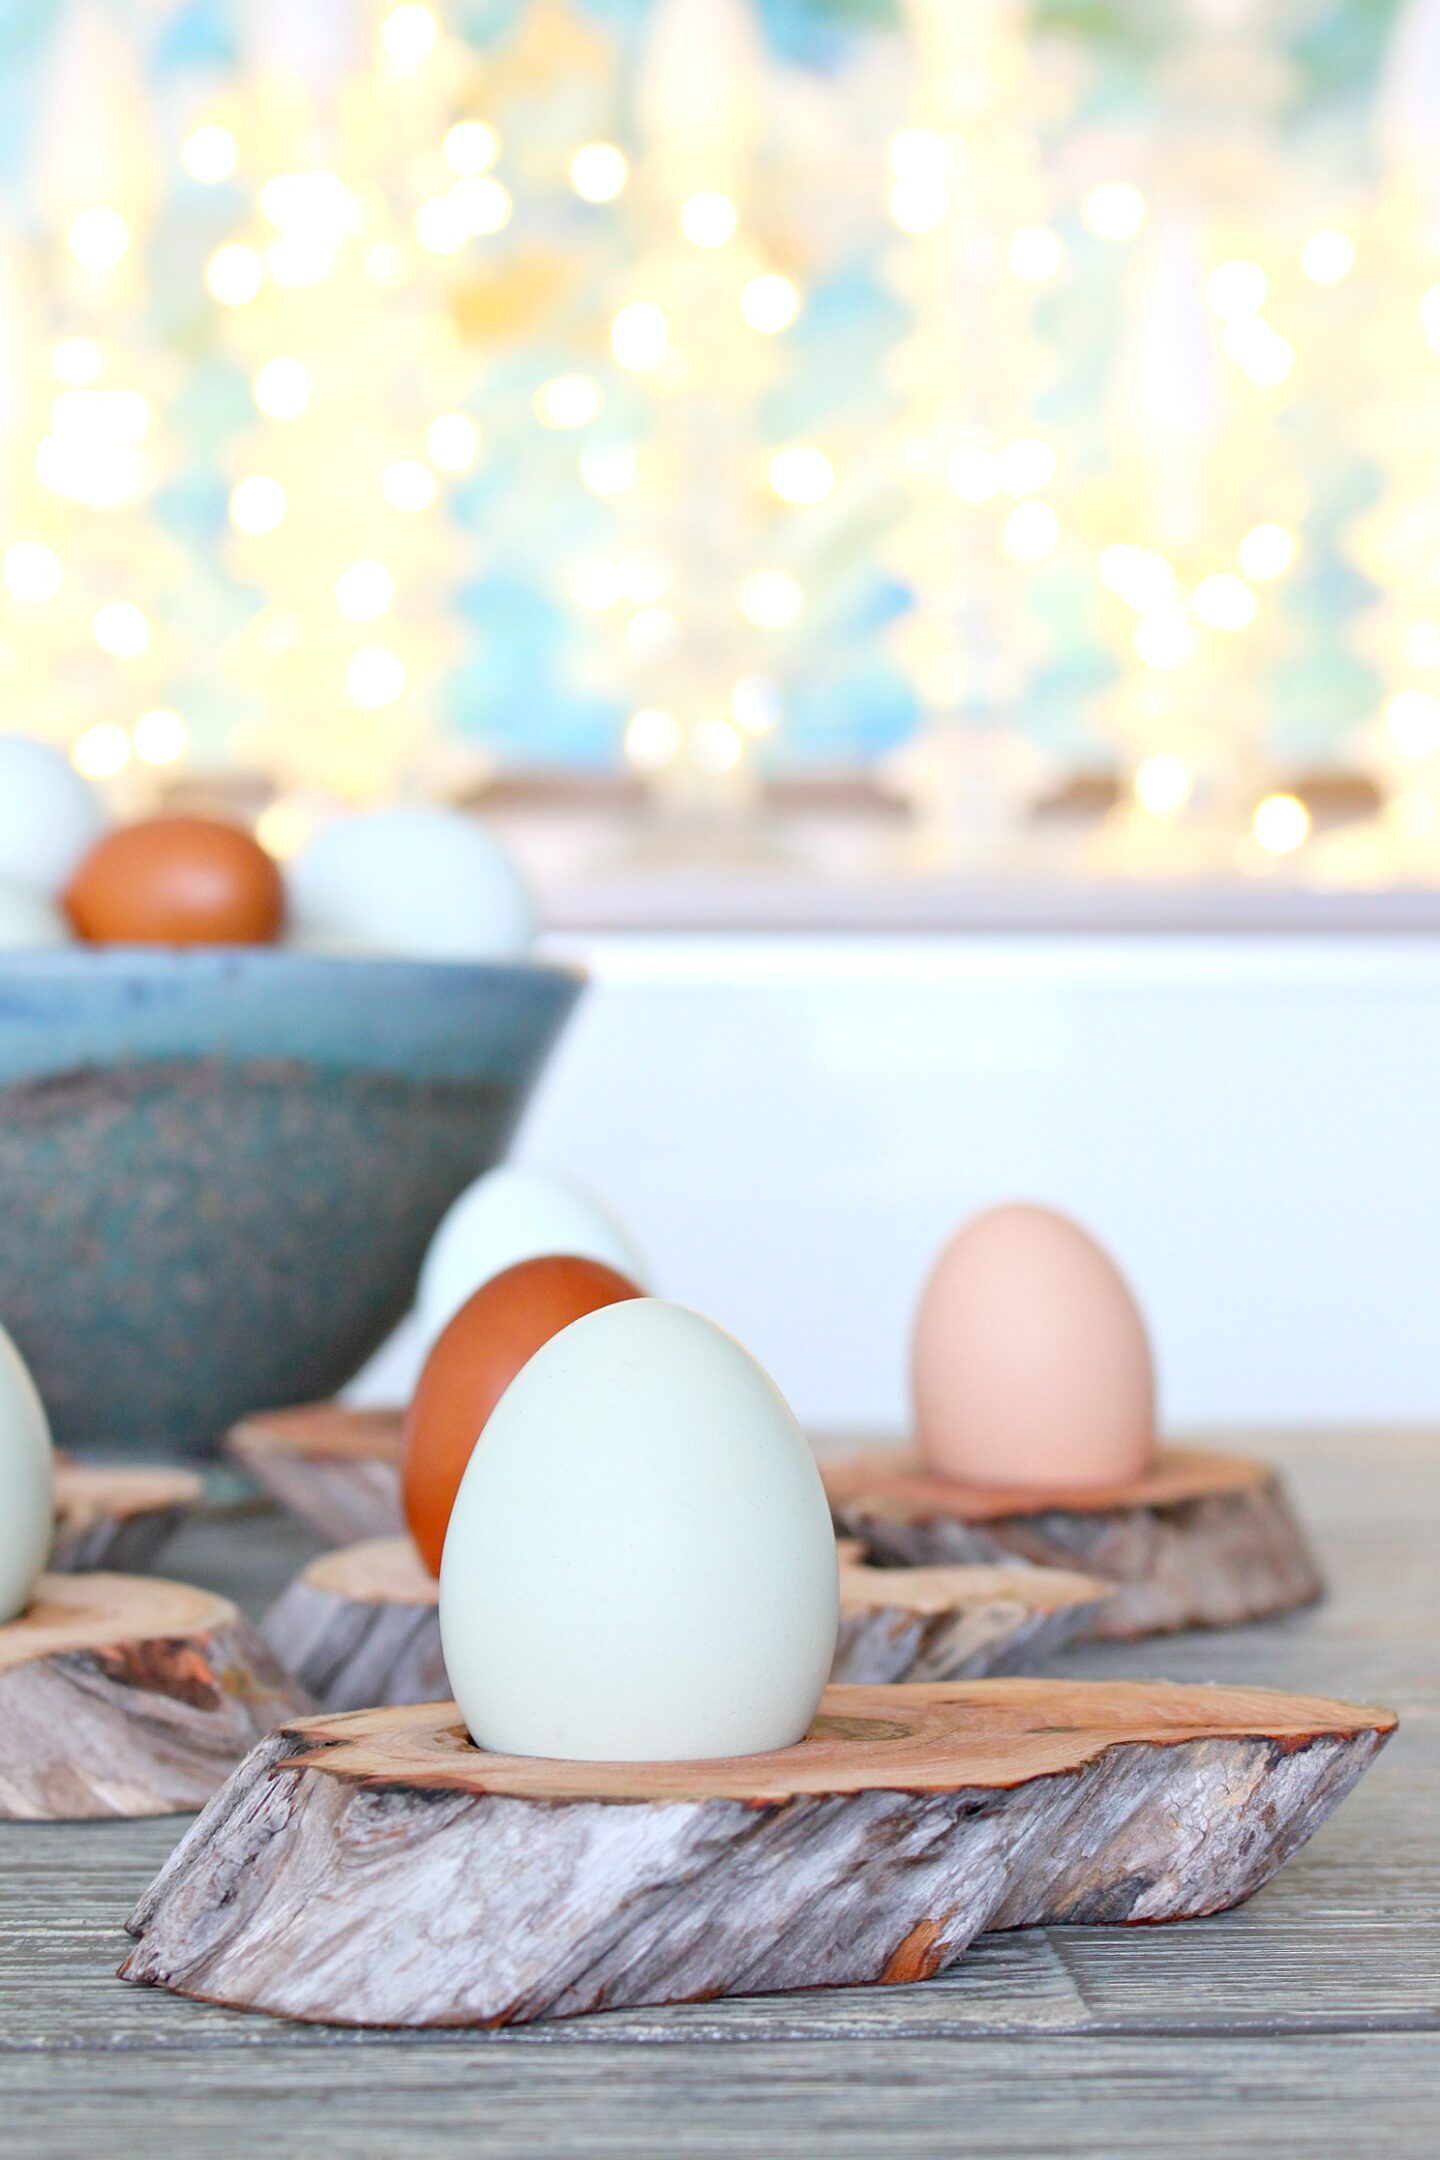
Start with a thick log/branch – the more gnarly, the more unusual the shape of the finished egg cup will be. For size, look for a diameter approximately 4″. Slice the driftwood log on a diagonal.
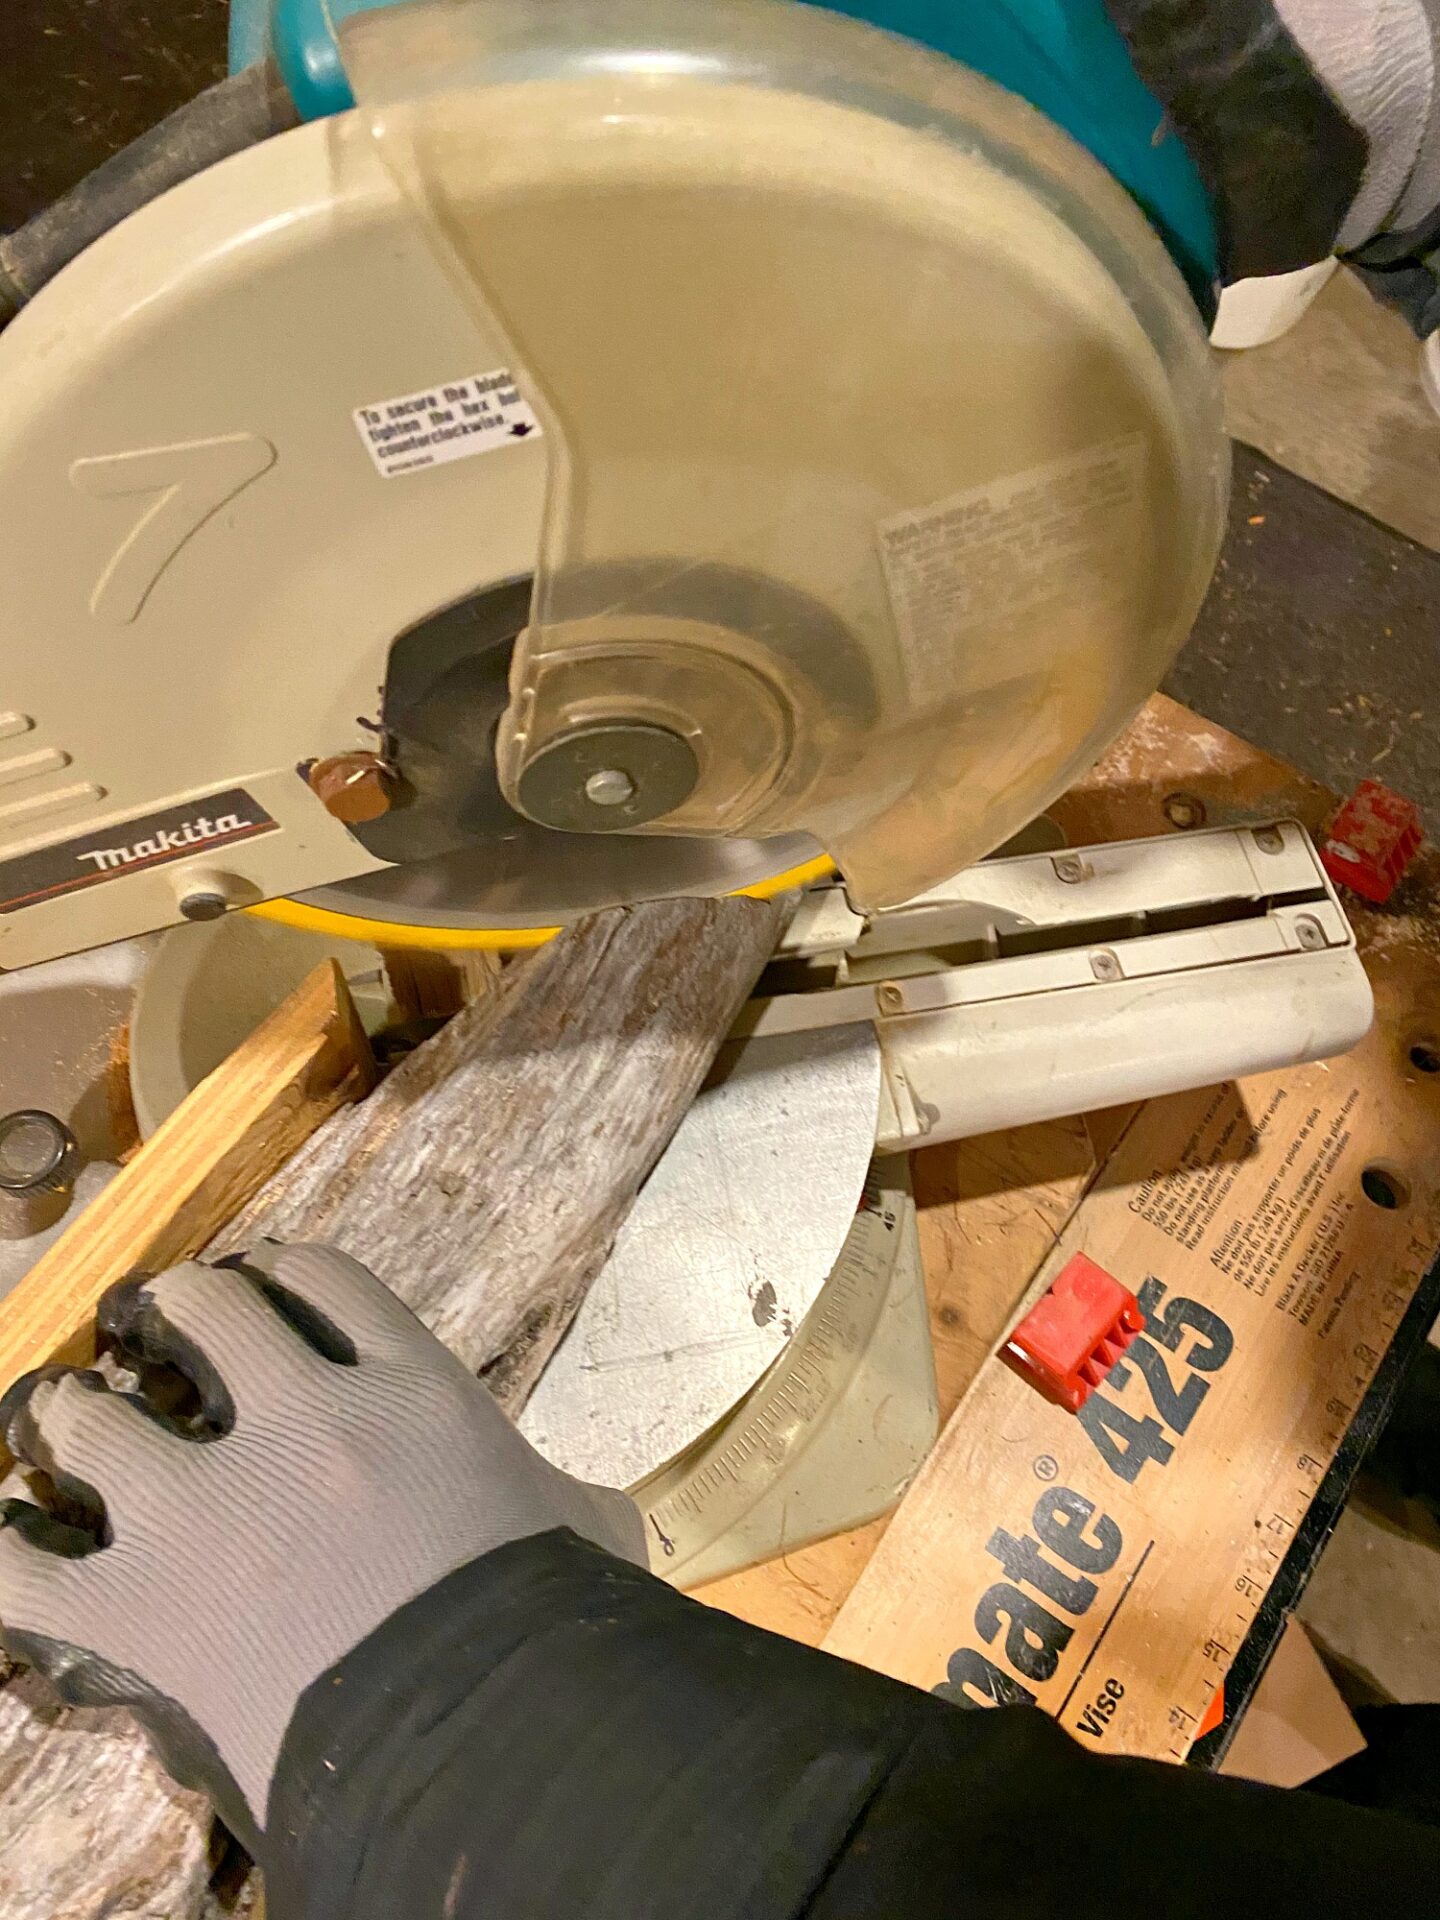
I made my egg cups approximately 1″ thick, but you can adjust this if you’d like – just don’t make it so thin that the egg will be sitting on the table through the hole.

Next, figure out where you want the egg to sit in the egg cup – I just eye balled it and chose an off centre spot. I also chose a spot with some ugliness so I could get rid of that. Clamp the wood slice for safety and then use the hole saw to cut through.
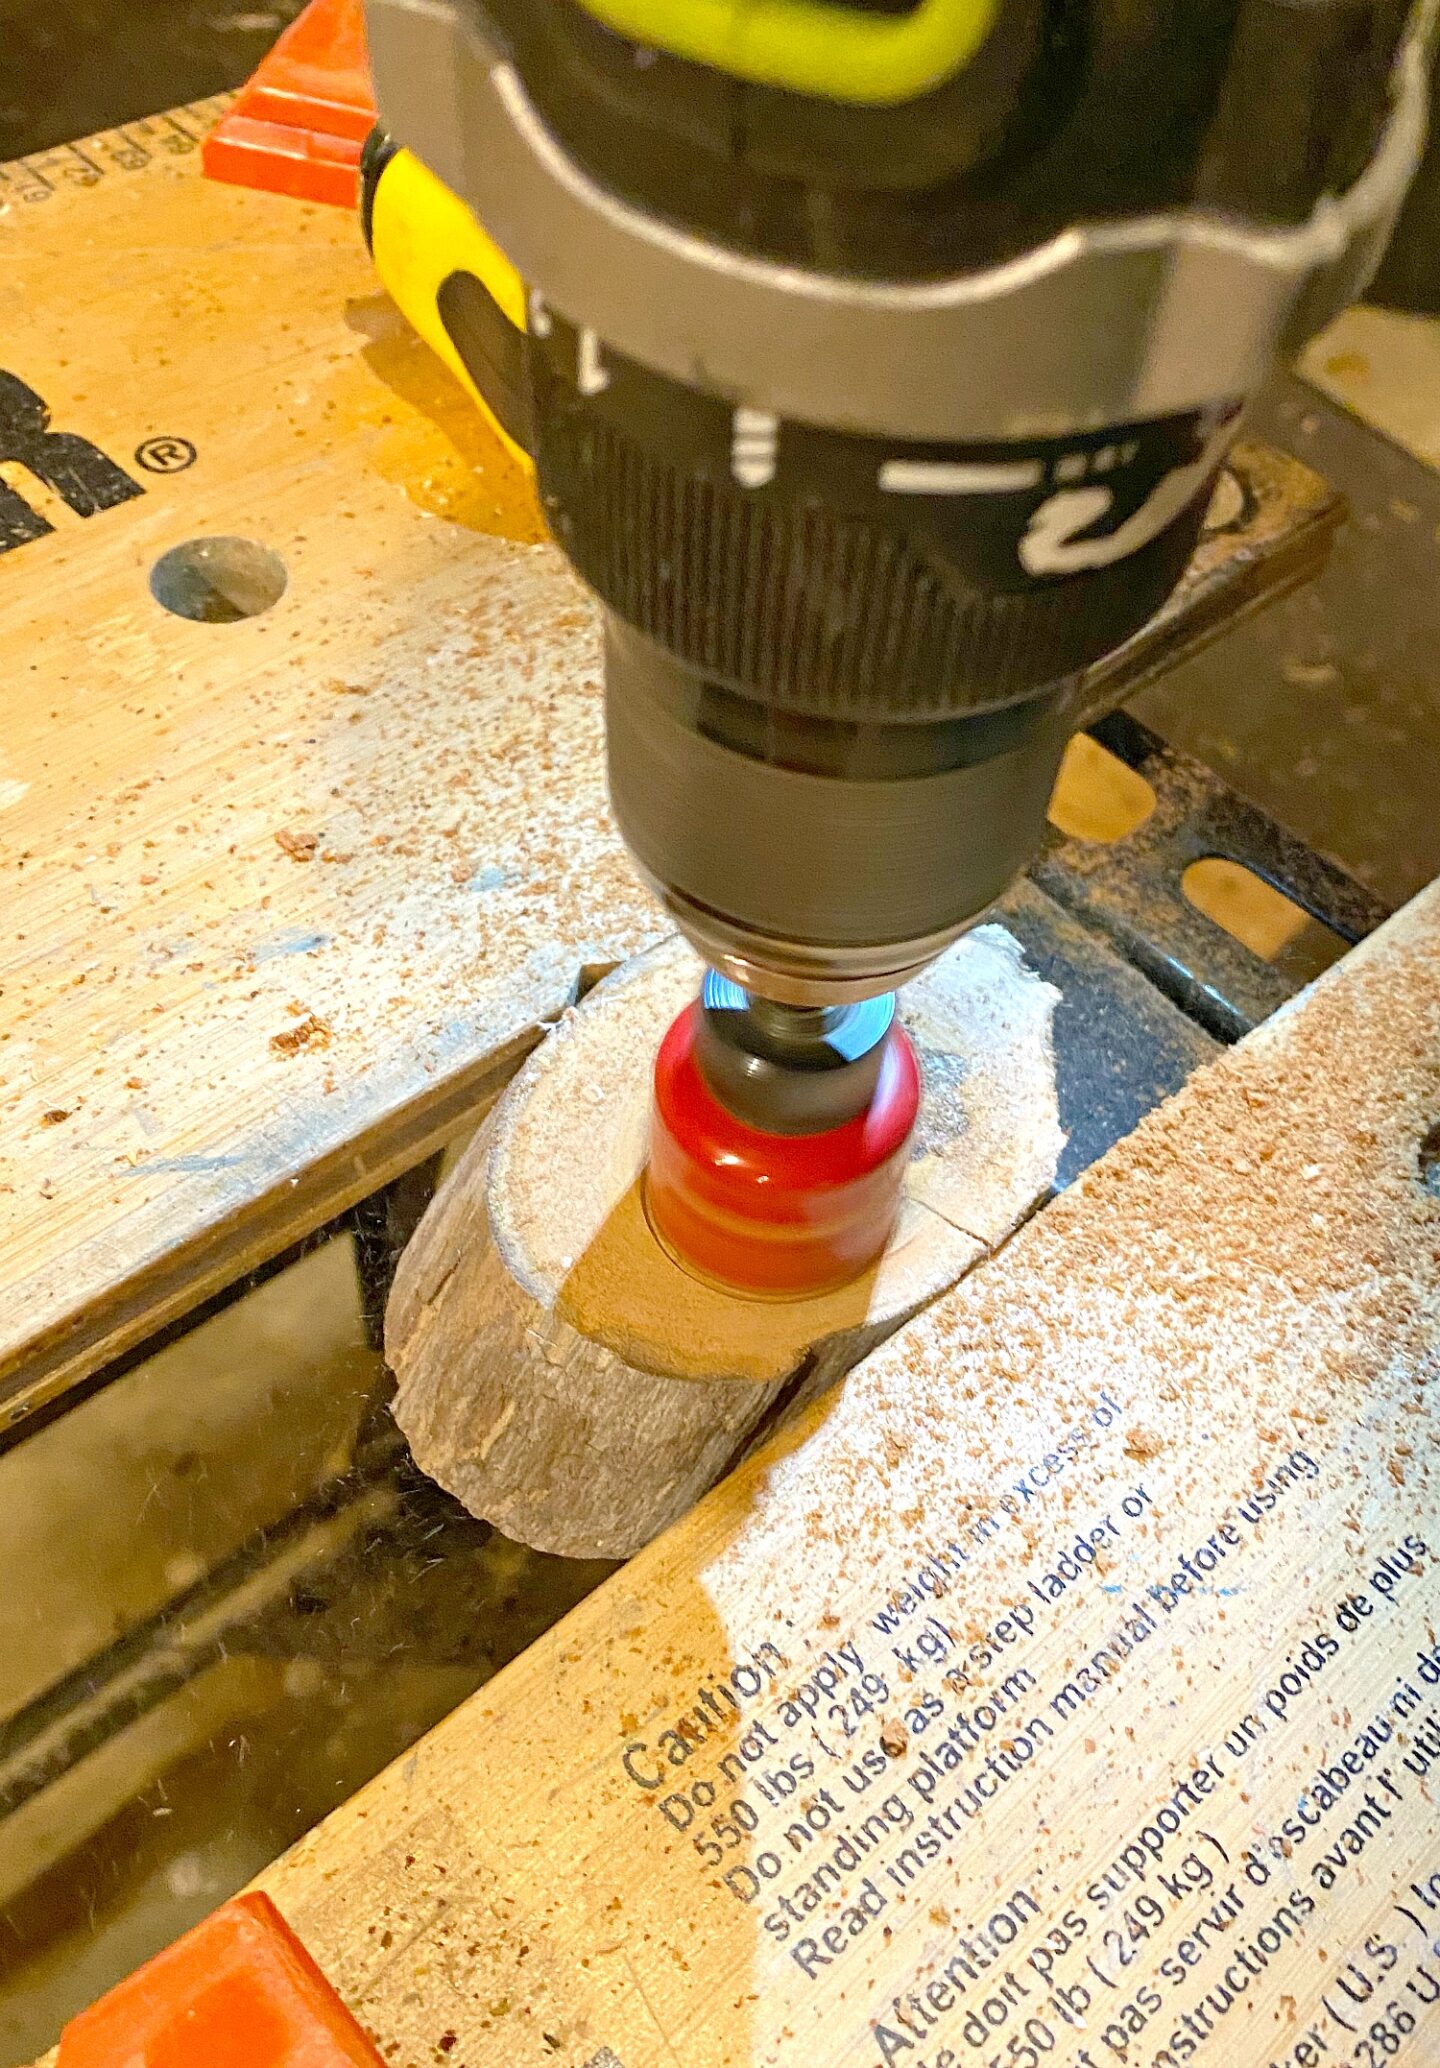
Drill through half the thickness and then flip it over and drill through from the other side. This will help reduce tear out. If you’ve never used one before, there’s a point in the middle of the hole saw which will pierce through sooner than the rest of the saw, helping guide you from the back to line it up perfectly.
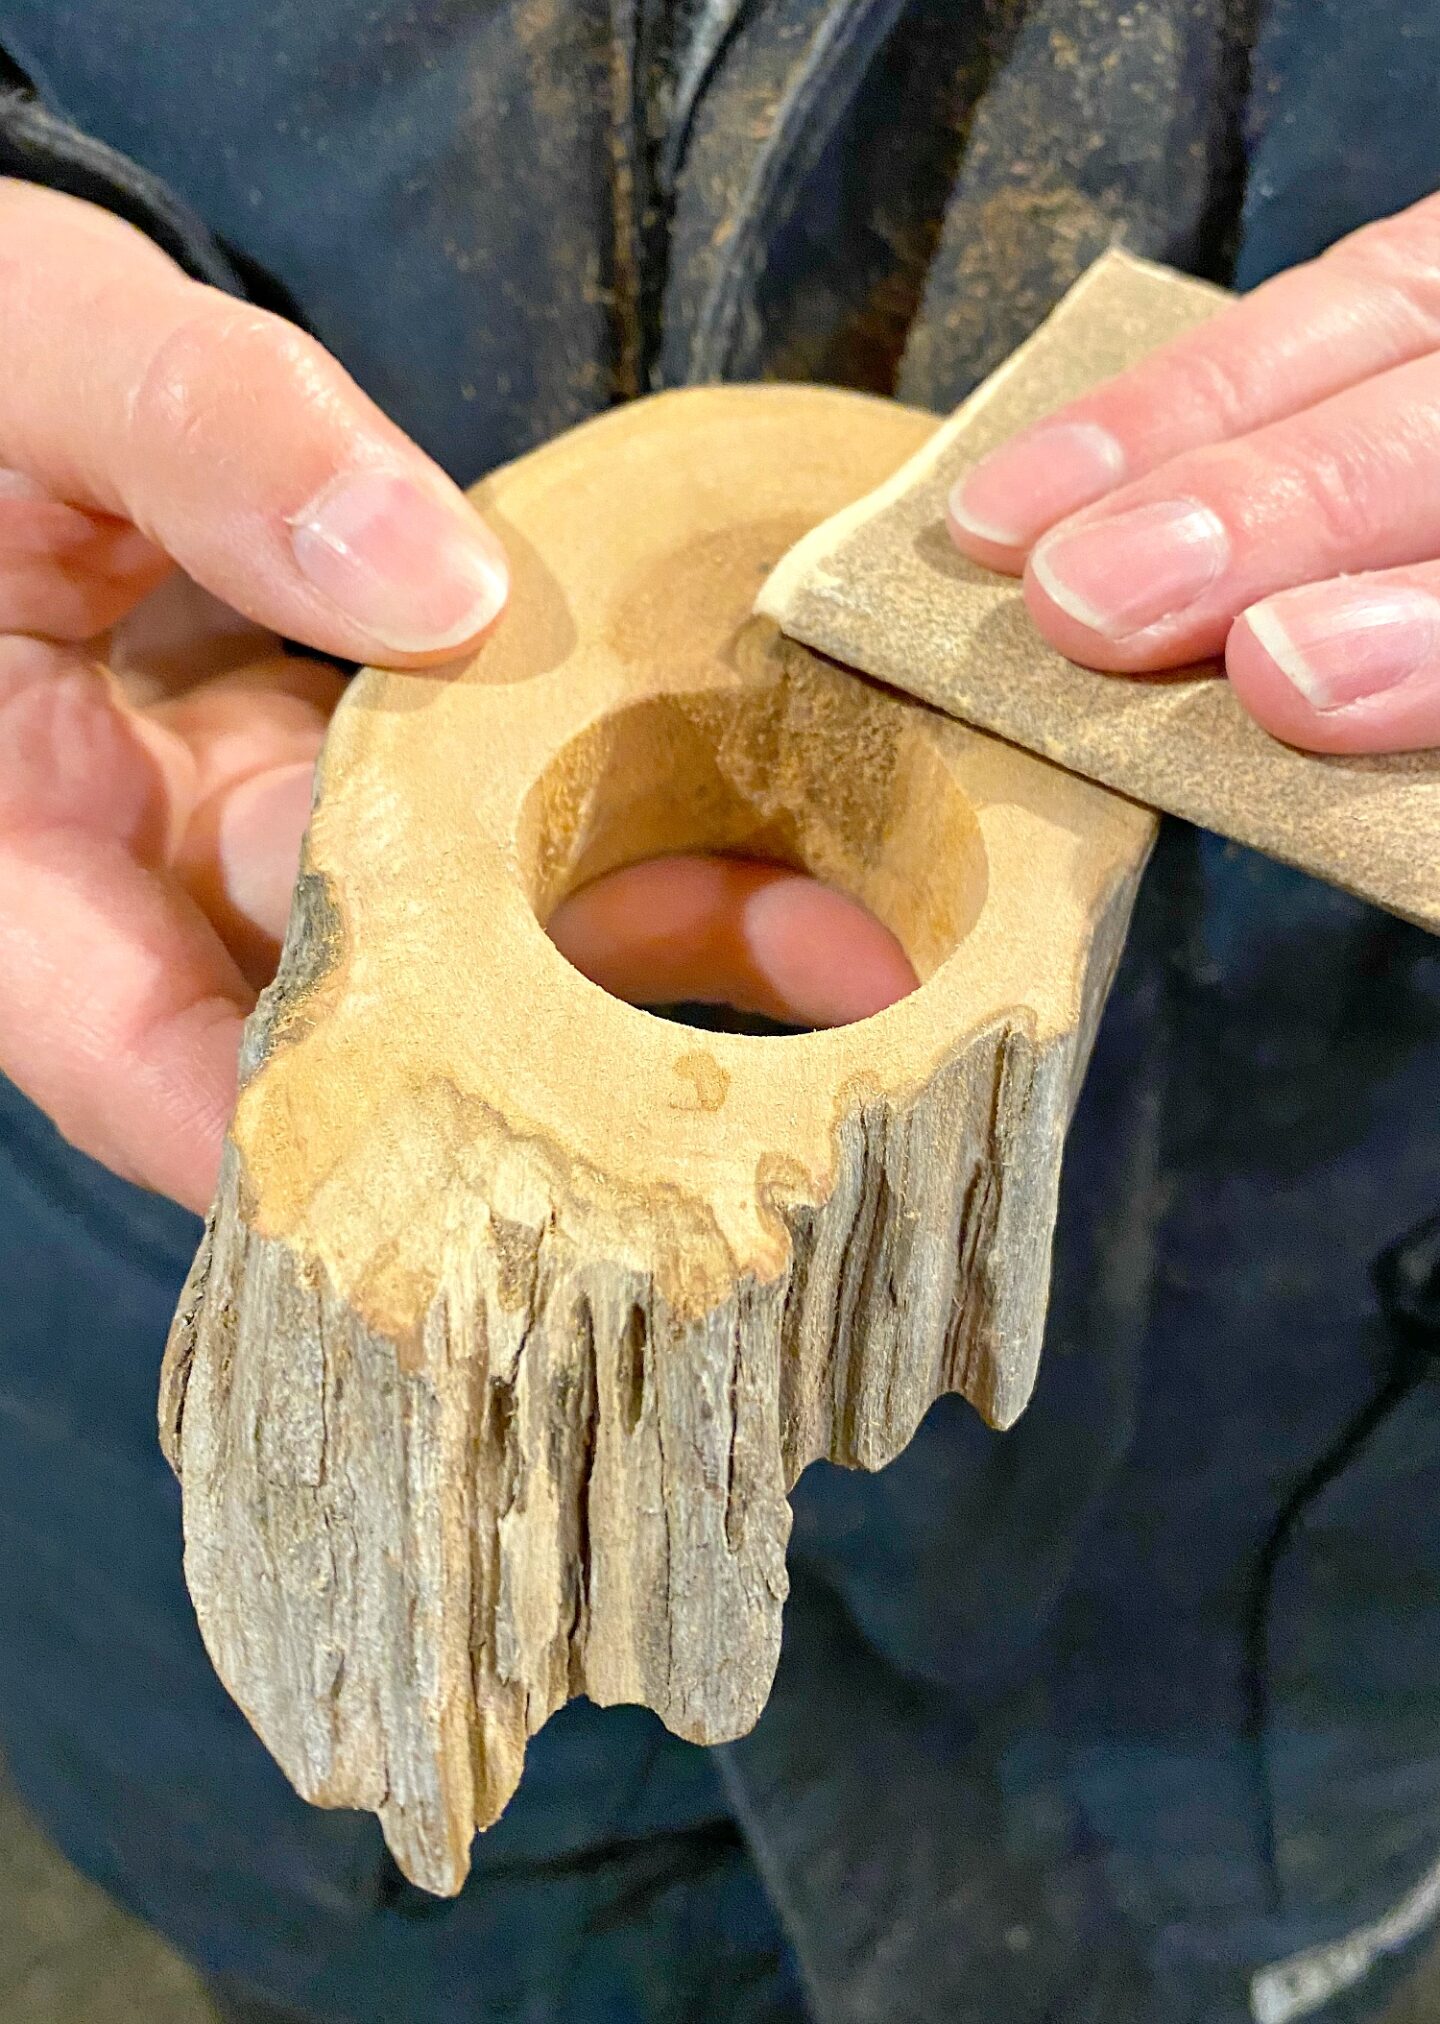
Now, sand! Sand the hole and also the surface and edge. It helps to roll the sandpaper into a tube to sand the hole.
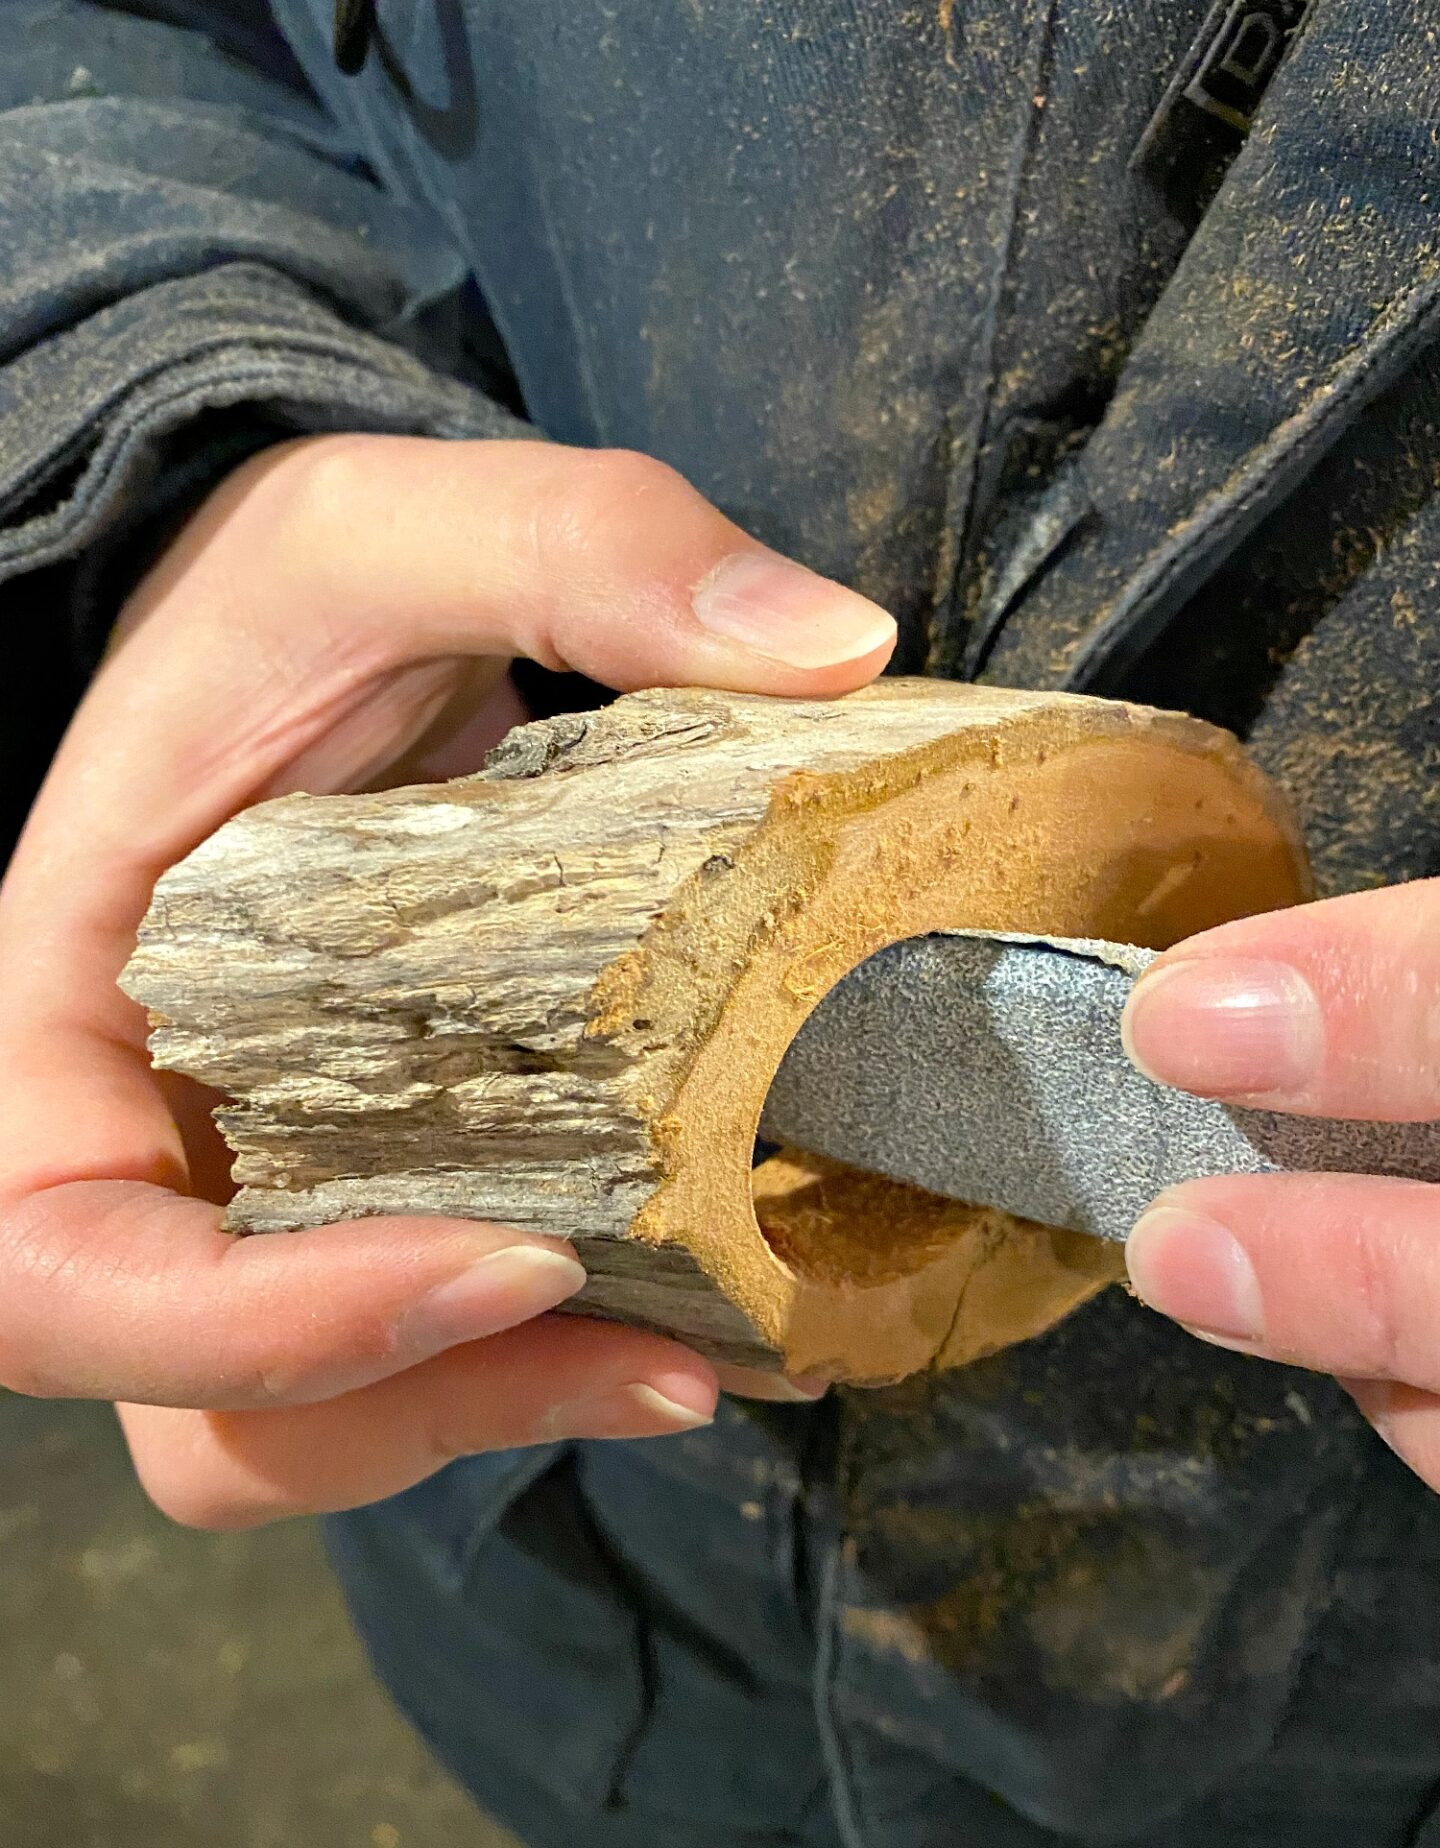
I did not sand the outside, where the greyed driftwood is prettiest, but I did sand the edges so it’s smooth and lovely to the touch.
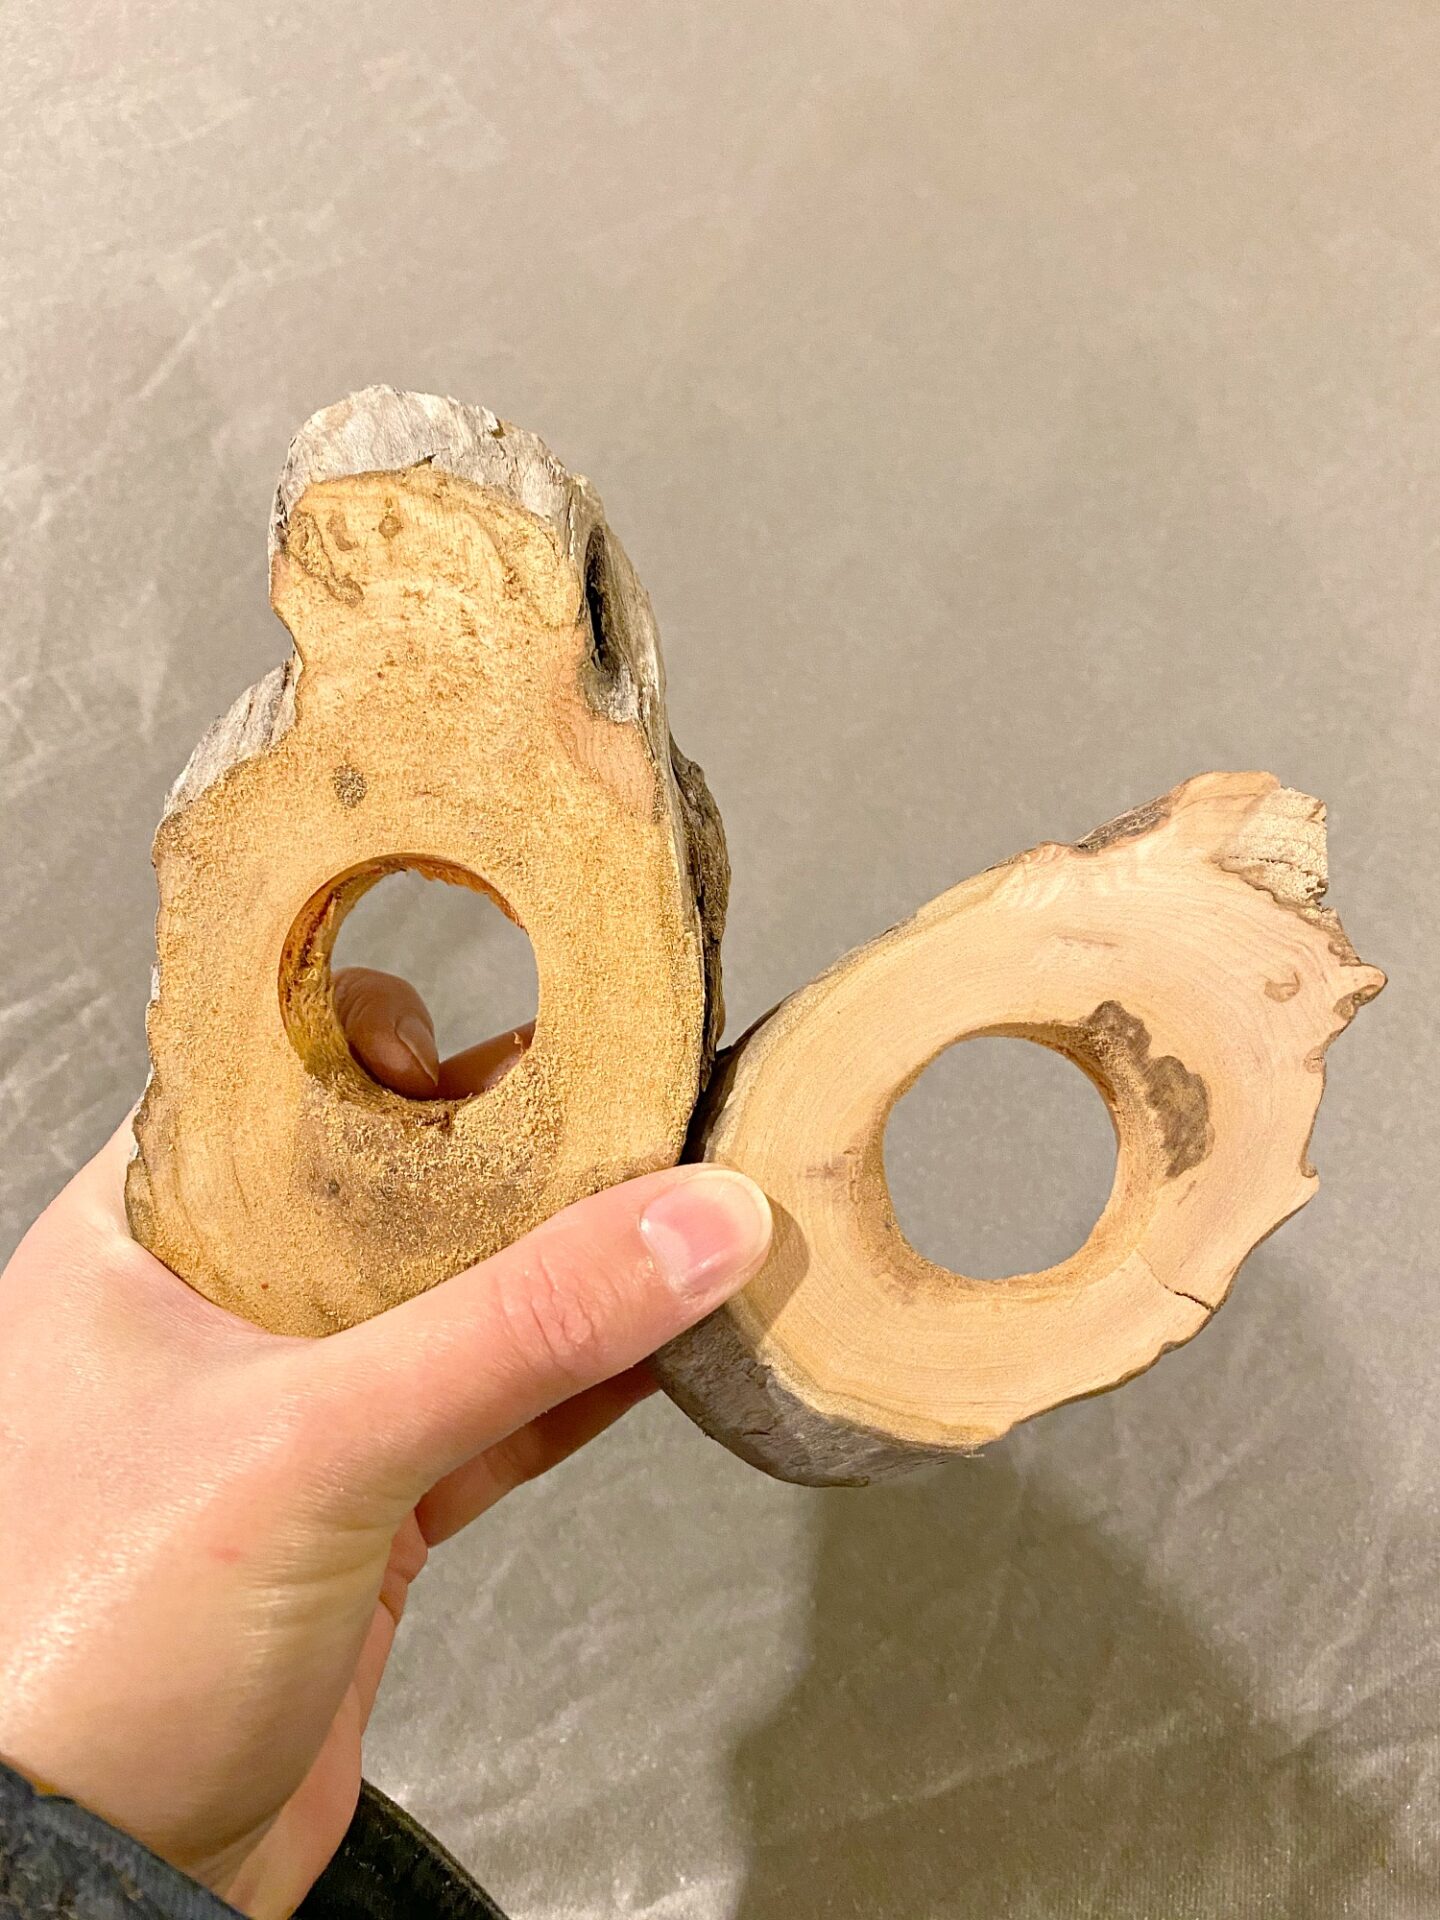
Not sanded vs. sanded:
Next, you might want to clean and sterilise the wood to kill any bugs and bacteria. I don’t always do this. For my DIY driftwood wall hanging, I didn’t bother, but for the big piece of driftwood root I hauled into the house, I did – because I didn’t know what kind of creepy crawlies might be hiding in there. Because this will be a food item, it’s a good idea to clean it once it has been sliced. Mix up a solution of 2 cups of bleach per gallon/4 litres of water and let the driftwood soak, submerged, for 3-5 days (changing the bleach solution each day) and then rinse and let dry thoroughly – a week, ideally, because the driftwood can really soak up the water.
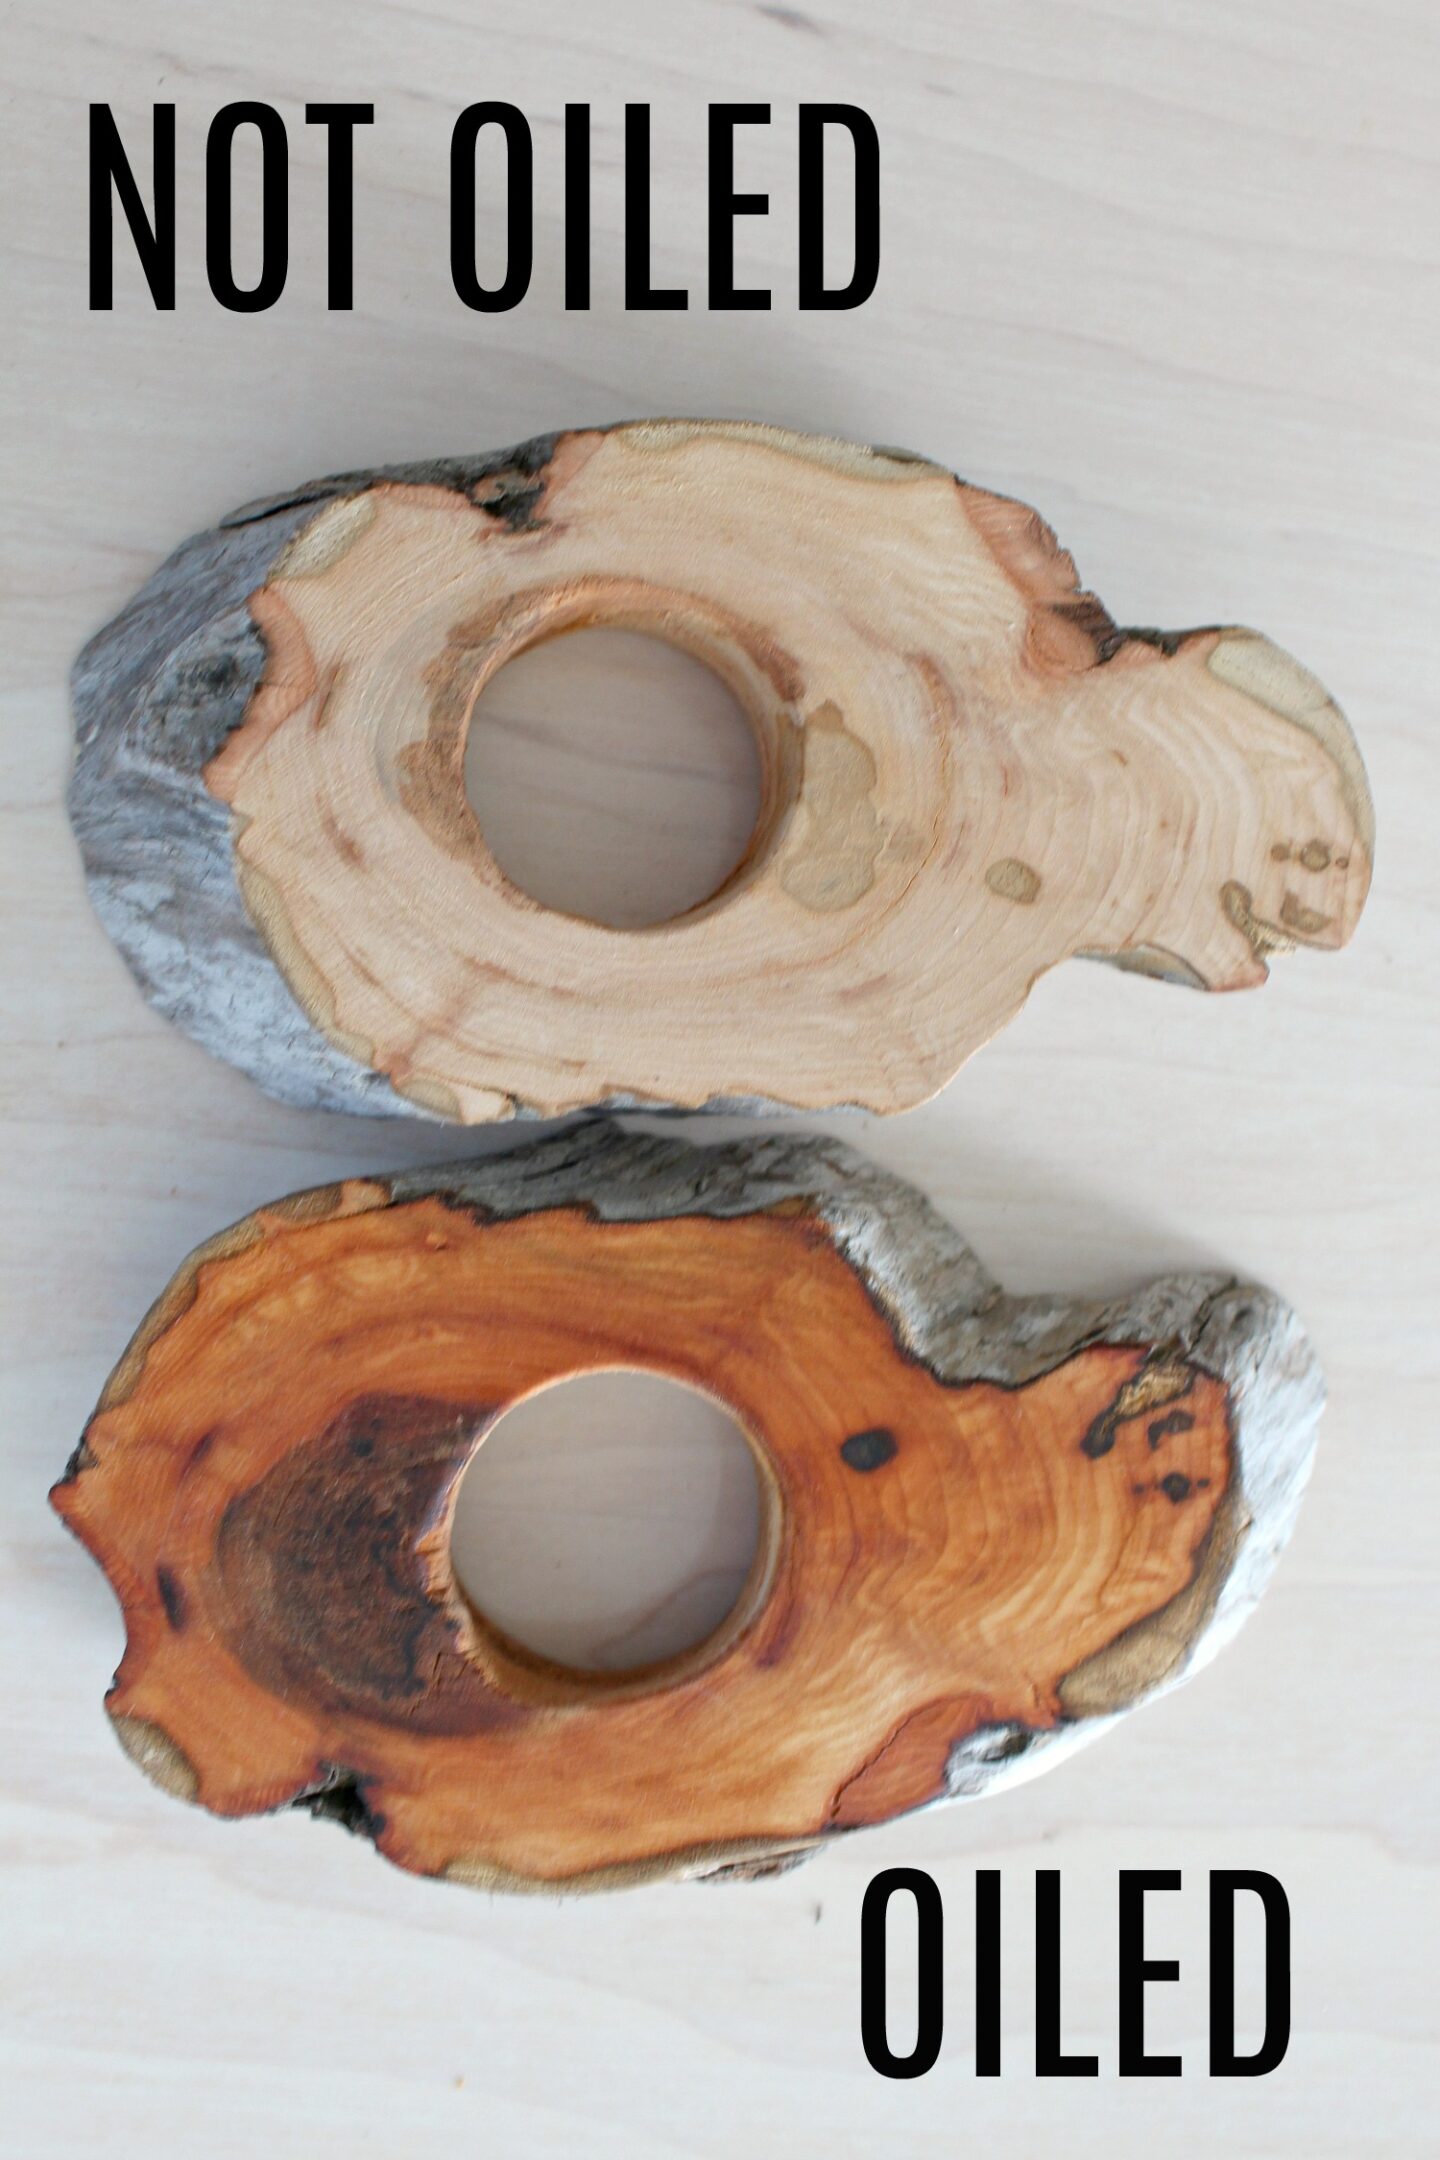
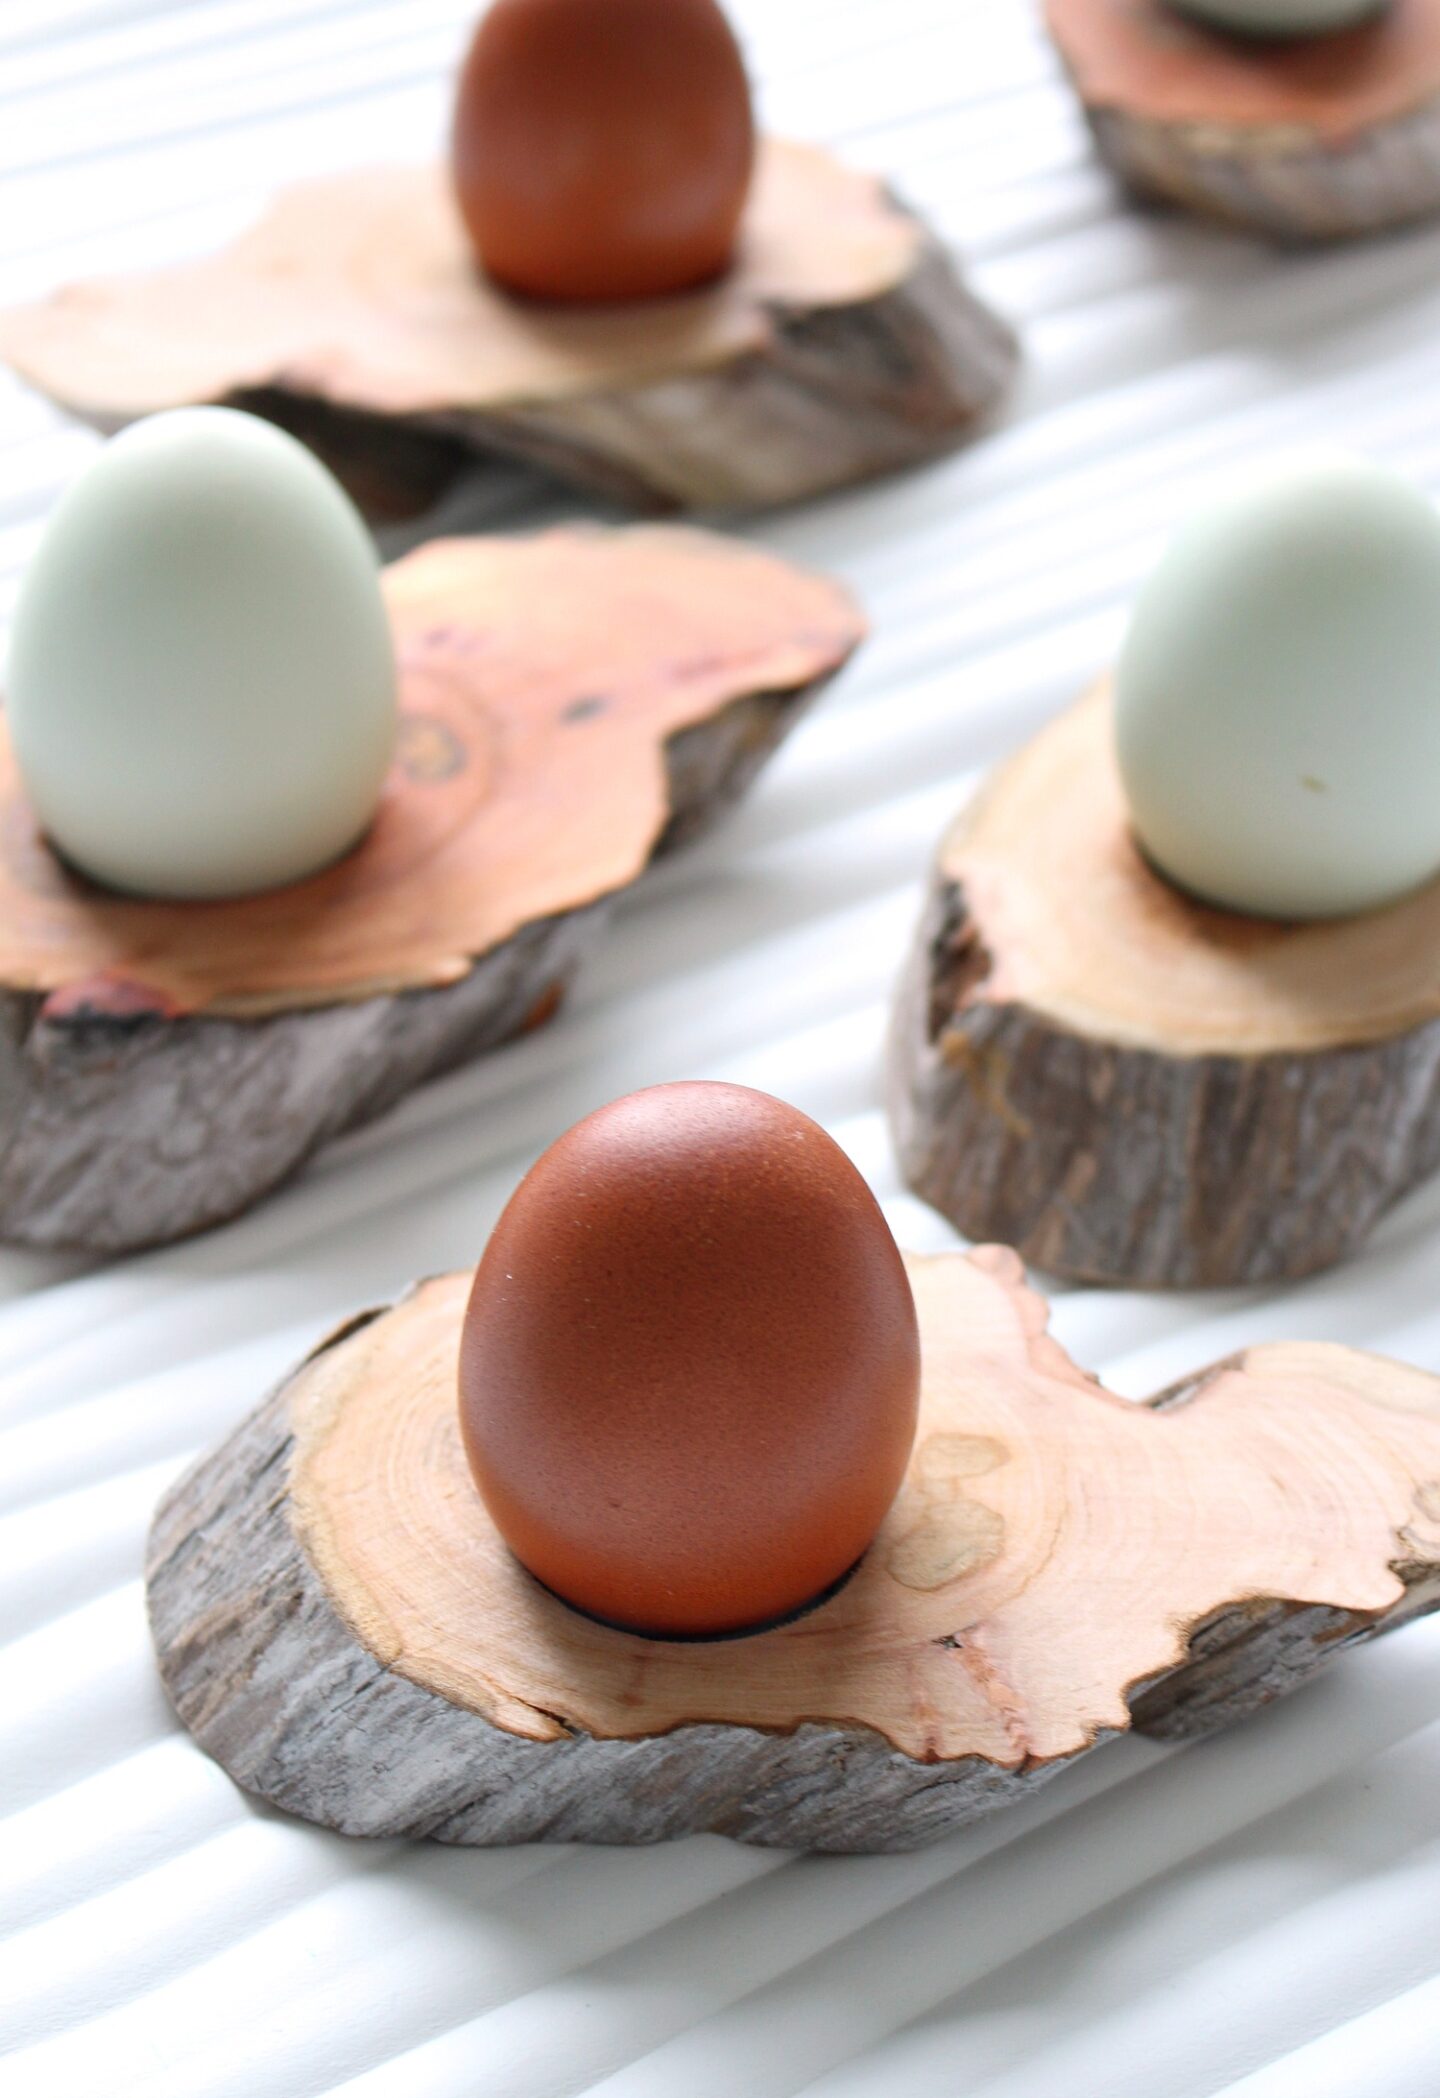
With the wood treated, you can now apply a food safe wood oil if you’d like, the kind designed for wood salad bowls and butcher block surfaces.
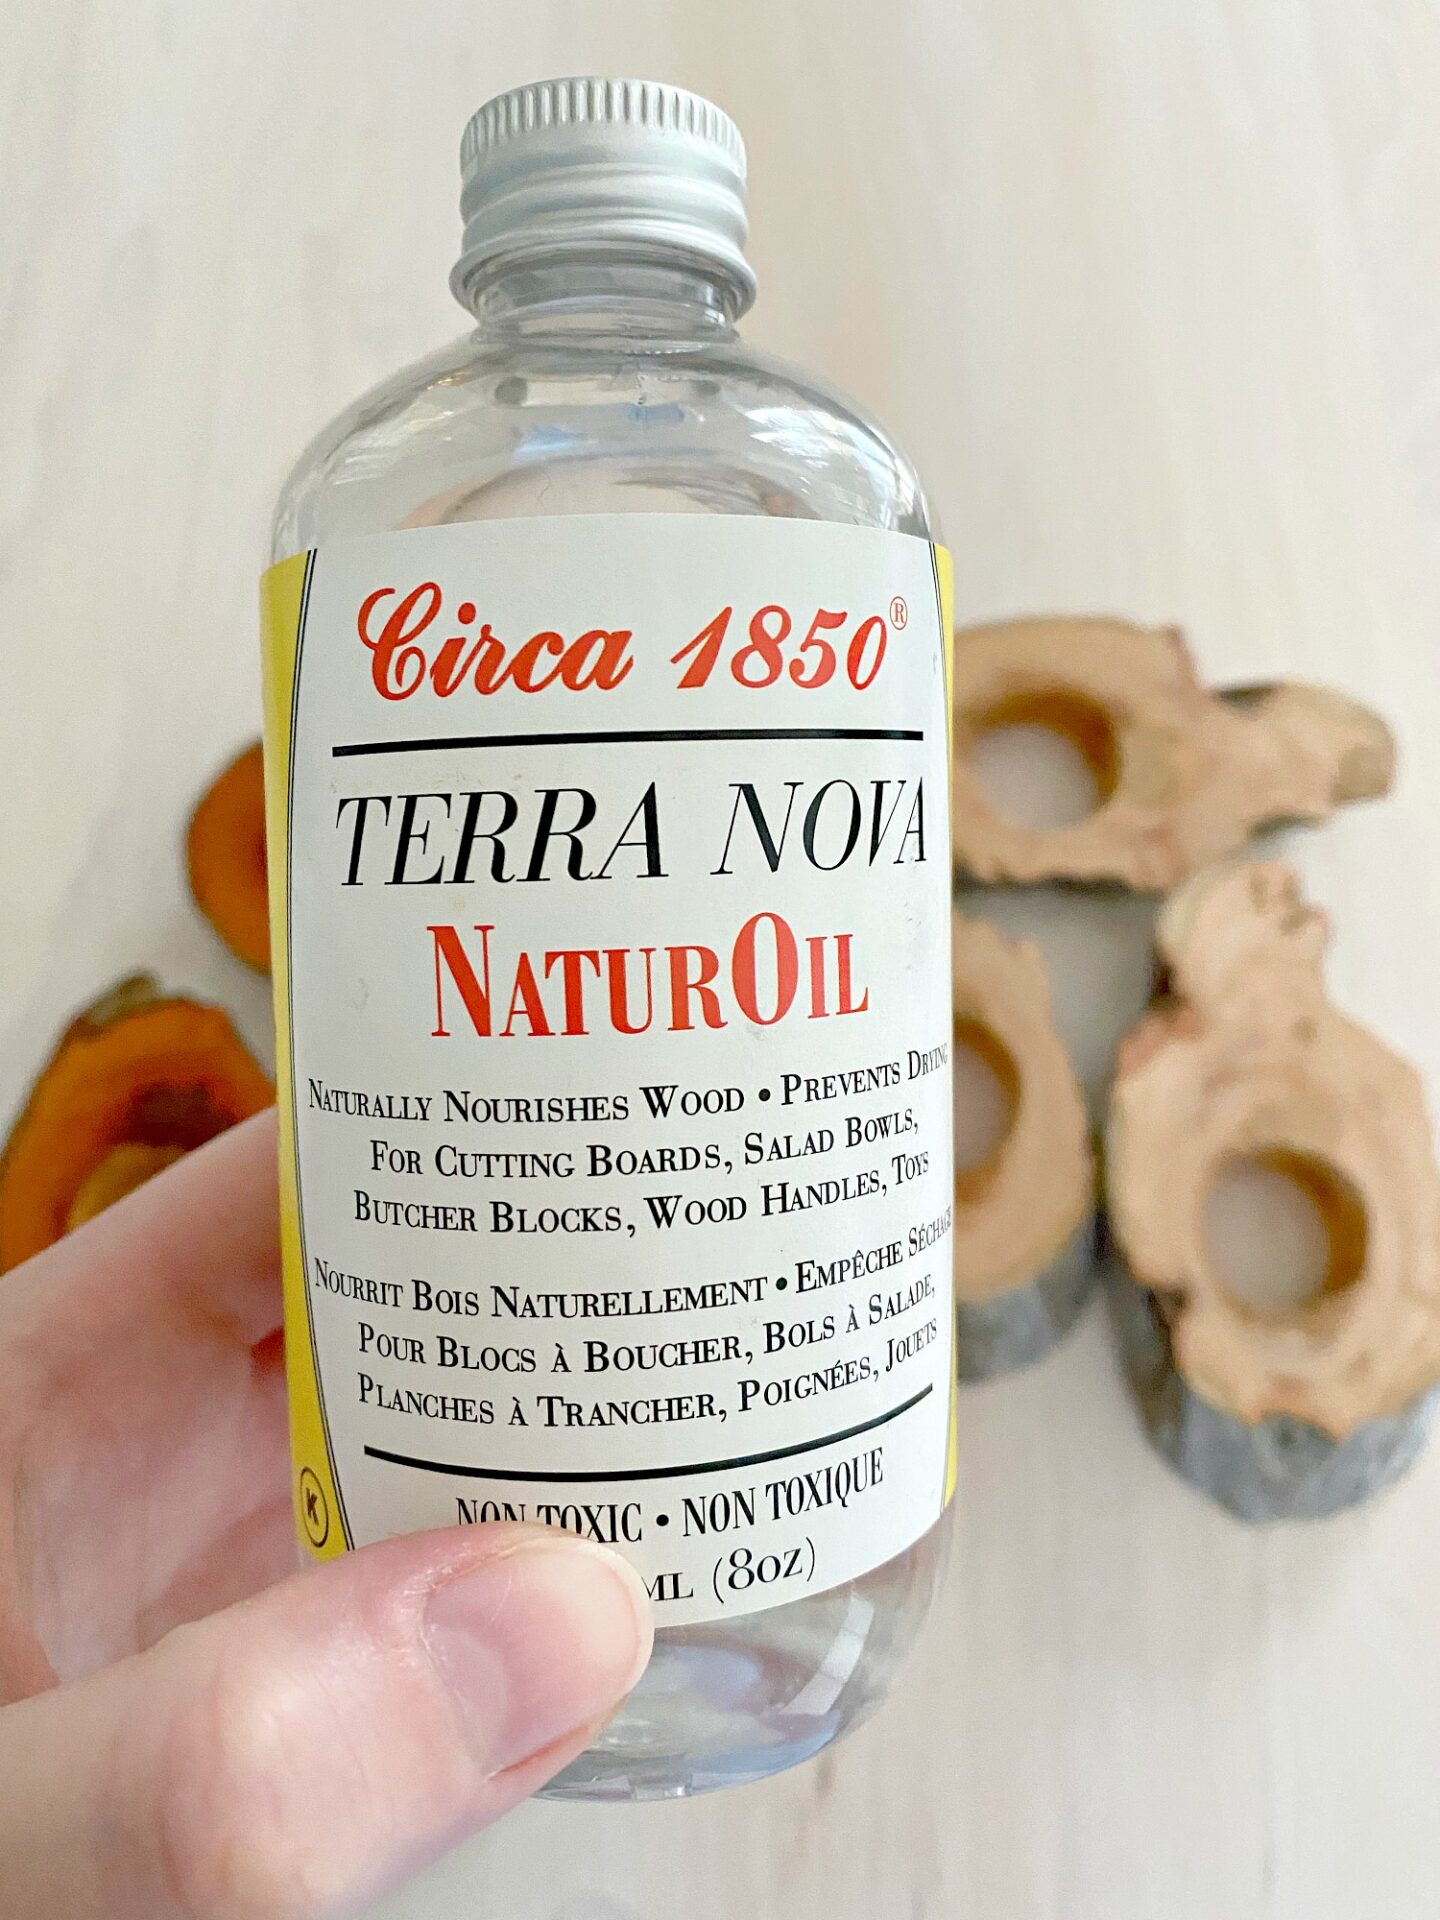
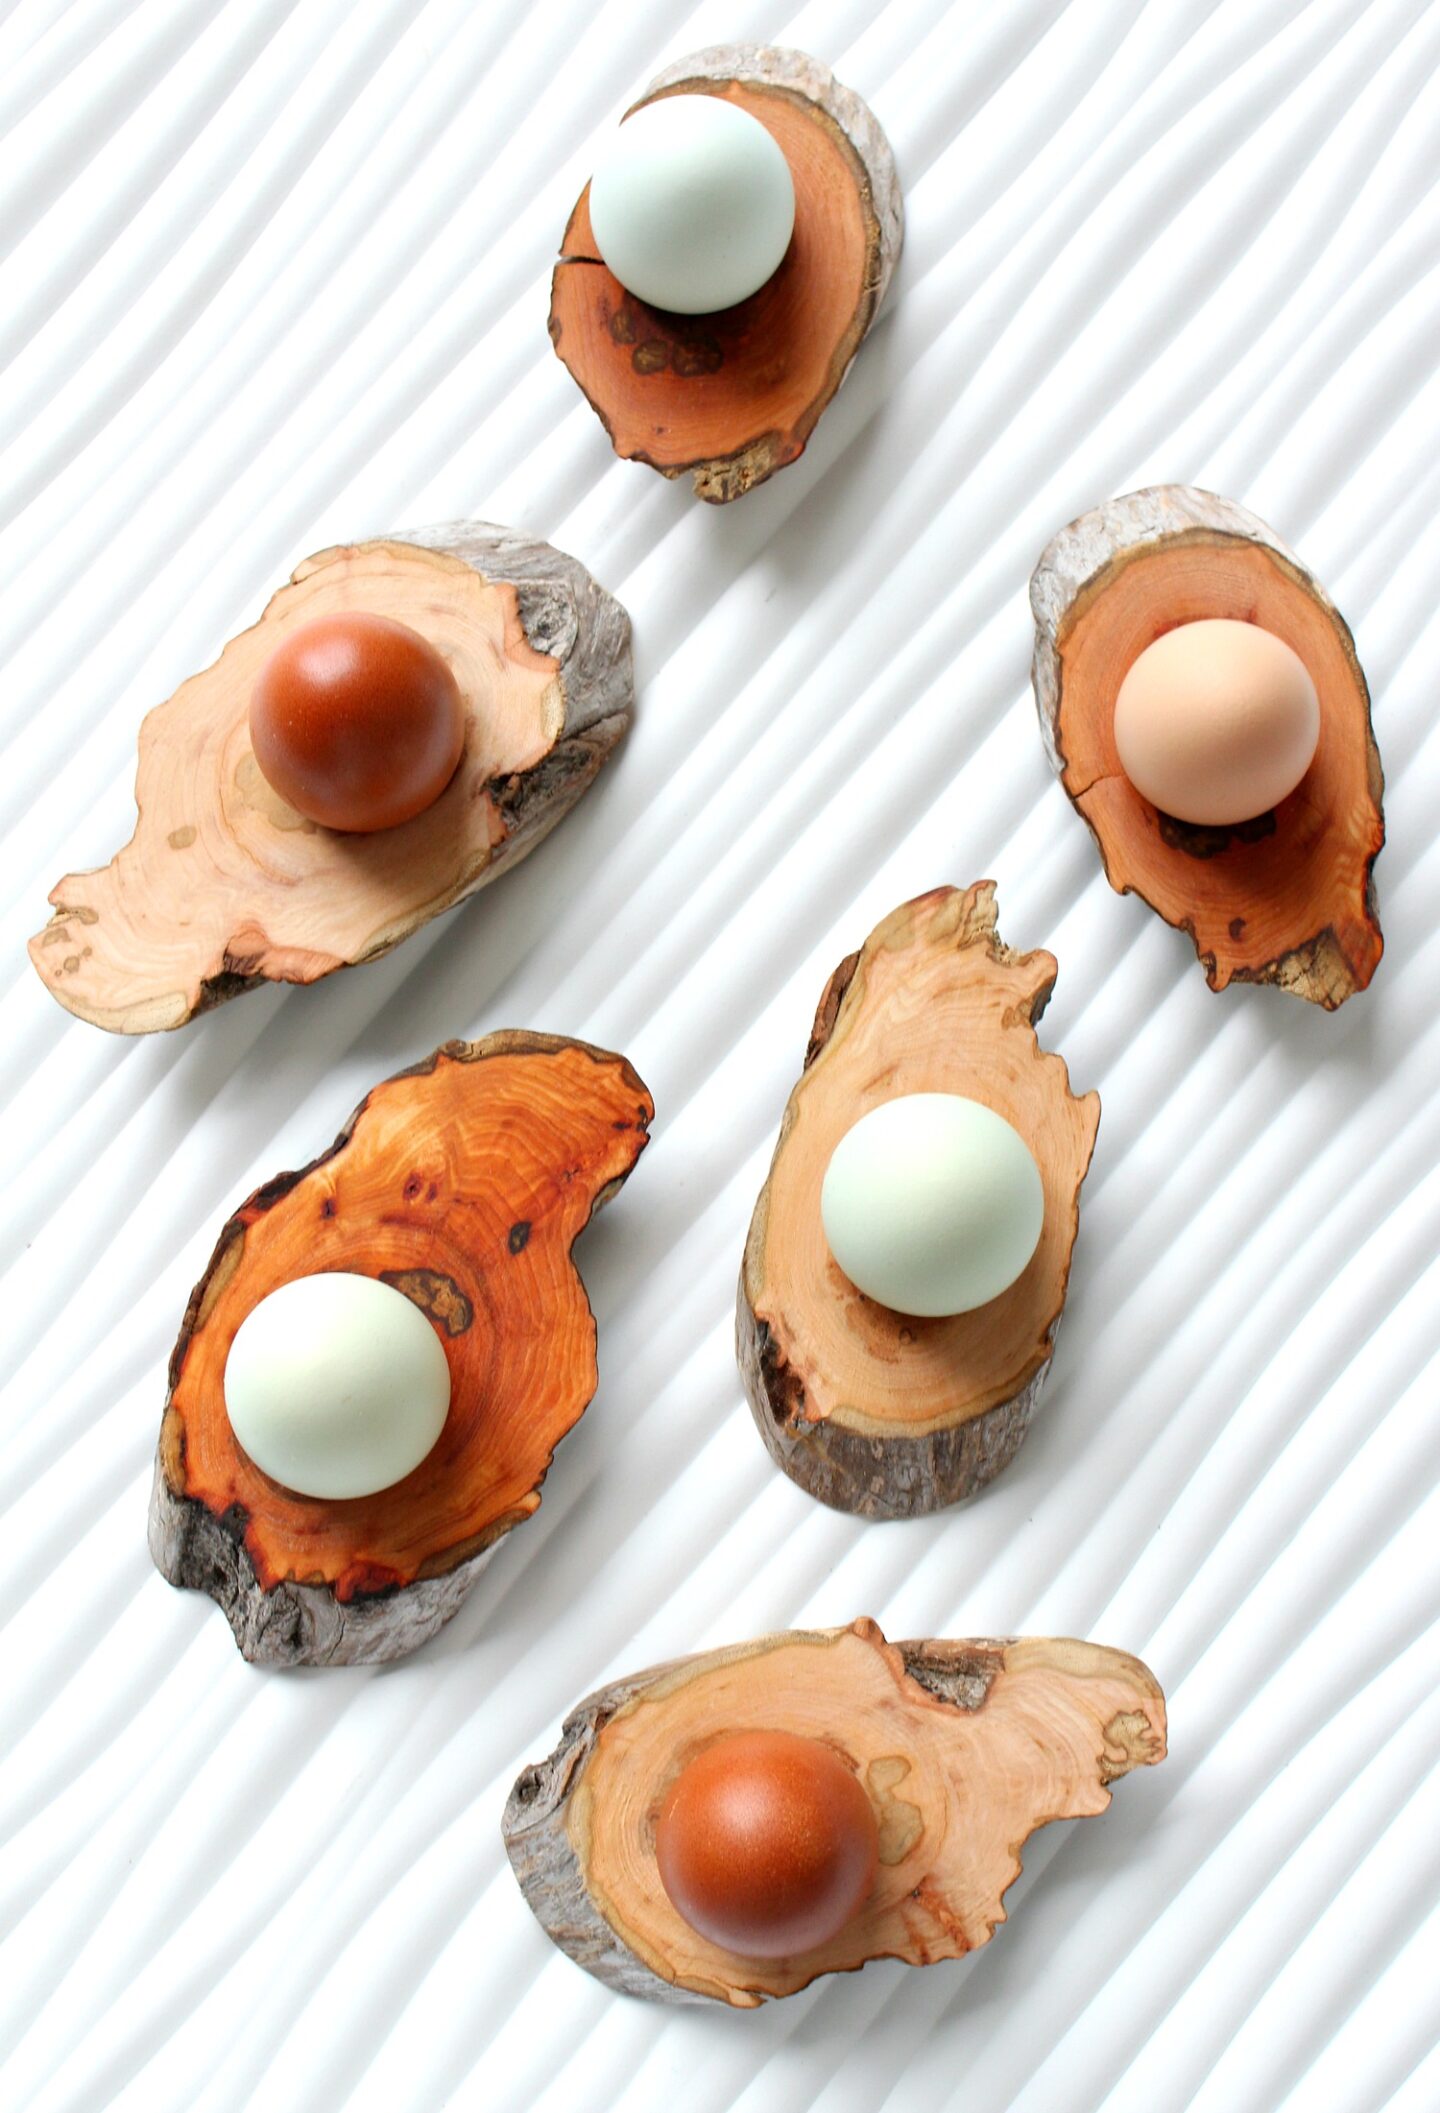
I only oiled half of mine as an experiment. Note: it really changes the look of the wood and it becomes really warm and richly toned – it looses the cool, driftwood color. But also the grain really pops once it’s oiled, so it’s up to you which you prefer! The wool oil protects the wood and can help preserve it and prevent splitting.
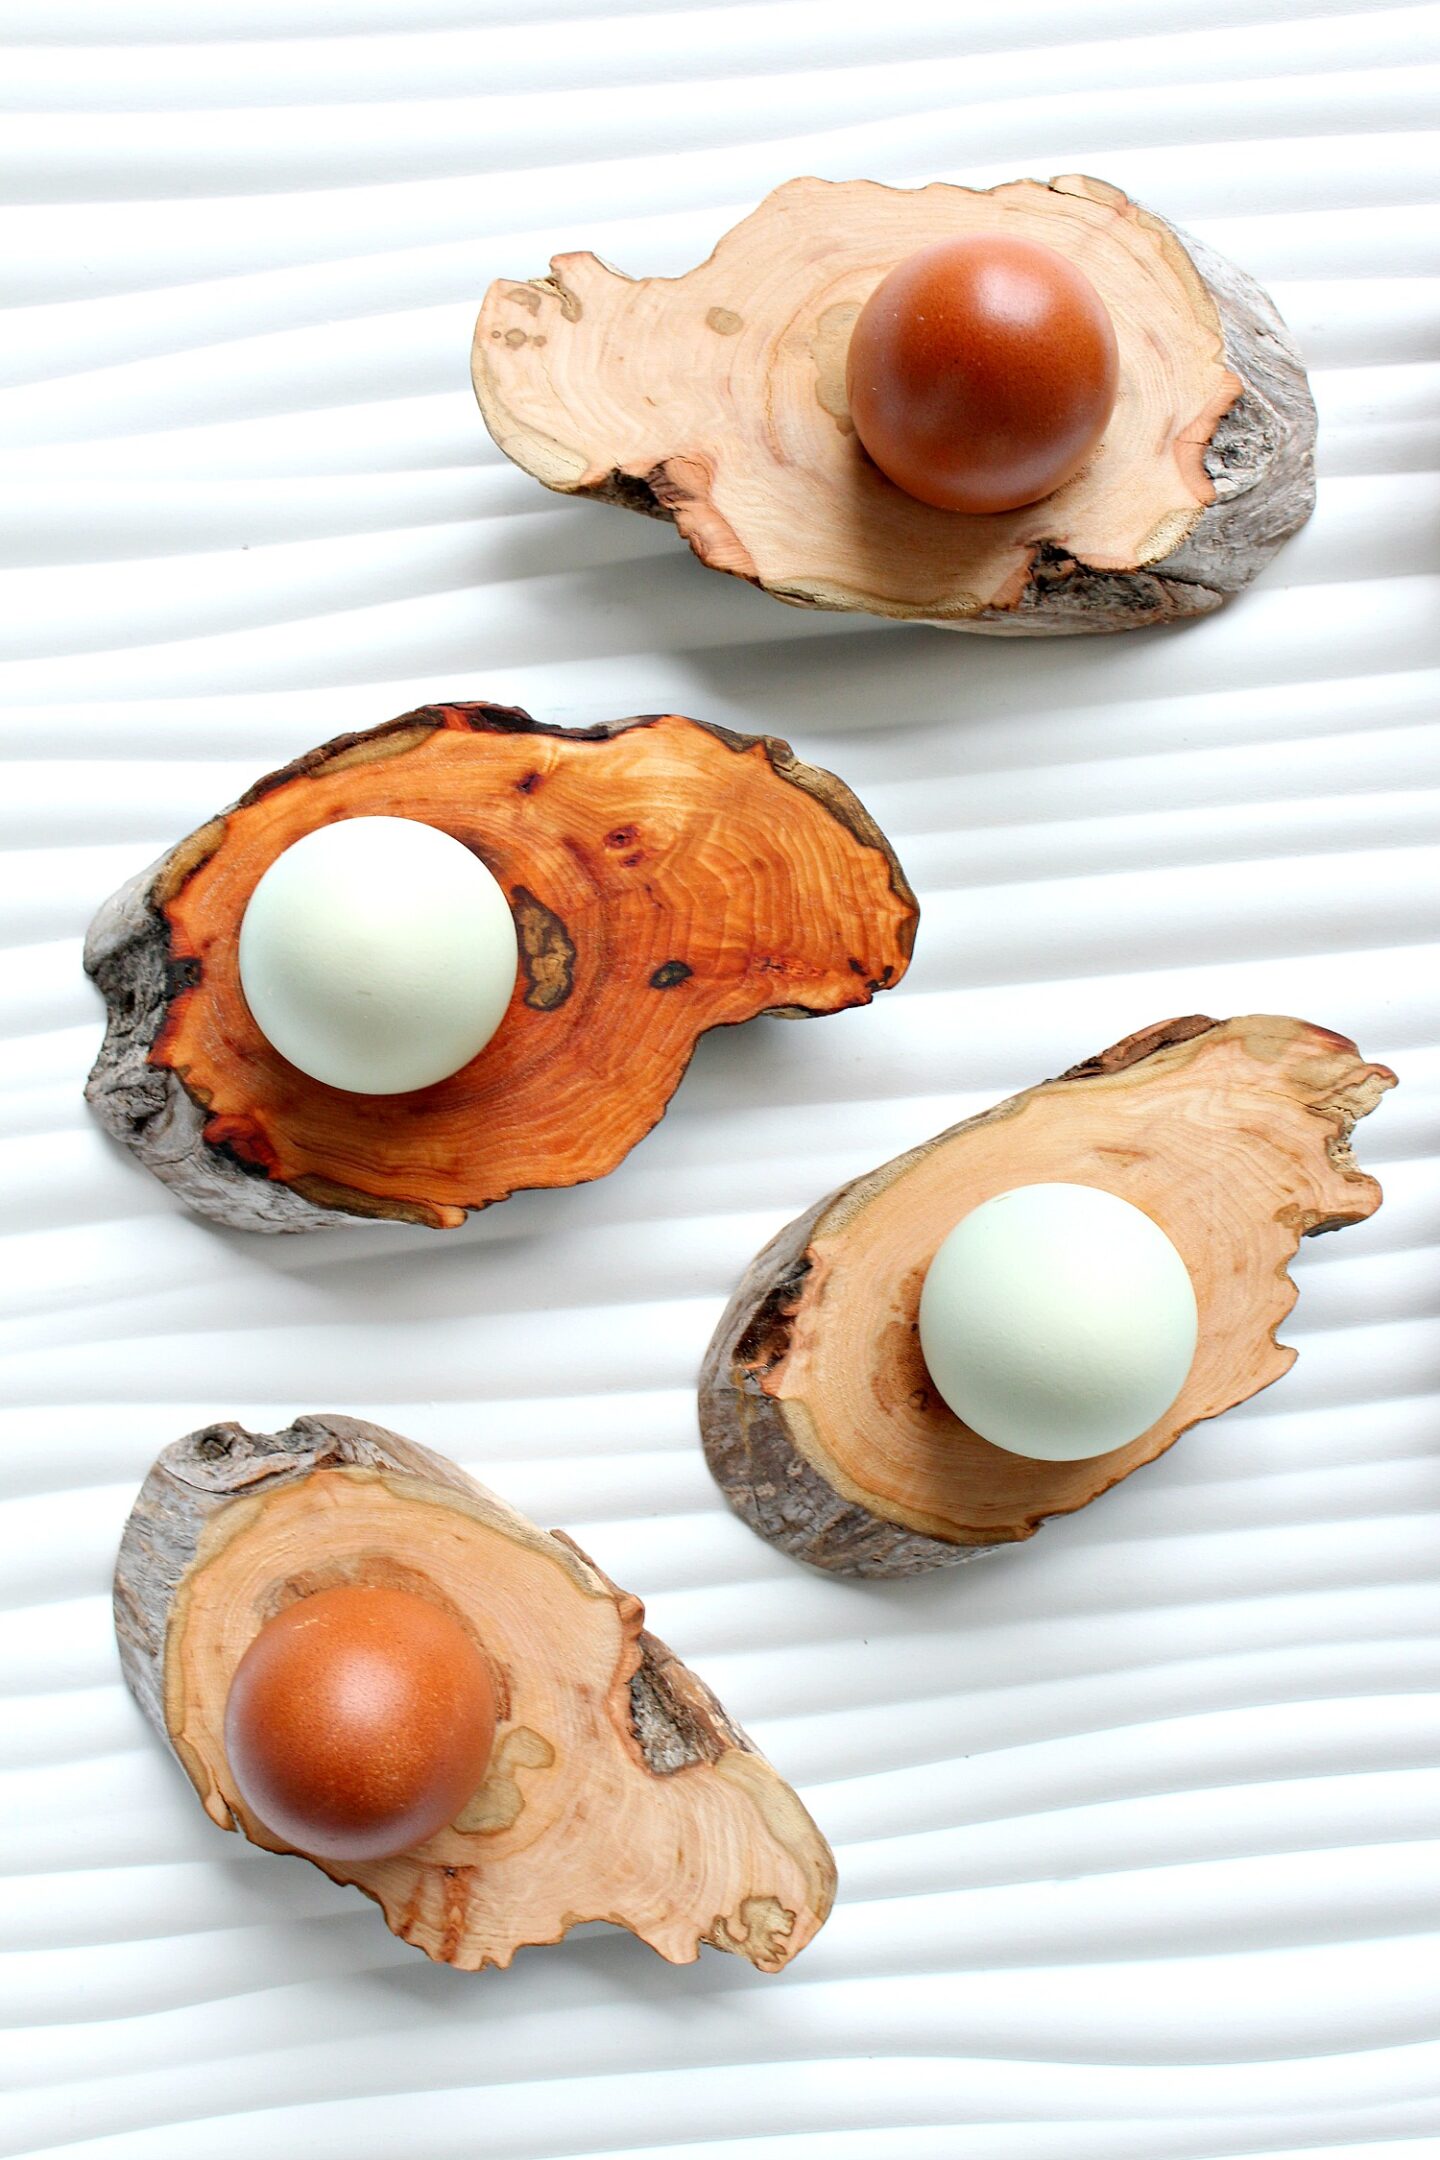
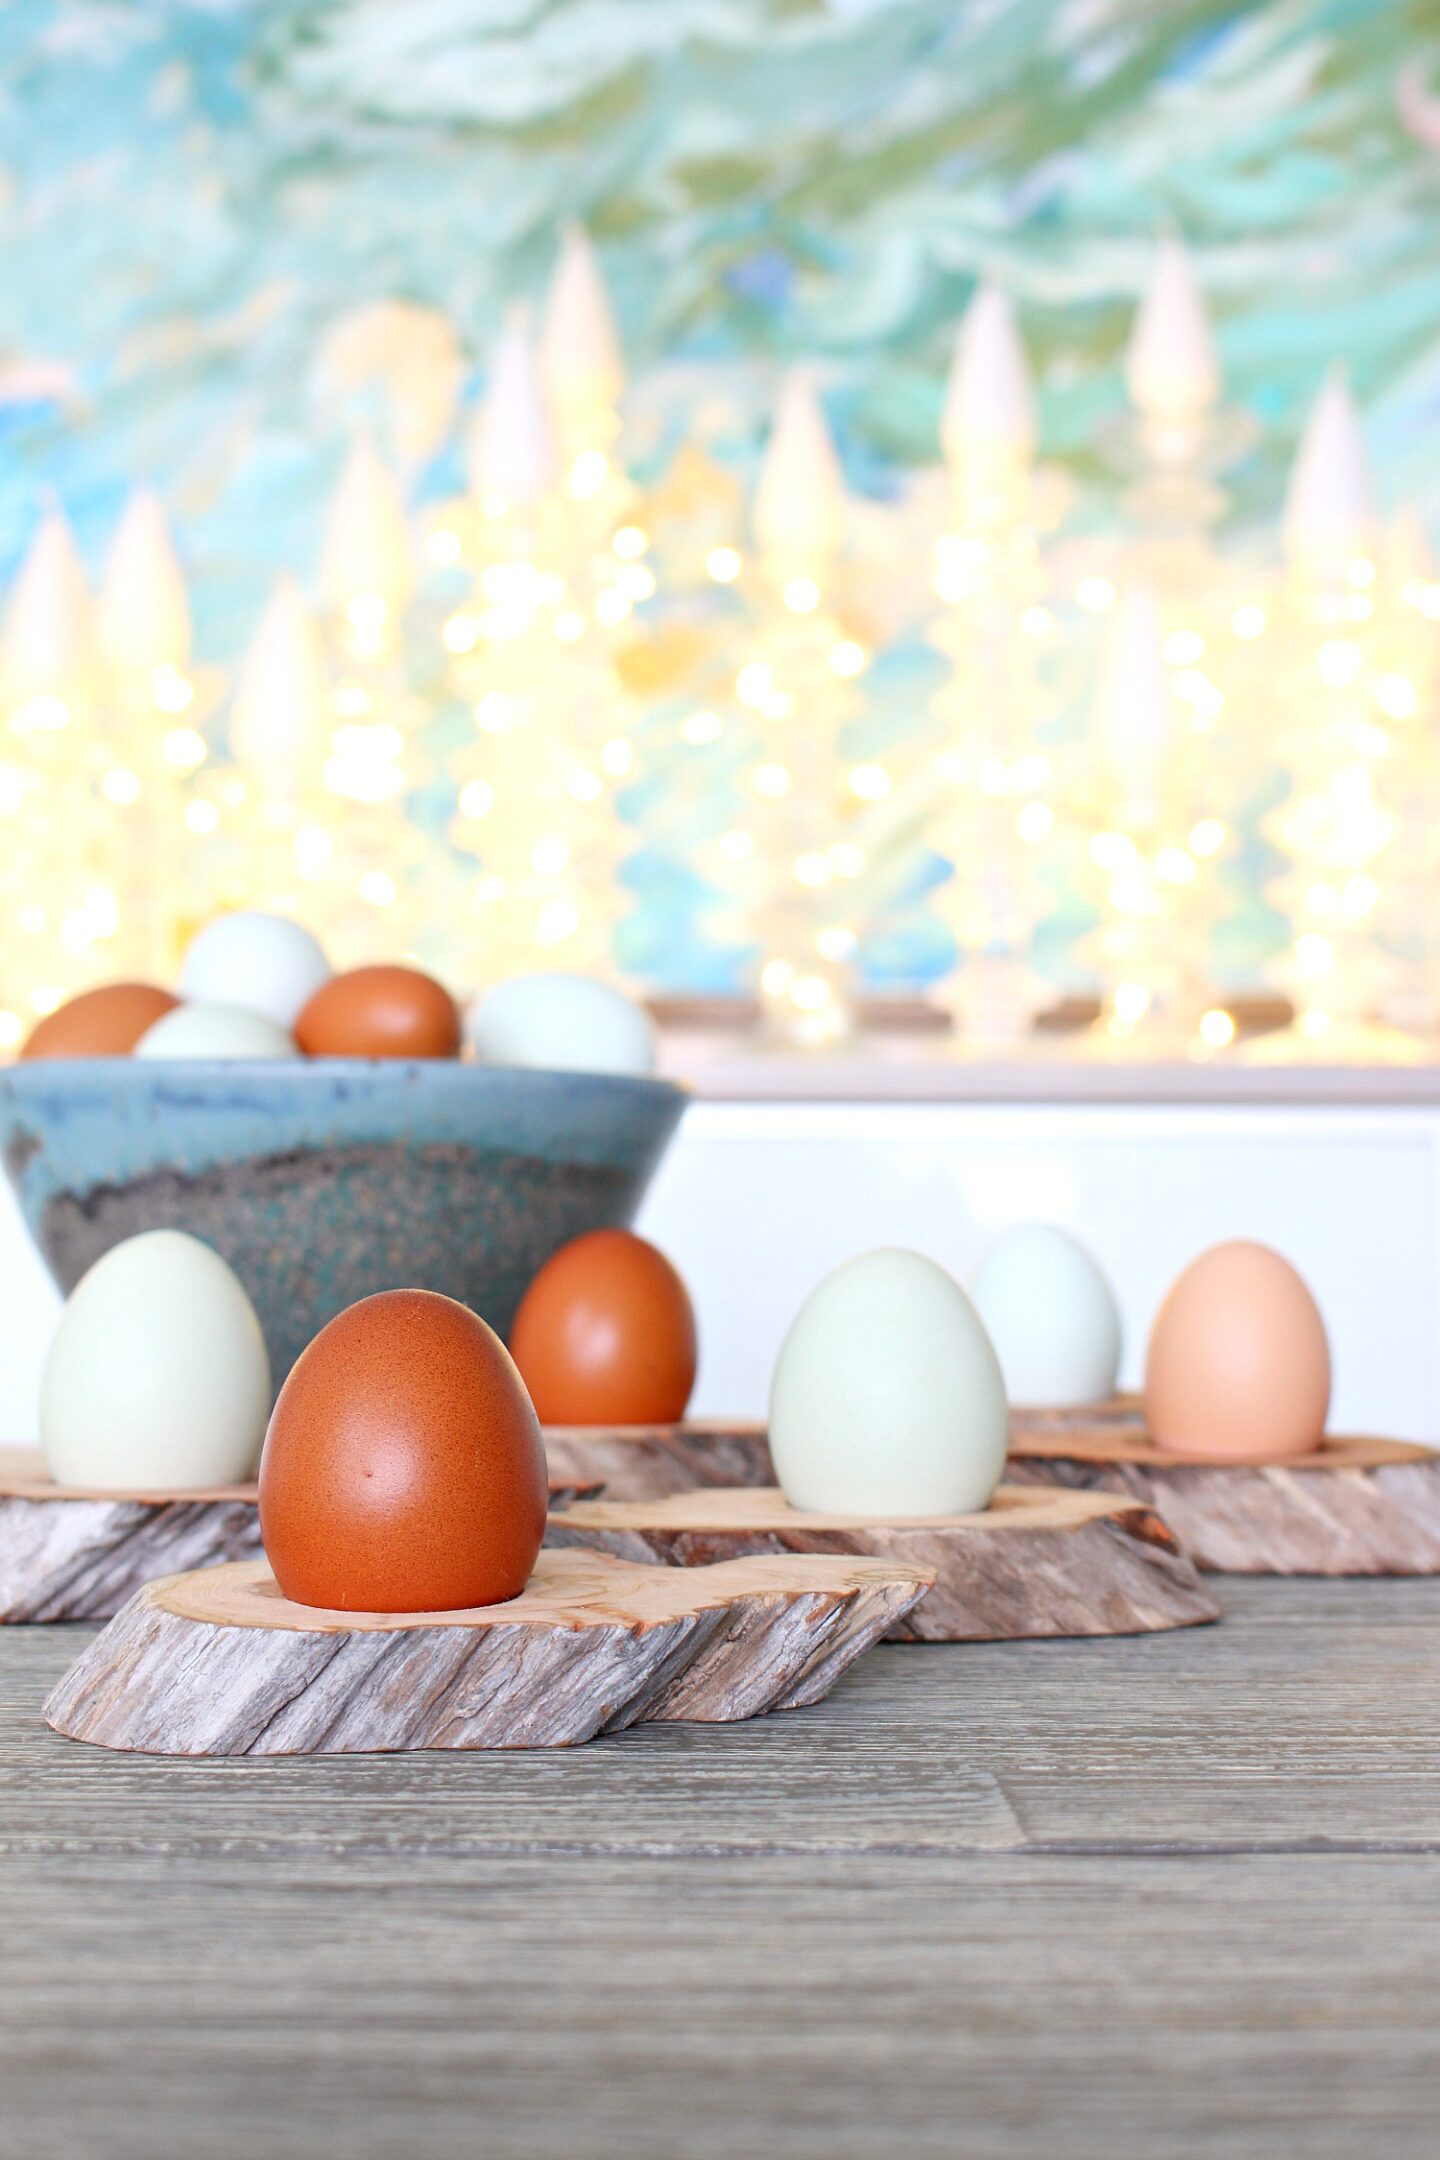
That’s all it takes to make these DIY driftwood egg cups! They’re a cute DIY gift idea for backyard chicken keepers or anyone who loves a good brunch. Gift them with brunch staples if you want to assemble a larger gift basket: small batch jams, home baked bread, some lovely whipped butter, fresh eggs, scone mix or muffin mix – you get the picture (lots of DIY possibilities).


Don’t Forget to Pin for Later!