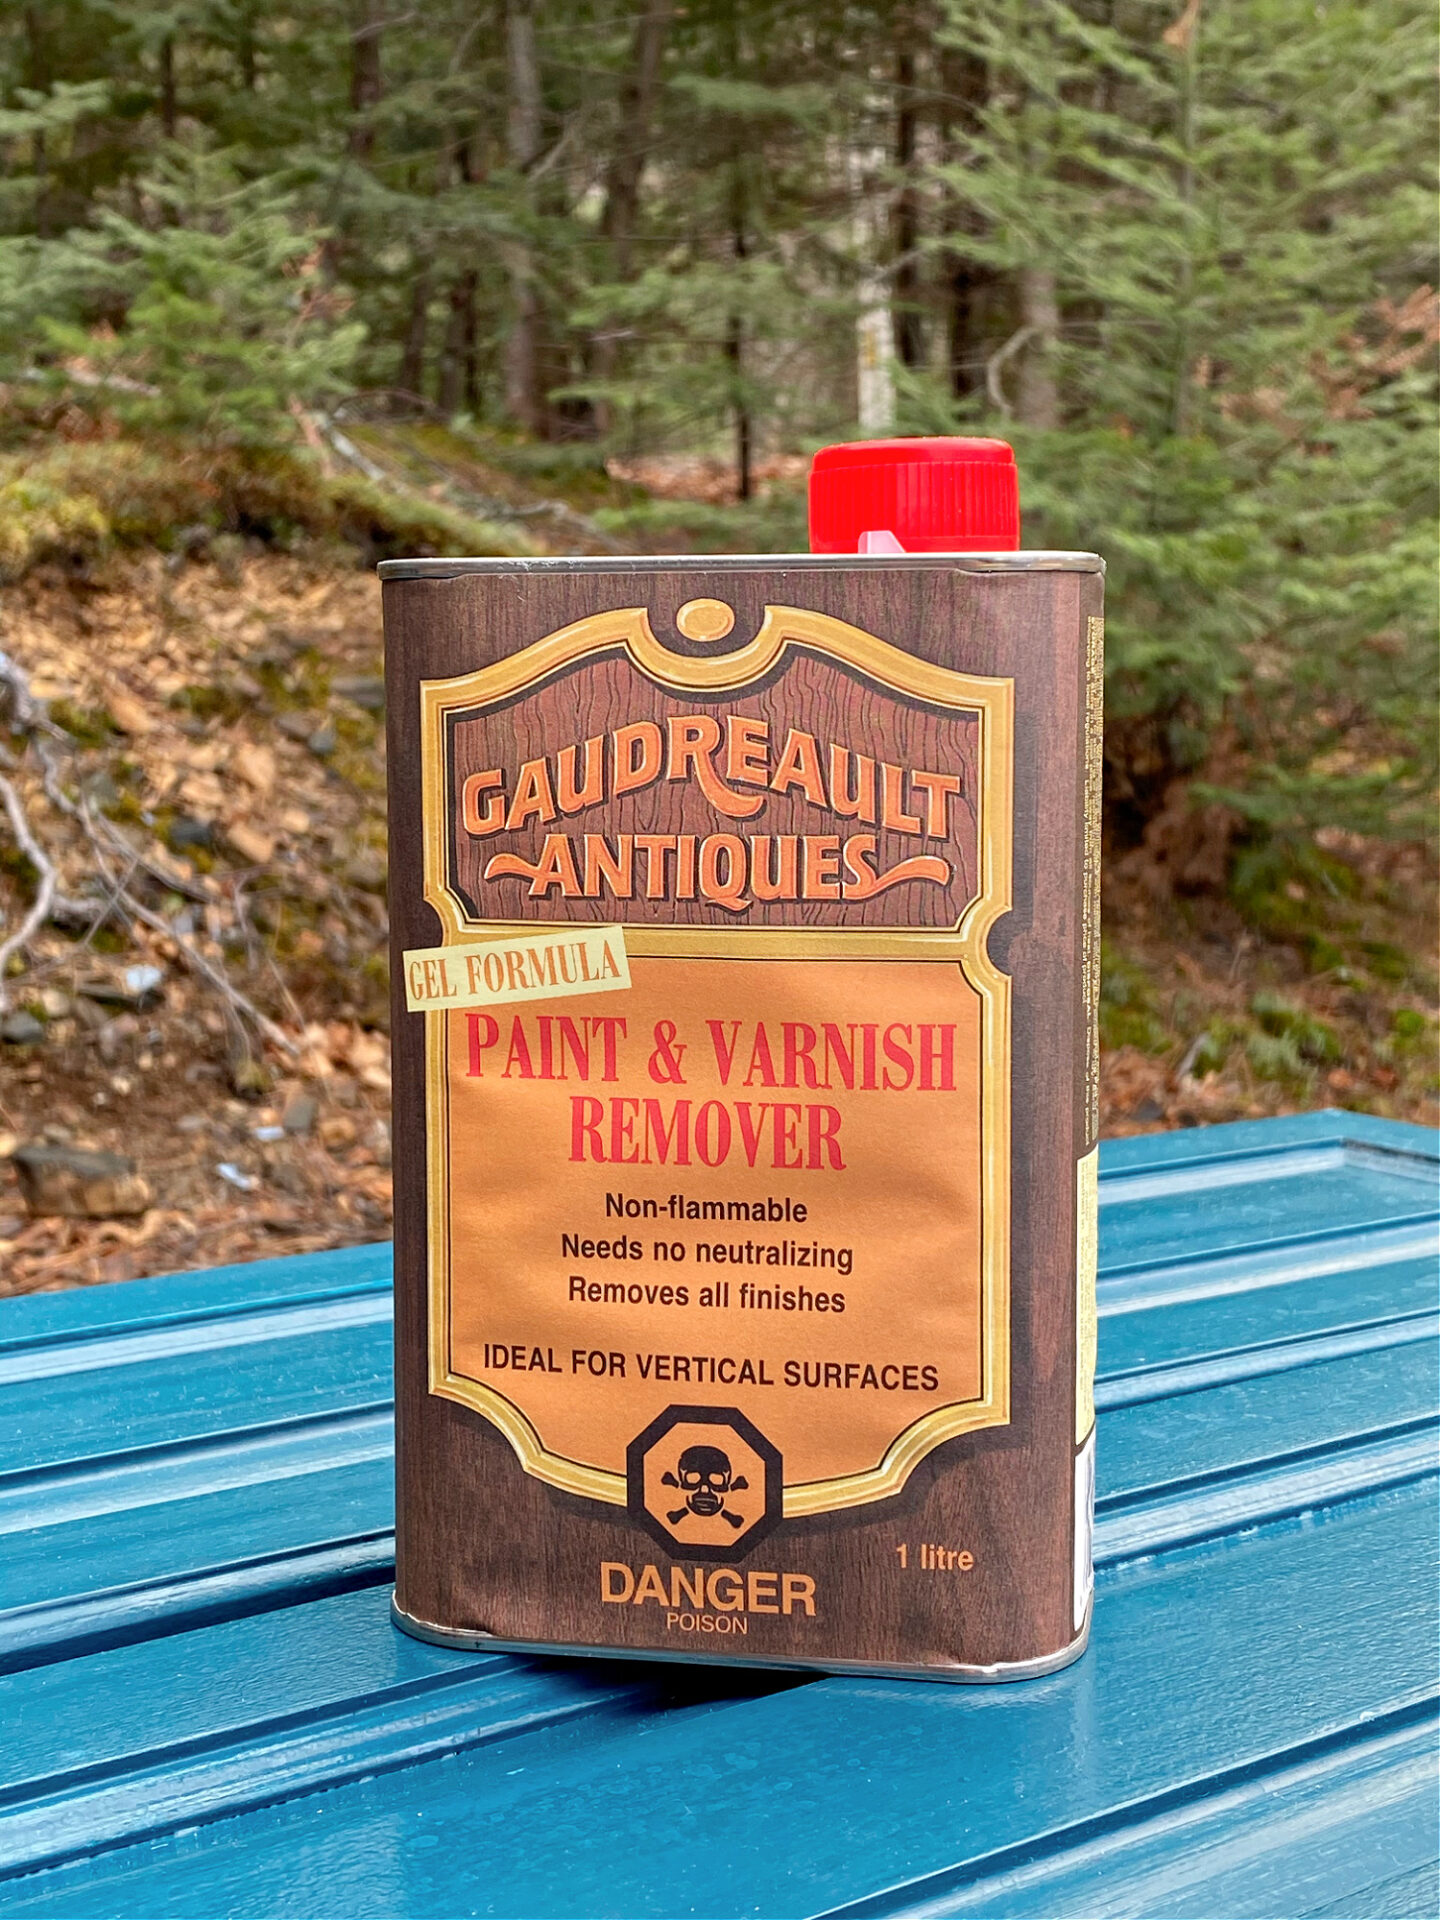
If you want to learn how to easily strip wood cabinets or furniture, keep reading for my stripping cabinets tutorial – along with the supplies that help make it easy! Lately I’ve seen all kinds of “hacks” on social media for how to get paint stripper to cooperate. People wrap it in plastic, heat it, do all kinds of things, and then – from where I sit – still spend an inordinate amount of time scraping and coaxing the paint to come off. There’s a better way to remove paint from cabinets! I did not have to suffer through any of that hassle because I accidentally found what is, in my opinion, THE BEST paint and varnish remover. Between this awesome chemical paint remover – and my new favorite tool – I could strip cabinets to natural wood in one smooth move:

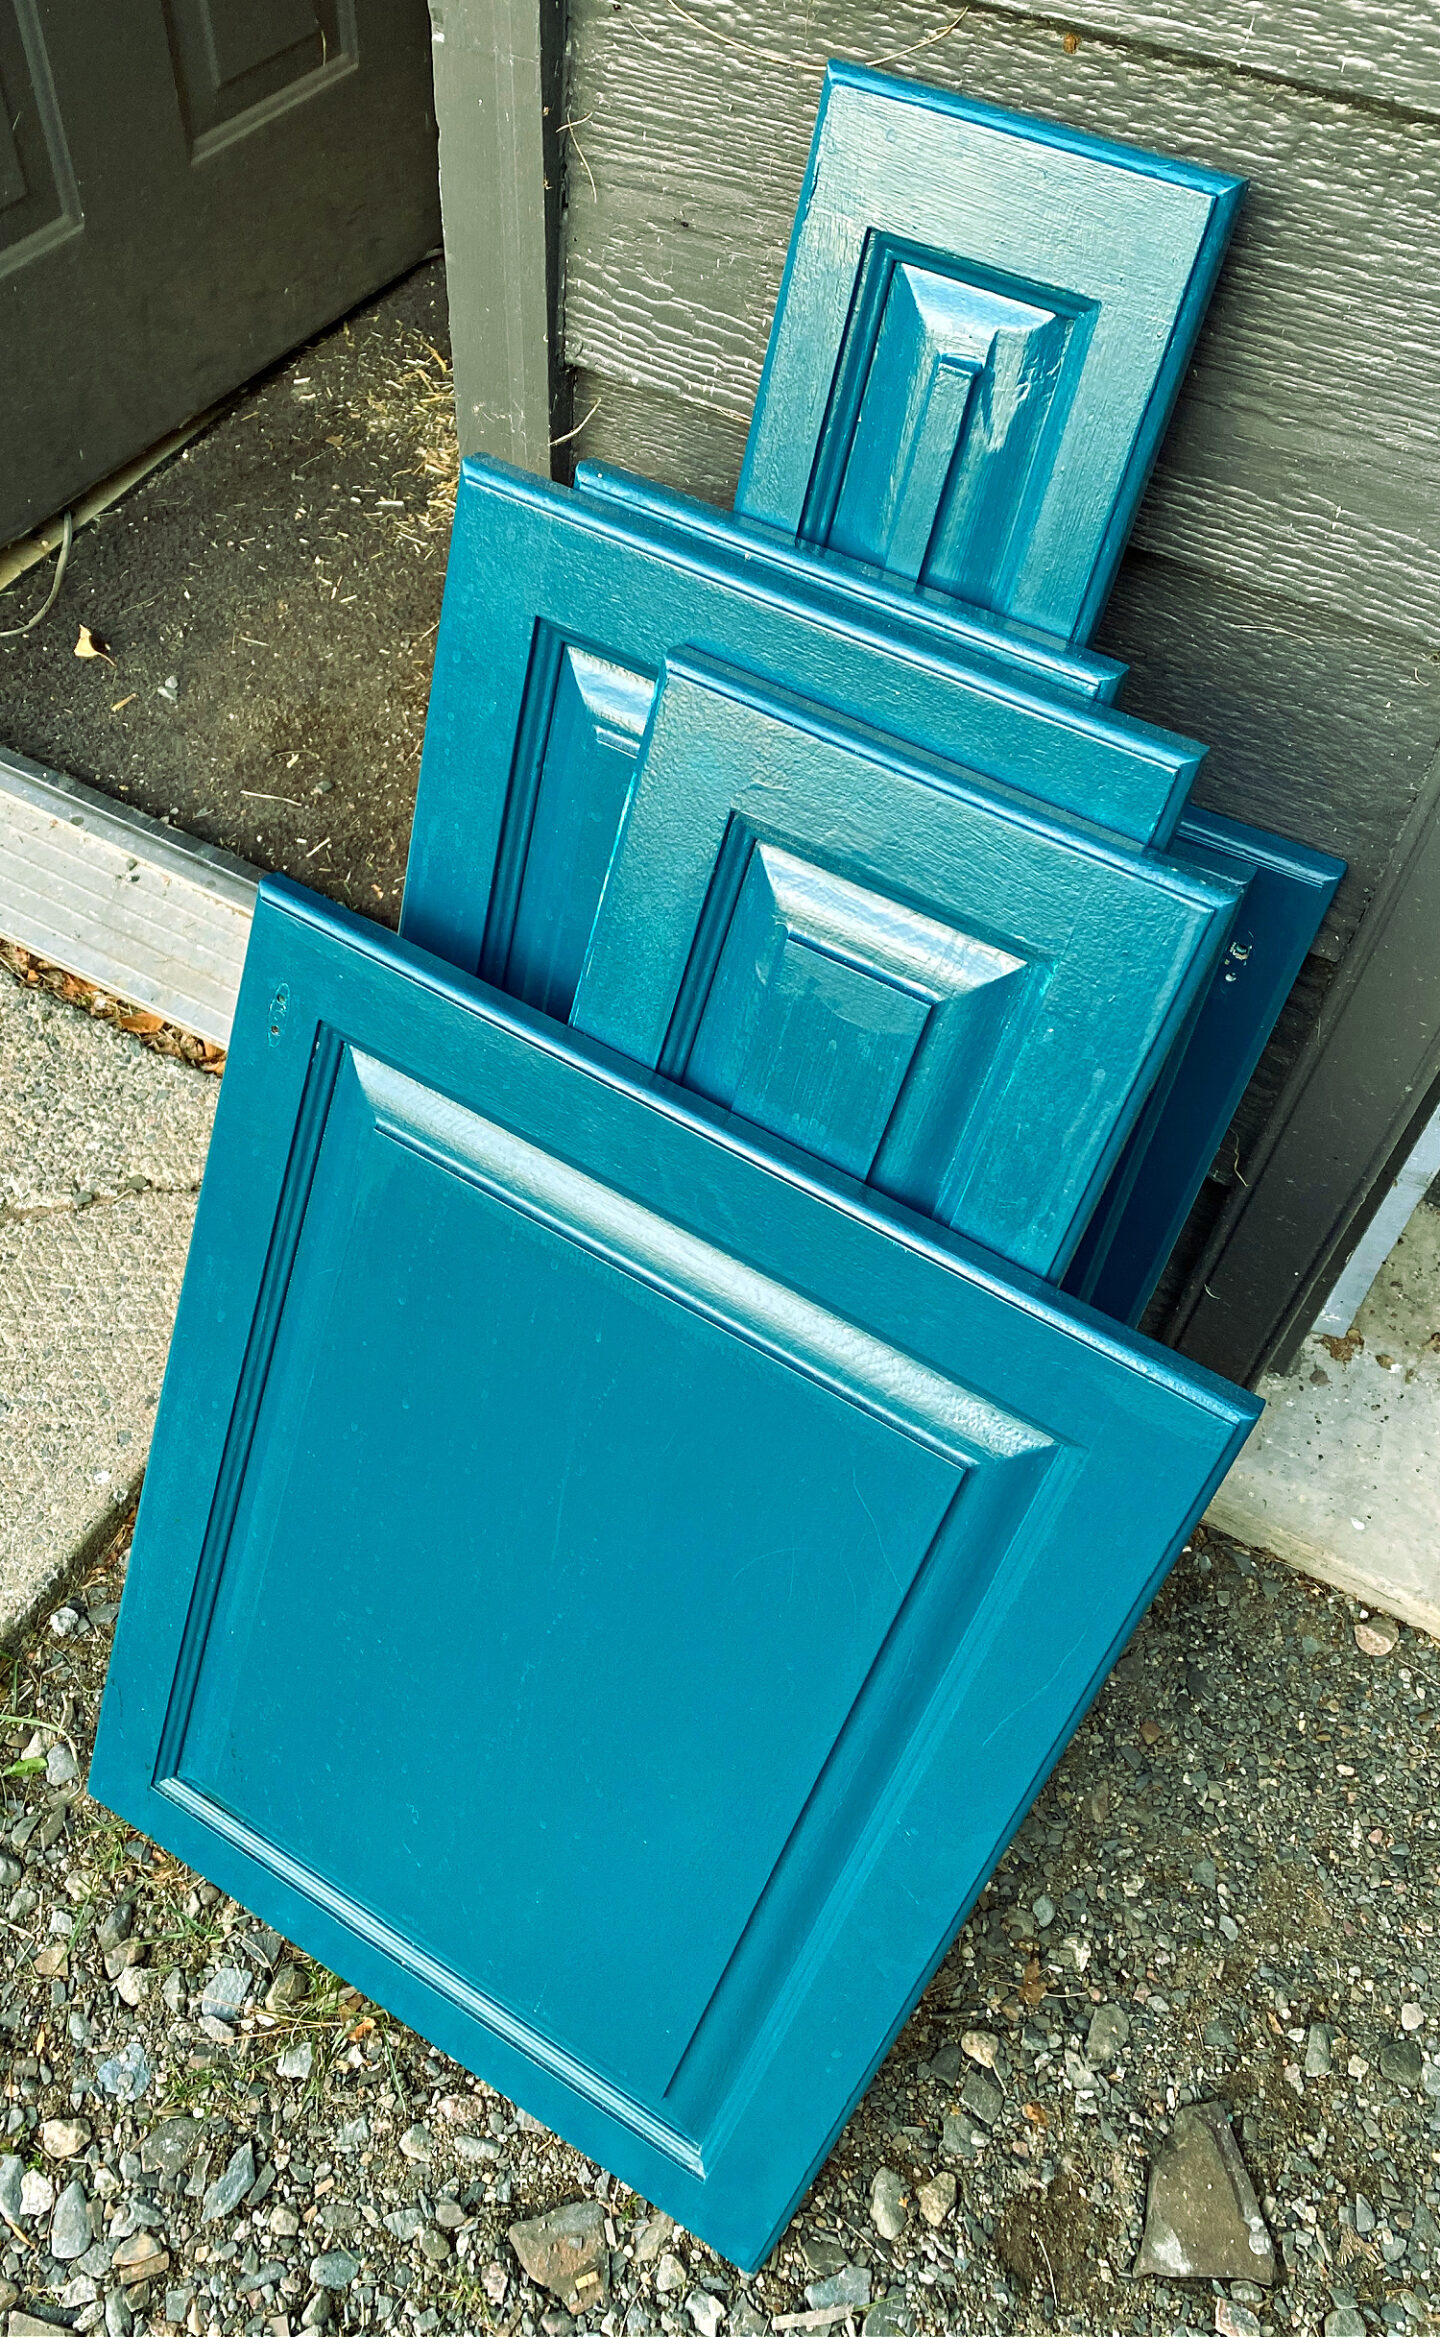
Goodbye teal kitchen cabinets!
Why Did I Strip My Kitchen Cabinets?
First, let me answer a question I was asked a lot on social media: why did I strip my kitchen cabinets? We had sanded, primed and painted back in 2013 and that finish was PERFECT. When I wanted a change, I scuffed up the paint, primed again and painted but this second color was a different brand and I really wasn’t happy with the quality of the paint. I decided that I wanted to go lighter with the cabinet color anyway. But I already had so many coats of paint on the wood and some of the cabinets already close with only millimetres to spare (not a well designed kitchen, lol), so more layers of paint would have just been too thick. So I decided to strip cabinets to natural wood. Here’s one last look at the teal kitchen cabinets:

What is THE BEST Brand of Paint Stripper?
So, in my opinion, having used some other brands that were good but not noteworthy, I LOVE this brand. This paint stripper is non-flammable, needs no neutralizing, and removes all finishes. I bought this locally, here’s a link to help you find it. If you can’t find this product, or don’t want to use it, my best advice is to call/visit locally owned, small paint stores in your city or town. Even if they don’t have this, they will probably have something equally magic. Often those smaller shops carry products that are of superior quality to the big box retailers (and sometimes geared more toward people who do this by trade), especially when it comes to refinishing projects.
Supplies for Stripping Paint from Cabinets:
- Paint stripper
- Chemical resistant rubber gloves
- Protective foot wear (no flip flops!)
- Protective eye wear
- Work bench / work surface
- Belt or palm sander
- Sandpaper
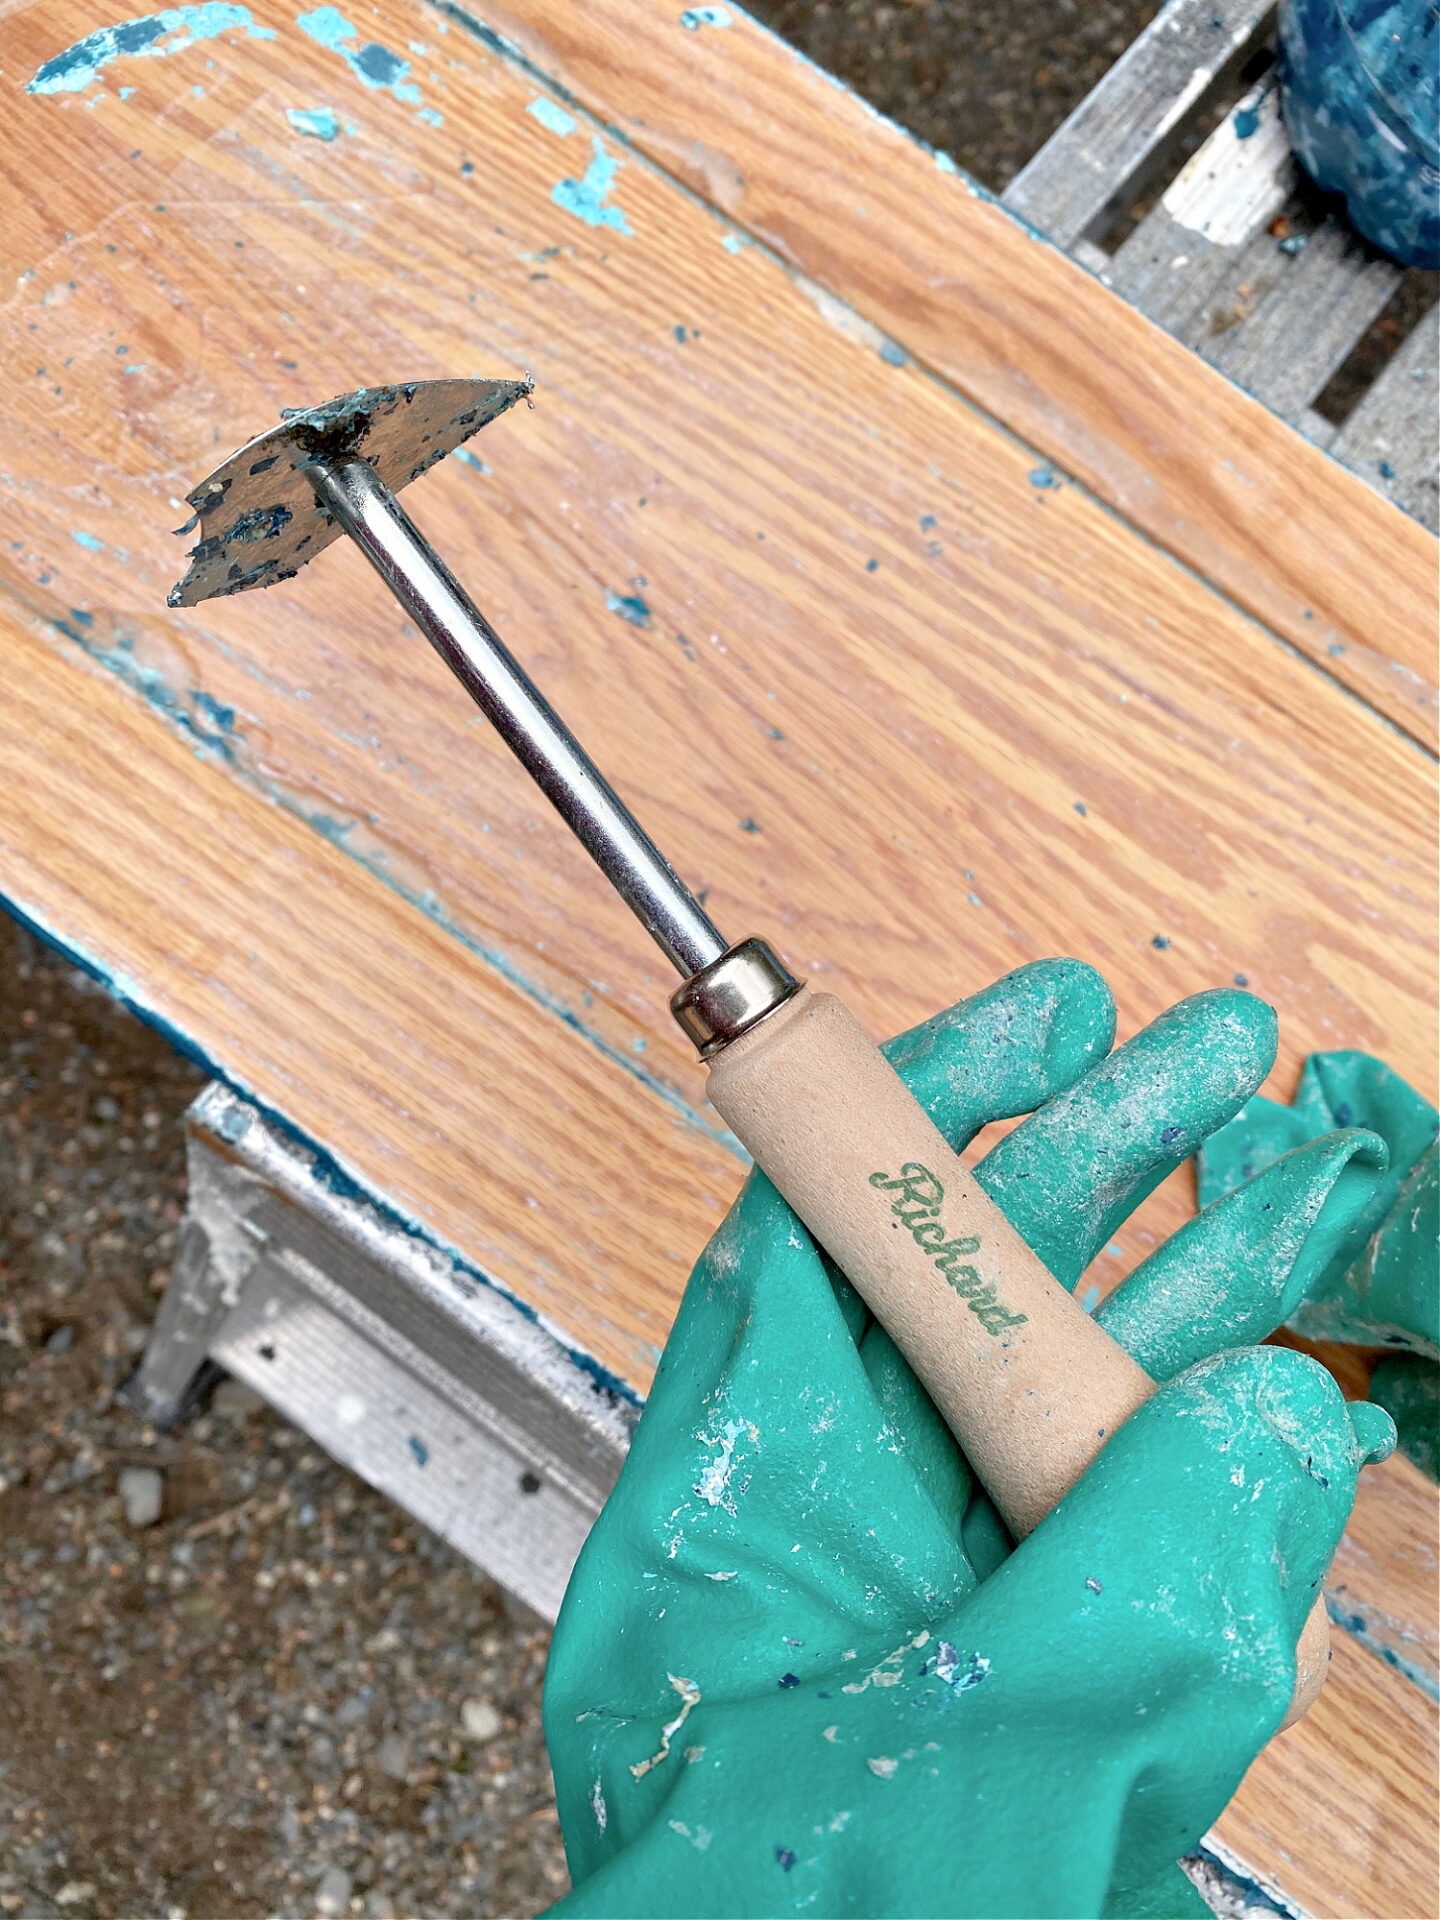
- Shave hook scraping tool(this was a GAME CHANGER)
- Stiff scrapers (I used a wide one and a narrow one)
- Lint-free rags
- Old paint brush (for applying stripper)
- Old container for goop
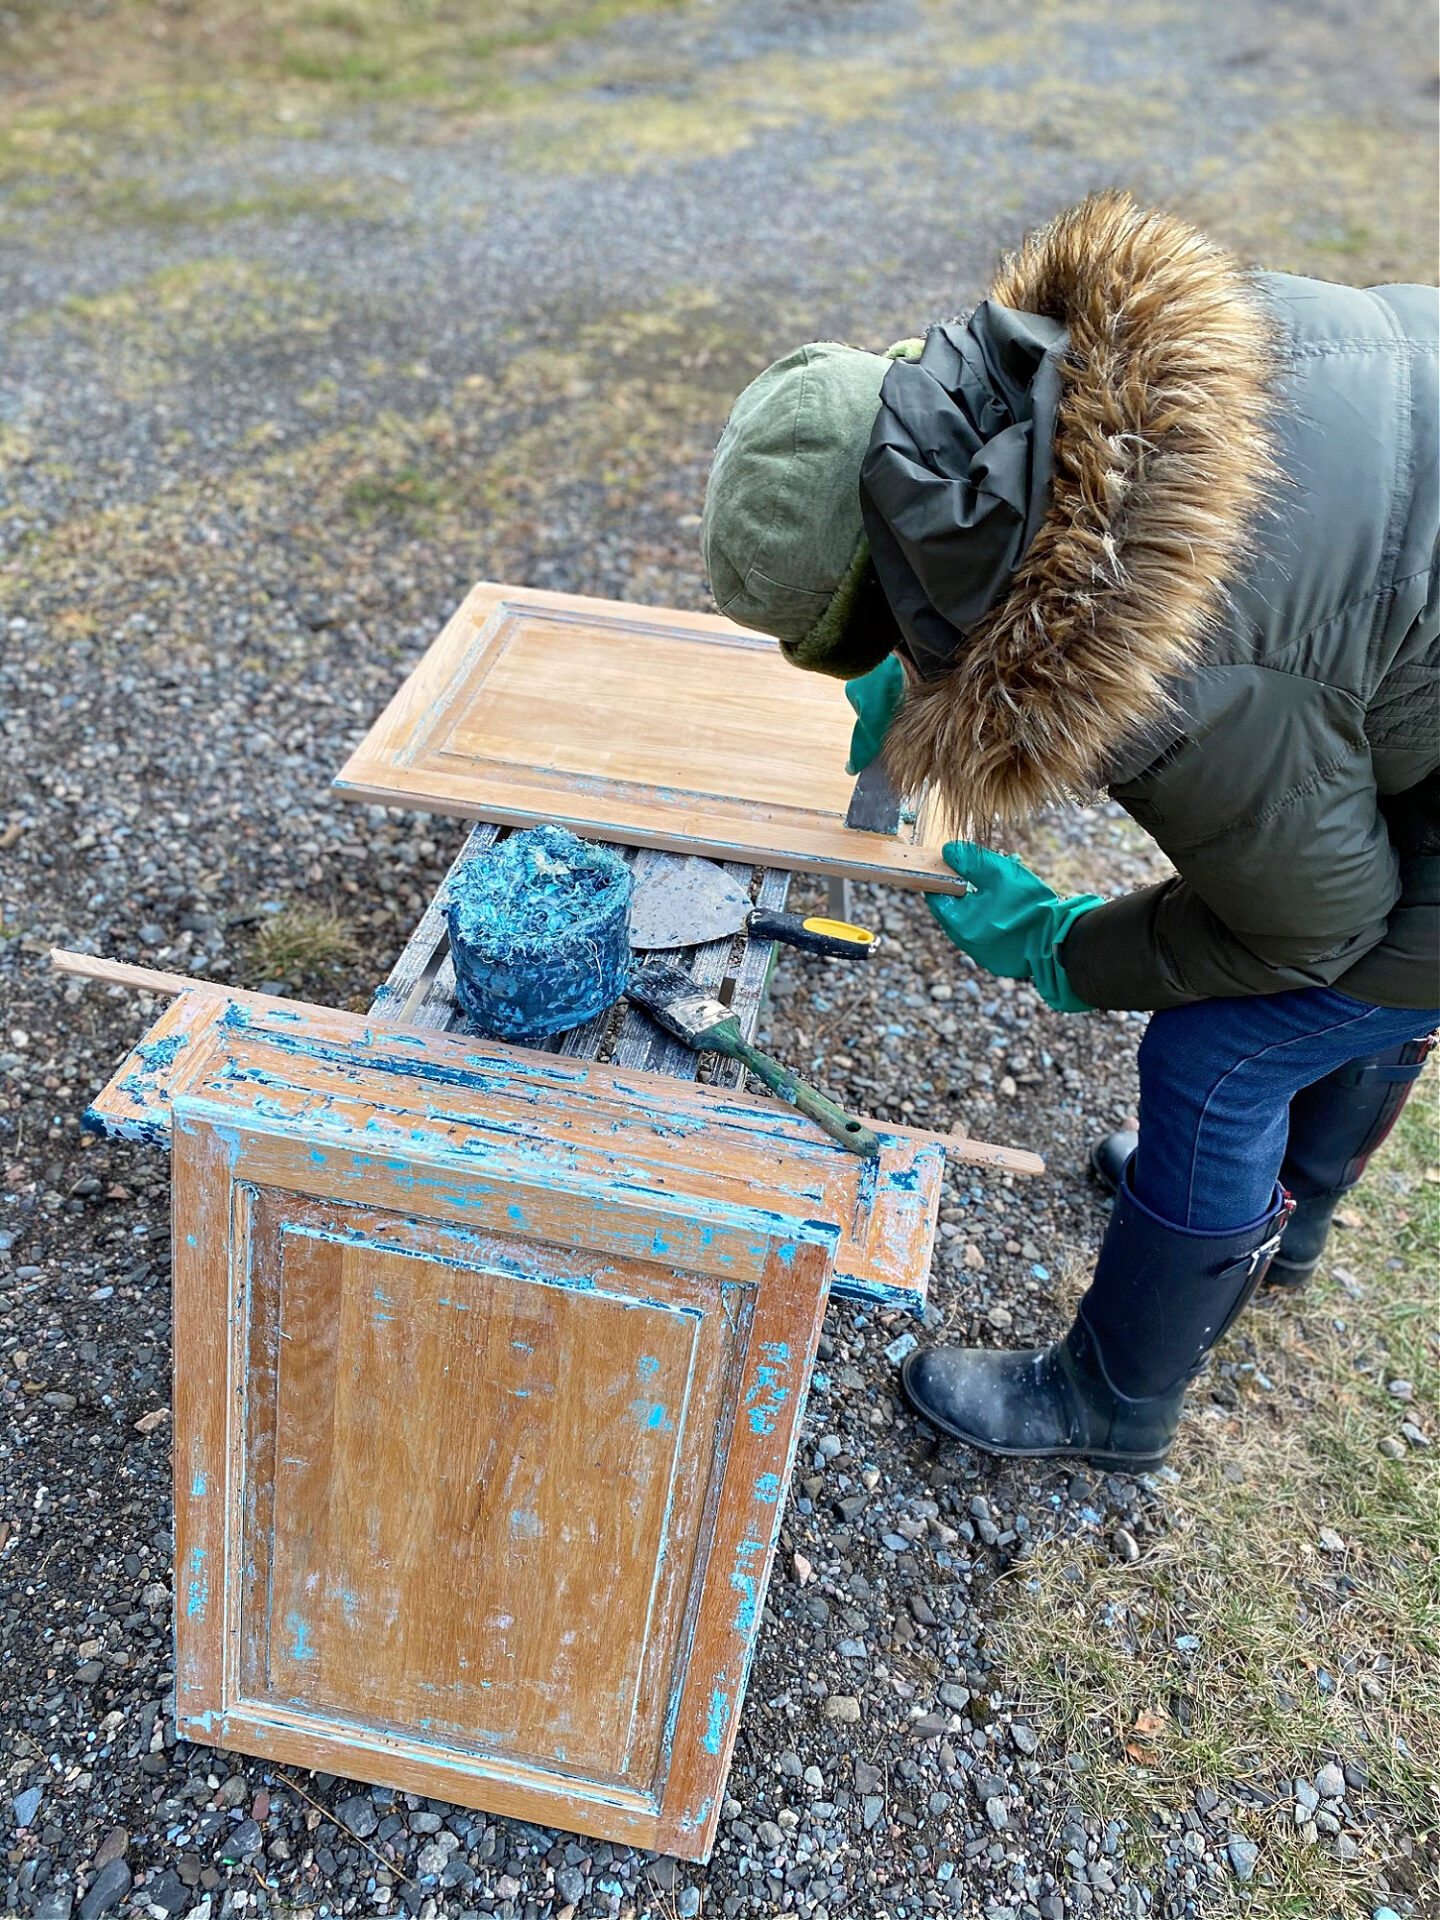
Because my cabinets have a raised profile, the old finish really liked to get stuck in those grooves. So I bought a shave hook scraping tool, which was a GAME CHANGER!
For the flat parts, I used a really wide scraper and then a smaller size for the smaller areas – it really depends on your style of your cabinets.

(If you prefer video, check out my Instagram Story highlight called “Cabinet Strip” so you can tap through the stories from this project and see more of the process in action – or watch my popular Instagram Reel, which demonstrates how the paint comes off so easily). Find my step by step tutorial for how to strip cabinets to natural wood, but keep reading for detailed instructions with photos.
How to Strip Kitchen Cabinets:
- Remove cabinet door hardware
- Set up a work station (preferably outside or in a VERY well ventilated space)
- Lay down drop cloths to protect surfaces from chemical stripper
- Wear safety gear, including chemical resistant rubber gloves and eye protection
- Gently pour or brush on a generous and thick coat of paint stripper
- Wait for the paint the bubble up
- Once the paint bubble, scrape off paint using a scraper – disposing of the gunk safely in an old metal container
- Repeat process for any residual paint
- Remove any residue with a damp cloth
- Let cabinets dry
- Sand any rough areas smooth with a sander – paint stripper will remove finish but not smooth surfaces
Check Out a Video of Removing Paint from Cabinets Here!
How to Remove Thick Paint from Kitchen Cabinets
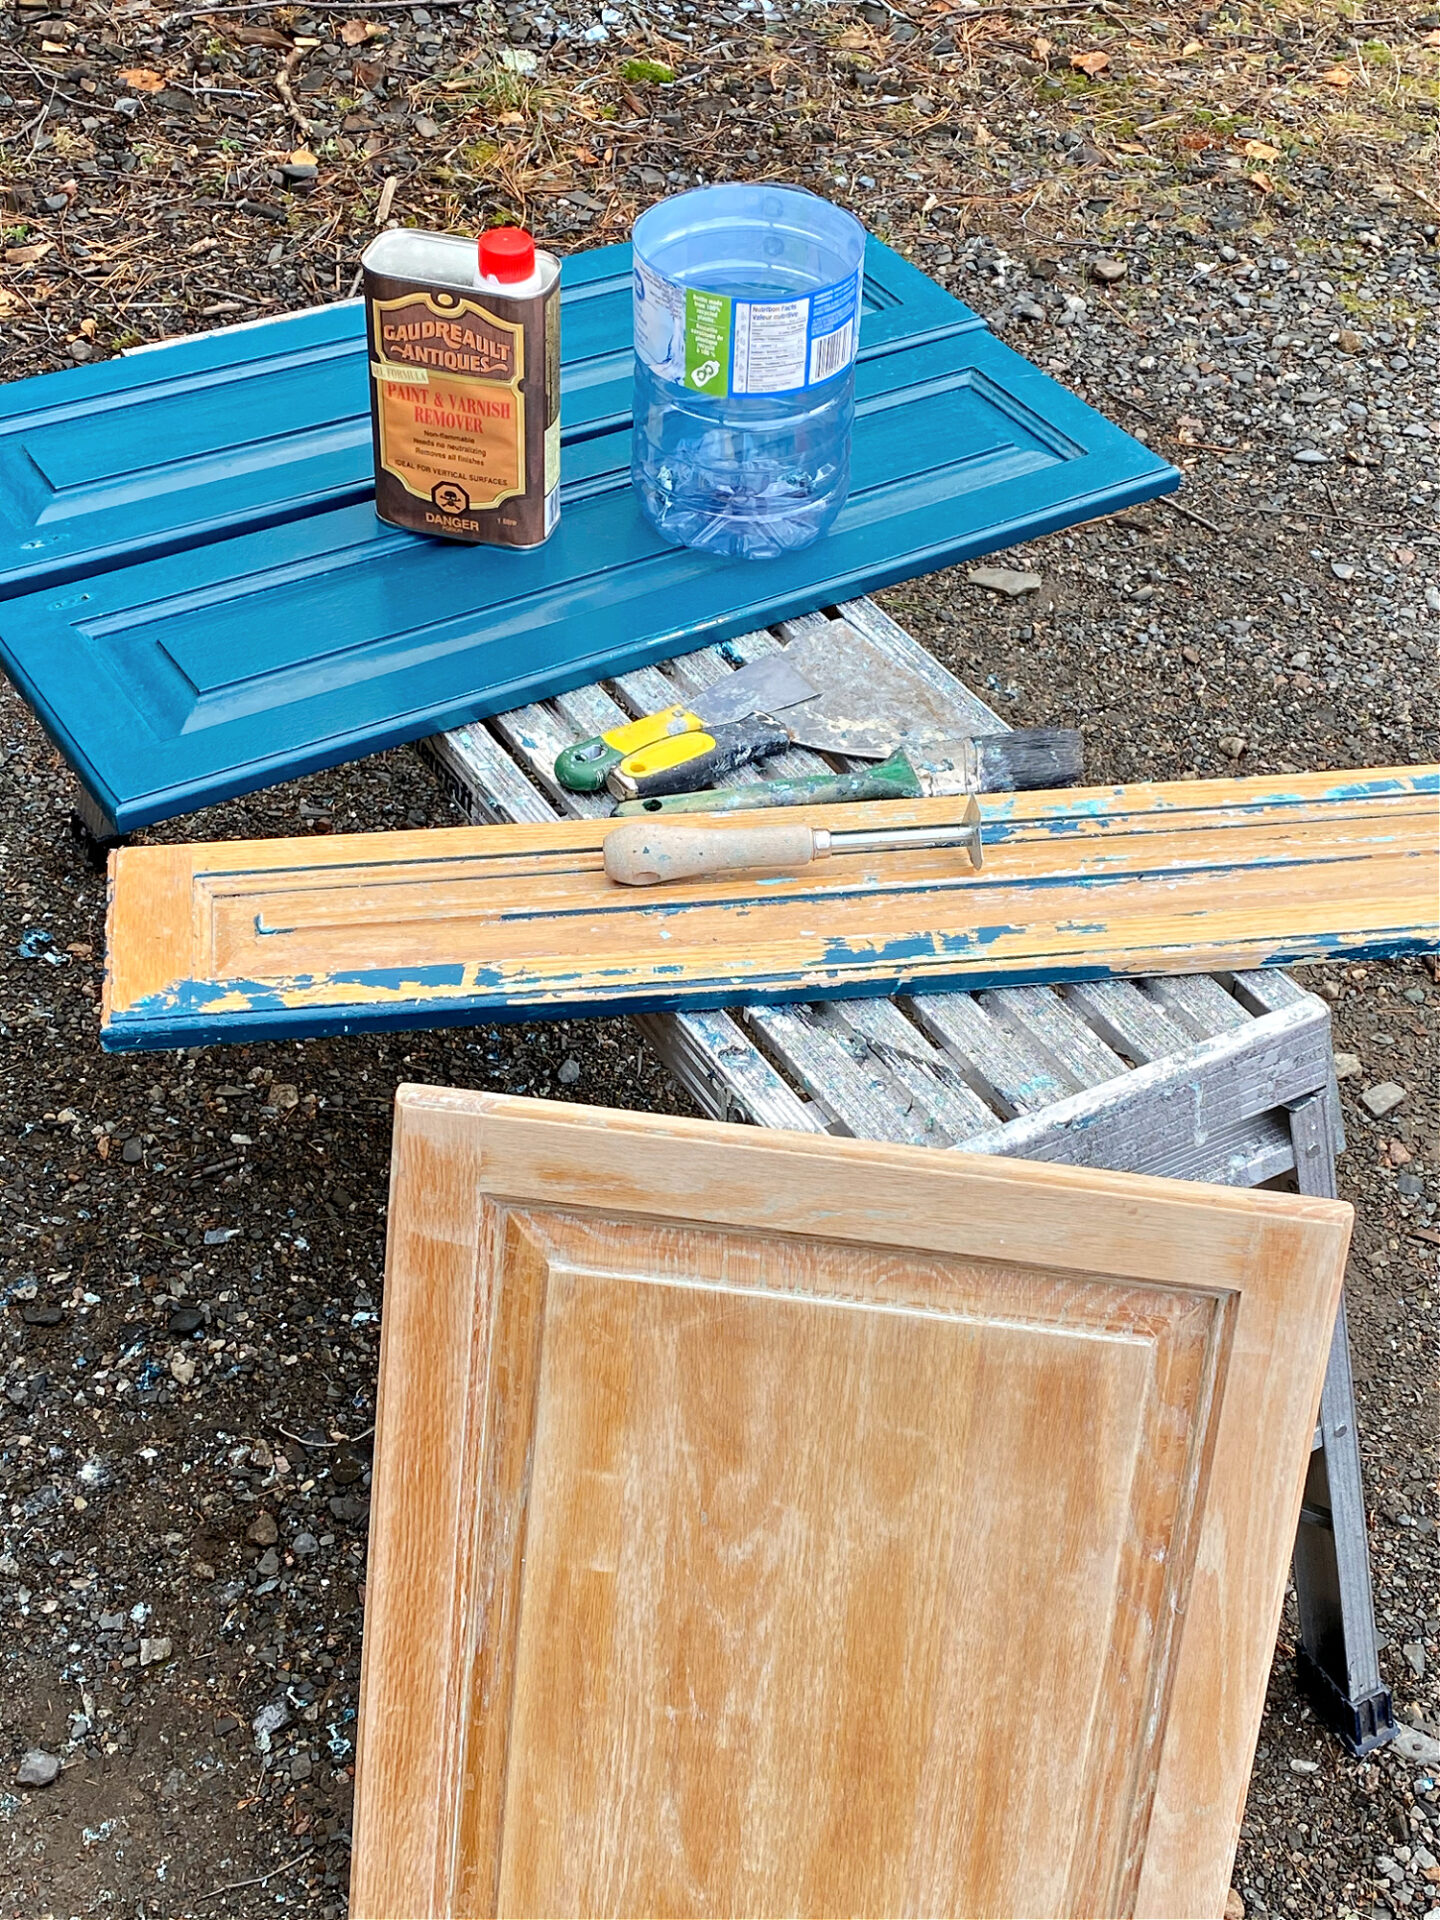
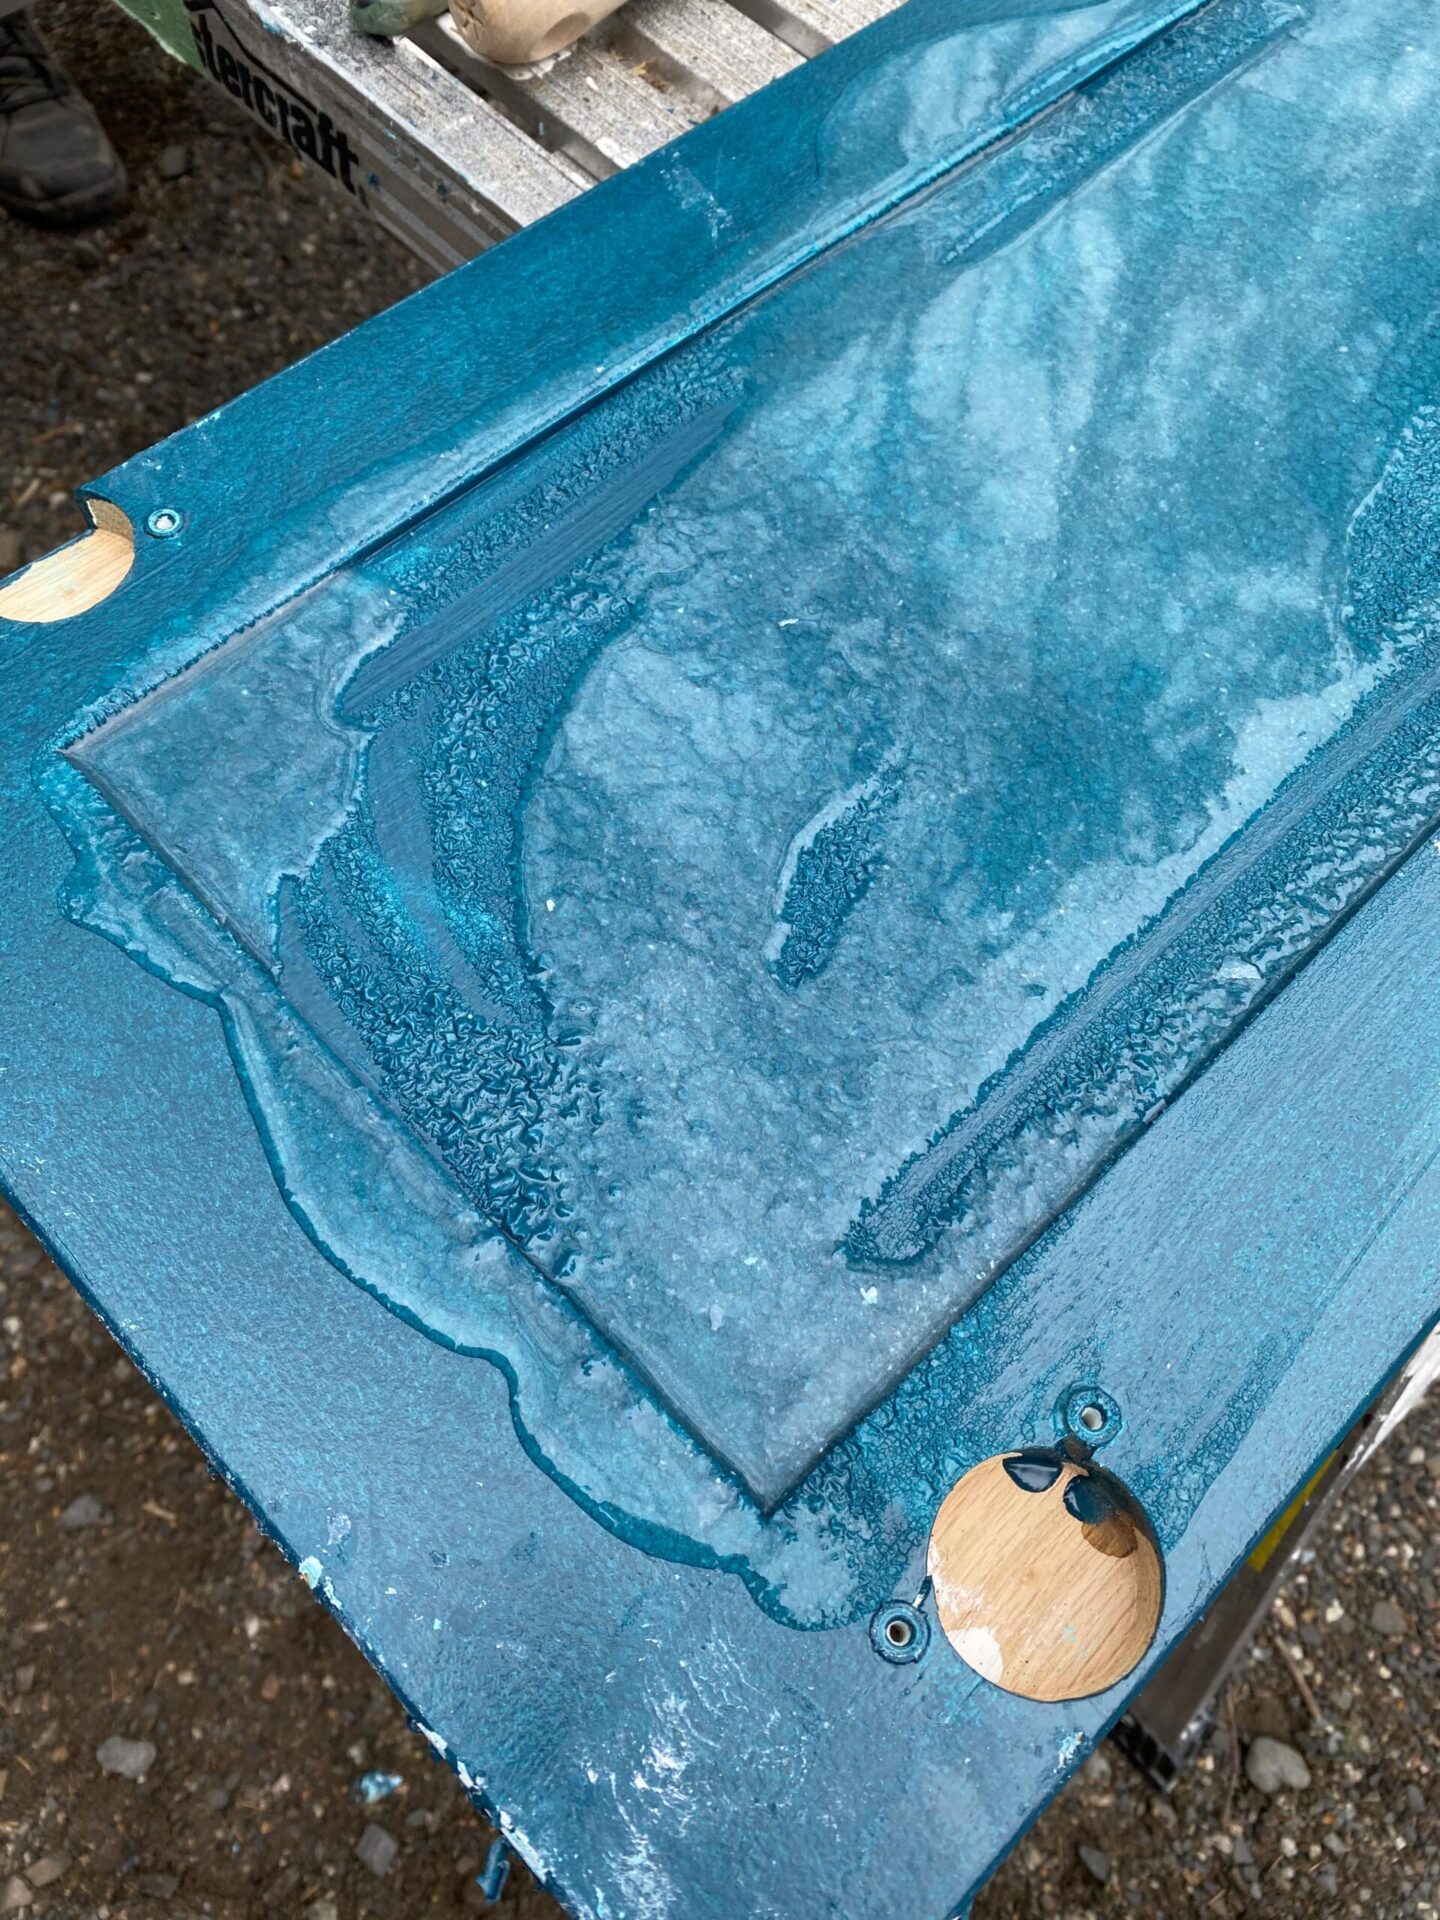
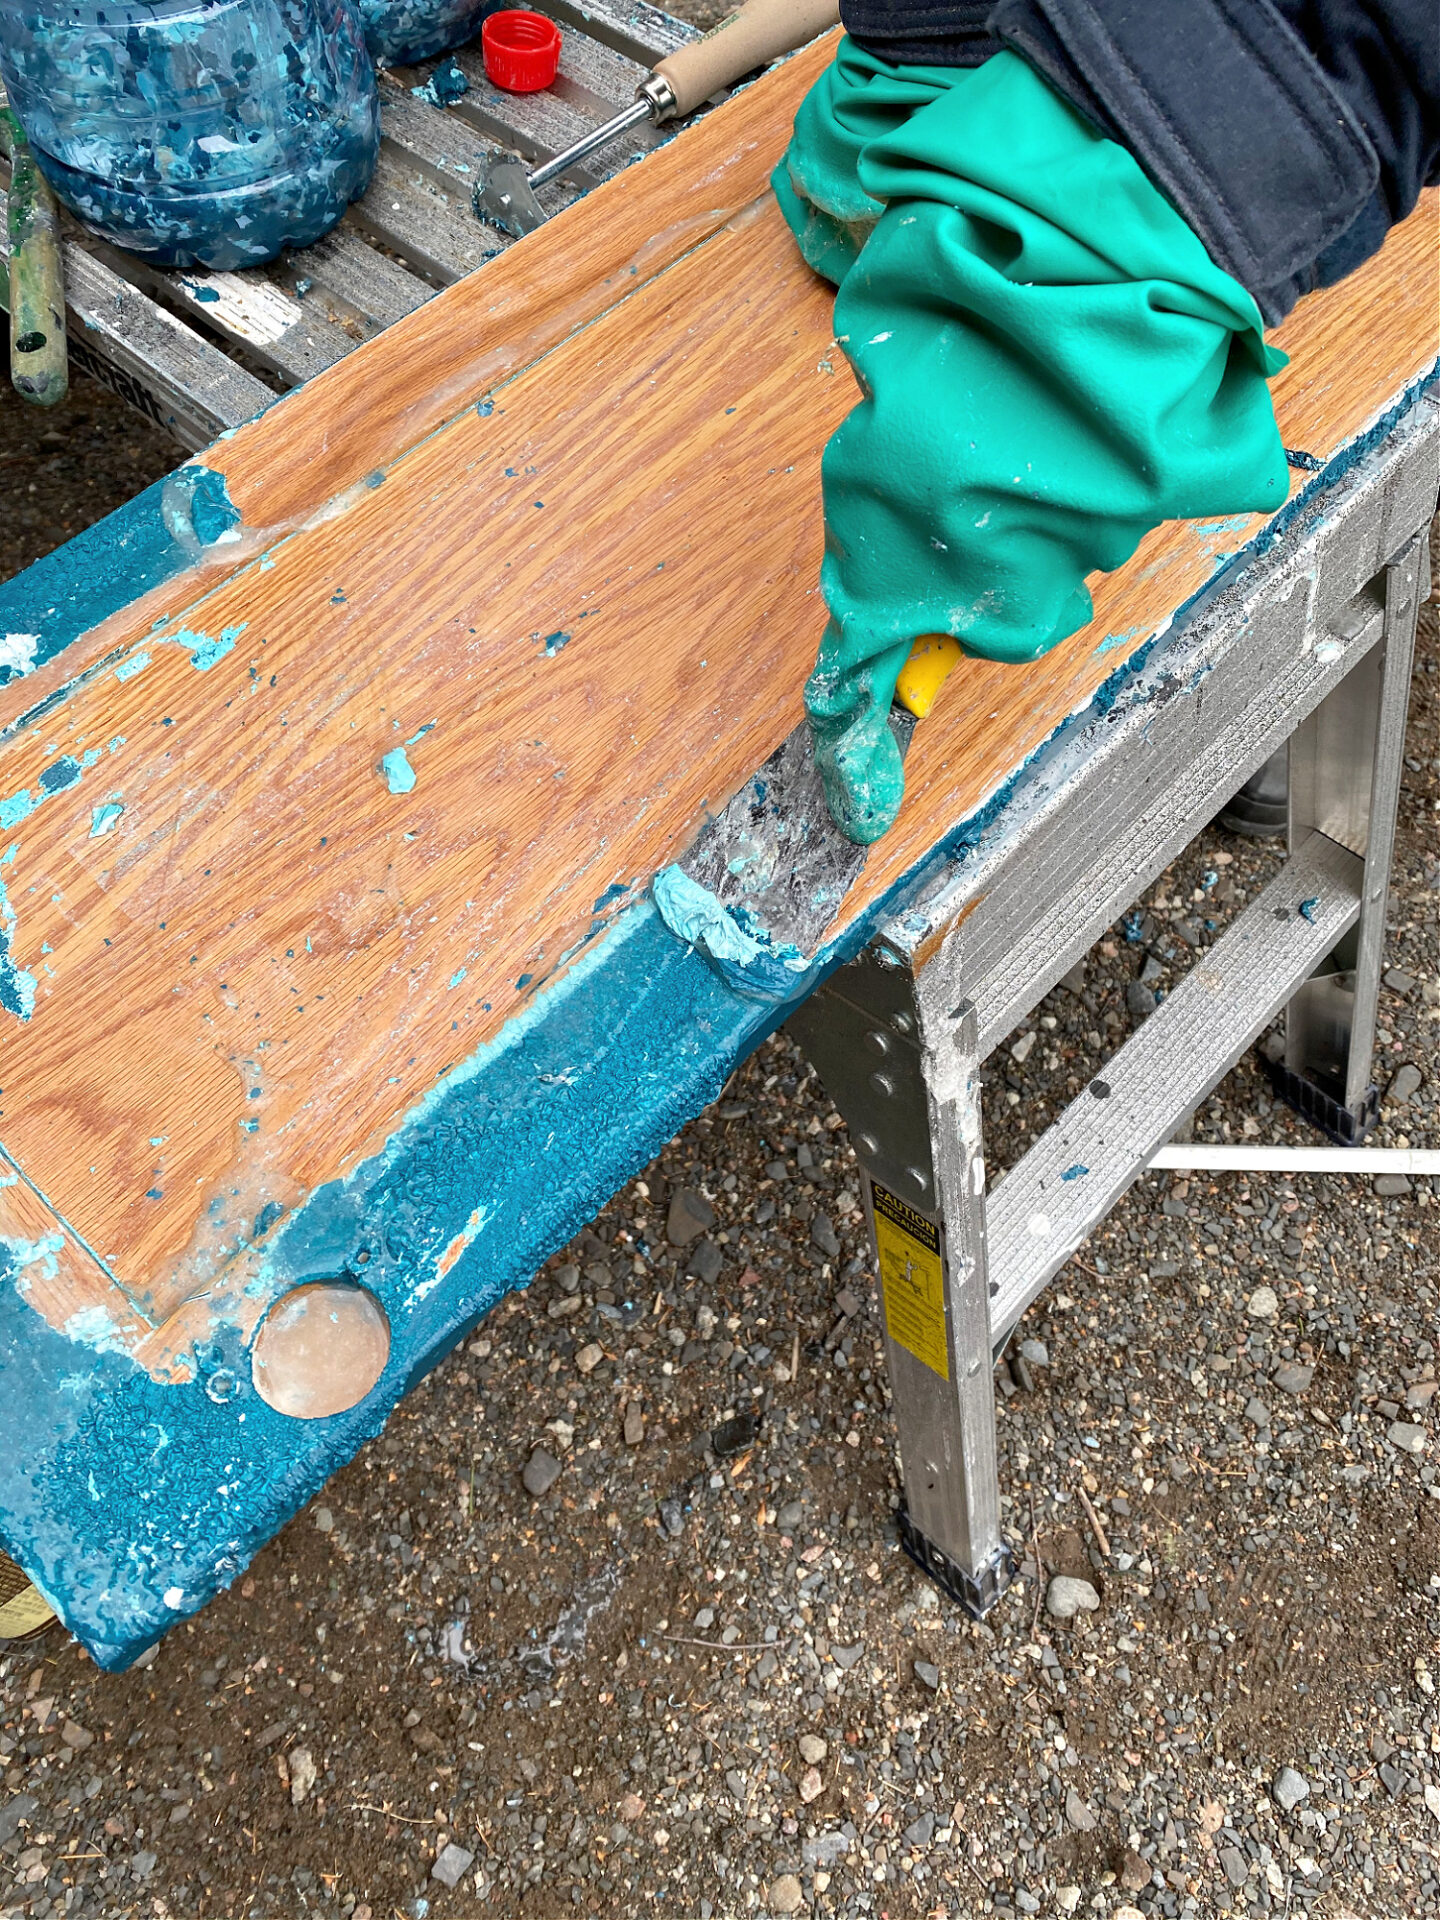
Remove all of the cabinet doors and bring them outside, because it’s just not fun or really safe to use chemical paint stripper indoors. Gently pour or brush on the stripper, applying a very generous, thick and even coat. Wait for the paint to bubble up – as soon as it started to bubble, quickly start to scrape away the paint. You want to avoid the paint stripper drying out (at which point, it is no longer effective). Keep the area being stripped of paint completely saturated with the chemical stripper. If it does dry out, just apply some more to re-activate it. I cut up an old water bottle to dump the goop off as I scraped it but note: the plastic will eventually start to melt (but never before I filled it up), I just didn’t have metal or glass on hand. Be sure to dispose of the goop jar responsibly (many landfills have a special area for paint and junk like this).
Tips for Stripping Cabinets:
I learned to be super generous with the paint stripper, so I could use less elbow grease. In the photo below, I was still being conservative with my application and you can see a lot was left behind, even after two applications. That meant way more re-application and sanding! Once I started applying it more thickly on the first pass, I had none of those bits left.
How to Remove Paint from Cabinets with a Raised Profile:
If my cabinet doors had been flat, I would have been done very quickly. But the grooves required some scraping and more time. If you are trying to remove paint from cabinets with a raised profile, pour extra paint stripper into those groves and then, once the paint bubbles up, use a shave hook scraping tool to remove the paint.
Why Sand Cabinets After Using Paint Stripper?
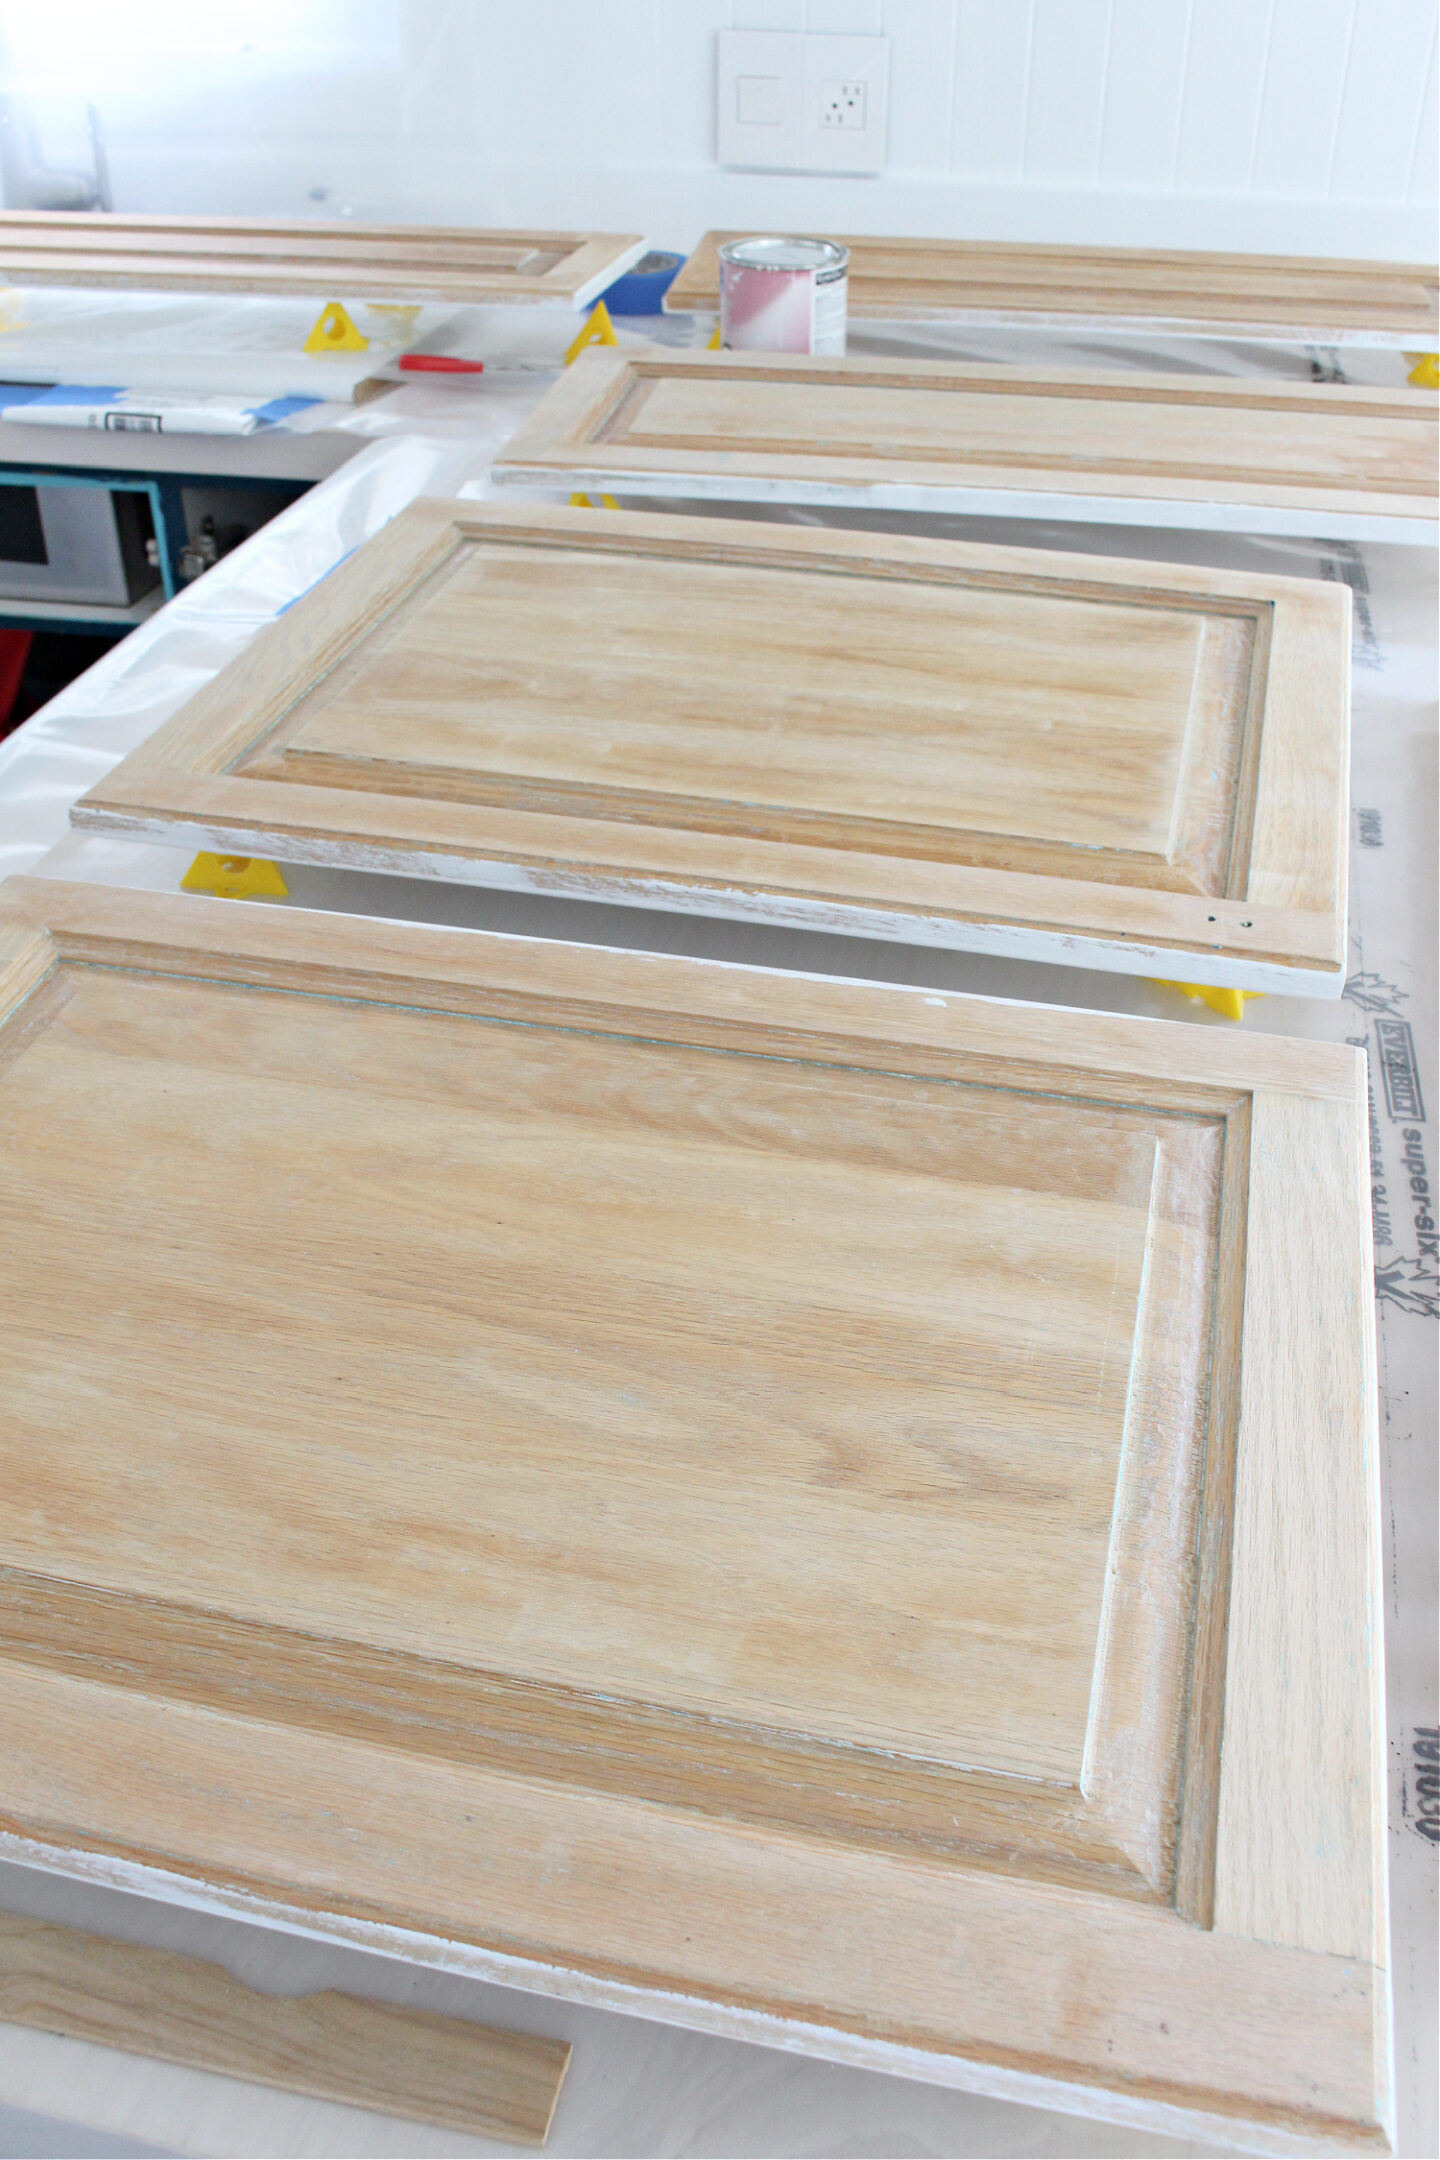
Paint stripper will remove paint, but it will not smooth the surface so after removing most of the paint, I followed up using my old belt sander to smooth the surface. Then I did a little hand sanding where needed. My cabinets were not 100% stripped to bare wood because I was painting anyway, but with these steps and a bit more elbow grease than I committed, you could easily remove paint from cabinets completely and restore them to bare wood. You can also use a small tool like a Dremel, to sand in any grooves of raised panel cabinetry.

Stripping Cabinets to Natural Wood:
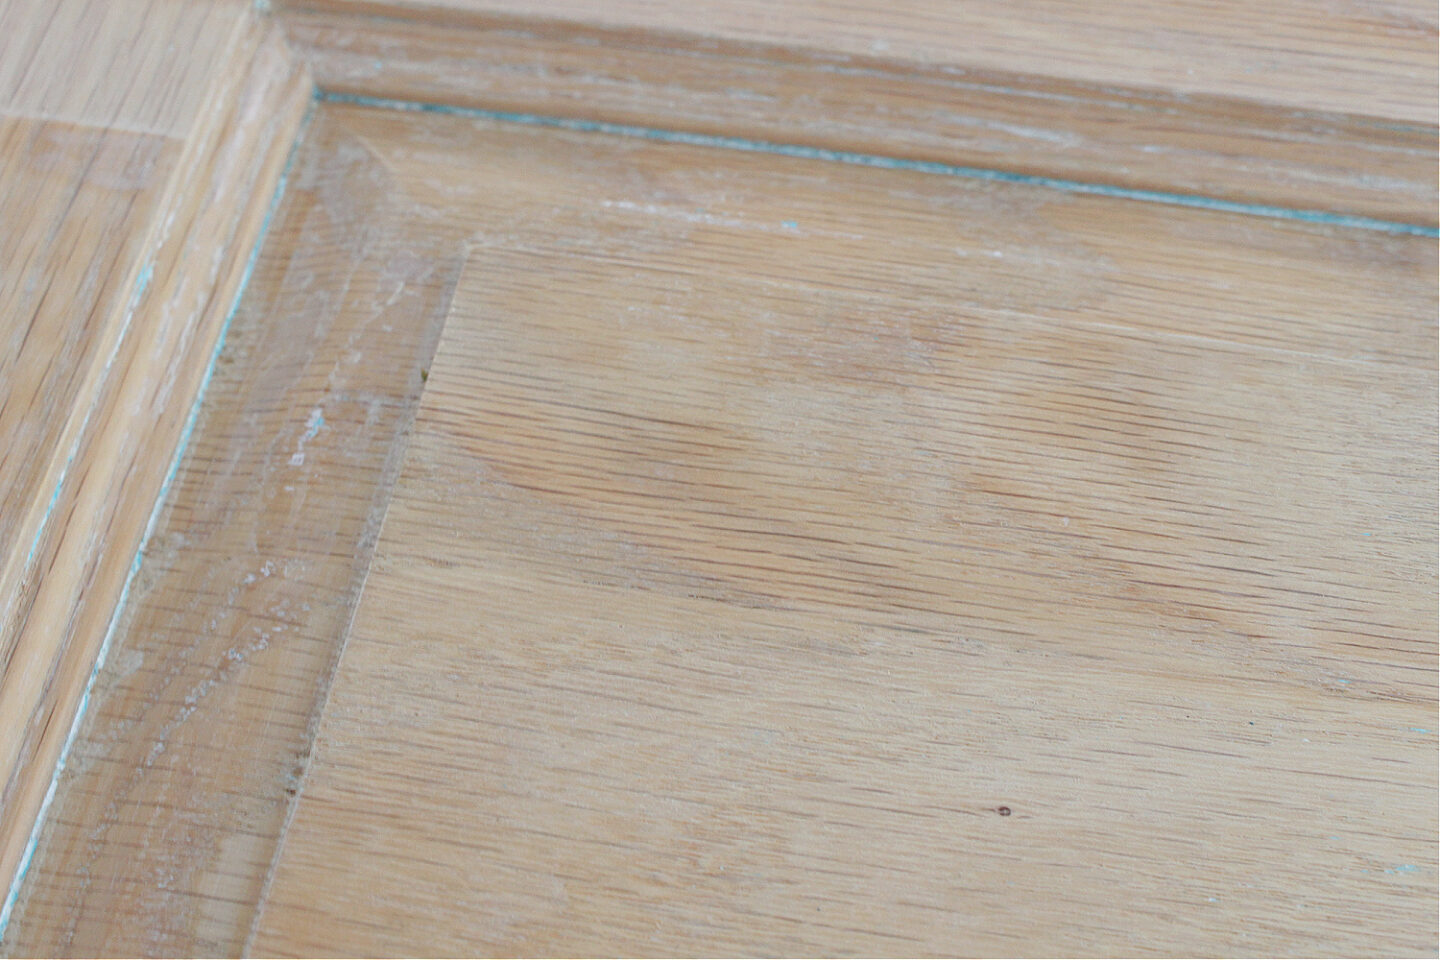
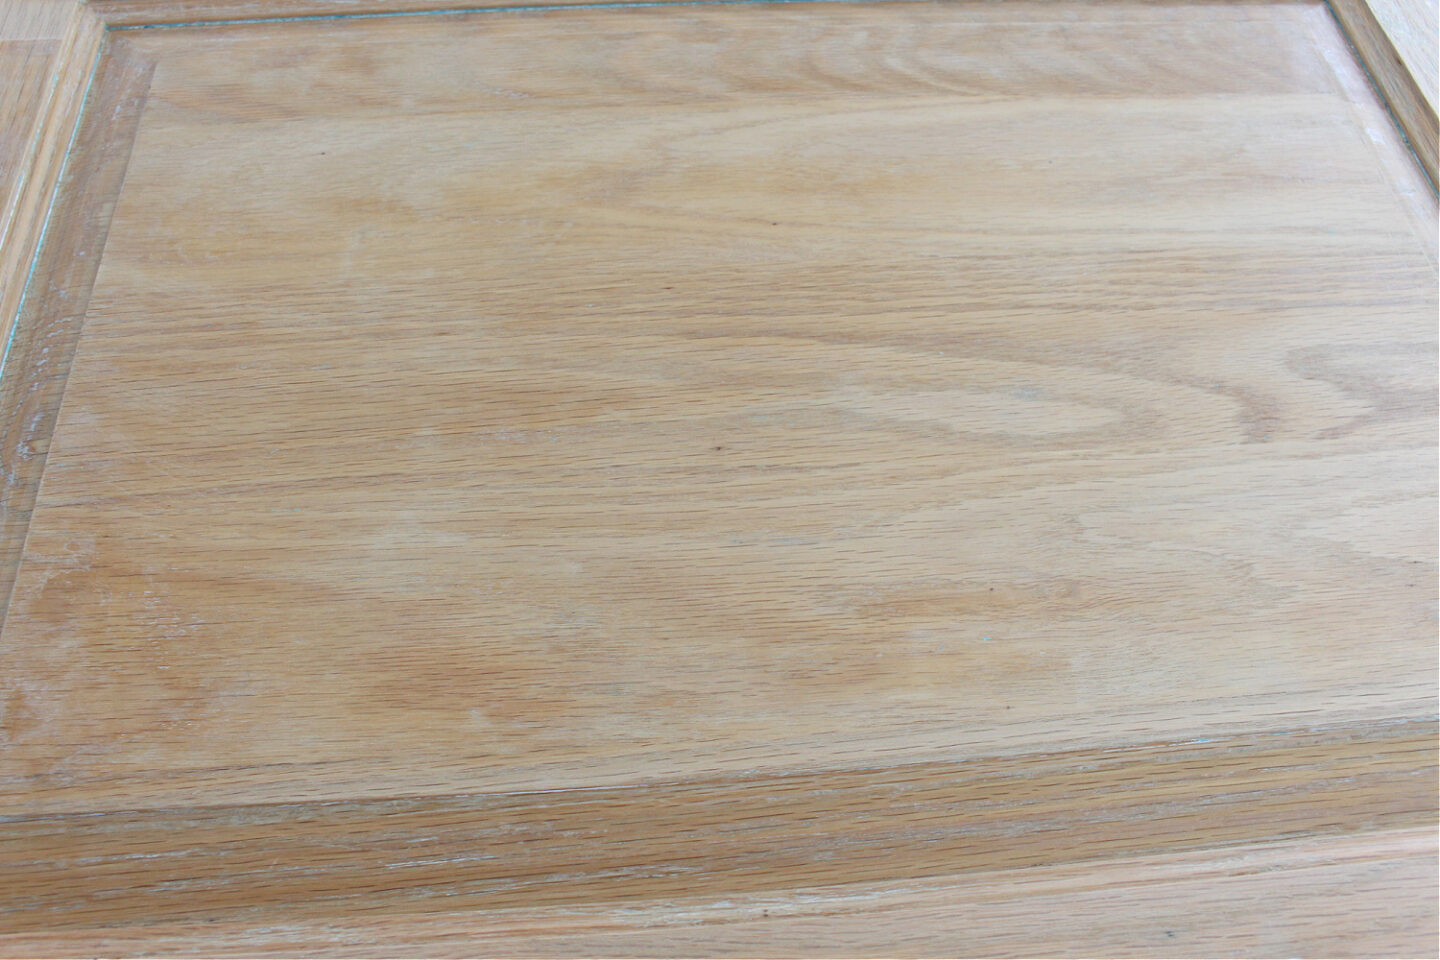
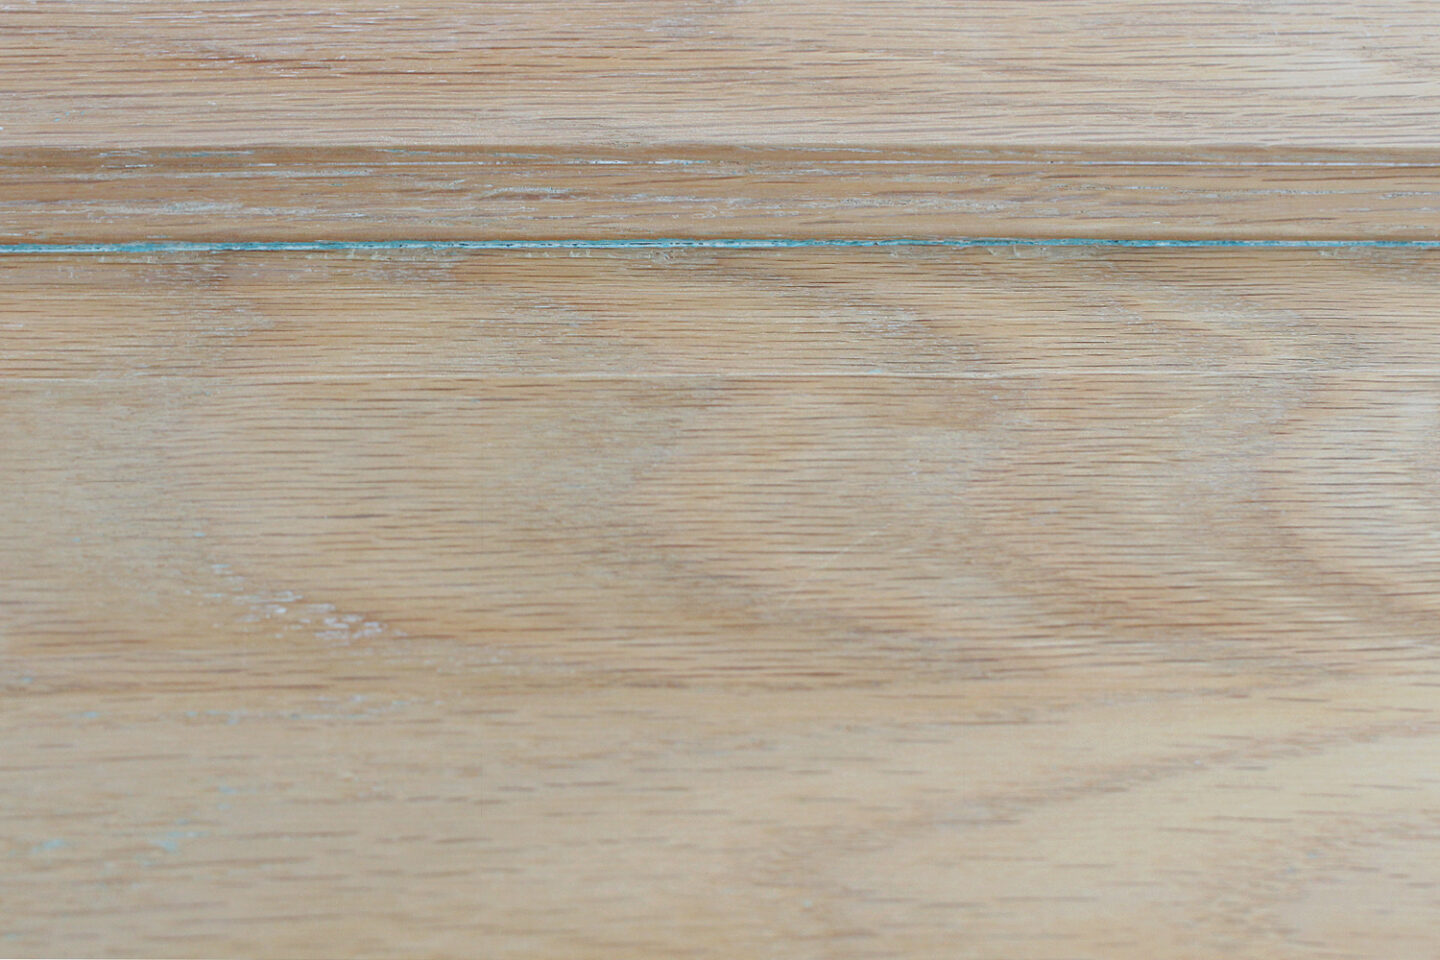
WOW! This magic paint stripper cut through the original finish, primer, multiple coats of paint, more primer, and more coats of paint! For one second, I was almost tempted to keep going and do a bleached oak kind of look but I’m glad I stayed with the original plan because I LOVE the new color! You can see I really needed one more application of paint stripper to catch a little remaining paint:
How to Paint and Prime Kitchen Cabinets:
Check out this post to learn how to primer and paint cabinets – plus find my Sherwin Williams Emerald Urethane Trim Enamel paint review.
Check out these posts for tutorials on different ways to refinish cabinets:
I hope you found this tutorial for removing paint from cabinets helpful! Stripping kitchen cabinets successfully all comes down to finding the right products and tools to make the job as easy as possible. Looking for more cabinet refinishing ideas?
- How to Paint Cabinet Doors with a Paint Sprayer
- Comparing Different Methods of Painting and Re-Finishing Cabinets
- How to Re-Finish Cabinets with Rust-Oleum Cabinet Transformations
- How to Re-Varnish Cabinet Doors
- Sherwin Williams Emerald Urethane Trim Enamel on Kitchen Cabinets
P.S. Don’t Forget to Pin for Later!


These look phenomenal!
Author
Thank you so much!
What about the cabinets mounted to your wall? Did you use the same basic technique?
Author
I didn’t bother to strip those down – I just sanded, primed, and painted again. But this stripper is good for vertical surfaces as well, so you can definitely repeat this same process for the cabinet boxes mounted to the wall.
Wow, this turned out awesome! I had a cabinet refinisher update my kitchen cabinets a few months ago, and ever since then, I’ve had the itch to change up the vanity in my master bathroom. I love the distressed look, and after seeing your post, it gave me some encouragement that I could tackle this project myself!
Author
This is definitely an easy DIY – you just need some patience, but anyone can do it!
Have you used another stripper with success? I can’t seem to locate the one you used.
Author
Circa 1850 is by the same company and also does a good job. I’ve also heard good things about EZ STRIP Paint & Varnish Stripper Gel, and also SUPER REMOVER Paint & Varnish Stripper, but have yet to try them myself.
Citristrip is popular, but I find that one to be rather ineffective. I see people really struggle with that one on social media, having to wrap it in saran wrap and apply coat after coat.
Great post! I am working up the nerve to strip our golden oak cabinets and stain them for a more updated look. My name would be mud if I used paint lol but I think if I could strip and clean them up well I could restain and they would look great. Thanks for the encouraging info.
Ok So did you use this same method to do the base of the cabinets. Like the part that is inside hanging on the wall? Mine are just stained and I want to take them to a more natural wood color. How do you do it for the part that is inside the house?
Author
If you would like to use a chemical stripper for your cabinets inside the house, you can. Look for a thicker formulation that adheres better to vertical surfaces. However, the exact stripper I used is pretty intense so it’s better to use outside, where you can breath fresh air. I would recommend using a different type of paint stripper, suitable for inside applications, where your workspace is not as well ventilated. I’d ask your local paint store for a good recommendation for one to use safely indoors.